Week 12:Project 2-Meshing of Rear Wheel Holder challenge
Meshing of Rear Wheel Holder
Aim:
To create a mid-surface for the given component and then mesh it according to the given quality criteria with element size of 5 units.
Procedures:
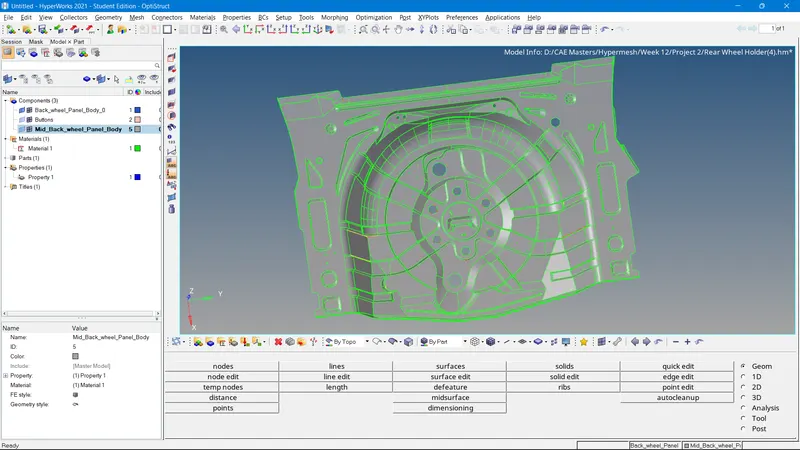
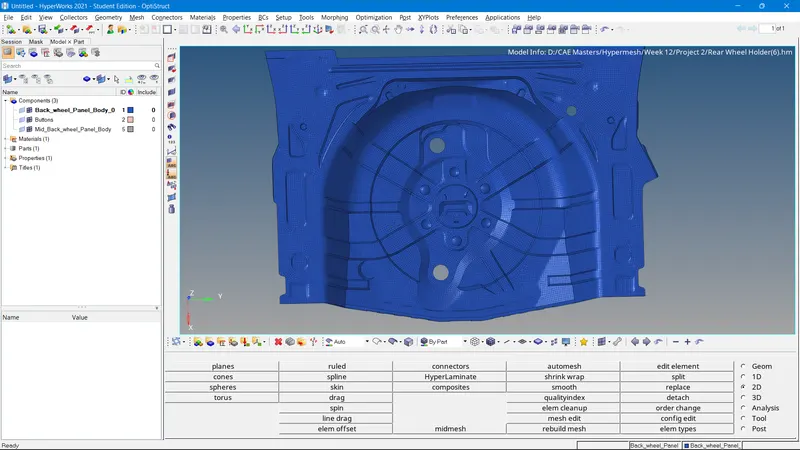
The geometry file is imported as hypermesh file in '.hm' format and The Holder model in the figure will undergo the following process given below,
- Geometry Cleanup
The model is checked for any geometry irregularities and corrected using quick edit, edge edit and autocleanup post which the geometry can be ready for creating a midsurface.
- Mid-surface
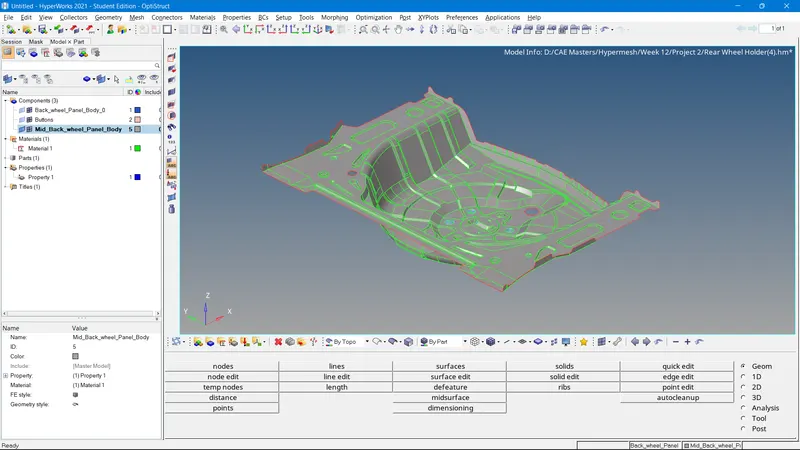
In geometry module the Command is as follows "Geometry>Midsurface> auto midsurface>extraction options.> offset+planes > Auto extraction> surfs> Displayed>create " thus the mid surface for the model is created.
The figure below shows the midsurface created using the parent geometry,
- Geometry Cleanup on mid-surface
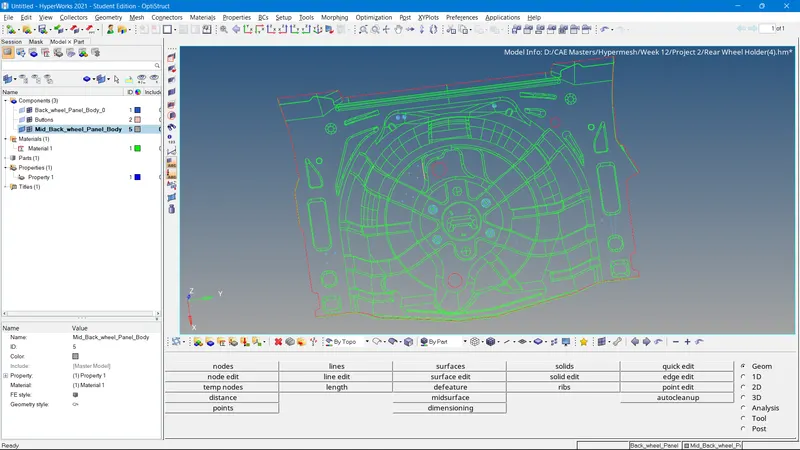
The outer and inner extract midsurface is checked for any geometry irregularities and corrected using quick edit, edge edit and autocleanup for creating a fine geometryas shown in the figure below,
- Material Assigning
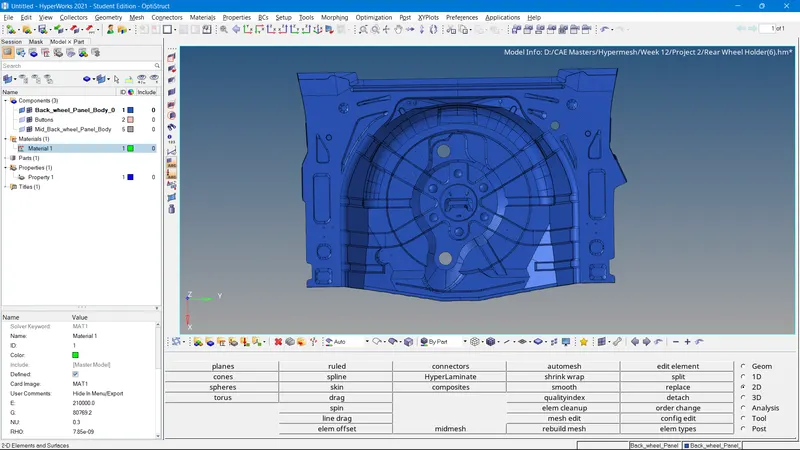
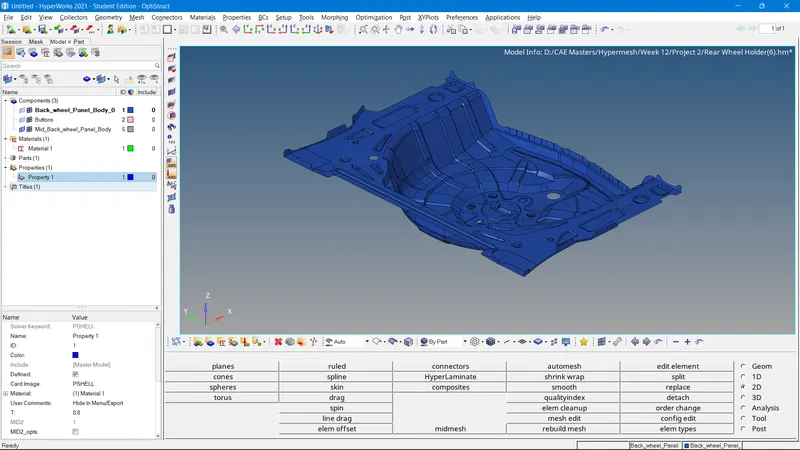
The material is created as steet and assigned for midsurface components as shown in the figure.
- Property Assigning
The property is created with 0.8 mm thickness and assigned for midsurface components as shown in the figure.
- Quality criteria
The quality for the model is as follows,
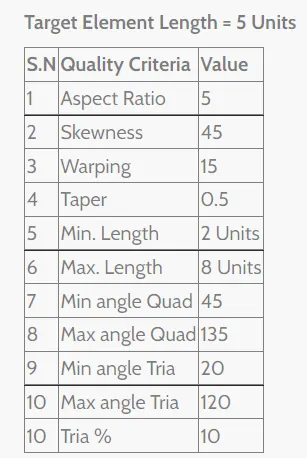
As per the requirements the quality of the mesh is set and corrected accordingly.
- 2D automesh
Aftet mid surfacing the model is meshed using the "automesh>surfs>size and bias>element size(5)>mesh type(mixed)>elemnt to surface>mesh" command in 2D module is used to mesh the surfaces with 5mm element size.
- Mesh Rebuild
Following that the mesh is rebuit using the "rebuild mesh>elems>dispalyed>rebuild" command in the 2D module.
- Elements Check
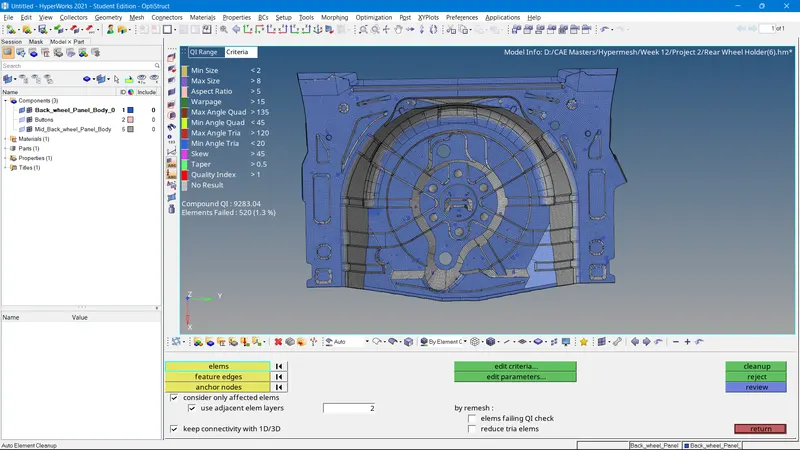
The element quality is checked by using the 'elem cleanup' and 'qualityindex' in the 2D module as shown in the figure,
- Elements Edit
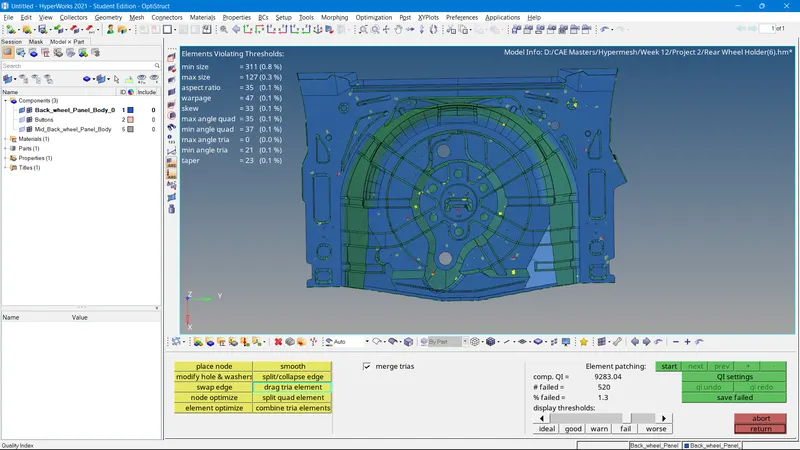
In the 2D module the elements are edited according to the quality by using the cleanup tools in the 'qualityindex' with respect to the quality criteria.
Figure below shows the elements editing procedure,
Final Component:
After completing process 1 to 10 in the procedures the final model’s appearance is illustrated in the figure below,
Learning Outcomes:
In the Project-2 learned to create the mid-surface and mesh the mid-surface using 2D automesh with appropriate quality criteria and I learned the use the tools in the geometry and 2D module of the Hypermesh.
Conclusion:
The mid-surface for given Meshing of Rear Wheel Holder is created and the mid-surface is messed with appropriate quality criteria as mentioned in the project.