Week 12:Project-1-Meshing of Door Inner Panel Challenge
OBJECTIVE:
To mesh the given Side Door Panel by following the given Quality Criteria and to assign the corresponding thickness to the elements.
INTRODUCTION:
A door panel is an insert on the door of a vehicle. Door panels serve as an interface between the interior of the car and the inner workings of the door, and between vehicle occupants and the door.
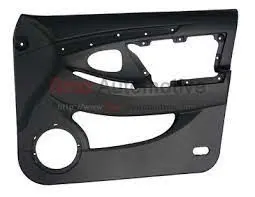
PROCEDURE:
- Import the model into Hypermesh.
- The given side door model is imported into Hypermesh using the import option on the menu bar.
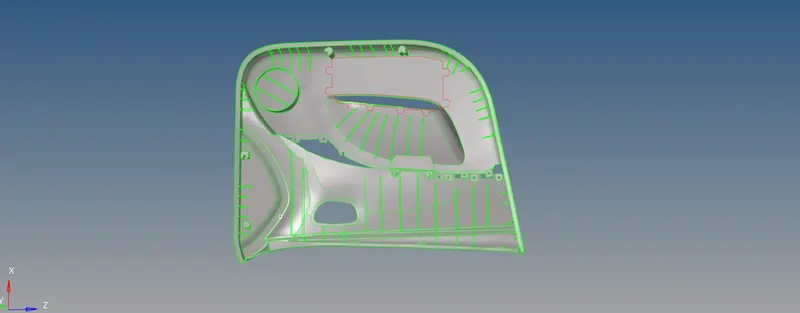
Geometry Cleanup
- Before extracting the mid surface from the model, ensure that the model surface is perfect and free from errors like free edges, duplicate surfaces, and missing surfaces.
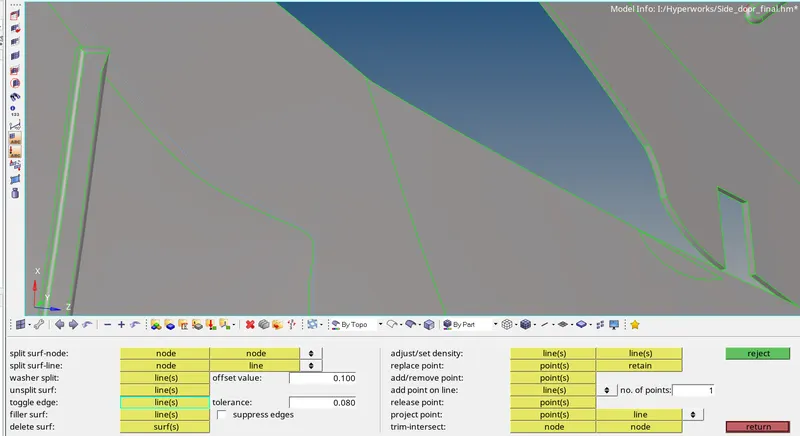
- If any defects are found then the required geometry cleanup needs to be done using the various tools such as toggle edge, filler surf, replace points, etc. available under the quick edit panel. (F11 (or) Geom>quick edit)

- On the model, if there are any lines that are too close to each other or if the distance between the lines is less than the minimum element length, then one of the lines needs to be suppressed using the toggle edge option.
- Otherwise, on meshing, elements that fail the minimum element length criteria will be created between the closely spaced lines
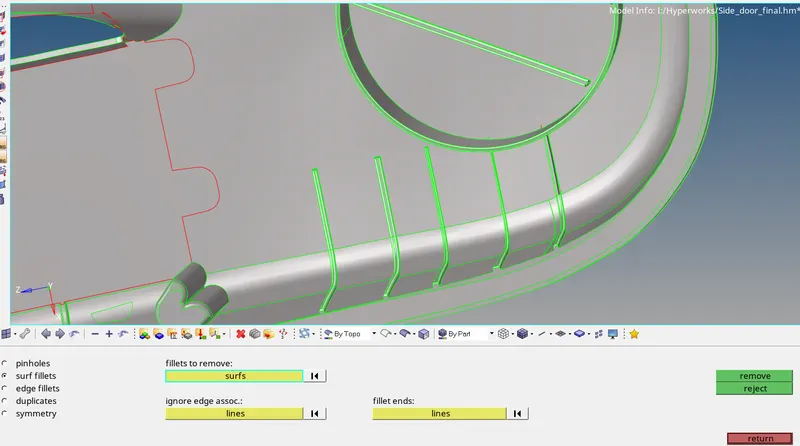
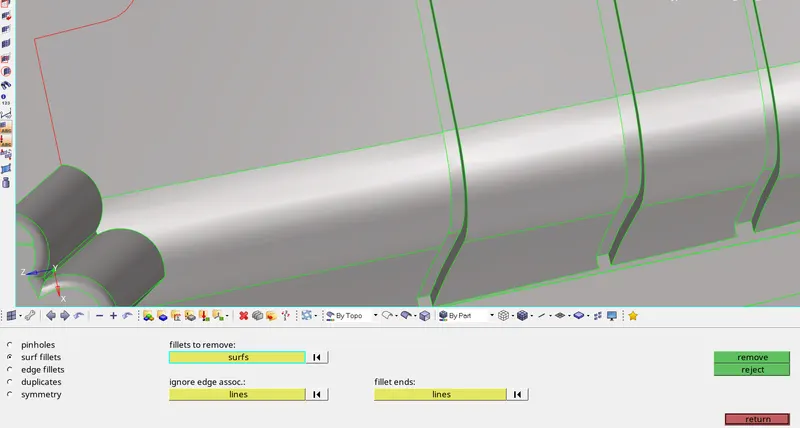
- Also, to ensure proper feature capturing and to prevent the creation of elements that fail minimum element length criteria, it is necessary to remove small fillets that fall below a specific radius.
- This is done using the surface defeature tool. (Geom>defeature>surf fillets)
Mid surface extraction:
- The next step is to create a component. In order to generate, the mid surface in that component. This is done by right-clicking on the Tab bar
- Before extracting the mid surface, the thickness of the model is to be known. As the given model is a plastic model, It will have varying thicknesses. The thickness is verified by the distance between two points option ( shortcut is F4)
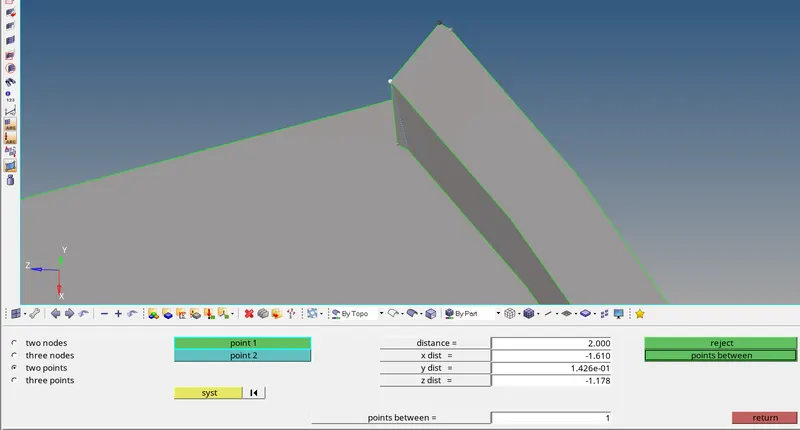
- After checking the distance, the mid surface is extracted by offsetting the surface by duplicating the surface.
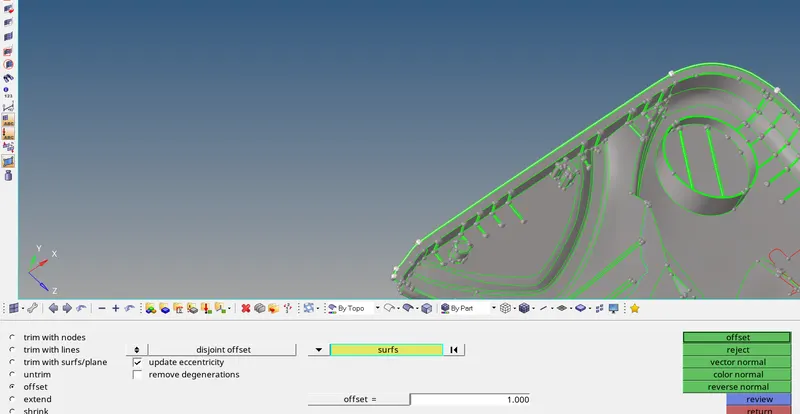
- After selecting a surface, The remaining surfaces having the same thickness should also be selected to obtain the mid surface for those surfaces also. This is done by By right-clicking on the surfaces option below the graphical display in the surface edit panel, a pop-up appears to select the surfaces by face
- After checking all these aspects, the value of offset distance is entered
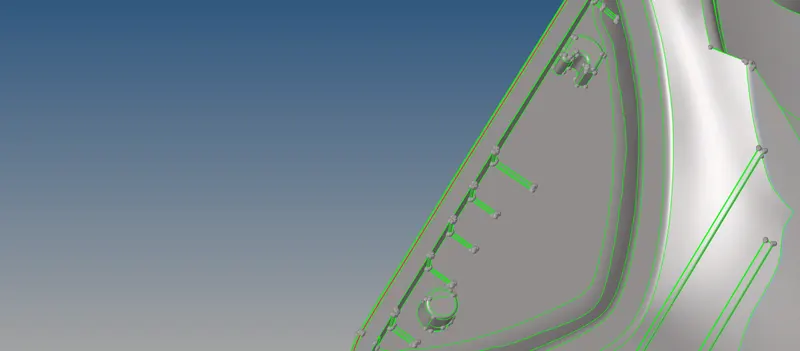
- Similarly, For all surfaces, the thickness is verified & the mid surface is generated
- The next step is to obtain the mid surface for the ribs &These ribs with the same thickness (i.e., 2 mm) are selected
- All the ribs should be extending to the surfaces using "extend" option in the surface edit panel. These surfaces are extended
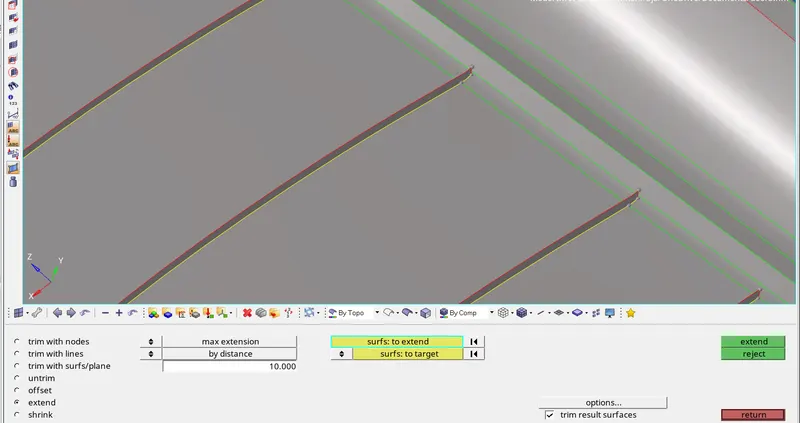
- These extended unwanted surfaces are deleted by trimming them Trim with the surface option in the surface edit panel.
- Finally, the extracted mid surface for the entire model
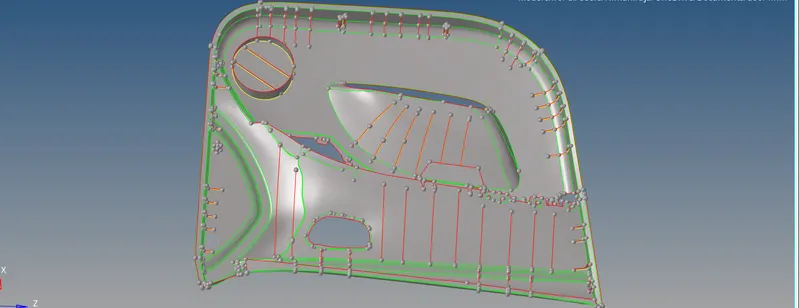
Geometry clean up:-
- After completing the entire mid-surface extraction, the geometry should be cleaned up. There are some regions in the entire geometry.
- The geometry clean-up is done majorly by the tool "Quick edit". The quick edit panel includes all of the geometry clean-up tools like Toggle, Splitting surfaces, Replacing points, etc.
MESHING:
- Since the model is complex in nature, for ease of meshing and to ensure proper mesh flow the surface is split into parts and the split parts are organized into different components.
- splitting lines can help the mesh with goog mesh flow.
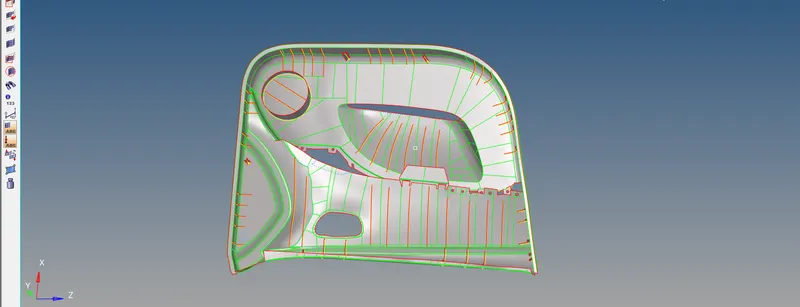
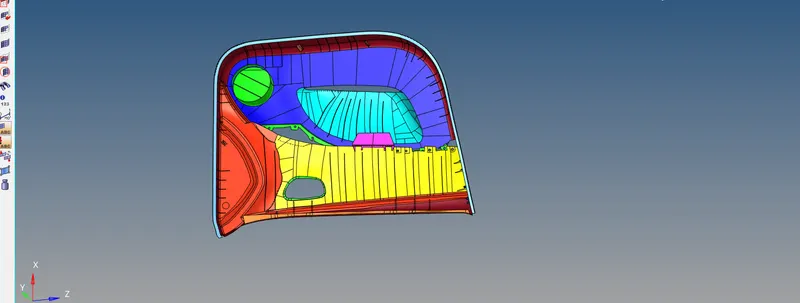
Target Element Length = 4 Units
| S.N | Quality Criteria | Value |
| 1 | Aspect Ratio | 5 |
| 2 | Skewness | 45 |
| 3 | Warping | 15 |
| 4 | Taper | 0.5 |
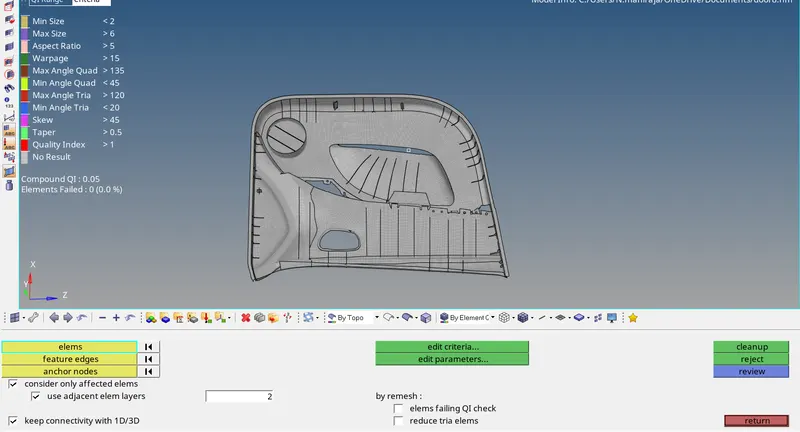
| 5 | Min. Length | 2 Units |
| 6 | Max. Length | 6 Units |
| 7 | Min angle Quad | 45 |
| 8 | Max angle Quad | 135 |
| 9 | Min angle Tria | 20 |
| 10 | Max angle Tria | 120 |
| 10 | Tria % | 10 |
Ensuring proper mesh flow and quality of elements generated
- The generated mesh is examined properly to ensure that there is a proper mesh flow. Also, the number of trias should be kept to a minimum. Ensure that there are no rotating quads, back-to-back trias, opposite trias, or trias on the feature line.
- good mesh flow can be done by dividing the component and meshing individually.
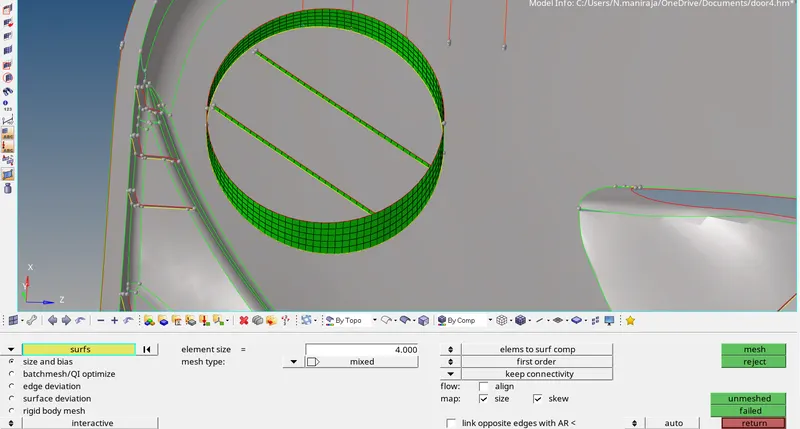
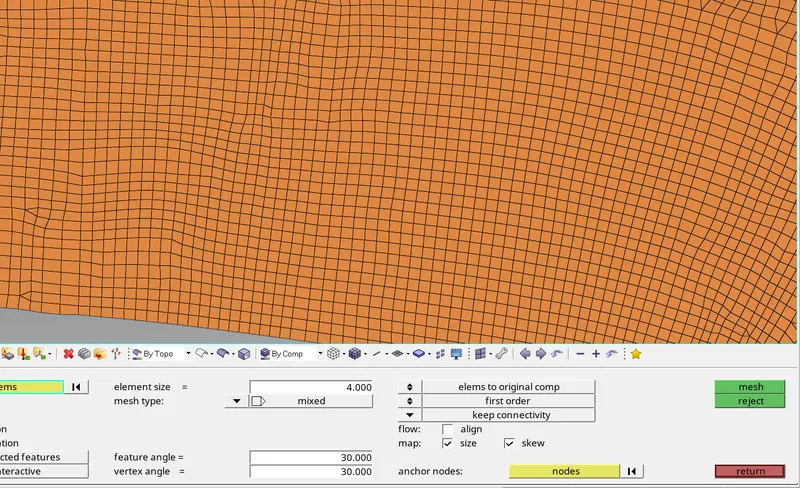
- Check if any elements are failing for any of the given quality criteria. If any element is found to be failing the given quality criteria then the cleanup tools are used to correct them.
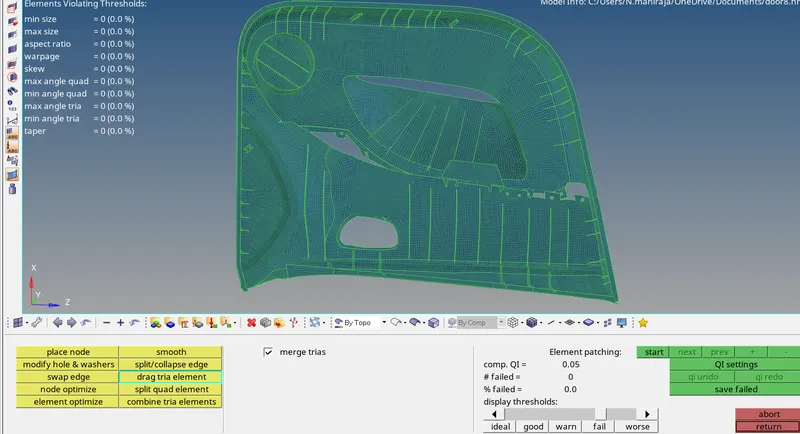
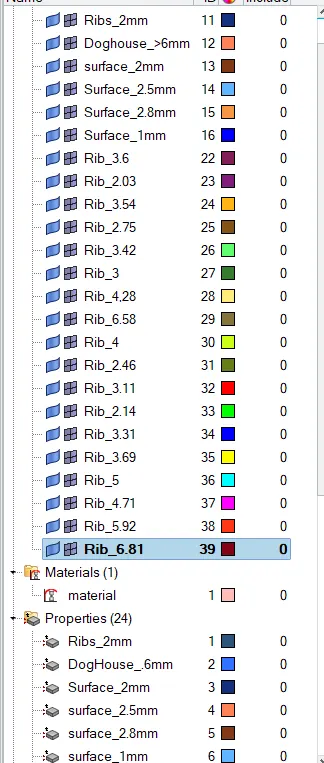
- To assign the property to the component, right-click on the corresponding component and choose the ‘assign’ option. In the pop-up menu select the corresponding property from the drop-down list and apply.
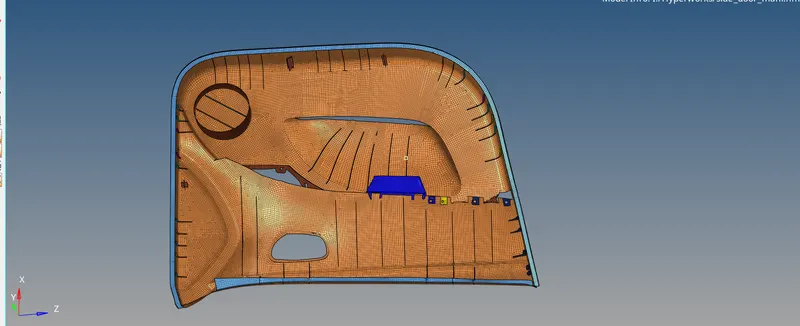
FINAL MODEL IMAGE:
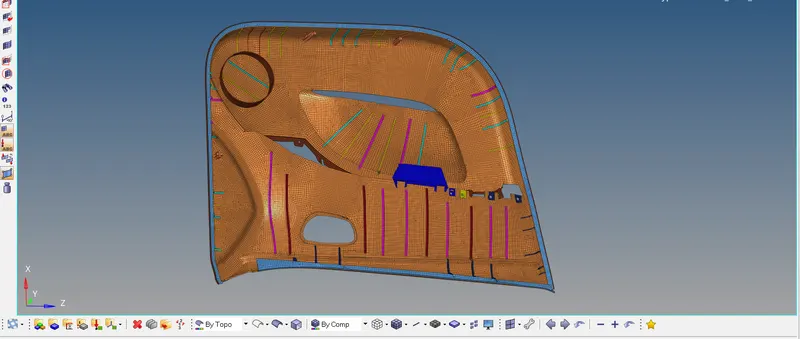
2D Detailed Element Representation:
CONCLUSION:
- Therefore, Mid surface is extracted, and performed the geometry clean-up on the given component(Door inner panel).
- Generated the mesh on the given component with low tria concentration and proper mesh flow. By following the given quality criteria.
- Finally, Assigned the thickness for the given component.
Learning outcomes:
By doing this project, the following things can be learned:-
- Extracting the mid surface manually (Because the given component is a plastic model).
- cleaning up the geometry.
- Generating the proper mesh flow.
- Reducing tria concentration.
- Assigning the thickness to the sub-components in the given model.