Week 12 - Project-1
Objective:
- To mesh the given Door component using given Quality criteria and assign thickness
Target Element Length = 4mm
|
S.N |
Quality Criteria |
Value |
|
1 |
Aspect Ratio |
5 |
|
2 |
Skewness |
45 |
|
3 |
Warping |
15 |
|
4 |
Taper |
0.5 |
|
5 |
Min. Length |
2mm |
|
6 |
Max. Length |
6mm |
|
7 |
Min angle Quad |
45 |
|
8 |
Max angle Quad |
135 |
|
9 |
Min angle Tria |
20 |
|
10 |
Max angle Tria |
120 |
|
10 |
Tria % |
10 |
Case setup and execution:
- Geometry cleanup
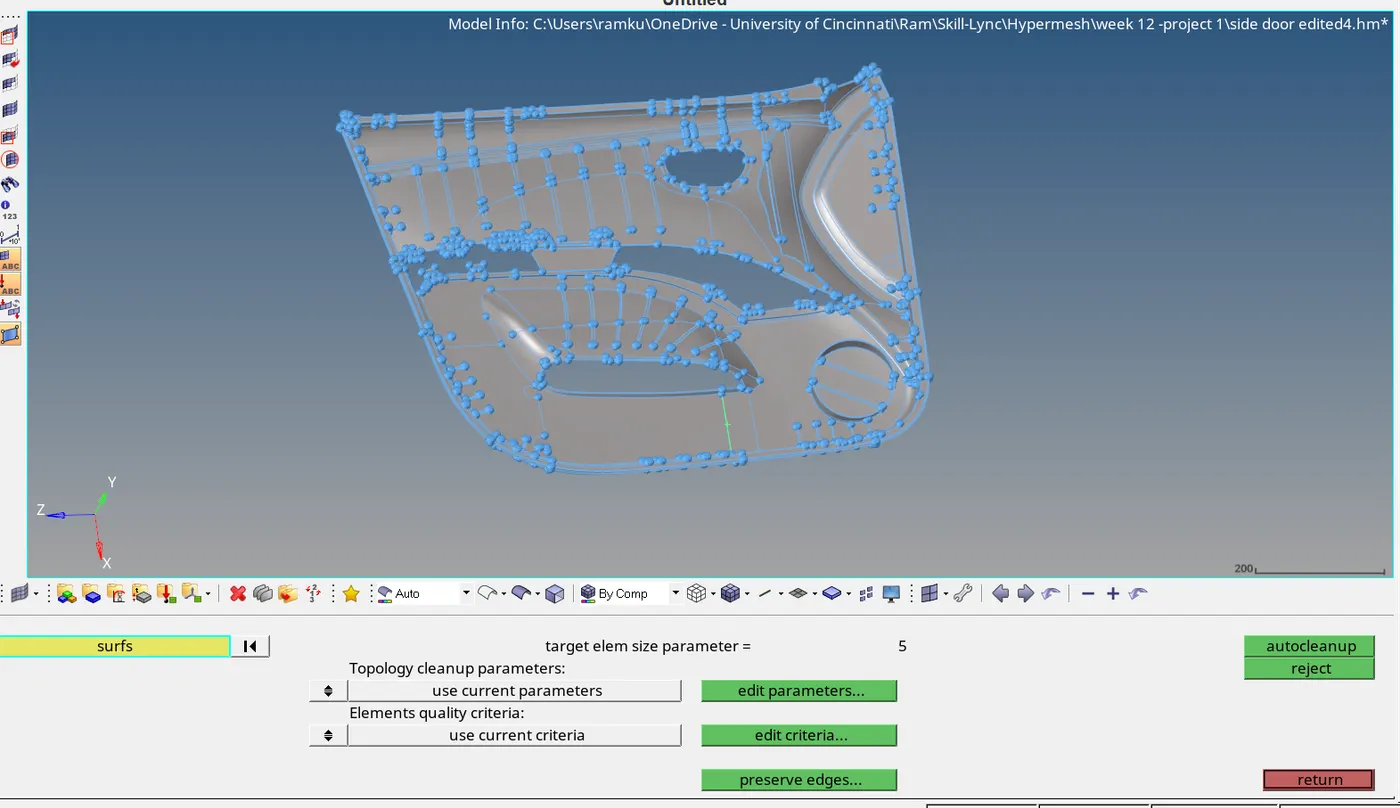
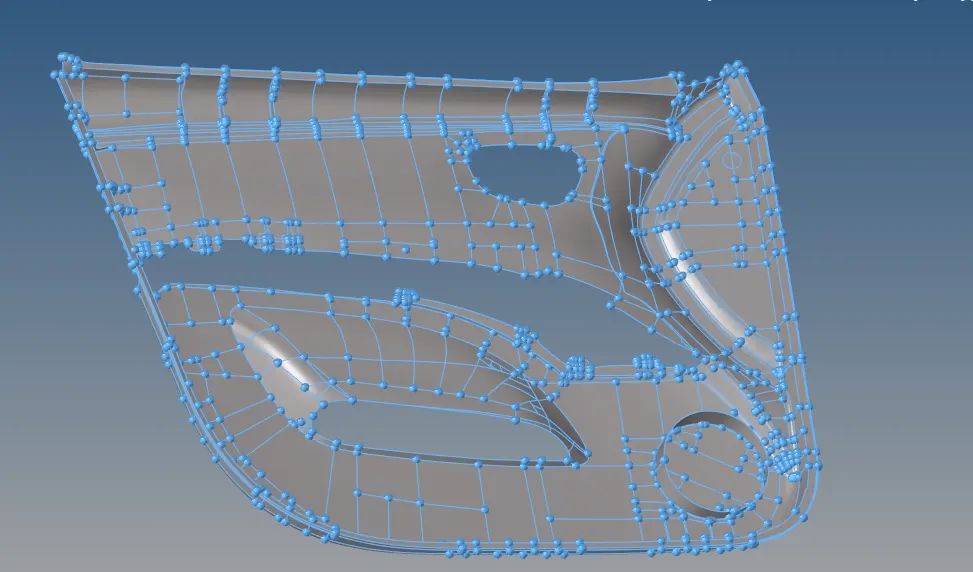
The given Door panel component 3D CAD model is imported into Hypermesh. It is checked for CAD errors using visualization tool. Change visualization to “By Topo” and switch to wireframe mode to view the status of each edge.
We also see some edges on the model which are very close to each other and would create problems while meshing (elements would fail because of minimum element length requirement). Toggle unnecessary edges using
Geometry -> Quick Edit -> Toggle edge
We can also use Auto Cleanup option to clean the geometry
Geometry-> Auto Cleanup
- Mid surface creation
Midsurface is generated for the plastic part using
Geometry -> Midsurface -> Auto Midsurfacing
It is better to use Offset planes in the Auto Midsurface options
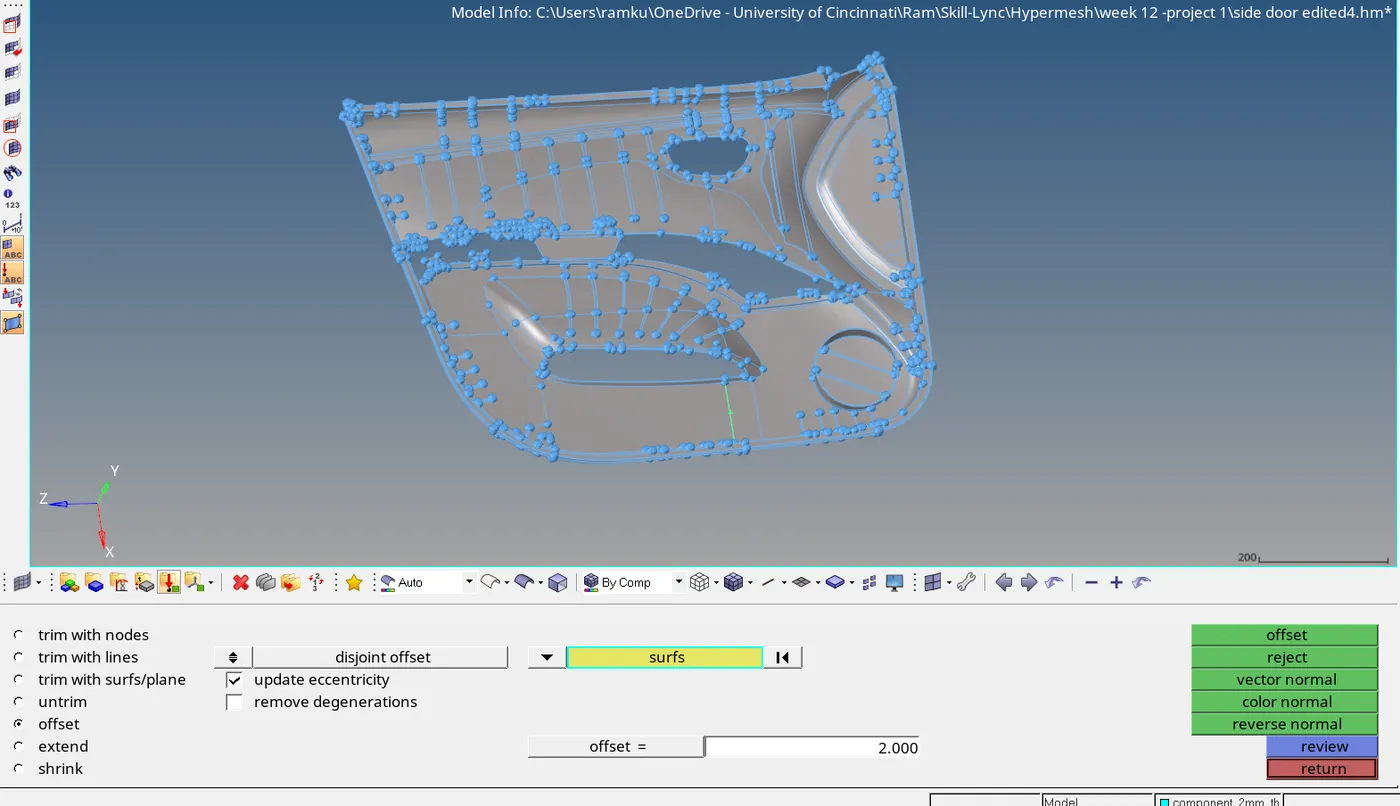
The midsurface generated using this approach didn’t create enough quality. So we will proceed by offsetting the bottom surface by a distance equal to Thickness/2
Geometry -> Surface Edit -> Offset
- Meshing
We will divide the midsurface into 4 quadrants surfaces for simplicity.
Geometry -> Surface Edit -> trim using points
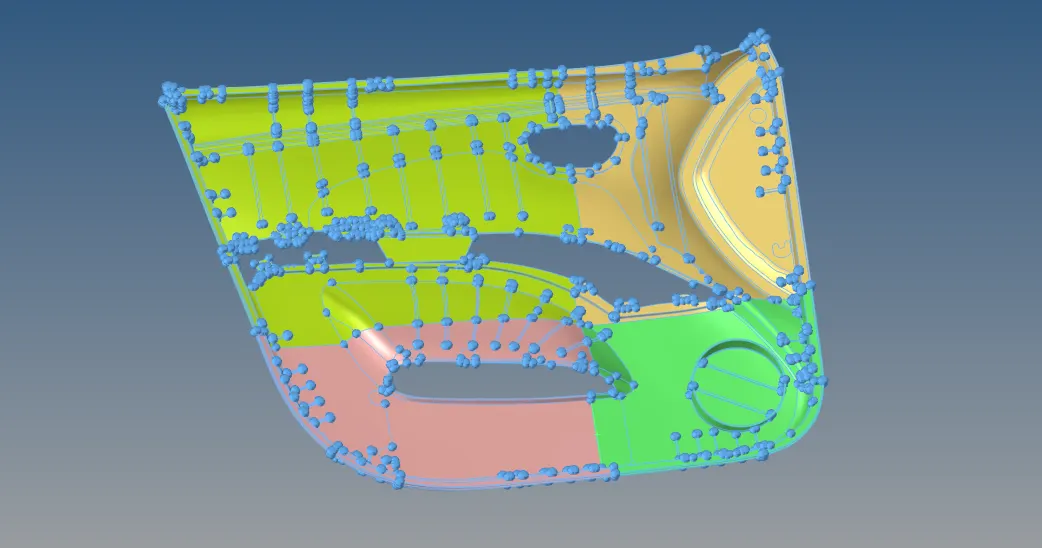
There are now 4 components in the Door model, and we will mesh them individually using the quality criteria provided
Target Element Length = 4mm
|
S.N |
Quality Criteria |
Value |
|
1 |
Aspect Ratio |
5 |
|
2 |
Skewness |
45 |
|
3 |
Warping |
15 |
|
4 |
Taper |
0.5 |
|
5 |
Min. Length |
2mm |
|
6 |
Max. Length |
6mm |
|
7 |
Min angle Quad |
45 |
|
8 |
Max angle Quad |
135 |
|
9 |
Min angle Tria |
20 |
|
10 |
Max angle Tria |
120 |
|
10 |
Tria % |
10 |
First, a washer split is created on holes and outer edges to have only quads on edges. Then the other surfaces are automeshed using 5mm as target length and in the automesh option, flow – align and size are checked

It is better to split the surface into smaller rectangles as much as possible to have smooth quads on the surface.
Geometry -> Quick edit -> Split surface (Node to Node or Node to Line)
On fillets/hem regions, it is advisable to capture the high points on the fillet. In order to capture the high points, create a Mid line between the boundary lines of the fillet.
Lines -> Midline
Create nodes/points on the Mid Line
Geometry -> Quick Edit -> Add points on Line (Qty:3 – if given 3, two points will be on the endpoints and one will be created on the midpoints of the line)
Geometry -> Nodes -> Interpolate nodes on line (Qty:3)
Now we can split the fillet/hem region using
Geometry -> Surface edit -> Trim with free lines and N1,N2,N3 and toggle the boundary lines of the fillet so that mesh quality error due to minimum size criteria can be avoided.
2D -> Automesh
Symmetric components are split into two along the symmetric line. Only one surface is meshed and the other surface is meshed by duplicating and reflecting the elements on the meshed surface.
Some of the commonly used commands
Geometry -> Node edit -> Align
2D -> Smooth
2D -> mesh edit -> Split
2D -> mesh edit -> Create
2D -> mesh edit -> combine
Tools -> Reflect
Tools -> Project
Commands under 2D -> Quality Index
Node optimize
Element Optimize
Place Node
Split quad into trias
Combine trias to quads
Drag Tria
Swap Edge – used to swap edges of tria elements on surface edges
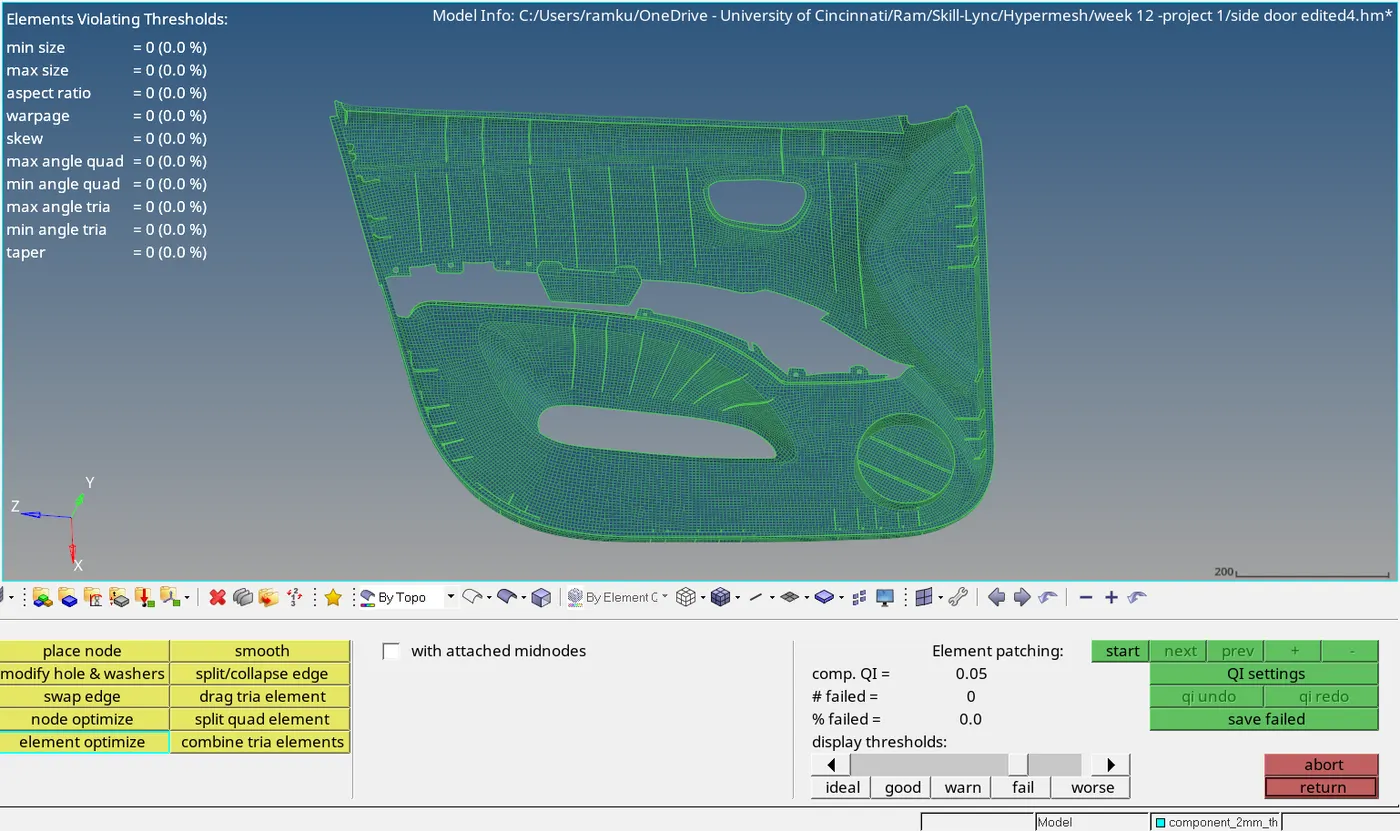
These tools are used to make sure the following criteria are satisfied
- No rotational quads
- No trias pointing opposite to each other or touching each other
- Mesh flow is smooth
- No trias on edges of the midsurface
- Elements pass the quality criteria provided
Checks
Tools -> normal
To ensure all the element normals from one side of the surface point in one direction
Tools -> Penetrations
To ensure there is no penetration of elements
Tools -> Dependency
To ensure there is no element dependency
Tools -> Edges
To check connectivity of elements. If there are disconnections, equivalence it
Menu bar -> Mesh -> Checks -> Comparison – to check how well the meshes match with the surface. If there are not matching, we can use Project command to project elements/nodes onto the surface/edge.
Finally, after performing the above mentioned procedure for all the 4 components in the Door panel model, the quality of the mesh is checked using
2D -> check elements
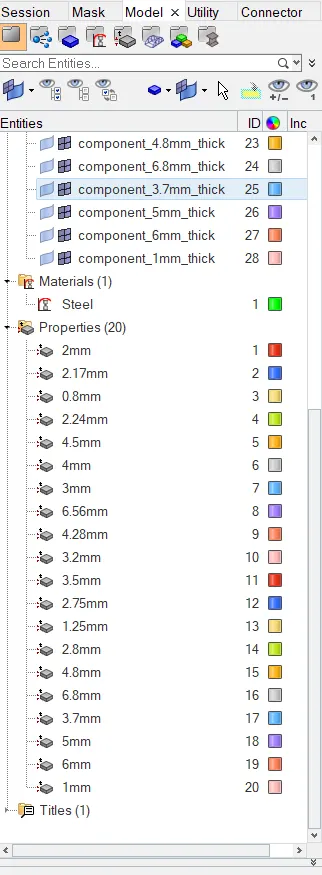
Then common material Steel is created and properties are created for each component individually with the respective thickness