Week 12- Final project
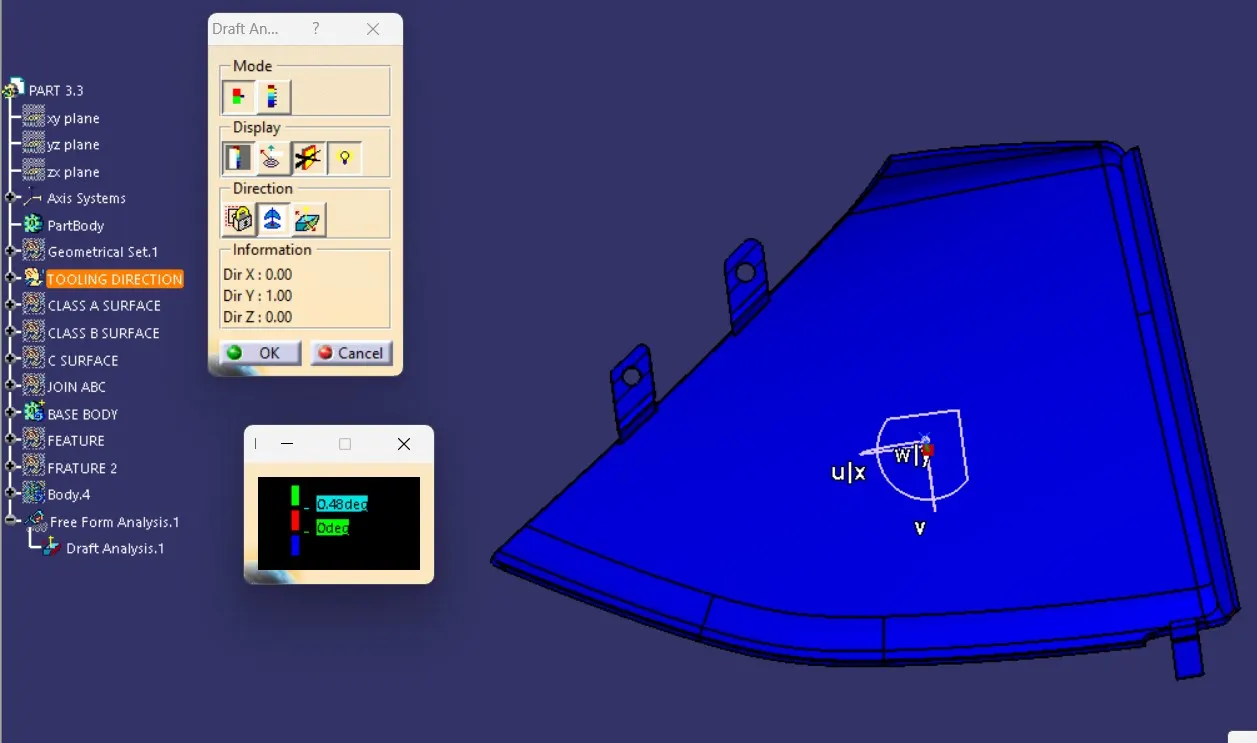
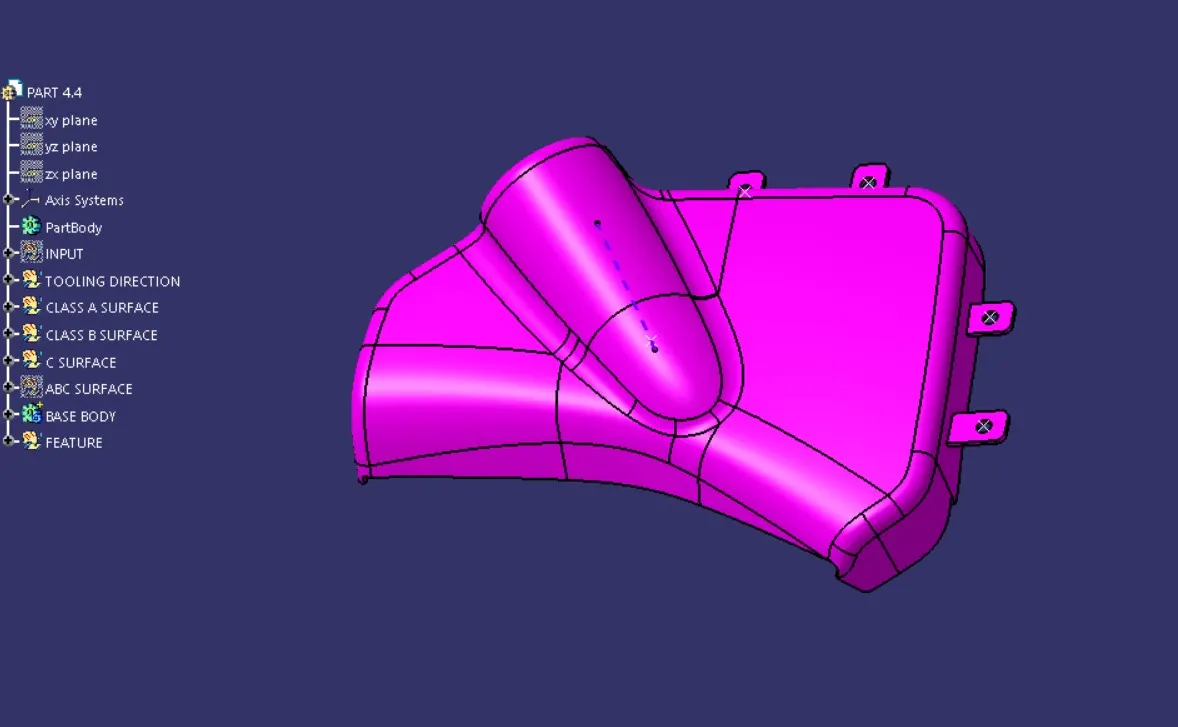
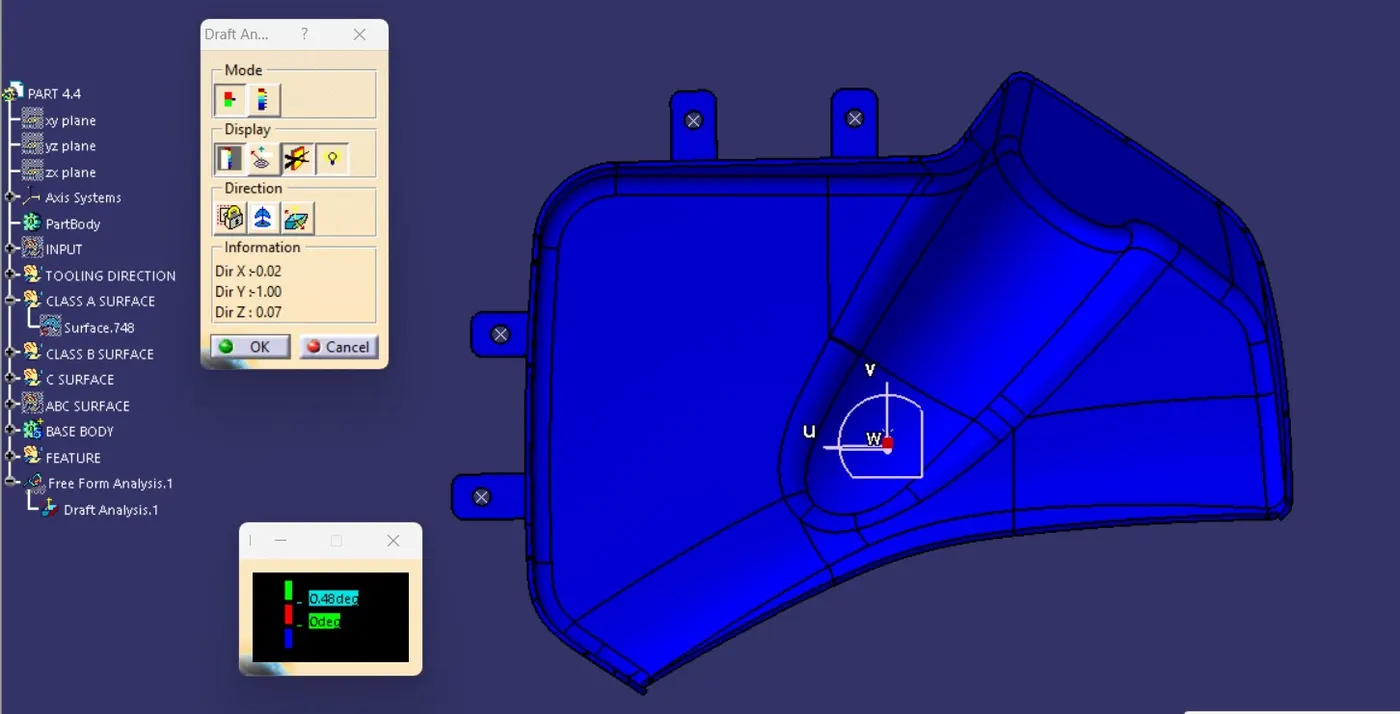
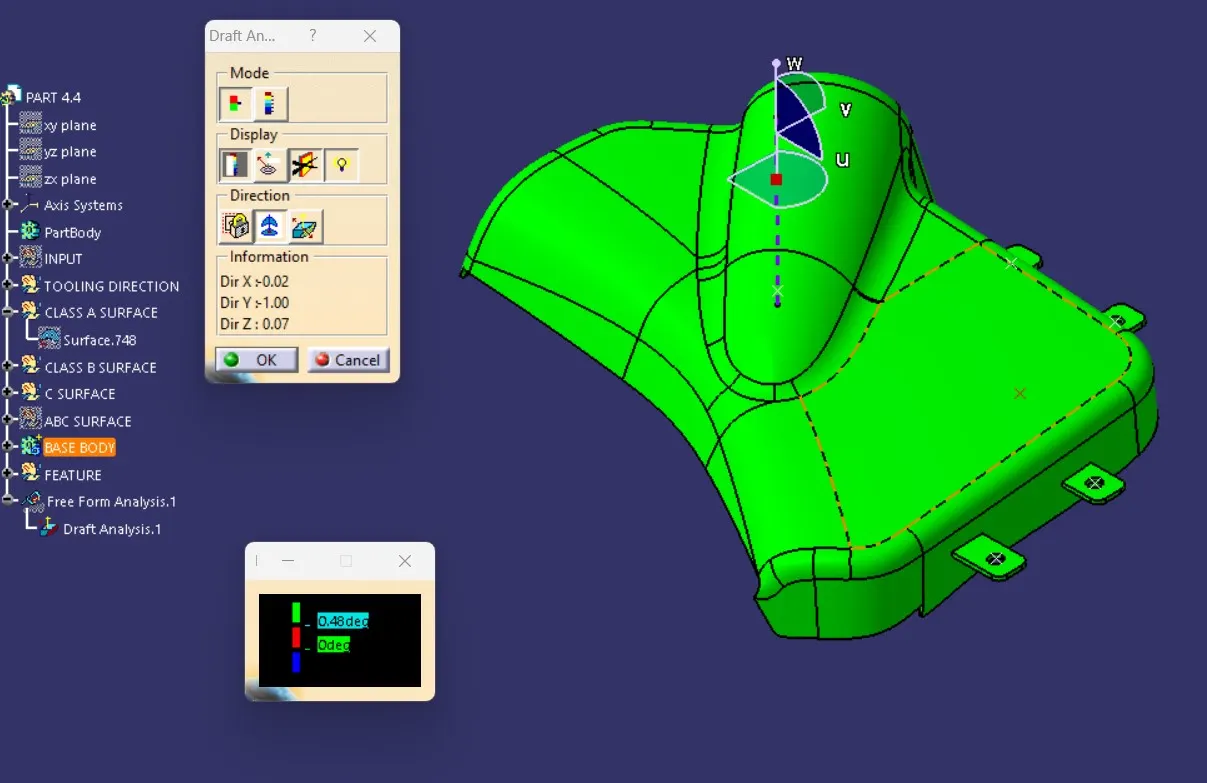
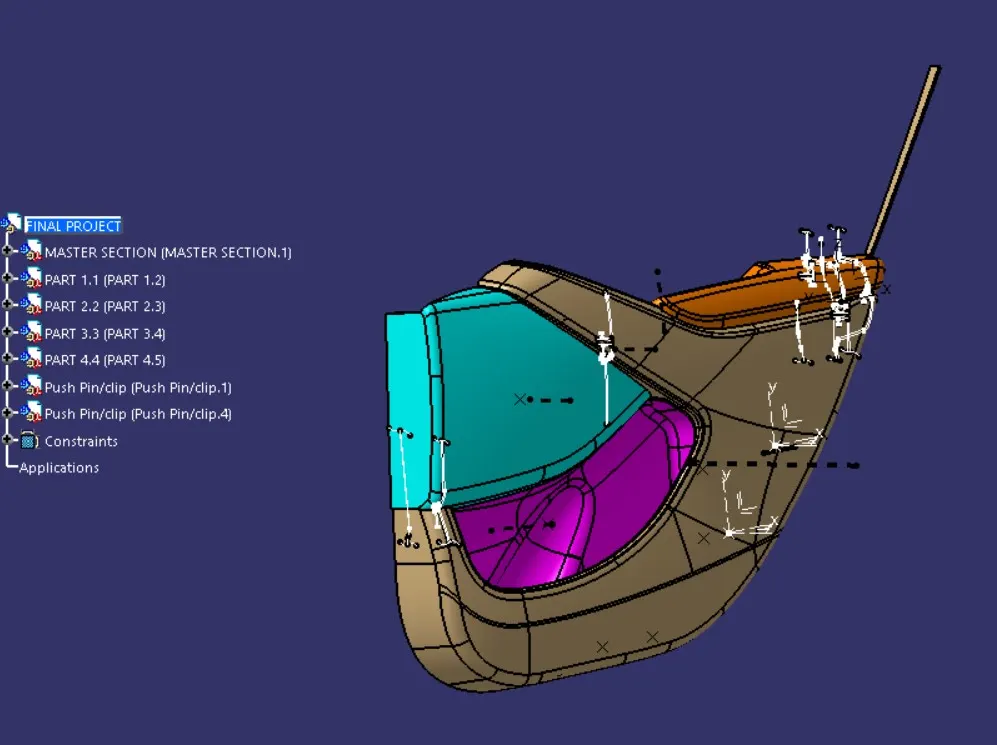
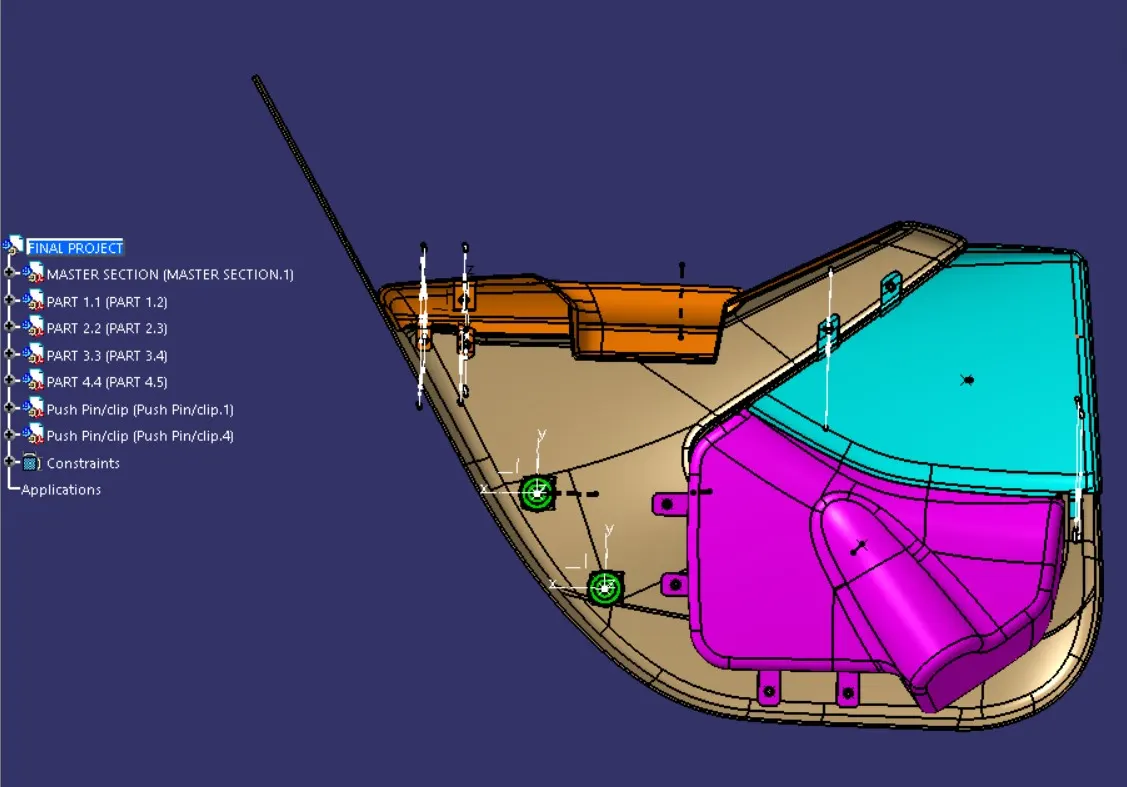
1. Class A Surface Development
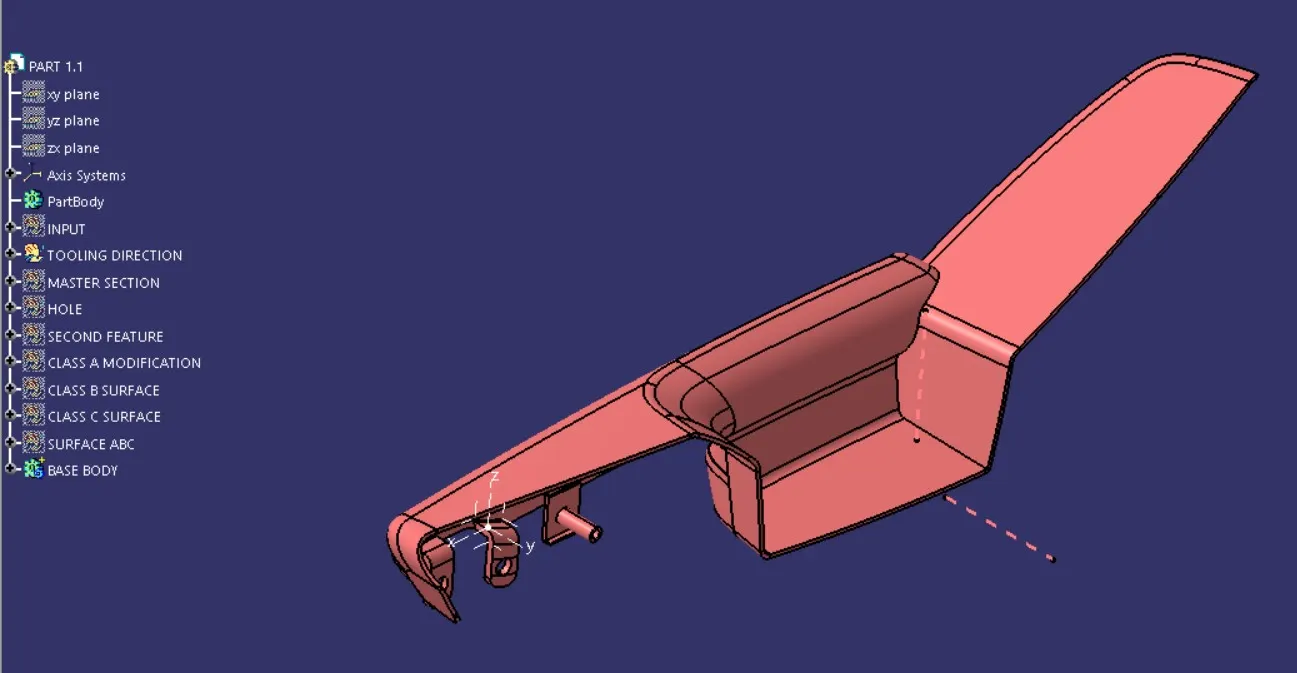
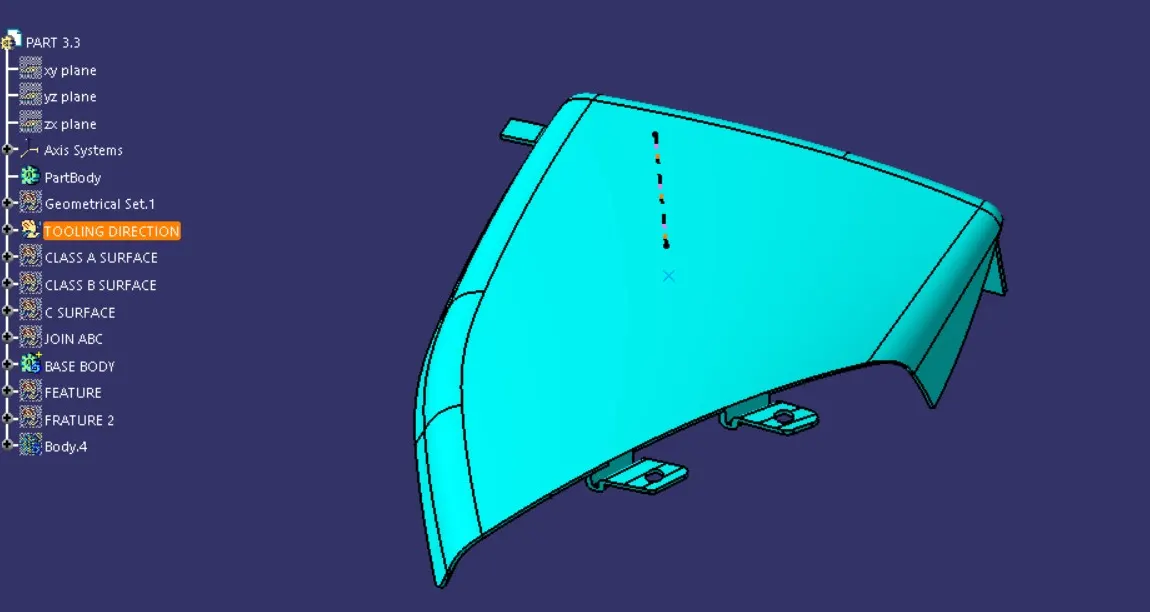
Class A surfaces are critical for visible parts of a product, requiring a flawless finish. To develop these surfaces:
- Initial Design: Start with a preliminary design of the door trim panel using CAD software. Aim for smooth curves and clean lines.
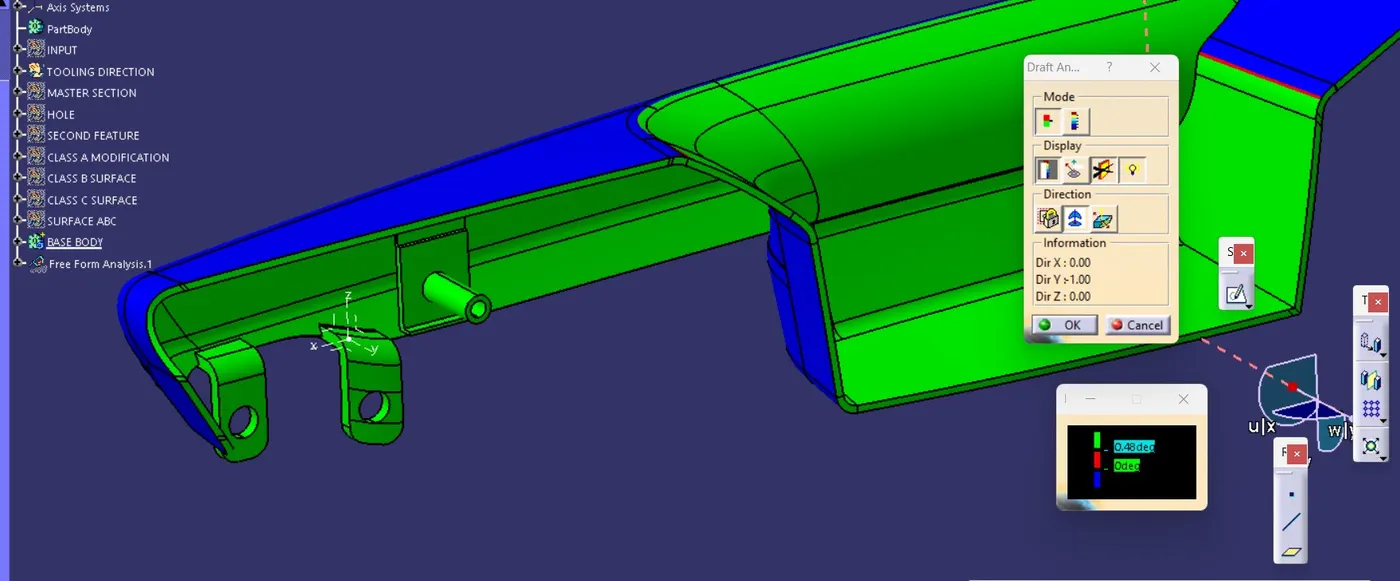
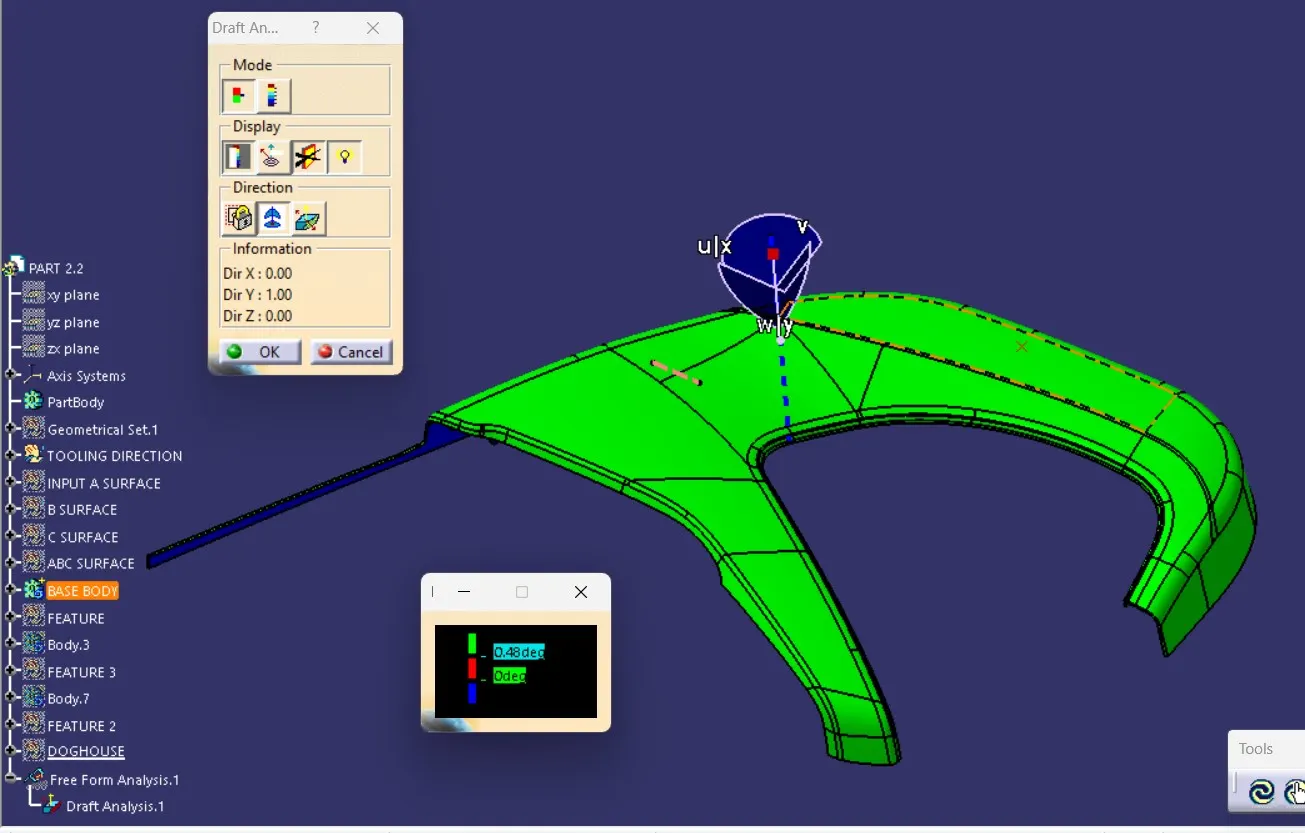
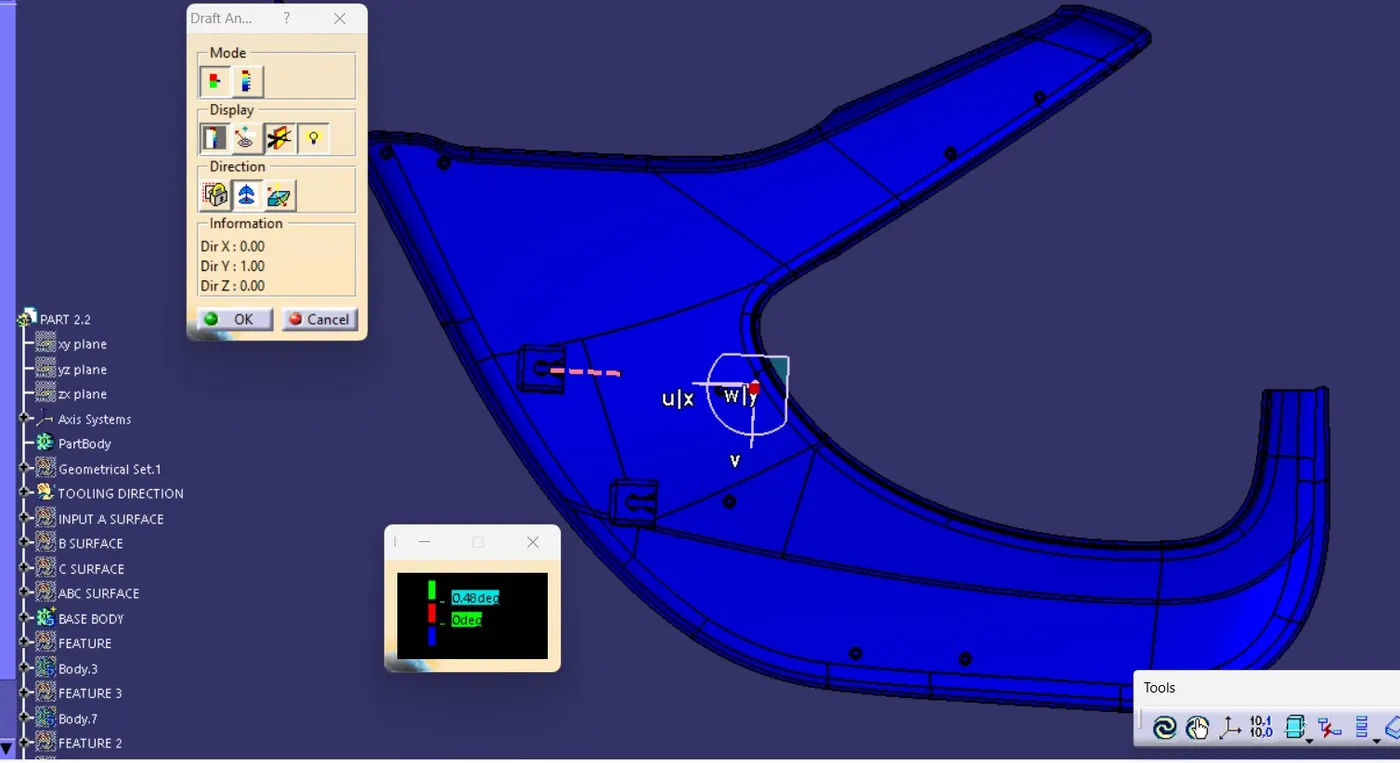
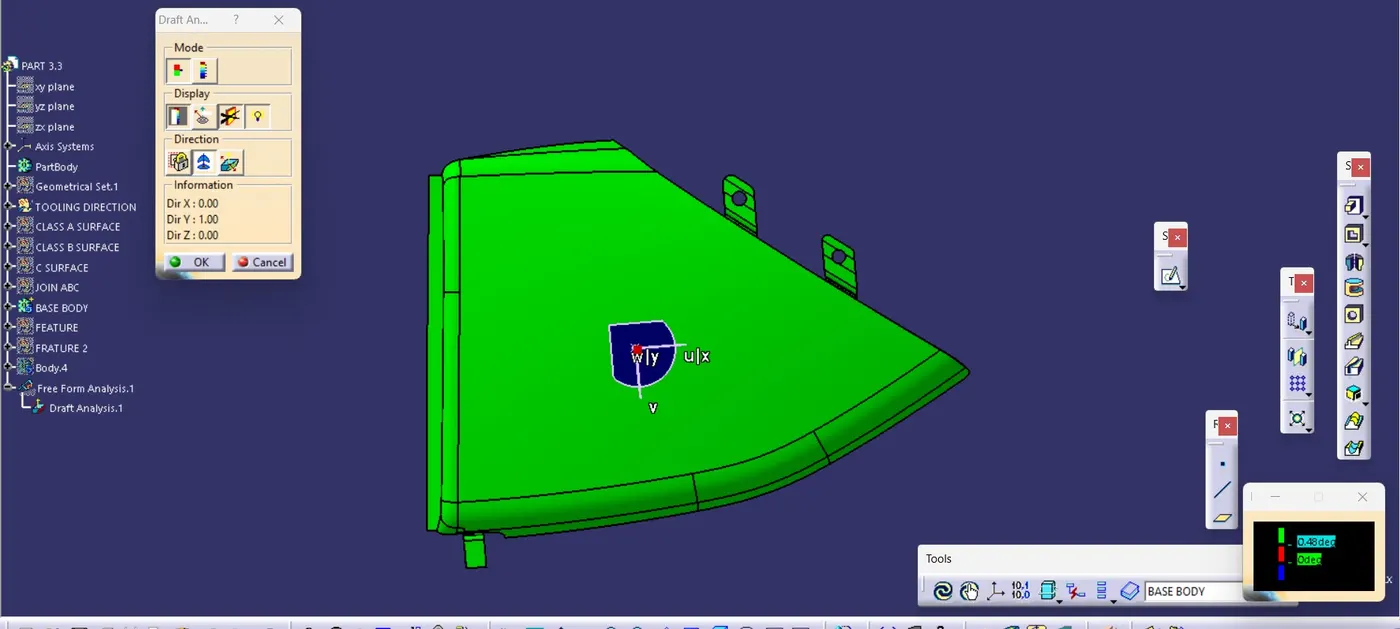
- Surface Analysis: Utilize surface analysis tools in CAD to detect any deviations or imperfections. Refine the surface until it meets Class A quality standards.
- Refinement: Ensure smooth continuity across the panel. Use curvature analysis and shading tools to confirm surface quality.
Tools: Use advanced CAD software like CATIA, Siemens NX, or PTC Creo for precise Class A surfacing.
2. Nominal Thickness
Nominal thickness refers to the standard thickness specified in master sections, which is crucial for structural integrity and proper fit.
- Refer to Master Sections: Check the technical drawings or specifications provided by the OEM or Tier 1 supplier to find the nominal thickness.
- CAD Model Setup: In your CAD model, adjust the thickness of the door trim panel to match the specified nominal thickness.
- Considerations: Make sure the thickness accommodates manufacturing tolerances and meets durability requirements.
3. Attachment Strategy
The door trim panel needs a reliable attachment strategy to secure it to the vehicle’s door substrate. For this project, the methods are push pins with dog houses and heat stakes.
a) Push Pins with Dog House for Lower Substrate – Door Panel Attachment
Purpose: Push pins with dog houses offer a secure yet easily removable method for attaching the lower part of the door panel.
Design Considerations:
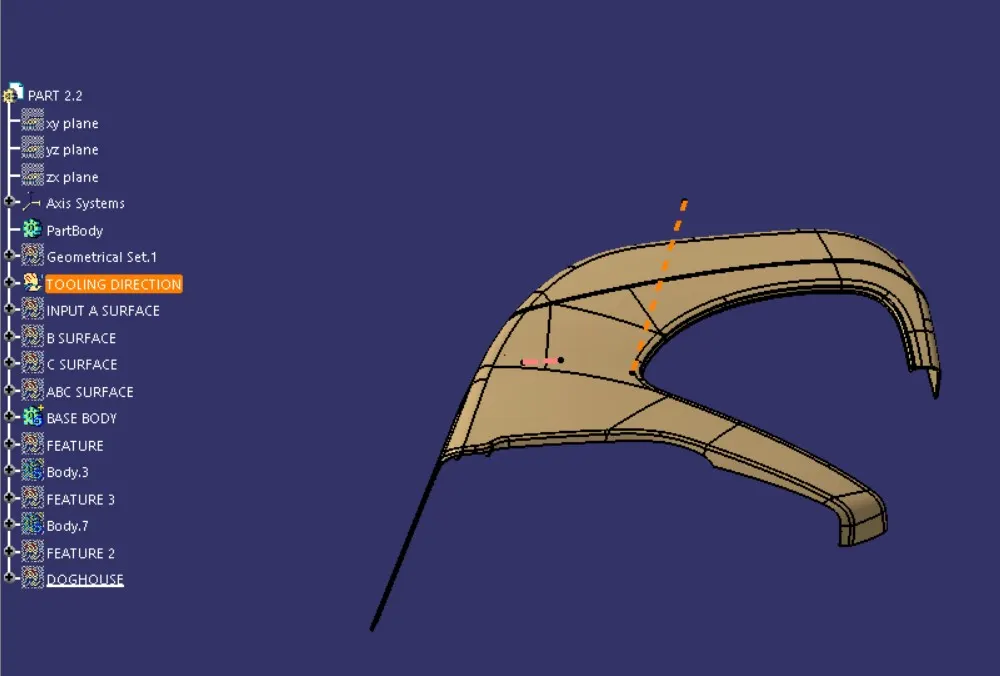
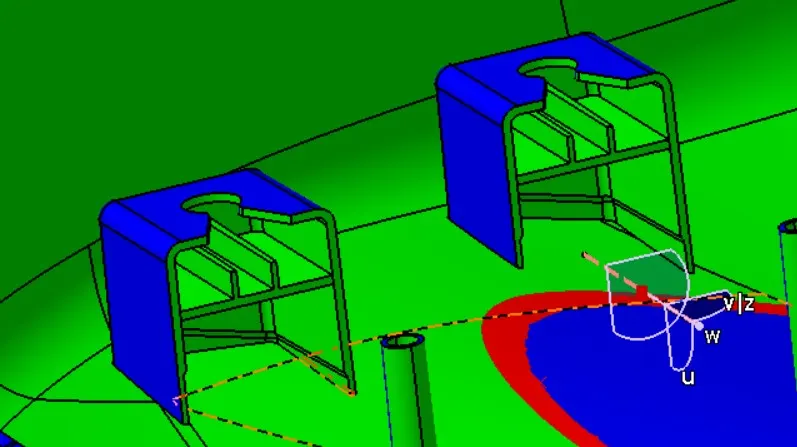
- Dog House Design: Integrate dog houses into the CAD model where the push pins will be placed. These should fit the size and shape of the push pins.
- Push Pin Placement: Position push pins according to the attachment points specified in the master sections.
- Material Compatibility: Ensure compatibility between the door panel material and the push pins in terms of thermal expansion and durability.
CAD Components:
- Push Pin Hole: Create holes in the CAD model where the push pins will be inserted.
- Dog House: Design protruding sections that fit the push pins.
b) Heat Stakes for Part-to-Part Attachment
Purpose: Heat stakes provide a permanent and strong attachment for parts that need a durable bond.
Design Considerations:
- Heat Stake Locations: Identify where heat stakes will be placed in the CAD model based on assembly requirements.
- Heat Stake Design: Design holes or pockets to accommodate the heat stakes, ensuring they match the required diameter and length.
- Material Considerations: Use materials that can withstand heating and staking without degrading.
CAD Components:
- Heat Stake Hole: Design holes for inserting the heat stakes.
- Attachment Points: Place multiple heat stake holes as needed for secure attachment.
4. Report on the Four Parts
Create a comprehensive report detailing the four main components of the door trim panel development:
a) Class A Surface Development
- Describe the Class A surface requirements.
- Detail the process of refining the CAD model’s surface.
b) Nominal Thickness
- Reference the master sections and specify the thickness.
- Explain adjustments made to the CAD model to achieve the correct thickness.
c) Attachment Strategy
- Describe the push pin and dog house attachment method for the lower substrate.
- Explain the heat stake method for part-to-part attachment.
- Include CAD models or illustrations showing attachment points and features.
d) Conclusion
- Summarize the attachment strategies and their effectiveness.
- Offer recommendations for design improvements or considerations.
e) Appendices
- Include CAD drawings and models of the door trim panel.
- Provide specifications for push pins, dog houses, and heat stakes.
- Attach any additional supporting documents or calculations.