Week 12- Final project
Report-
Development of a Door Trim panel
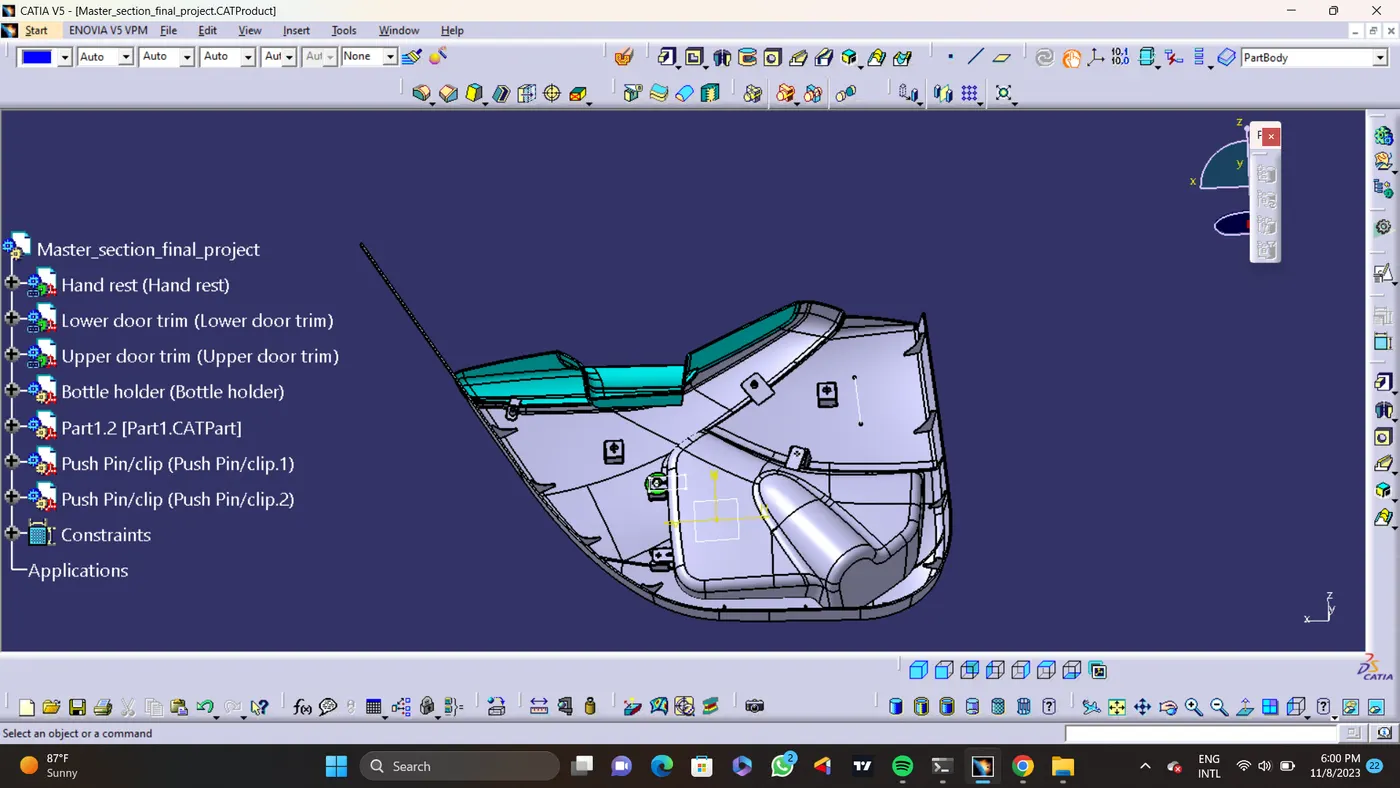
In this challenge i have create a assembly product named as door trim panel. This door trim panel have a 4 parts named as 1. hand rest, 2. lower door trim, 3. upper door trim, and 4. bottle holder. And also craete Engireeing features like dog house, ribs, flanges, 4 way locators, and heat stacking in it, With the help of given class a surface.
steps -
1. Create class a surface - To create a close body of each parts, we need to separate class a surface of each 4 parts in different part body.
2. Create tooling axis - Crete a geometrical set and named it as a tooling axis.
First i have create a Tooling axis. For a molding operation first we need tooling direction for core and cavity movement with minumum draft angle. This axis helps to do that.
I have created tooling axis in all 4 parts as required. and also created side core axis for each dog house.
3. Creation of B surface - Create a geometrical set and named it as a class b surface.
Fisrt i did a offset operation in class a surface by 2.5mm, because i have to create a door trim panel of thickness 2.5mm.
Than by using multiple extarct,join to remove unwanted surface, than extrapolate the surface with boundary creation to trim the unwanted surfaces. After that i have a surface that i want for class b surface.
Do a fiilet operation as required by check the dimenssions.
Than respectively trim all the surface ,the result is a b surface. Save it as a class b surface geometrical set.
4. Creation of C Surface - create a geometrical set name it as class c surface.
To create a c surface we can create a boundary or either we can give a multiple extract definition to the boundary of the class a surface. To do a sweep operation. As a result there is a multiple surfaces in c surface extrapolet both sides of both surface than trim that surfaces result is a final C surace.
5. Join class a surface and class c surface - Before final trim i have joined class a surface and class c surface togethere.
6. Final trim - Before final trim check for boundary if there are any extra boundary that i don't want so i have to first remove that boundary. To remove that boundary first i have do join operation than curve smooth.
With result of join of class a surface and class c surface do a final trim with class b surface. The result is a final trim.
7. Publications - publish tooling axis,class a surfase,class b surface, class c surface, and final trim.
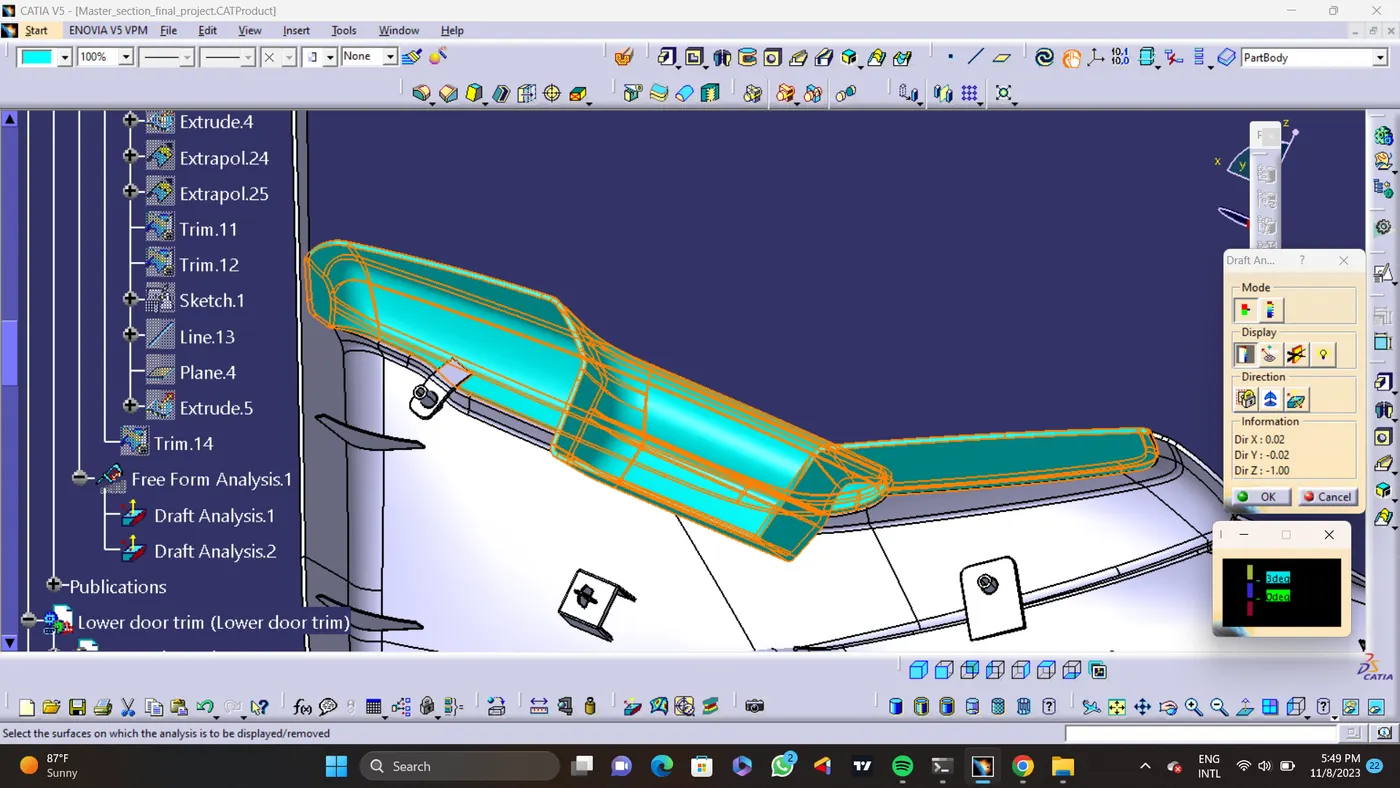
8. Draft analysis - Do a draft analysis, by set the compass at tooling axis. Set a angle the draft angle.
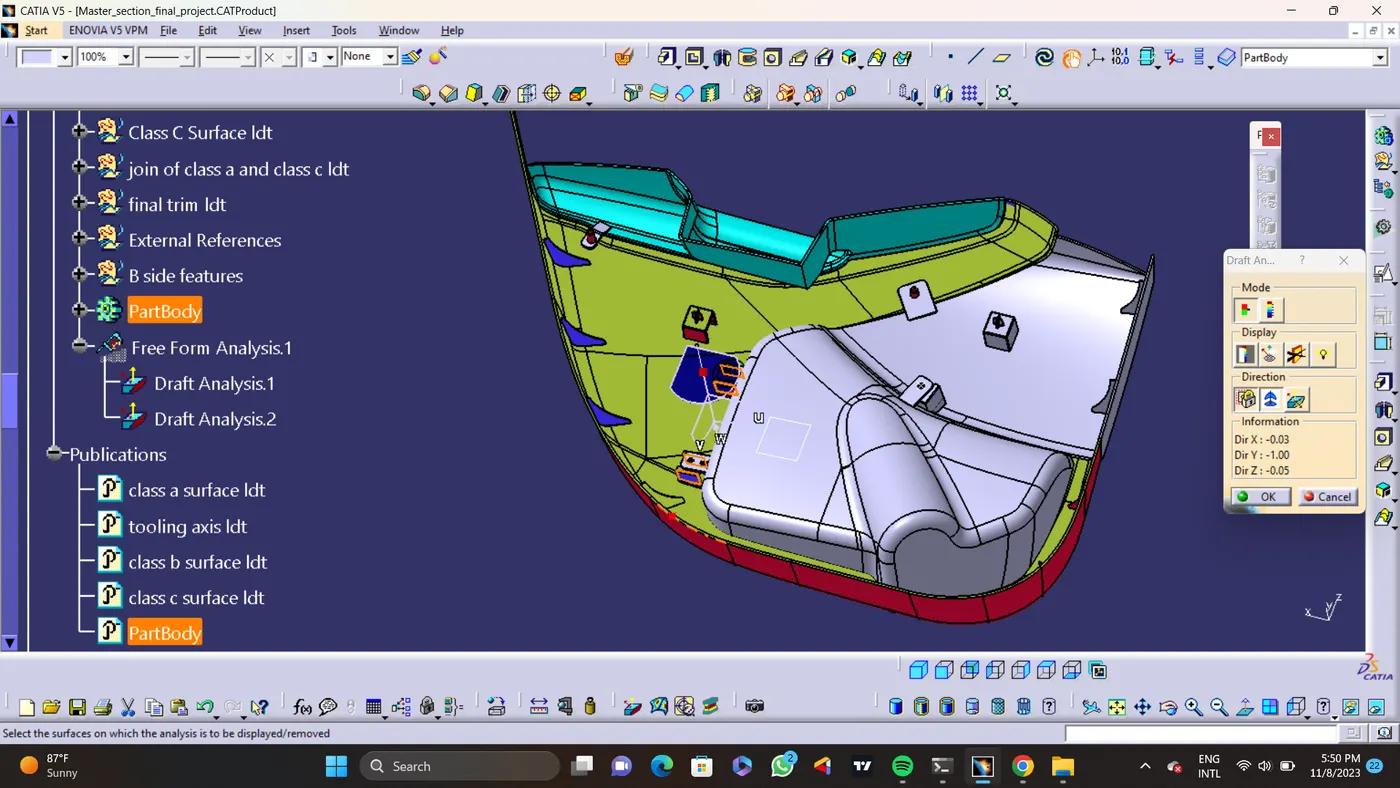
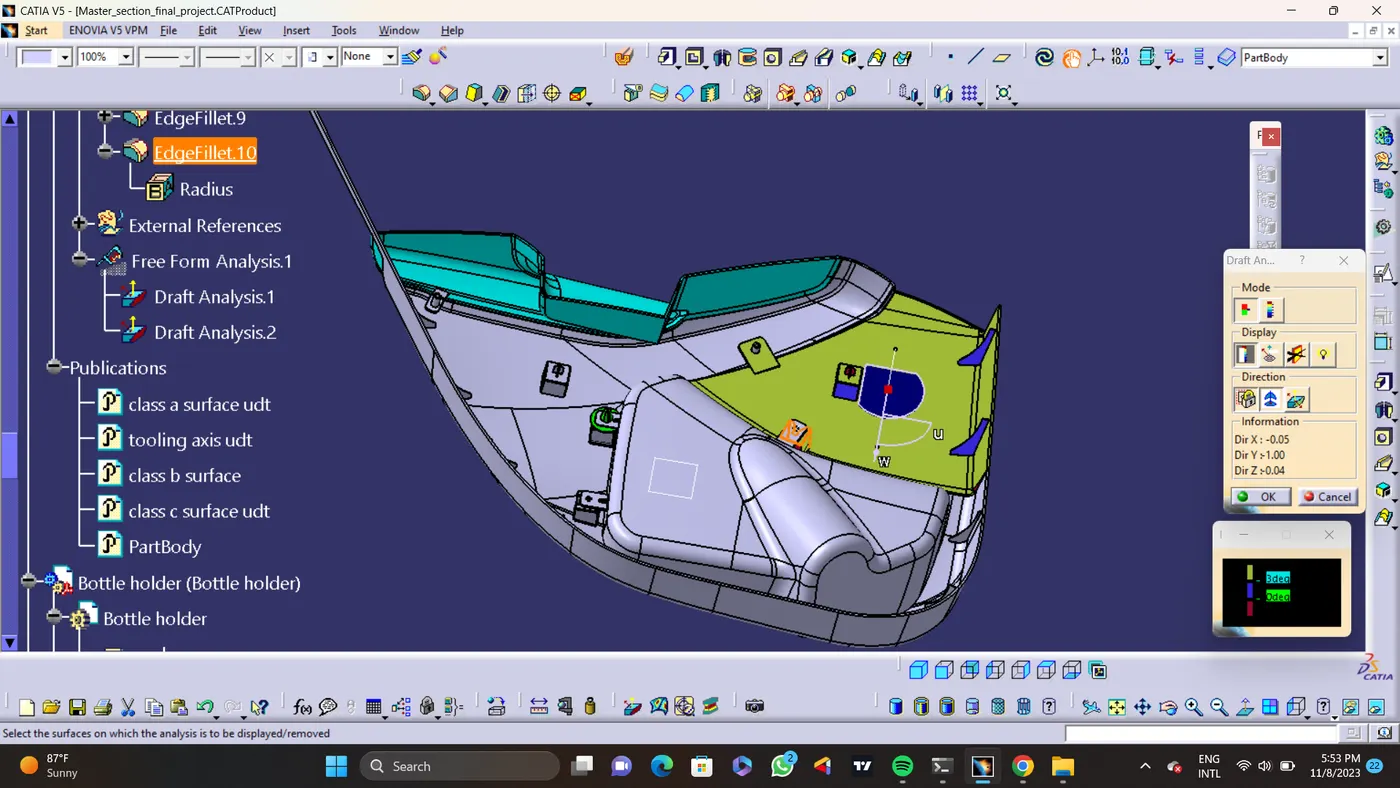
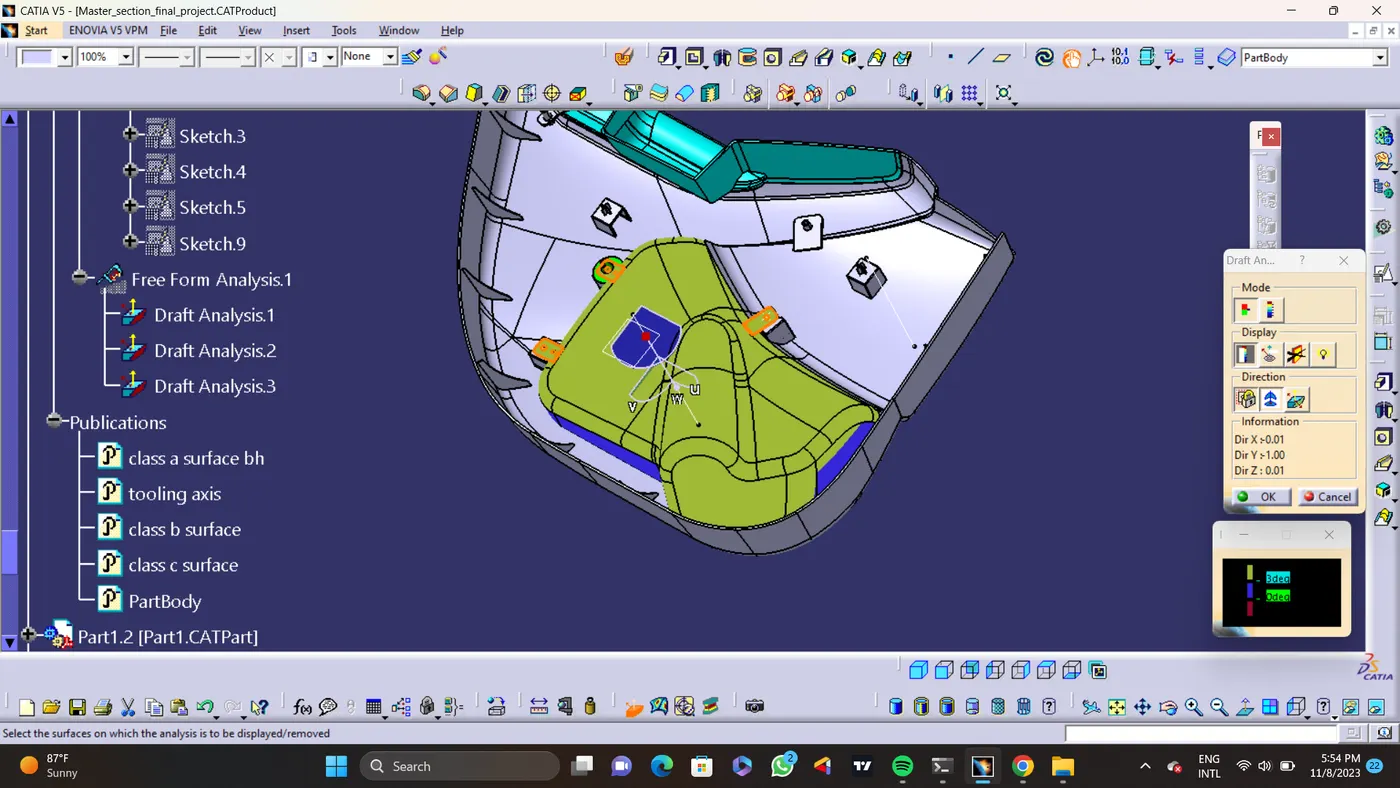
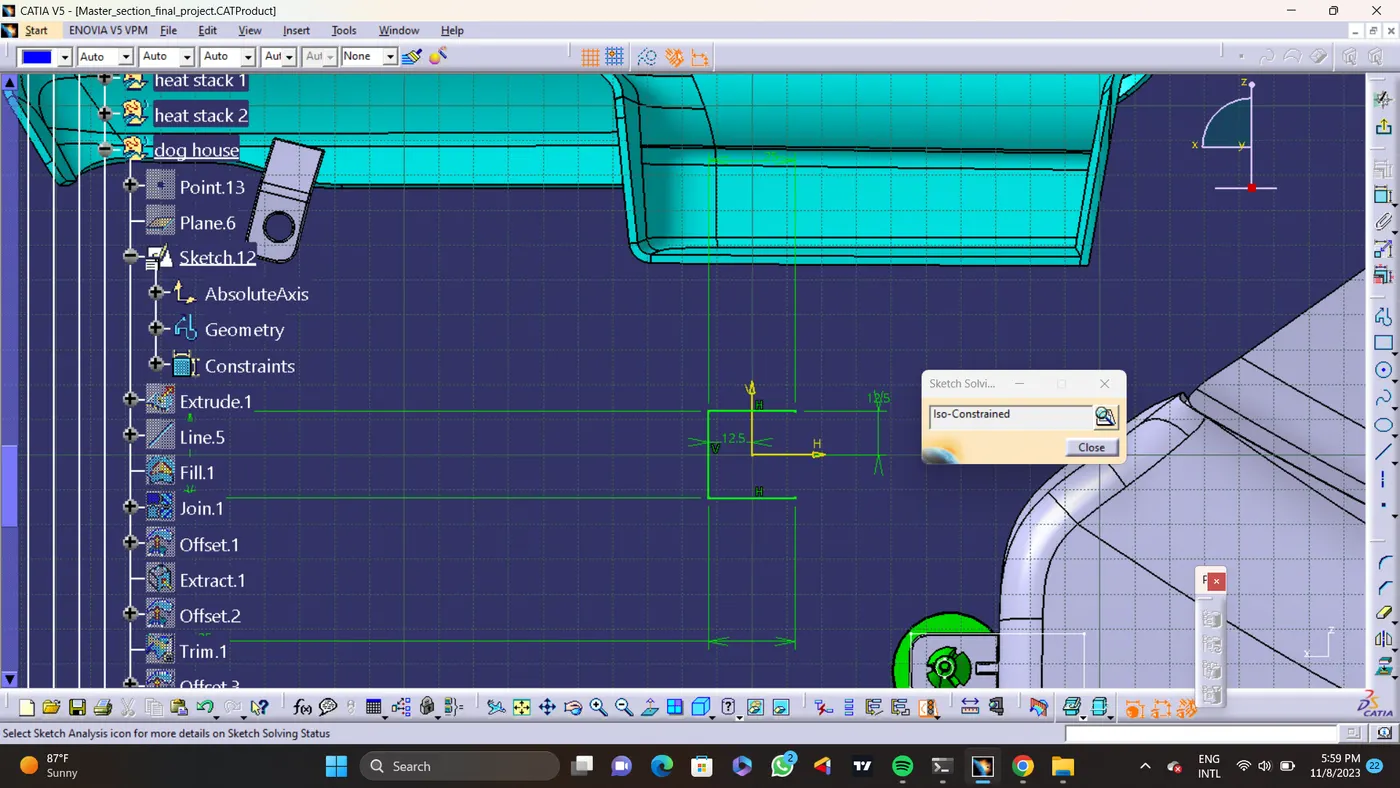
9. Dog house - I have created 1 dog house with 4 way locator in lower door trim and 1 in upper door trim, and also created side core axis for both.
And more dog house are creted to fix the bottle holder with parts in contact that is lower door trim and upper door trim, with the help of flanges created in bottle holder.
10. Creating 4 way locators - To create a 4 way locators. First i have to create a point in a position i want to craete a 4 way locator. create a plan in this point with zx plan as a reference. Then create a line using positioned scatch having dimenssions of 10mm. And do a pad operation. Then do a draft operartion with 0.5 degree draft angle.
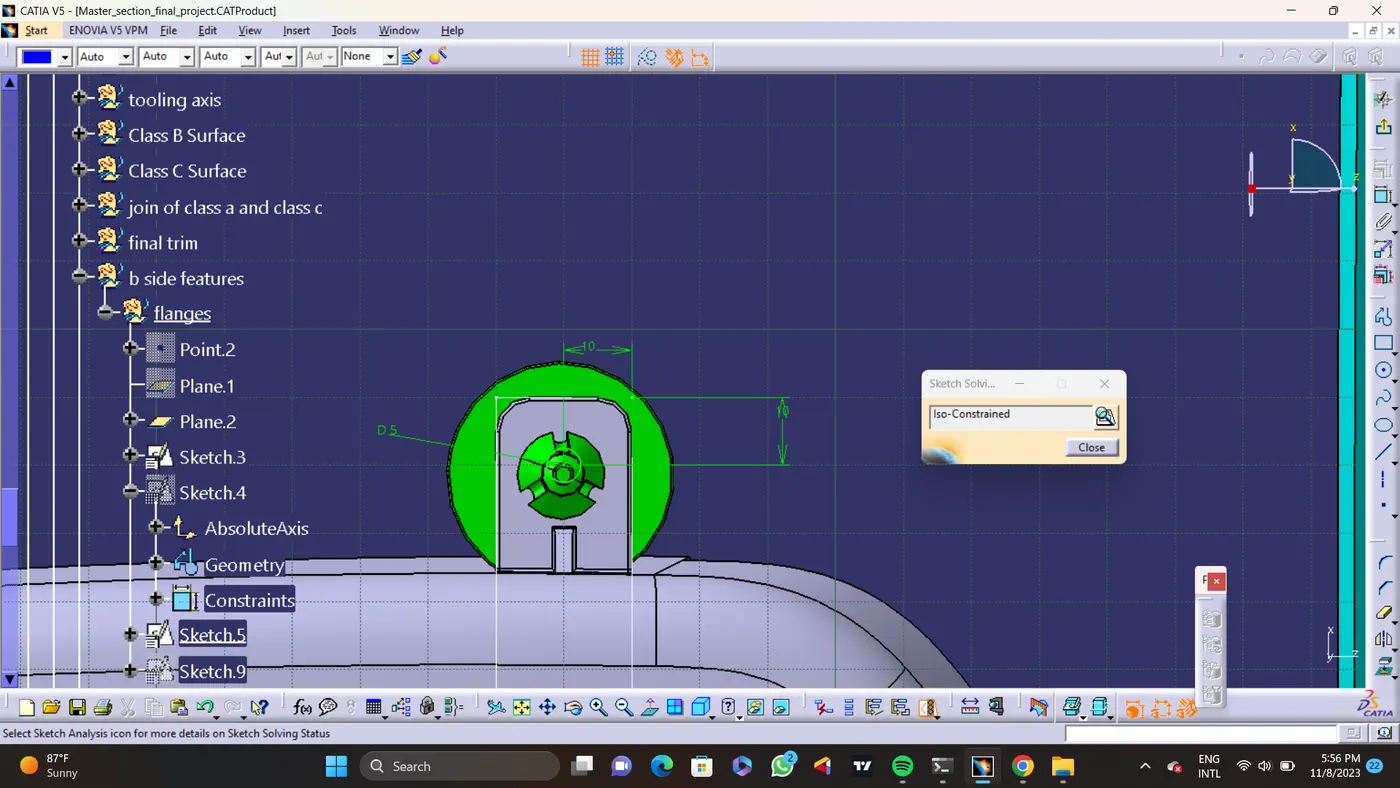
11. Creating a heat stacking - To craete a heat stacking , firast create a point then create a plan in this point with zx plan as a reference plan. Create two circles having dia of 7.5 mm and 4.5mm in positioned scatch, and do a pad operation. Copy this heat stacking do paste special and by using translation tool set other heat stacking in position required by selcting the points.
12. Union trim - At the end coonect all the dog house, flanges, ribs, 2 way and 4 way locators and heat stacking by using union trim with part body.
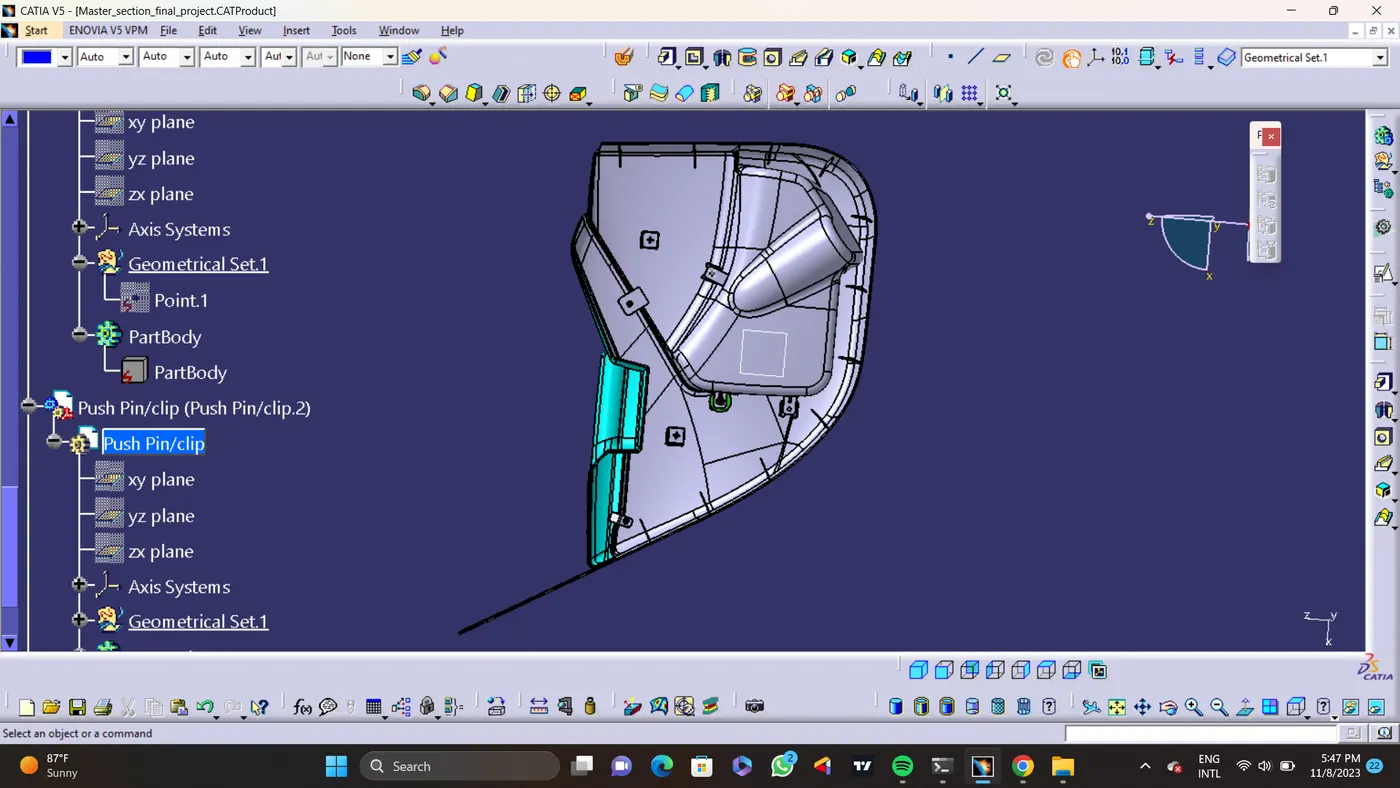
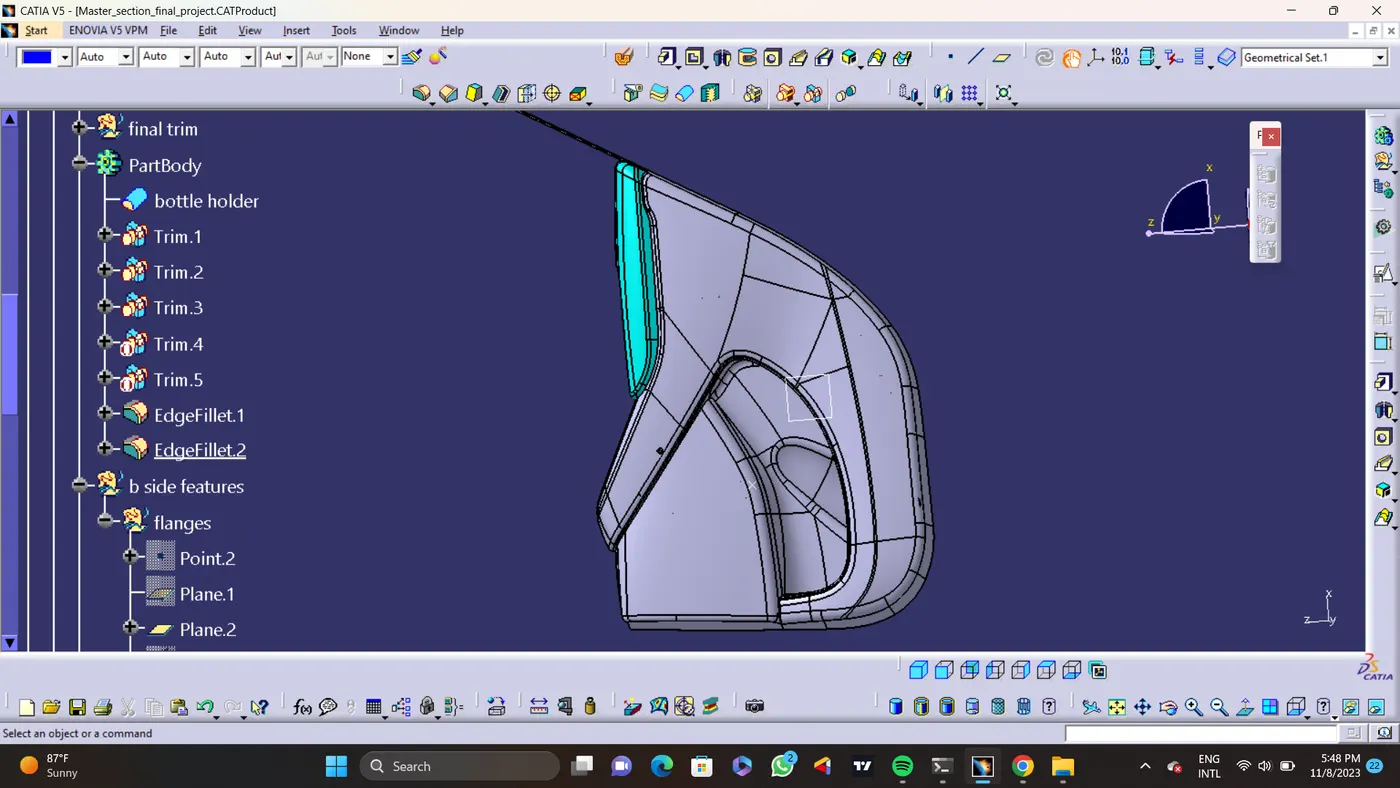
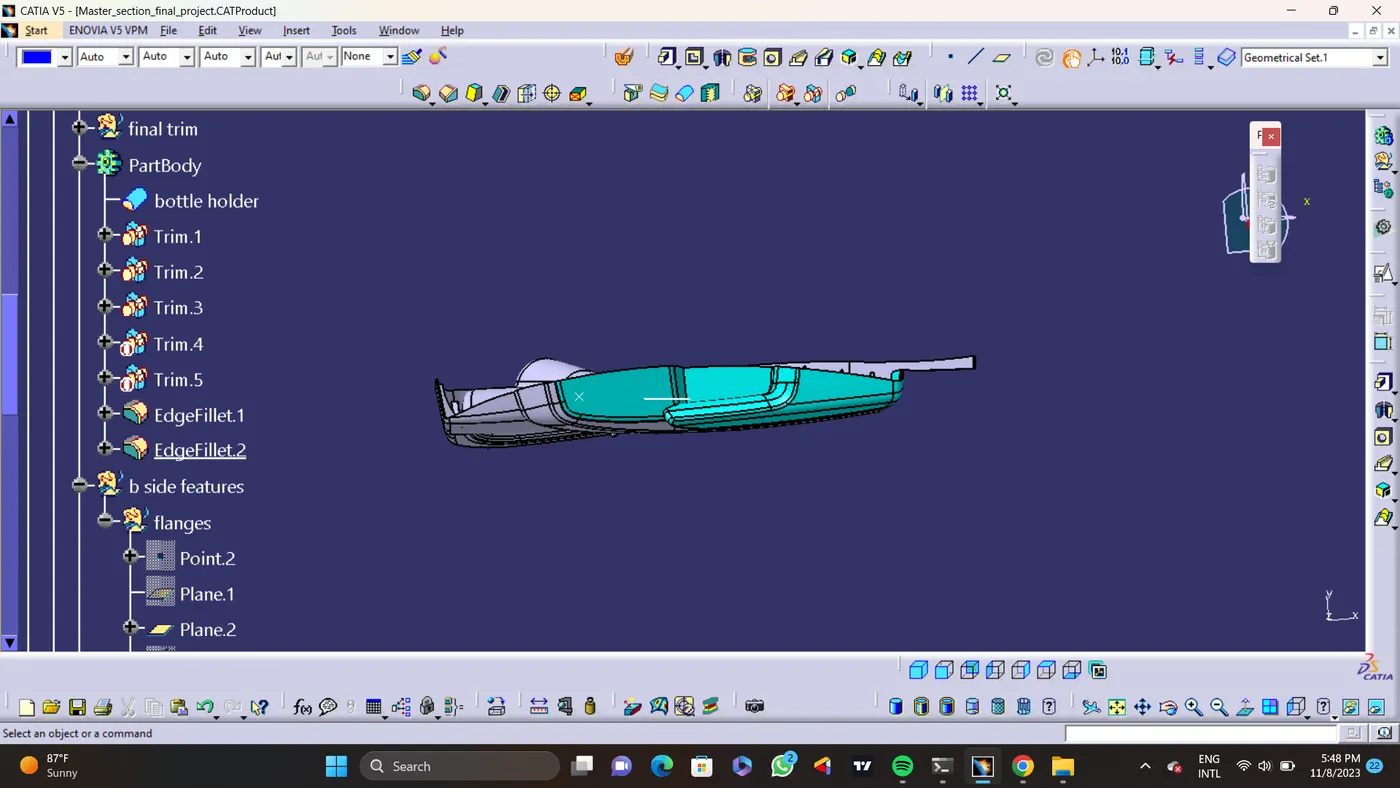
13. Screenshots - screenshots of door trim panel as front view, top view, side view, and isometric view -
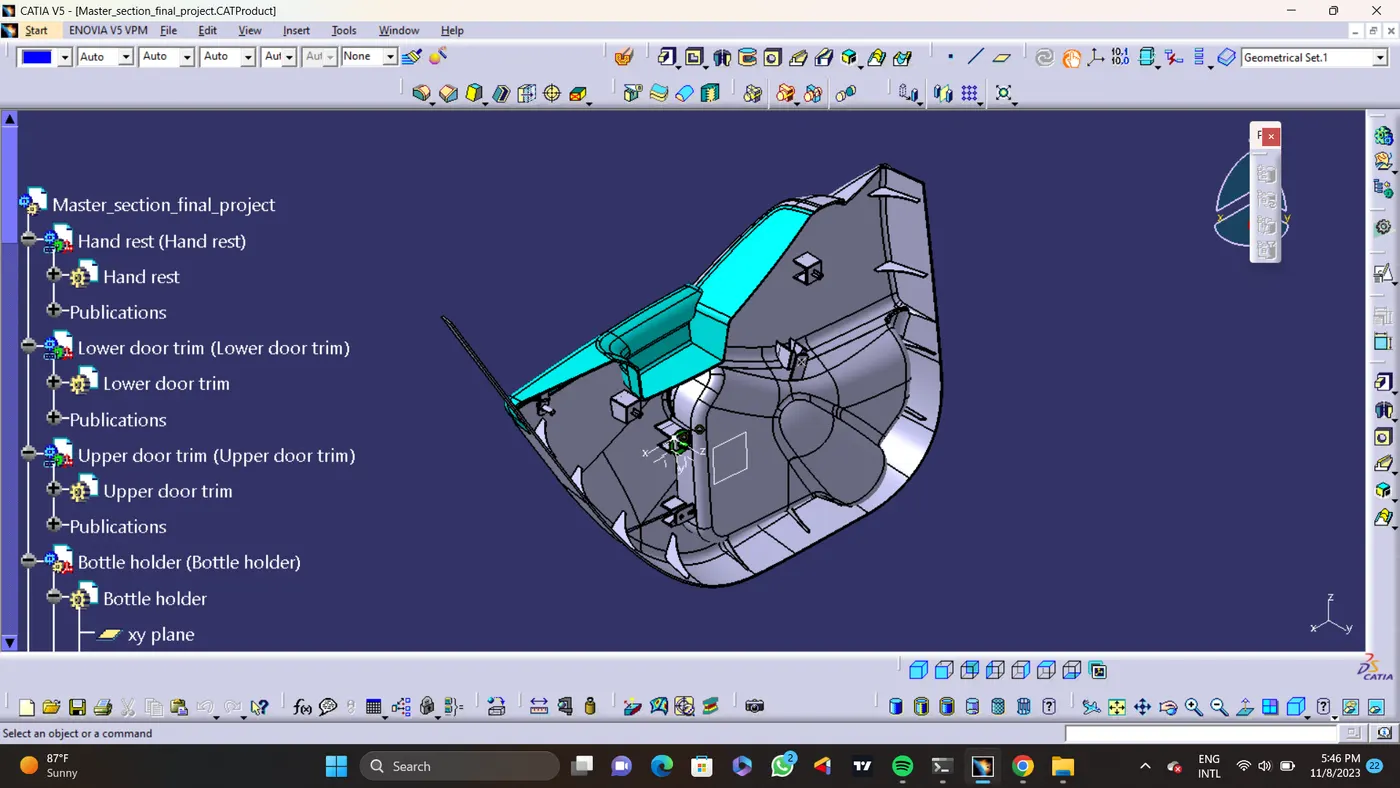
14. Sketches created with iso constrained geometry -