Week 12-Creation of 1D Connectors Challenge
Aim:
The Aim of this Challenge is to Extract the Midsurface of the given Sheet metal Part and to Provide proper connections based on optistruct solver.
Procedure:
The Steps involved are,
1. Mesh the given geometry according to the Quality Criteria given
2. Provide the Proper Connections
3. Clear the Mesh flow around the Realized connections.
Meshing of Geometry
The Imported Geometry consist of 9 Components as shown below,
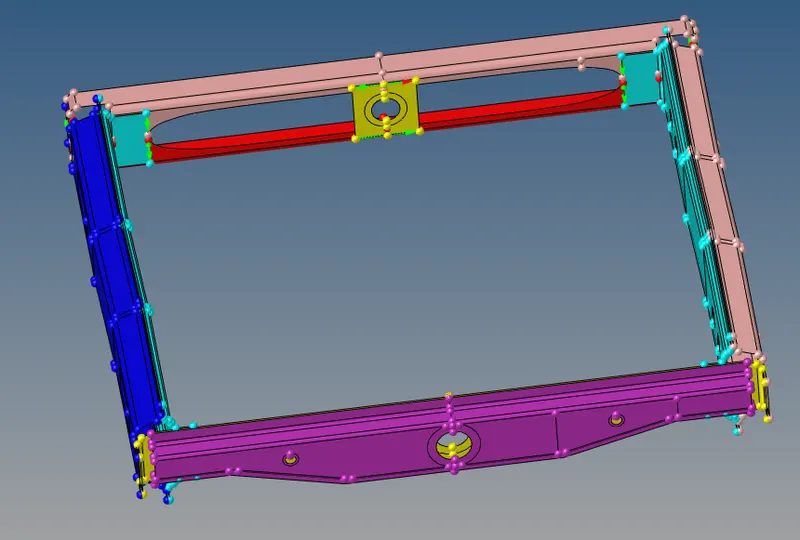
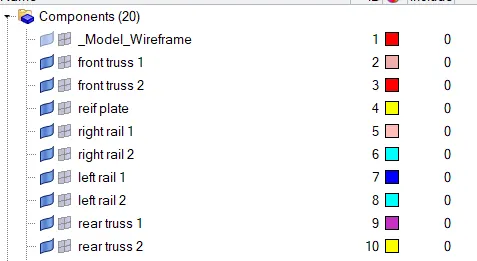
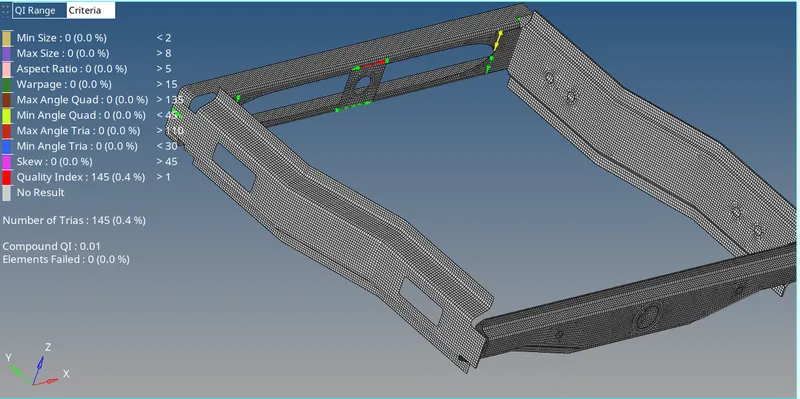
The Imported geometry is meshed according to the given quality criteria and the final mesh is as shown below, It is important to note that zero elements failed for Mesh Quality Criteria.
Providing Connection between Members
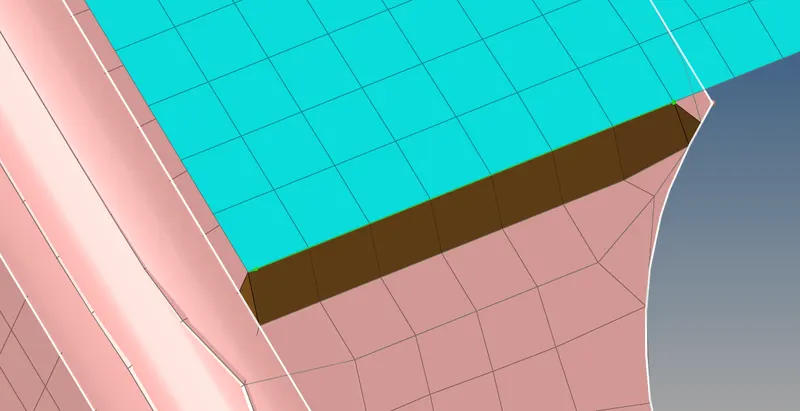
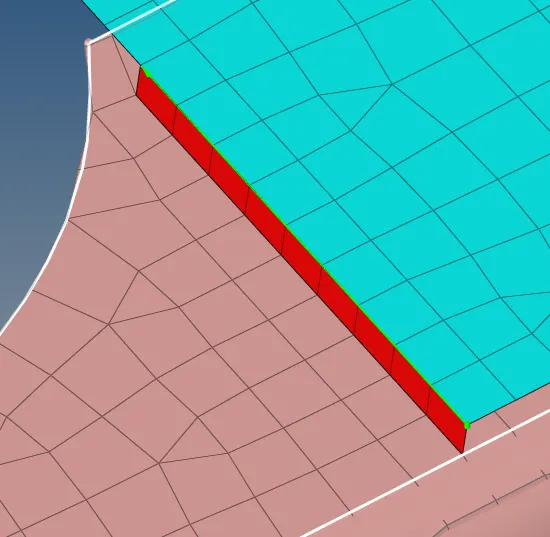
1. Seam-Quad(angled+capped+L) for For Right_Rail_2 & Front_truss_1
- Seam Connections created by selecting the Seam option under the Connections menu under 2D Tab.
- Select the Nodes by path where the seam needs to be created
- Specify the tolerance distance (search distance) greater than the gap between components, say 10mm.
- Select the weld type as angled+capped+L
- The Weld angle is set as 45 degrees
- The Spacing is set as 5mm.
Seam- Quad elements For: Left_Rail_2 & Front_truss_1
- Seam Connections created by selecting the Seam option under the Connections menu under 2D Tab.
- Select the Nodes by path where the seam needs to be created
- Specify the tolerance distance (search distance) greater than the gap between components, say 10mm.
- Select the weld type as Quad
- The Weld angle is set as 45 degrees
- The Spacing is set as 5mm
Spot weld with 3 Layers and 5 mm Diameter Front_truss_2, Front_truss_1 & Right_Rail_1
- Spot Connections created by selecting the Spot option under the Connections menu under 2D Tab.
- Select the Nodes by path where the spots needs to be created
- Specify the tolerance distance (search distance) greater than the gap between components, say 20mm.
- Specify the diameter as 5mm
- Specify number of layers as 3
- Select three components.
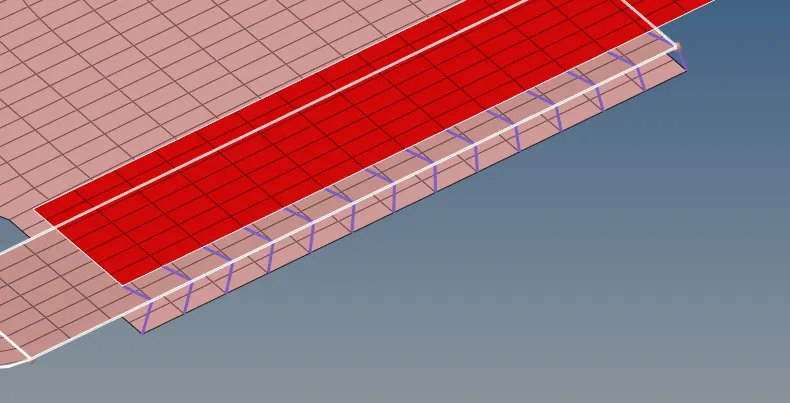
Hexa (Adhesive) For: Front_truss_2, Front_truss_1 & Left_Rail_1
- Seam Connections created by selecting the Seam option under the Connections menu under 2D Tab.
- Select the Nodes by path where the seam needs to be created
- Specify the tolerance distance (search distance) greater than the gap between components, say 10mm.
- Select the weld type as Hexa Adhesive
- Specify number of coats & Strips as 2
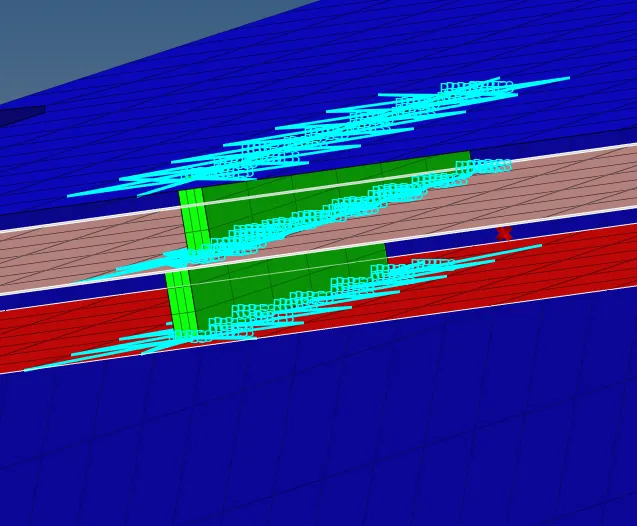
Bolt Connector For: Rear_truss_2 & Right_Rail_2 & For: Rear_truss_2 & Left_Rail_2
- To create a bolt connector: Connectors - bolt
- Specify the location of bolts by selecting nodes
- Select the two components which has to be fixed by the bolt.
- Select the option to create a hole to define the bolt as a physical element
- Rework around the Connected areas required to ensure no elements failing for quality
- Specify the search length (about 10mm)
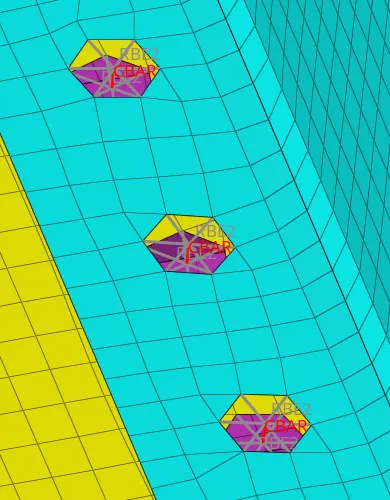
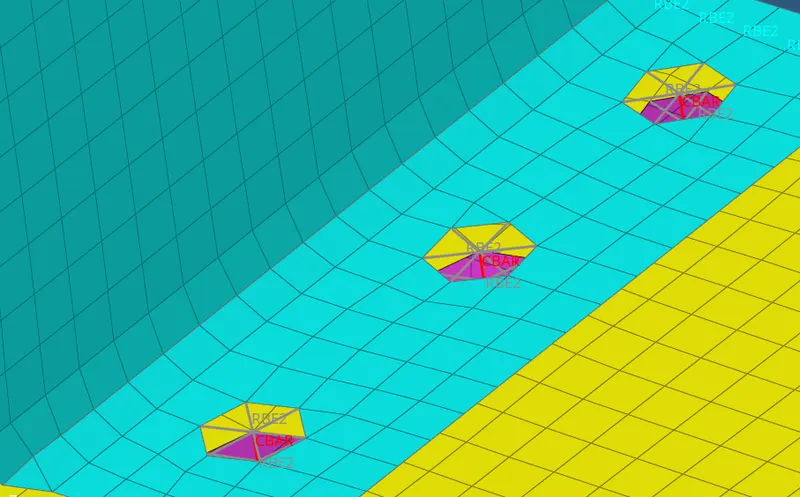
Spot-weld with Rigid Elements For: Right_Rail_1 & Right_Rail_2
- Spot Connections created by selecting the Spot option under the Connections menu under 2D Tab.
- Select the Nodes by path where the spots needs to be created
- Specify the tolerance distance (search distance) greater than the gap between components, say 20mm.
- Specify the diameter as 5mm
- Select weld Type as Rigid
- Specify number of layers as 2
- Select three components
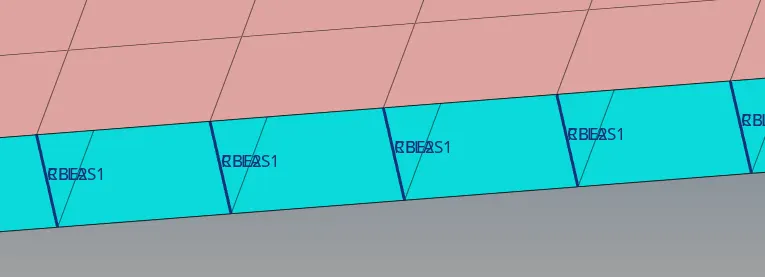
Spot-weld with Spring Elements For: Left_Rail_1 & Left_Rail_2
- Spot Connections created by selecting the Spot option under the Connections menu under 2D Tab.
- Select the Nodes by path where the spots needs to be created
- Specify the tolerance distance (search distance) greater than the gap between components, say 20mm.
- Specify the diameter as 5mm
- Select weld Type as Spring
- Specify number of layers as 2
- Select three components
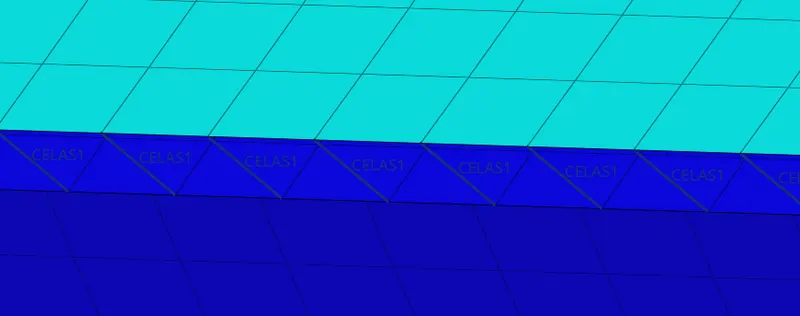
For Other Components
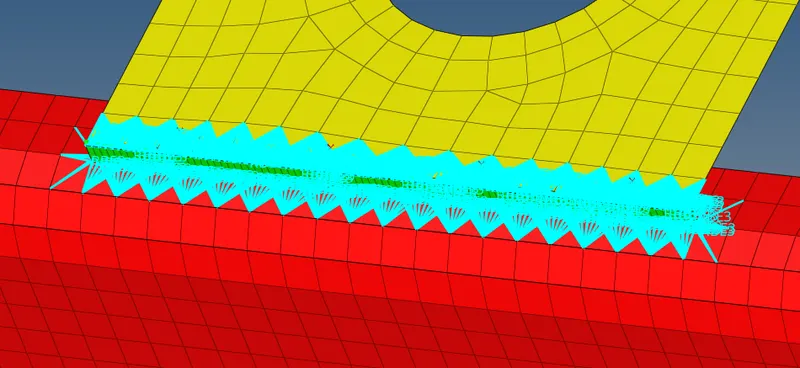
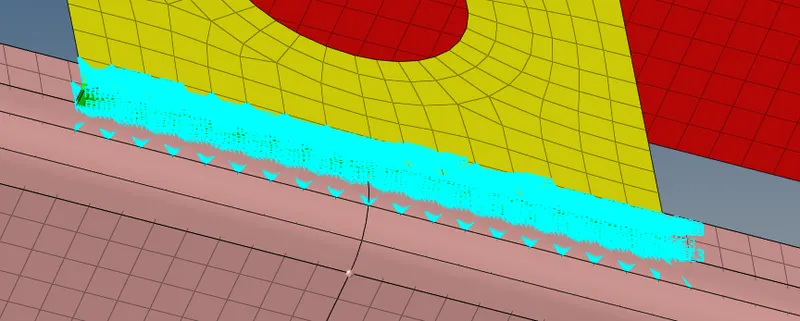
Seam Weld Realized between the reinforcement Plate, Front Truss_1 & Front Truss_2
Conclusion:
All Components have been meshed and Proper Connections are realized.