Week 11 - Project - A pillar Design with Master Section
Aim : - Creation of CAD Model for A-pillar with Master Section
Theory: - A- Pillar
The forward-most roof pillar, forming the uprights that support the windscreen. The pillars are named alphabetically by order of placement from front to back of the car.
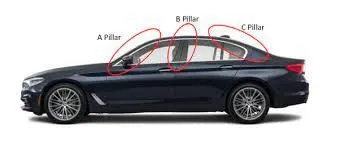
The Given A pillar Class A Look like this
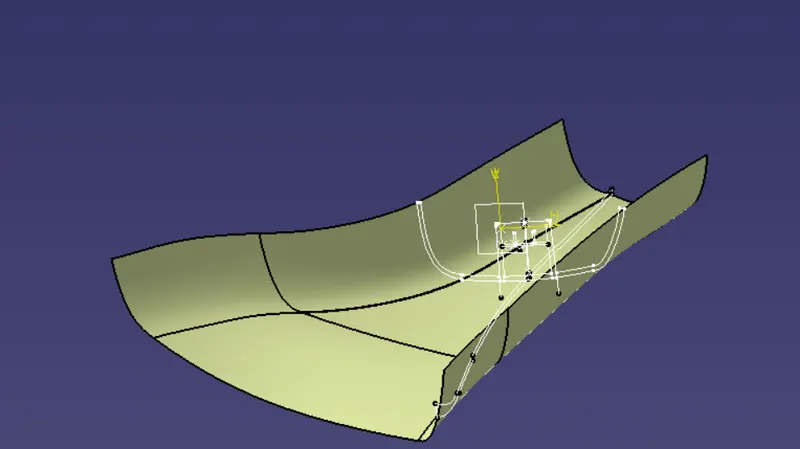
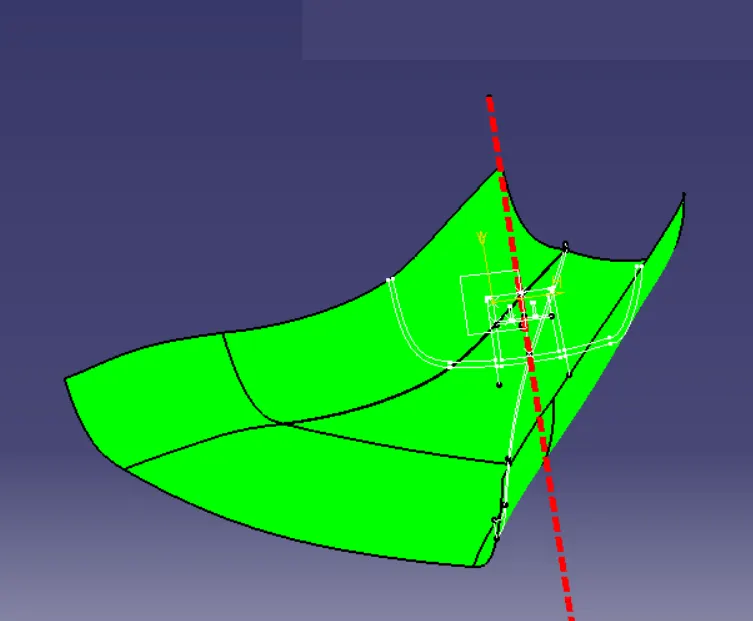
Step 1. Anaylize the Class A and Create a tooling Axis with the help of Master Section
we can take the help of given master section to create tooling Axis . by extracting the point on master section then isolating it .
Create a dummy x and Dummy Y axis . then bisect them you will get main tooling Axis.
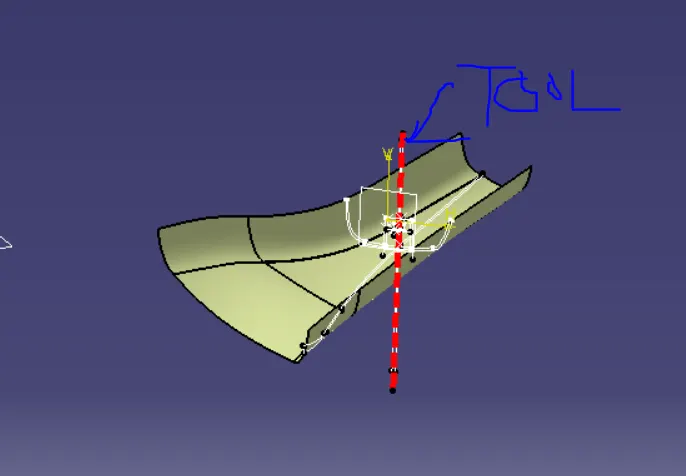
Step 2. Create Class B Surface
For this you have to offset the class by 2.5 mm which is plastic component thickness. then repair the surface so it looks exactly like class A
Class B before
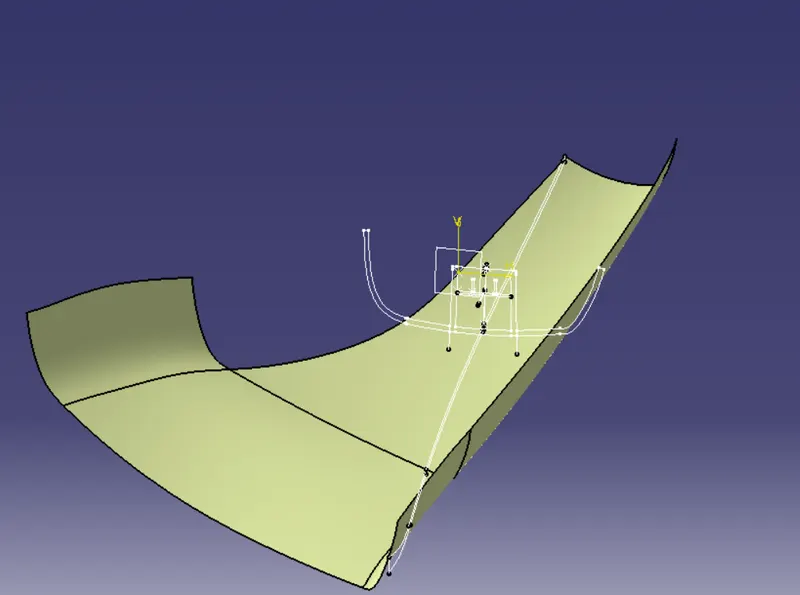
Class B after
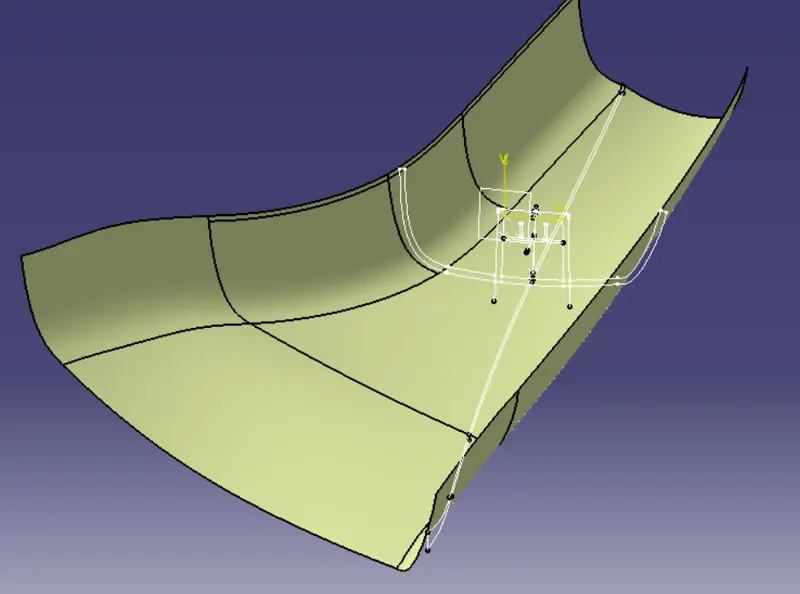
Step 3 Class C Creation
For this we need Class A . Create flanges from Class A. Give drfat angle to the flanges which are parallel to tooling axis. and 90 deg draft to the flanges which are perpendicular to tooling Axis.
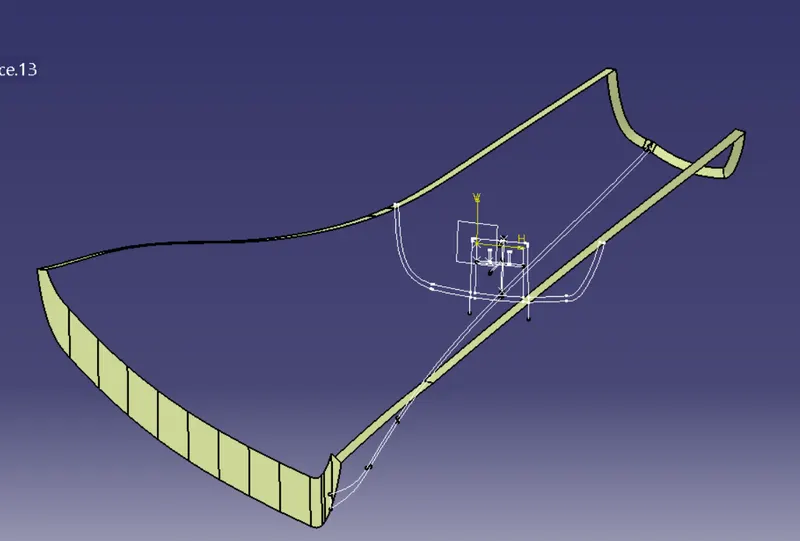
Join the class C with Class A and trim it with class B
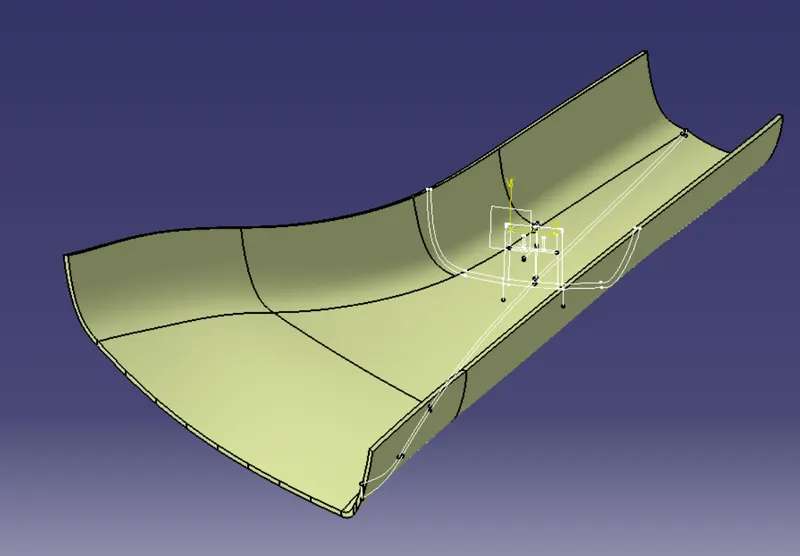
Now with the help of Close surface convert the Surface into Solid model

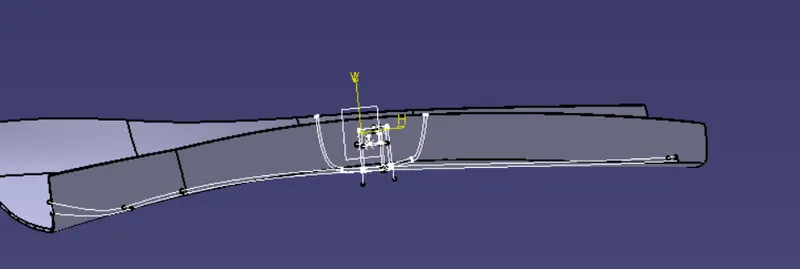
Step 5 Creation of Engneering Features.
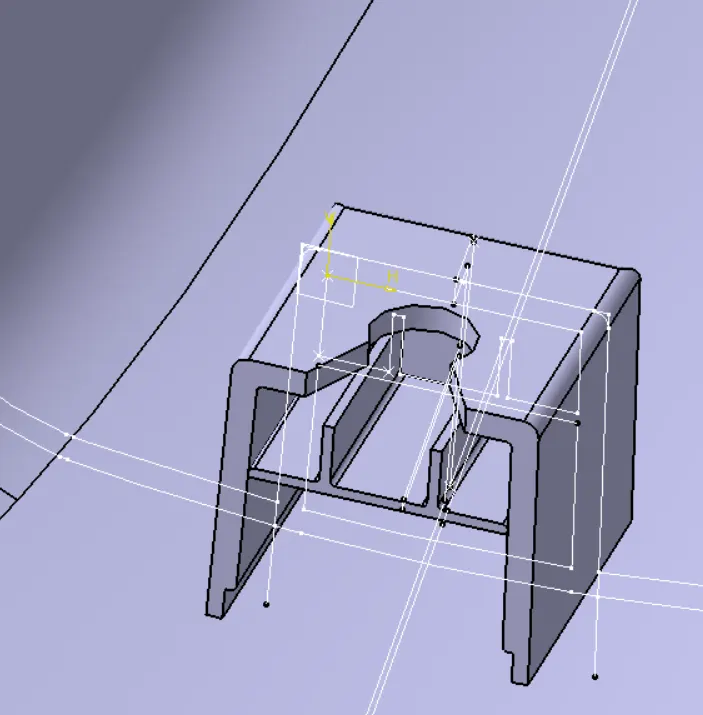
Dog House
With the help of Given Drawing Create dog house . i have created in solid model then union trimed with main body. the end Result is like this.
Draft Anaylis of Class A
Conclusion Hence We Created the A pillar Desgin with master section and engneering features