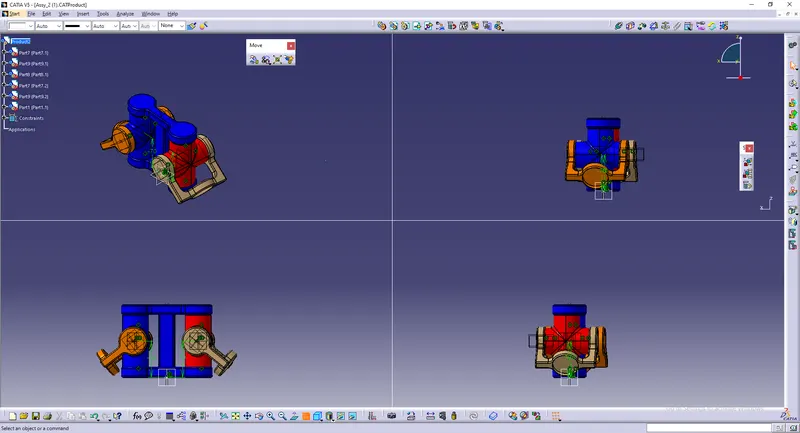
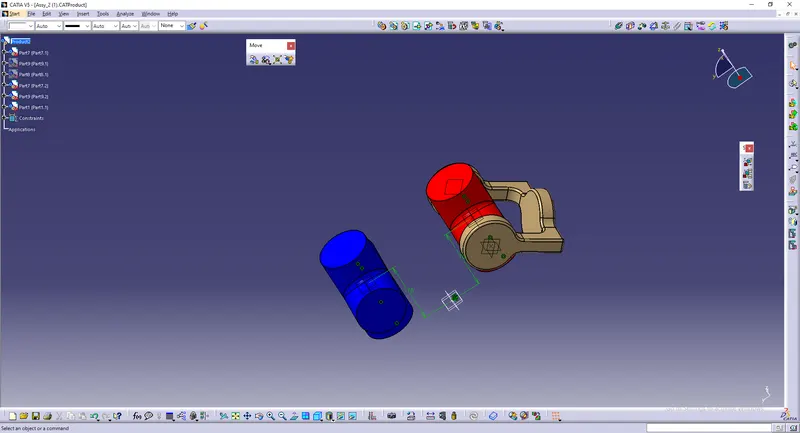
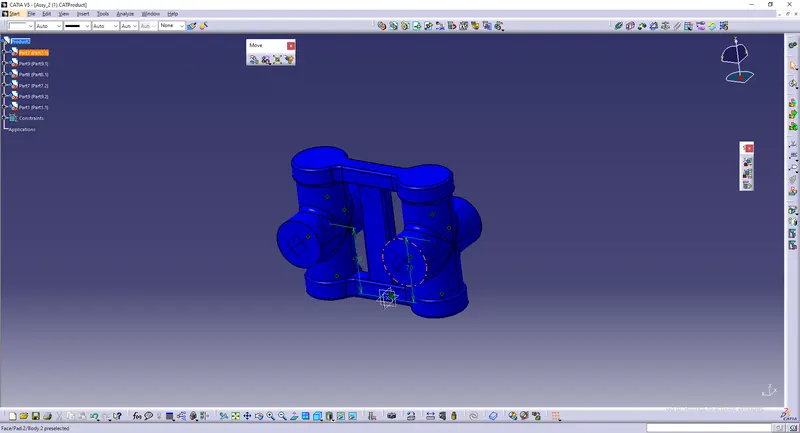
Week 11- Assembly Workbench
Challenge :
To create 2 assemblies according to the content covered in the course videos. You will be provided with 2D diagrams of the components and you will have to first create the individual part files and then create a complete assembly of those part files in the assembly workbench. After creating the assembly make use of the drafting tools to create a 2D drawing similar to the one given in the assignment folder.
Process :
ASSEMBLY 1
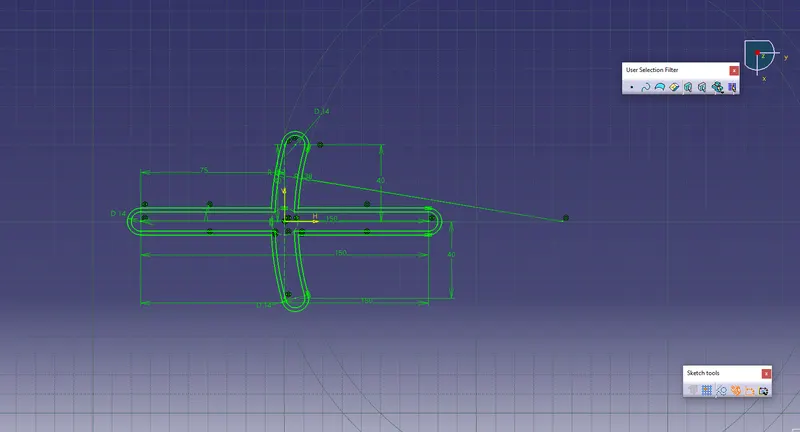
The following skecthes are made in sketcher workbench.
They are then converted into solid in part workbench using pad option.
Sketches :
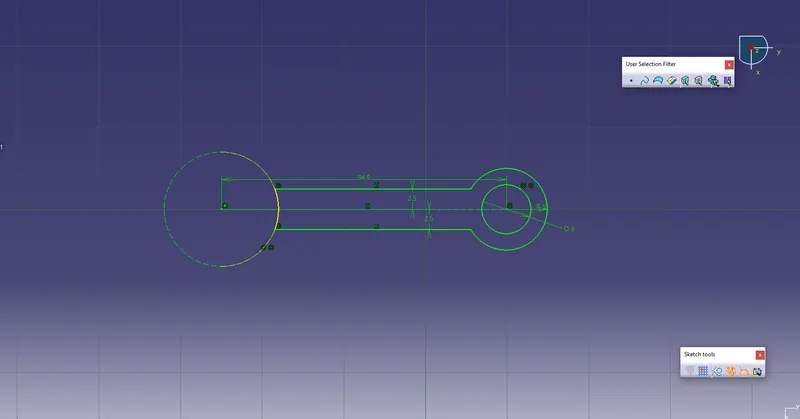
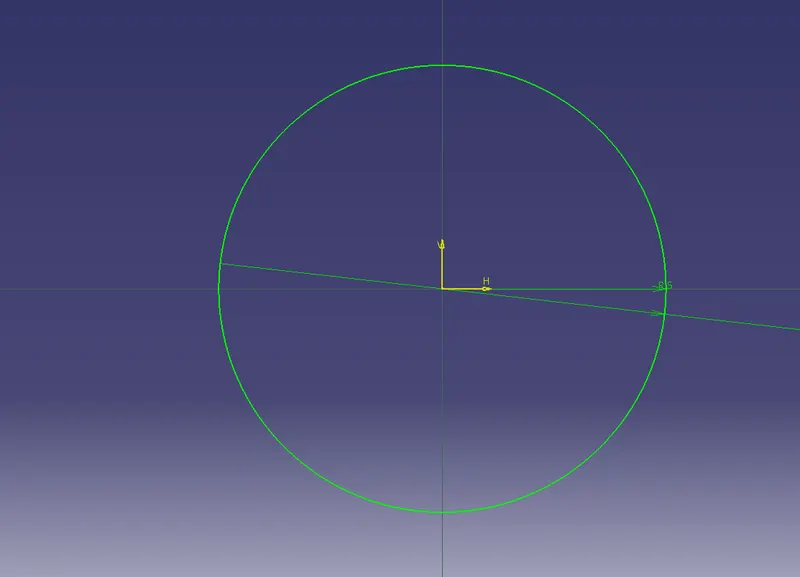
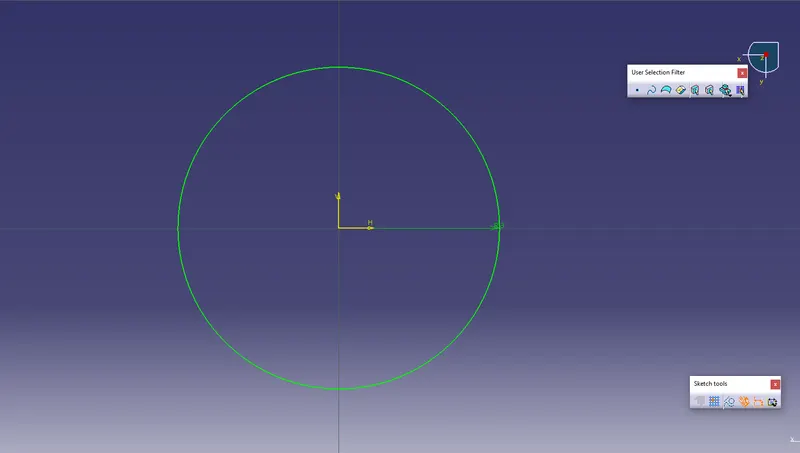
Part :
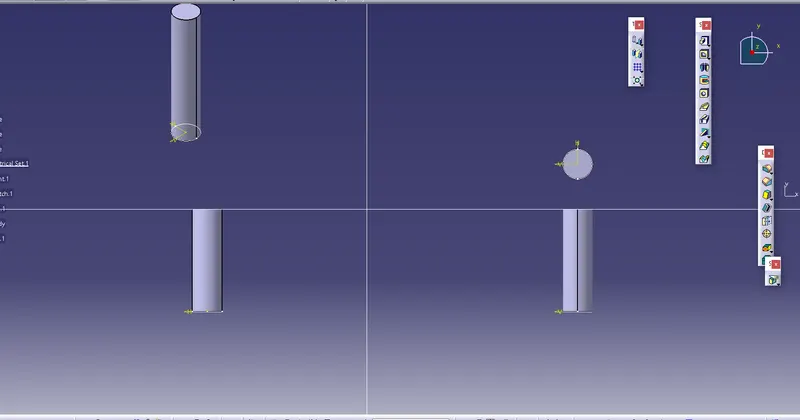
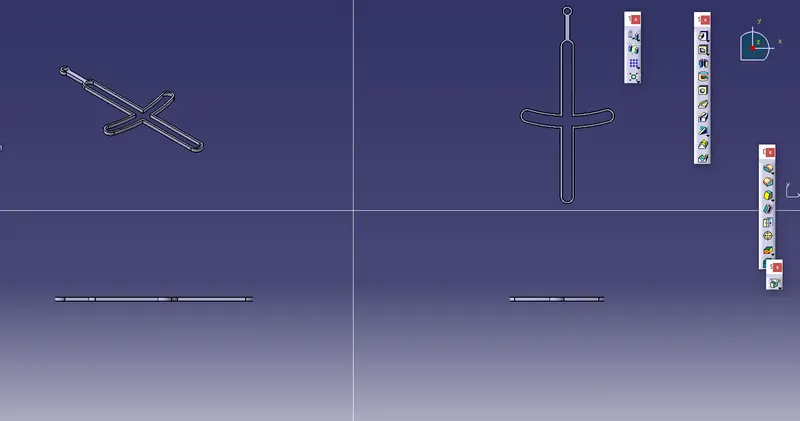
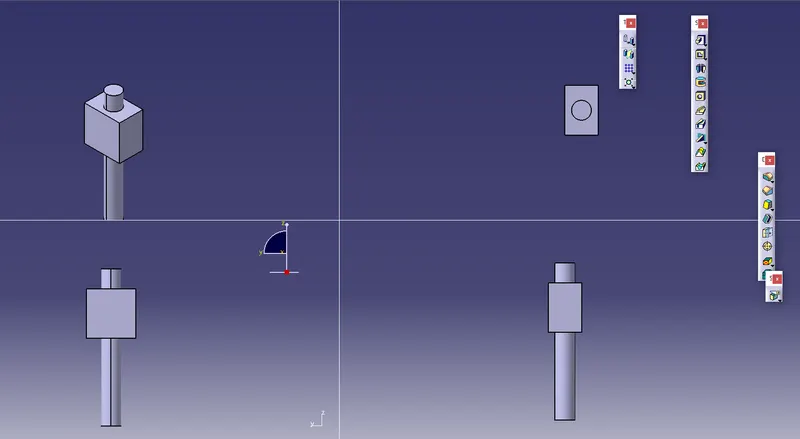
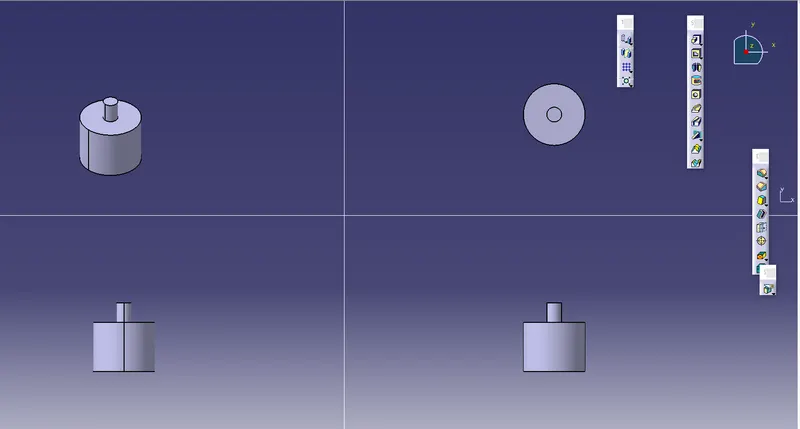
Assembly :
Go to assemly workbench.
Import the different parts by Using existng component option shown below.

After importing model , use manipulation to move components closer.
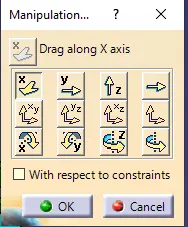
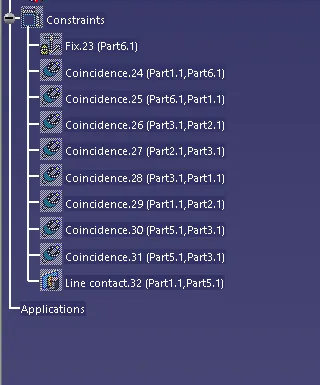
Use surface and contact coincidence option to assemble comonents together like given below.
Make sure the parts dont move after assembly (i.e , assembled properly)

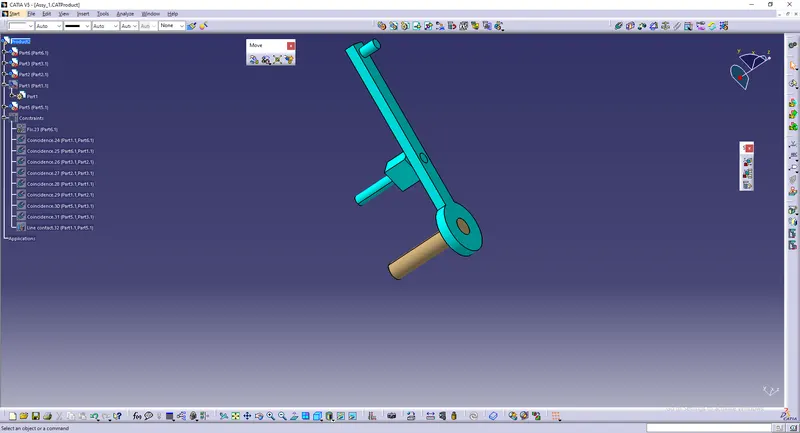
Total assembled part.
Tree structure :
ASSEMBLY 2
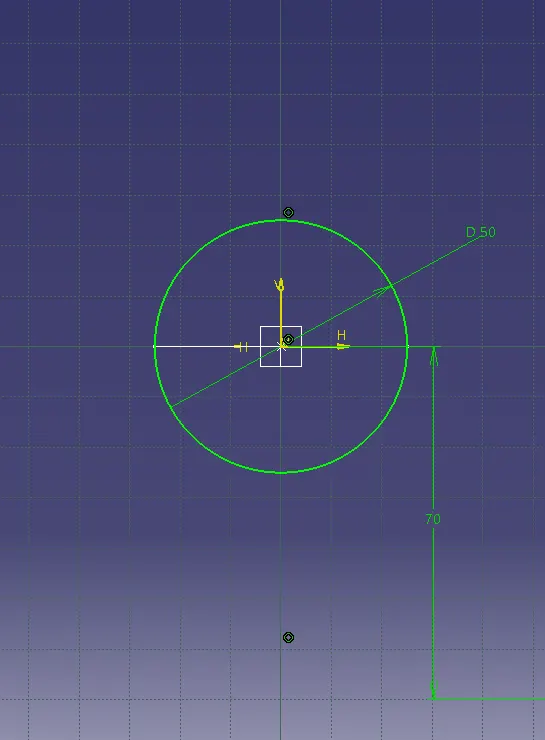
SKETCHES AND PARTS :
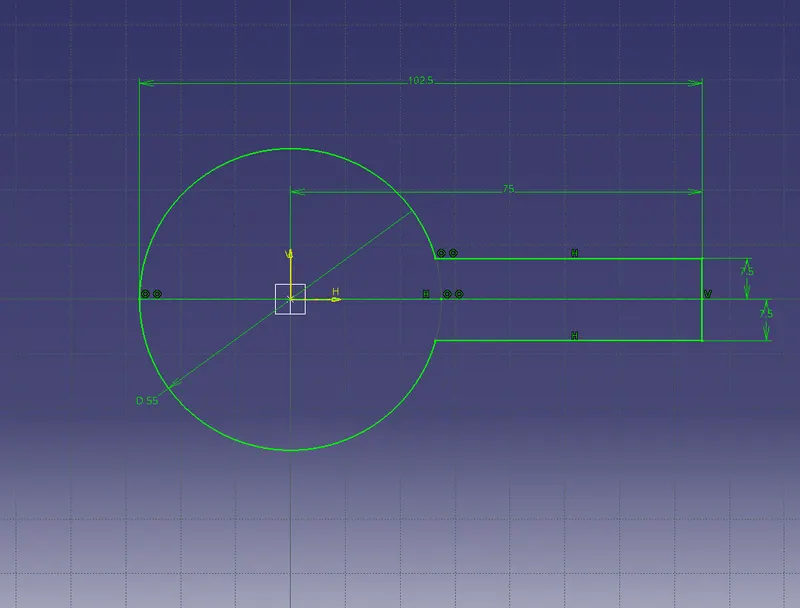
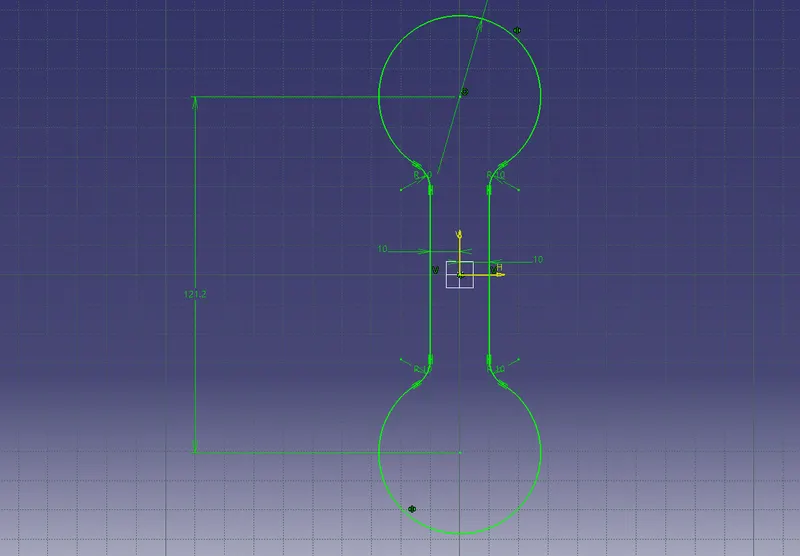
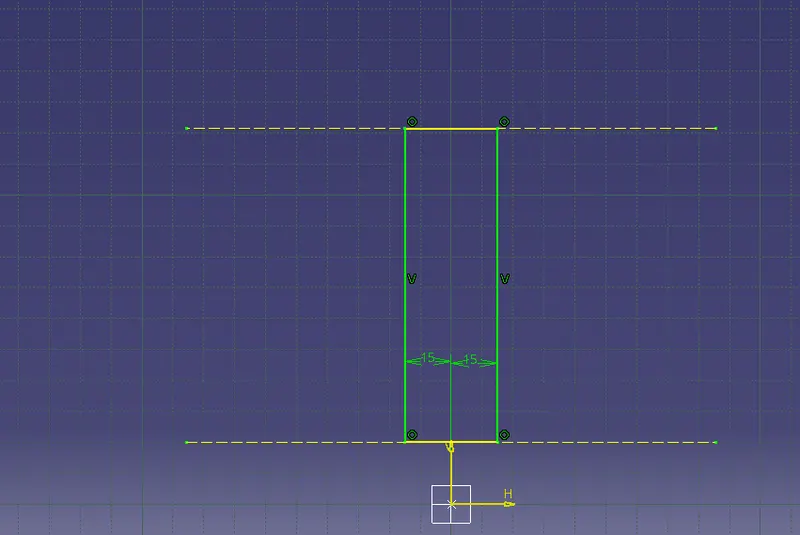
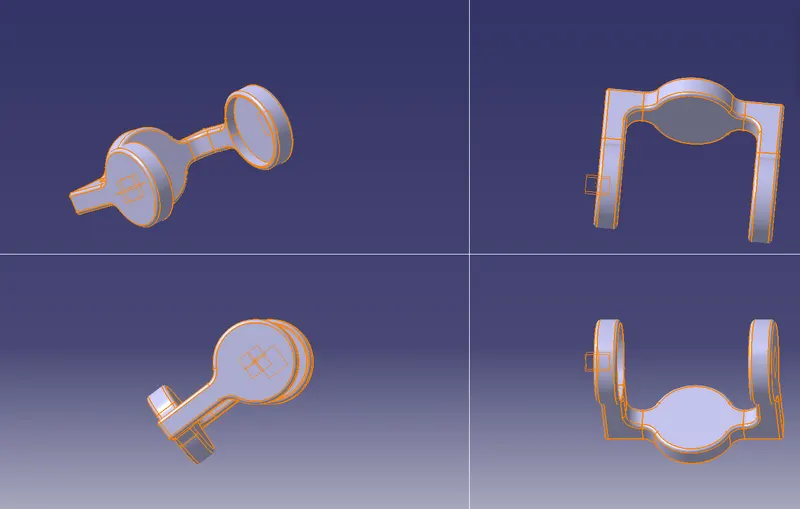
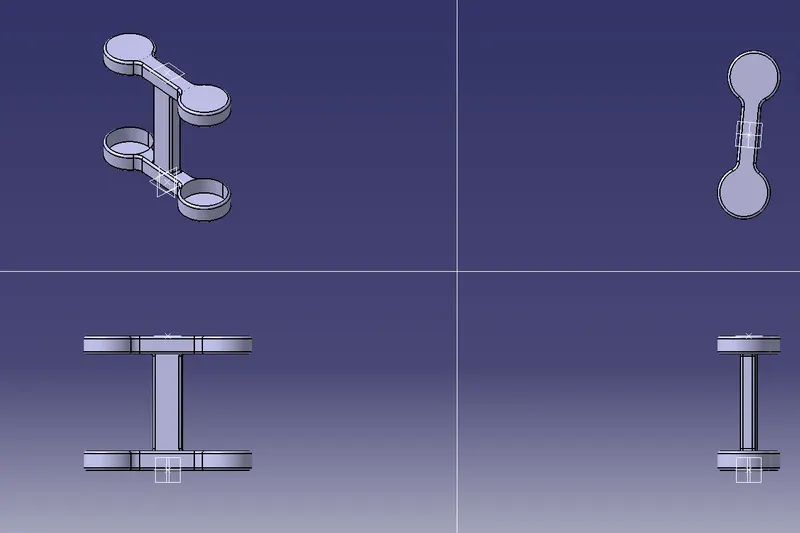
ASSEMBLY :
Go to assemly workbench.
Import the different parts by Using existng component option shown below.
After importing model , use manipulation to move components closer.
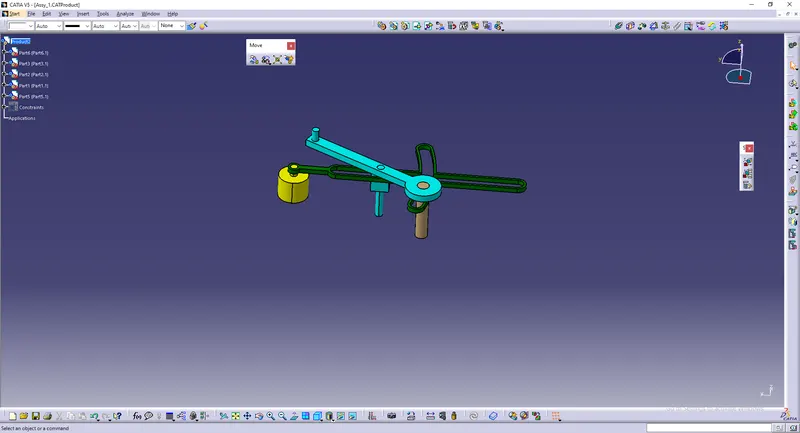
Use surface and contact coincidence option to assemble comonents together like given below.
Over all Assembly.