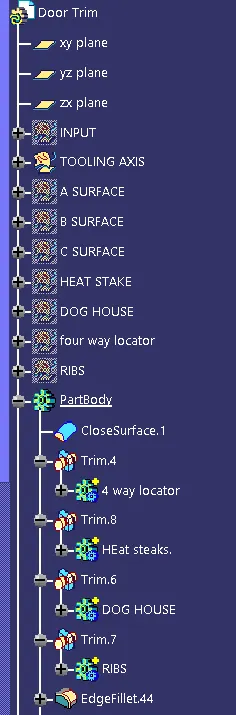
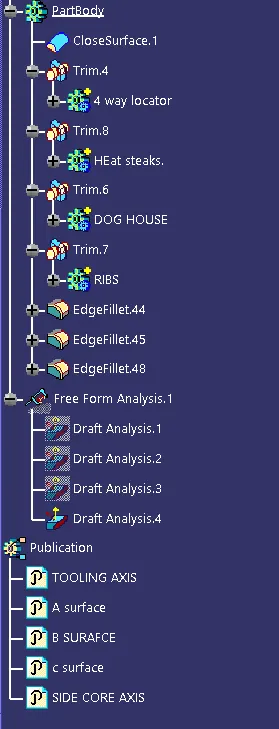
Week 10 - Challenge 3 - Door Trim Lower with Engineering Features
Door Trim Lower with Engineering Features
Aim: To Create the Door trim lower component through the given Class-A surface.
Given sample design
Objectives:
Development of a tooling axis with an acceptable draught angle.
• Creating other surfaces (for example, B and C surfaces) in order to create a solid component. • Run a draught analysis on the Class A surface and the resulting solid model.
Draft
For cast or moulded pieces, the draught is the amount of taper perpendicular to the separating line. It is significantly simpler for a part to release cleanly from a mould when design factors like draught angles are taken into account. A draught angle is used to account for thermoplastic shrinkage, which is a practical aspect of the injection moulding process for the majority of materials. A draught angle is determined as a degree measurement (or, less frequently, an inch or millimetre measurement) from the vertical axis of a mould.
Although some soft materials, like nylon, can get away with having zero draught angles, draught angles are typically necessary for injection moulding design. The draught should be incorporated into the manufacturing design, and all participants and contributors should
Importance of Draft:
Draught angles significantly reduce friction between the finished, cooled part and the side of the mould by accounting for thermoplastic shrinkage during the cooling process. Not only does this create a much easier release process, but it also offers several other benefits, depending on the design of the part, which are as follows:
• Reduces the possibility of part damage due to friction during the release.
• Reduces wear and tear and the possibility of mould damage.
• Maintains the integrity and uniformity of other surface finishes and textures by ensuring a uniform, smooth, unscratched finish when required.
• Shortens total cooling time by reducing or eliminating the requirement for unusual ejection arrangements.
Procedure for creation of Solid model:
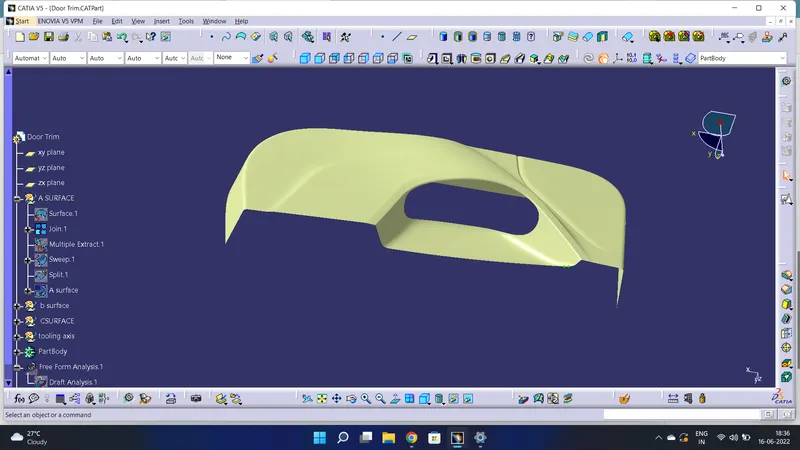
The image below shows the given class A surface for which a solid model is to be created.
Tooling Axis creation:
It is defined as the opening direction of the mould/core and cavity. The orientation of the tooling axis is determined by the ease with which components can be removed.
After examining the component, we determined that the most readily ejectable direction is somewhere near the Z direction (may be inclined to it), thus we sketched a bisecting line on the YZ plane of the Axis System, taking into account the two faces that may be tough to tooled.
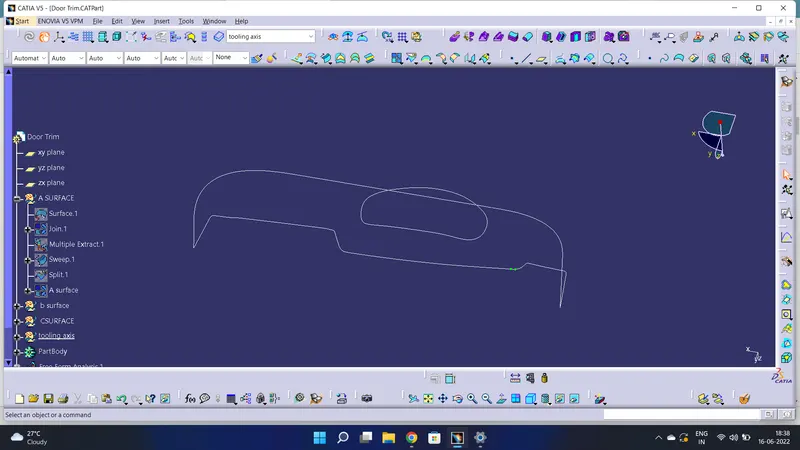
One more sketch is created on the ZX plane of Axis System for considering the lone side face for tooling direction. In the sketch, a line is drawn with a suitable angle to the lone
side face so that with the resultant tooling axis the side face is cleared.
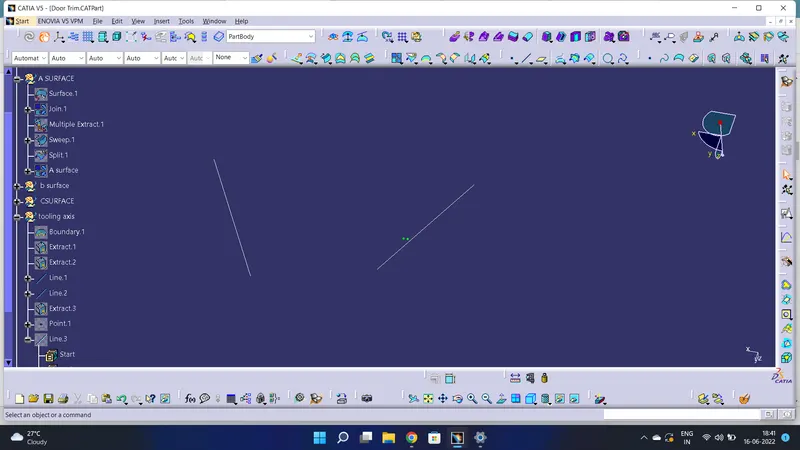
Then resultant tooling axis is created using the bisecting method.
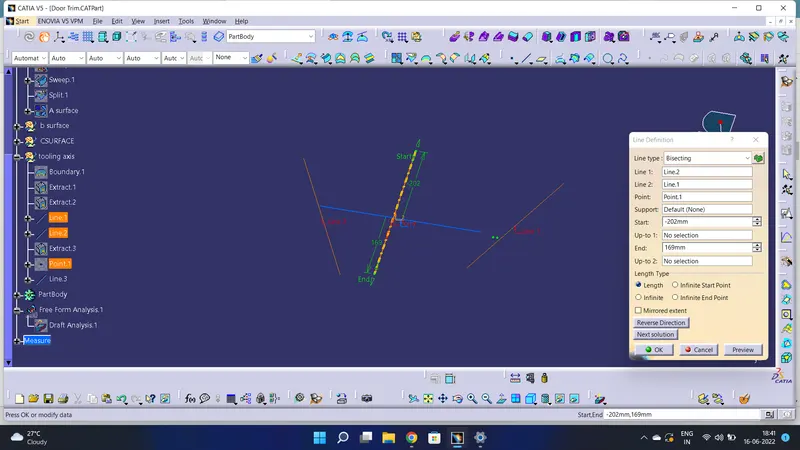
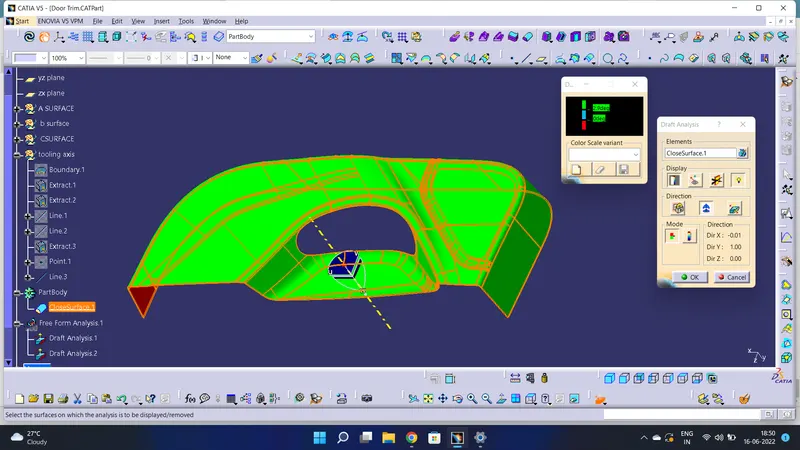
Draft Analysis of Solid Model
Same steps are followed to get the draft analysis of the solid part as in Class A Surface
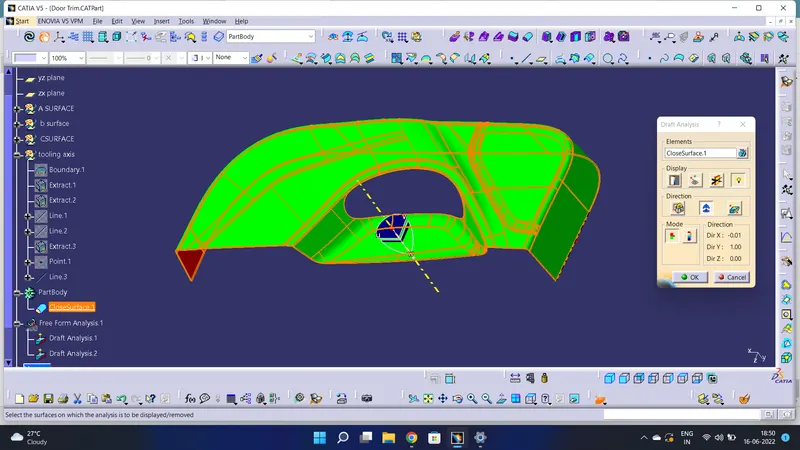
As is common knowledge, plastic component faces should have a minimum draught angle of 3 degrees. Consequently, the Draught analysis colour mode window gives the value of 2.9 degrees (taking into account tolerance). The GREEN bar within the colour scale displays a draught angle of 2.9 degrees or greater. The other limit is and the RED bar shows the negative draught angle, while the blue bar displays below 2.9 degrees draught angle. The component's top and side faces are all green, as seen in the image below, while the bottom faces are red. The separation line that separates the core and cavity parts can be seen between the green and red faces. The stable model passed the draught.
CREATING THE RIB
Ribs are thin wall protrusions that extend perpendicularly from a wall or plane. They are usually found in clusters offering support to a plane that would have otherwise been too thick, but can also be stand-alone support for a single wall. They are commonly used to provide additional support and strength to a part. Thickness and location are essential to rib design.
First, the base surface where the rib has to be created is extracted using the Extract command.
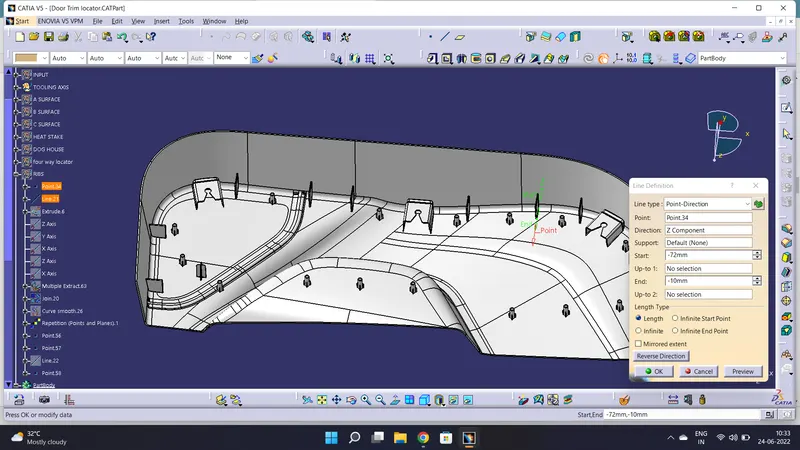
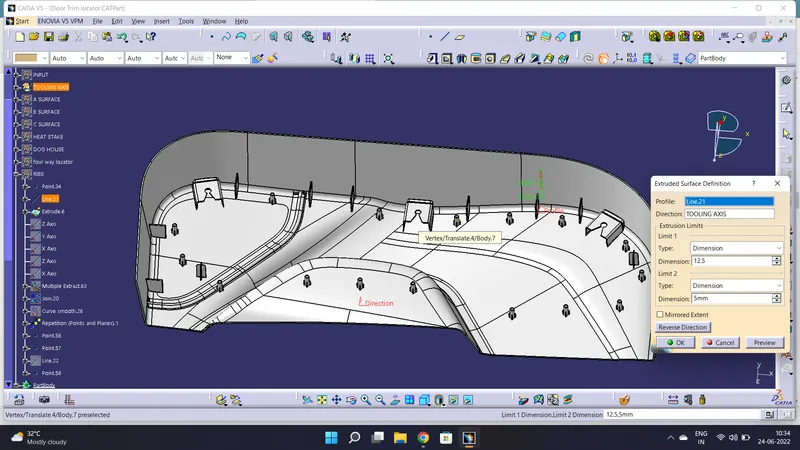
Next, the profile is extruded, to find the height,h=Wall thickness * 5
=2.5*5
= 12.5 mm
Therefore, the height is 12.5 mm
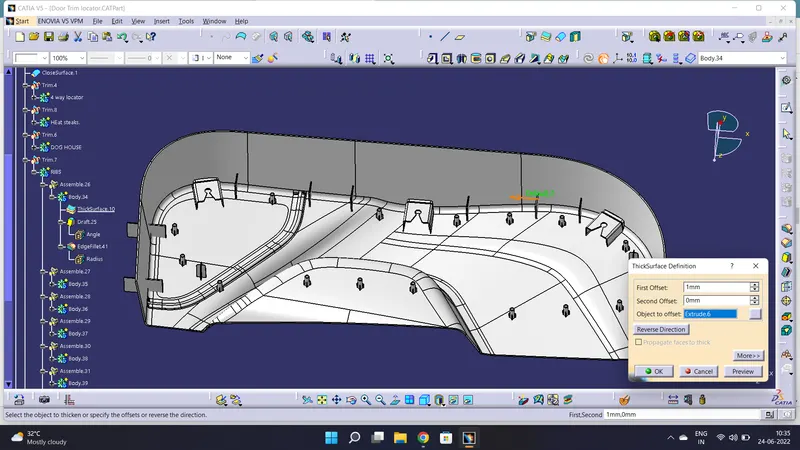
The extruded surface is thickened,
Thickness,w=0.4*t
=0.4 2.5
=1mm
Therefore, the thickness of the rib is 1 mm
The draft is applied to the sides of the ribs. As per the design rule, the ideal draft angle is 0.5 deg
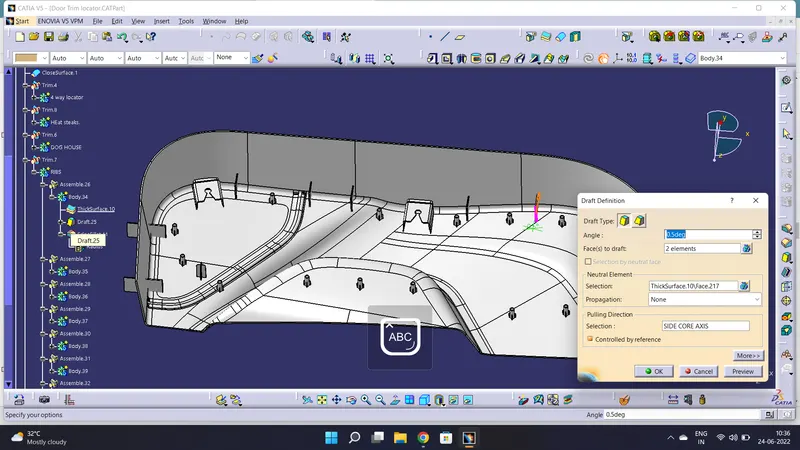
Then fillet is applied to the faces of the rib. As per the design rule, the fillet can be 0.25 mm.
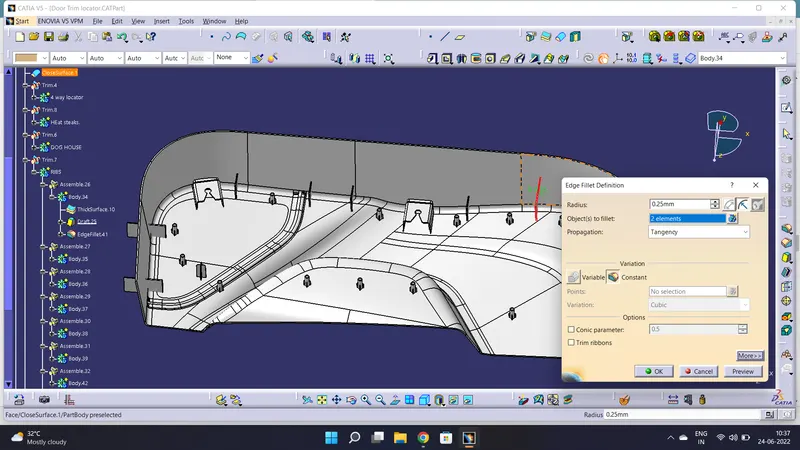
We must now measure the thickness of the rib roots.
We must take an intersection between the XY plane and the Coin holder component in order to measure the thickness of the rib roots. As soon as we reach the intersection, we must draw a triangle at the location of the ribs and measure it. The difference between the value and wall thickness must not exceed 30%.
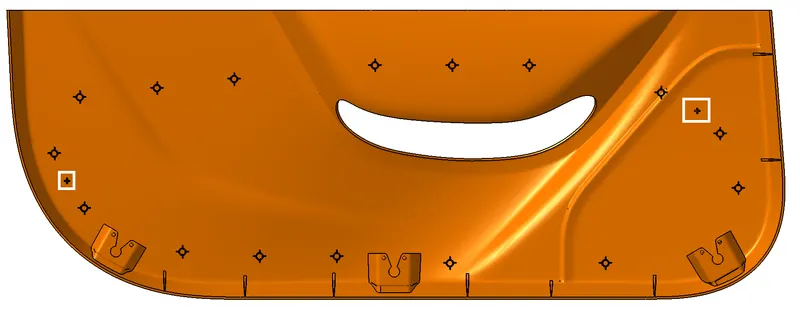
Except for translation along the direction of the tooling axis Le along the y-axis, the locators restrict all other degrees of freedom. The heat stakes will be used to limit that degree of freedom.
Heat staking involves the use of local heating and cooling to elevate the temperature of plastic components and allow plastic reformation to take place.
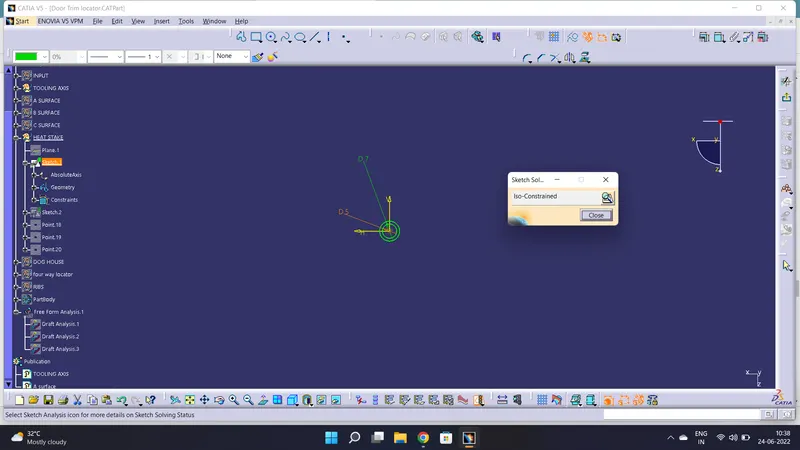
The draft is applied to the sides of the ribs. As per the design rule, the ideal draft angle is 0.5 deg
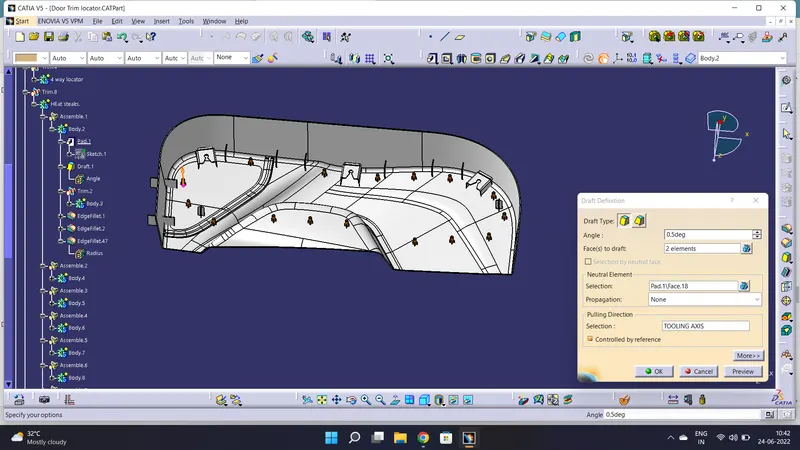
Then fillet is applied to the faces of the rib. As per the design rule, the fillet can be 0.25 mm.
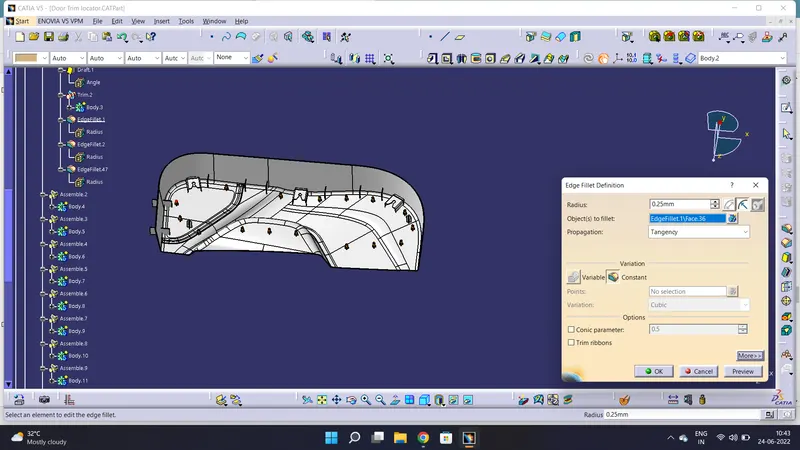
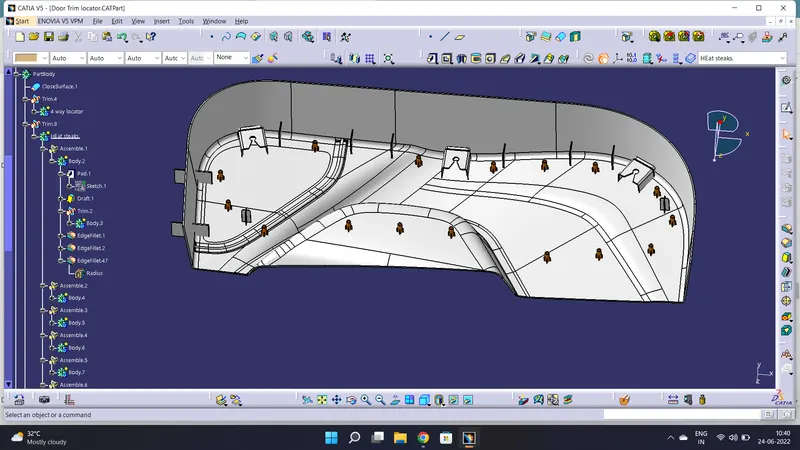
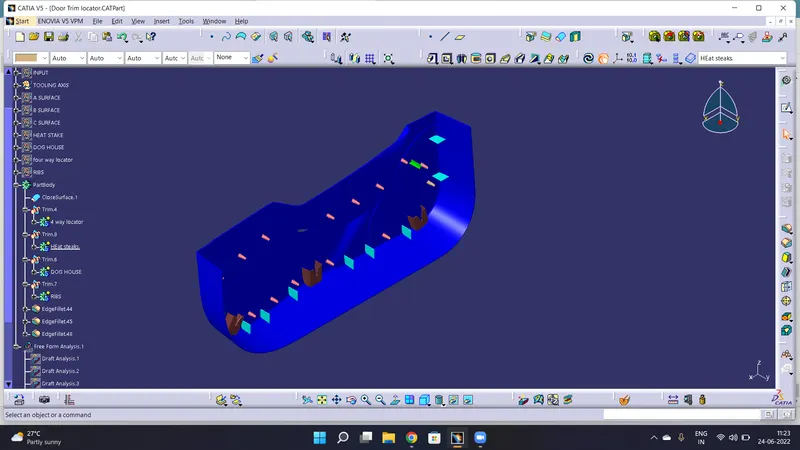
The Orange colored cylinders are the heat stakes.
These heat stakes will enter the mating component and using a heat staking machine these heat stakes are melted and cooled. When cooled this will get hardened and the two components will stick together. Thus all degrees of freedom are arrested
Then, the ribs are created by following the rib design rules.
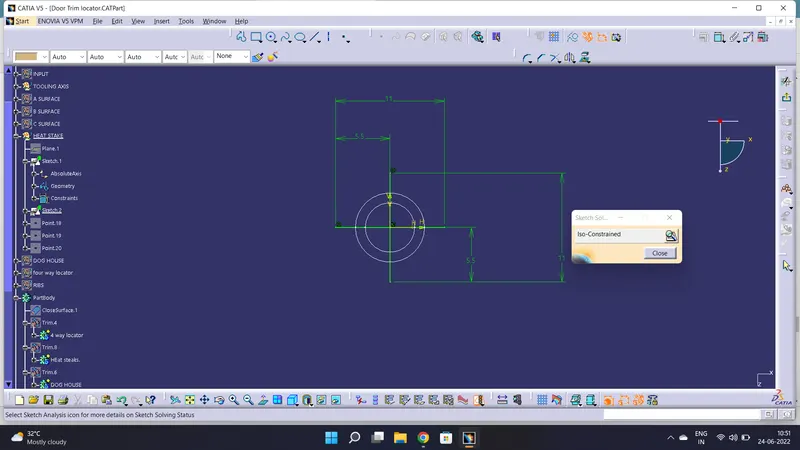
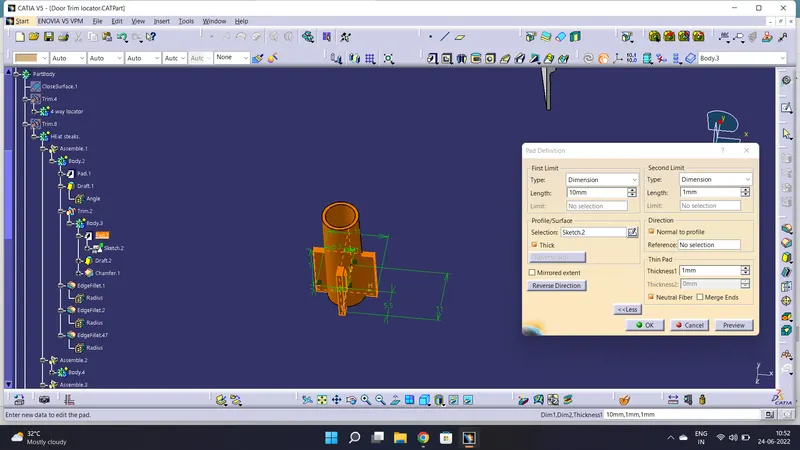
The draft is applied to the sides of the ribs. As per the design rule, the ideal draft angle is 0.5 deg
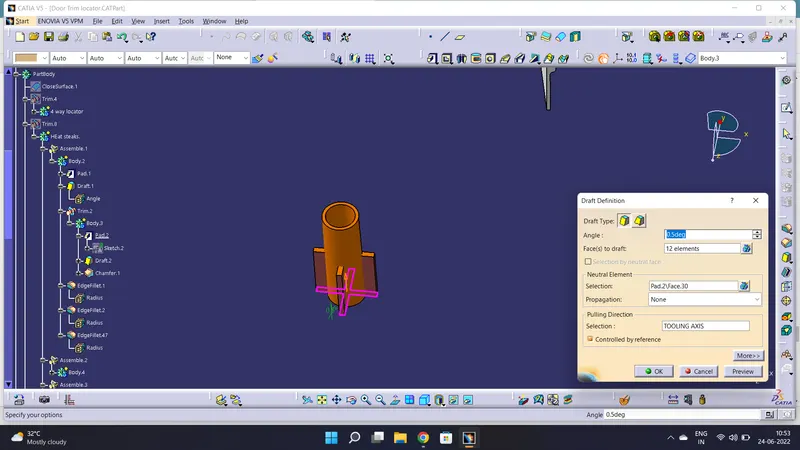
As a result, the ribs are formed for the screw. STAKES TO HEAT
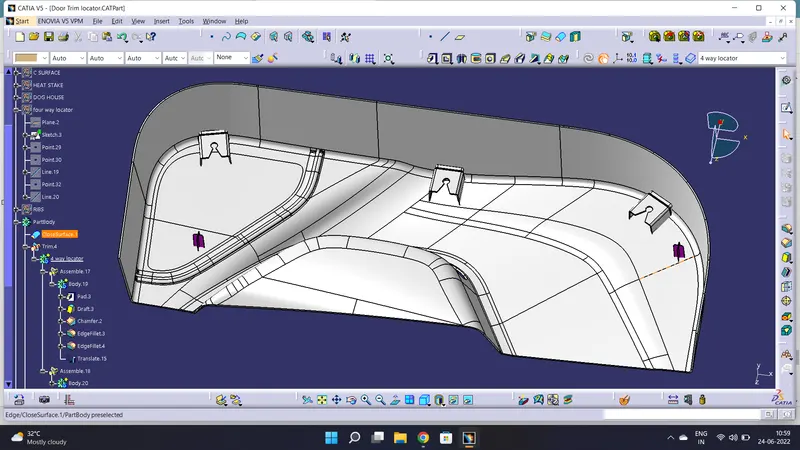
Now we'll look at how the plastic part is attached to the other plastic part. The door appliqué is secured to the door surface using locators and heat stakes. There are 12 degrees of freedom for each component in space. As a result, these locators and heat stakes limit all of these degrees of freedom.
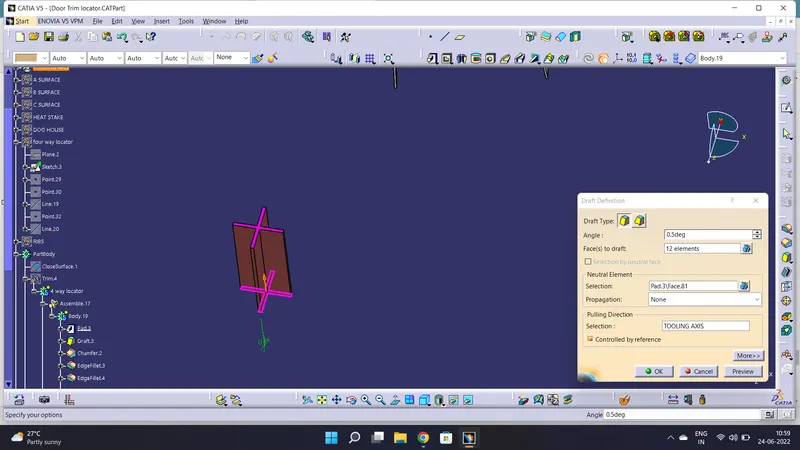
Locators are four-way finders. The locators will be designed in accordance with the rib design criteria, with a minimum draught of 0.5 degrees, a minimum fillet of 0.2mm, and an entering chamfer of 3mm. This entry chamfer is provided so that the locators can readily match with the other portion.
easily.
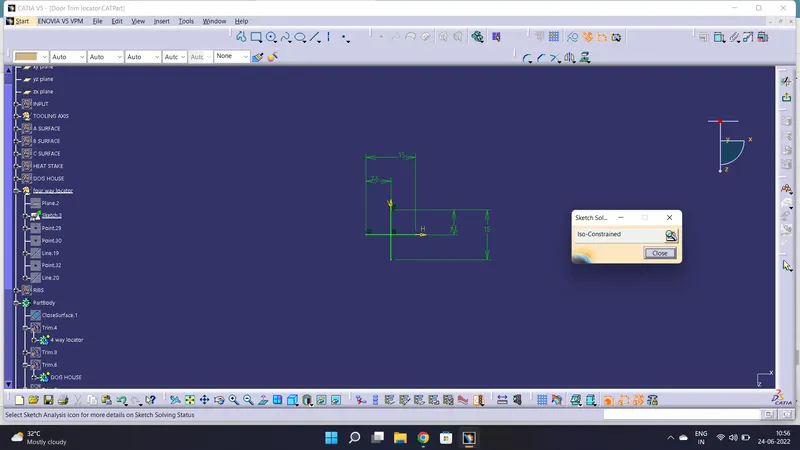
The draft is applied to the sides of the ribs. As per the design rule, the ideal draft angle is 0.5 deg
CREATING THE DOGHOUSE
The plastic trim design incorporates the engineering element known as the dog house. Dog kennels are a supporting element. To boost their strength, various engineering elements like snaps, locators, etc. are occasionally mounded on them.
By adhering to the design guidelines, the doghouse is produced.
For reinforced materials, the recommended nominal wall thickness range is 0.75 mm to 3 mm, and for unreinforced materials, it is 0.5 mm to 5 mm.
Additional Courses
WALL THICKNESS (W) = 0.70 (NOMINAL PLASTIC MATERIAL THICKNESS)
Thicken surface command is typically used for this technique.
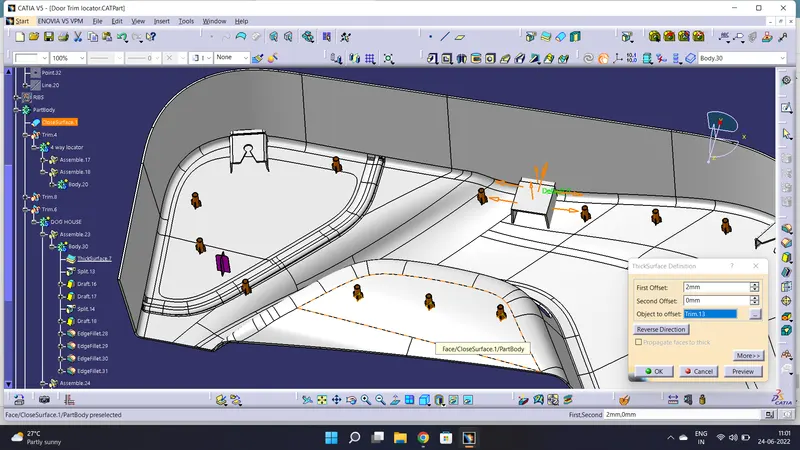
The fillets and the draft are given as per the design rules.
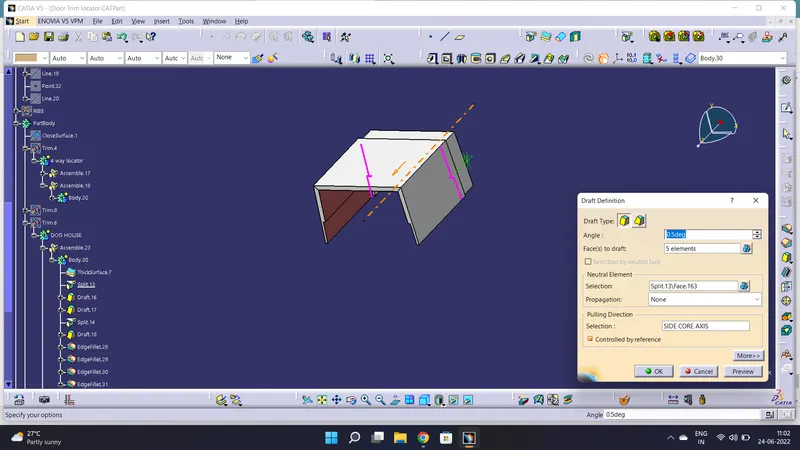
An important thing while designing a doghouse is to maintain 40% less thickness than the wall thickness (T) at the area of the intersection to avoid sink marks. So, a C shape is formed at the intersection.
This can be made using the split command to remove the solid at the intersection
Draft Analysis
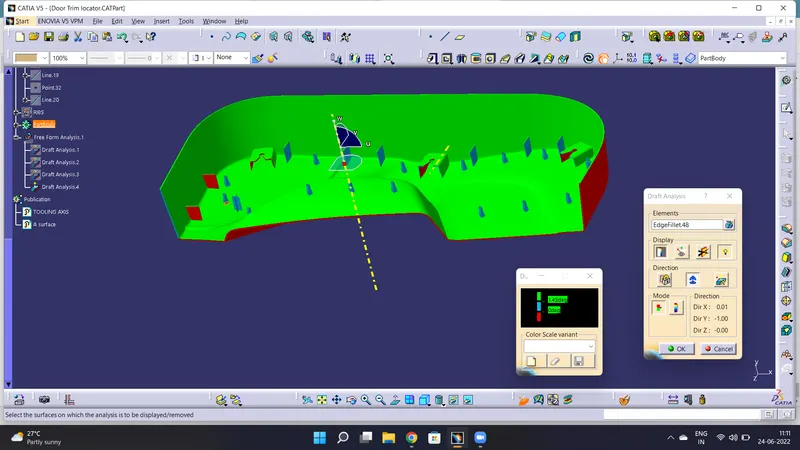
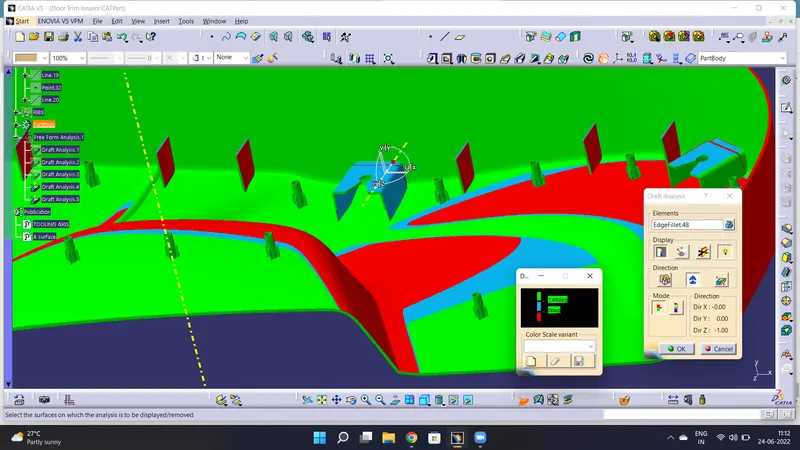 .
.
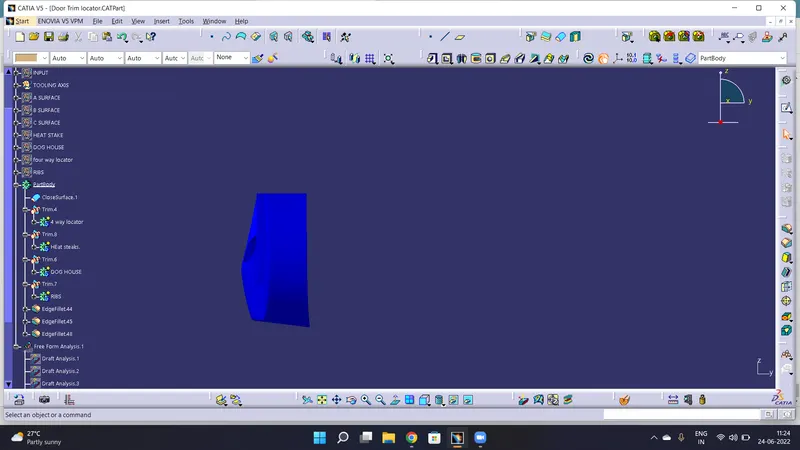
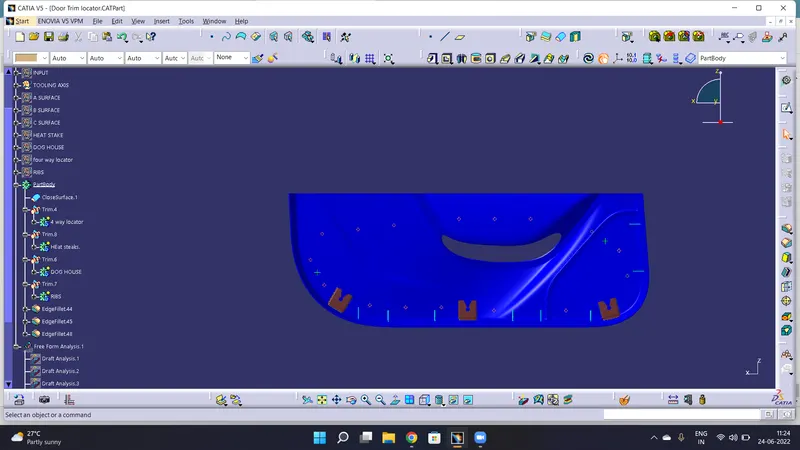
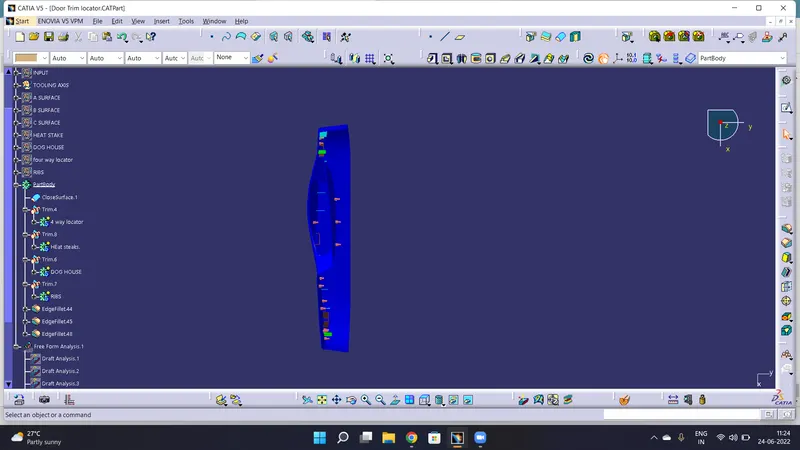
VIEWS