Week 10 - Challenge 2- Attachment Feature Creation (Dog House)
DOOR TRIM
AIM:
Create the Dog House for the Door Trim, considering the design rules
INTRODUCTION:
Door Trim:
A door trim refers to the interior panels that line the inside of a car door. These panels are more than just decorative; they also serve functional purposes like housing controls, providing armrests, and integrating with the door's mechanical systems.
OBJECTIVE:
- Create a Tooling Axis on the given Class-A surface.
- Create the Class-B and Class-C surfaces of the door trim using the given Class-A surface.
- Convert the surface model into a solid body using the Close Surface command in the Part Design workbench.
- Create a side core axis for the dog house.
- Consider the design rules to create a dog house on the back of the surface.
- Perform a draft analysis for both the Class-A and final part body.
DESIGN METHODOLOGY:
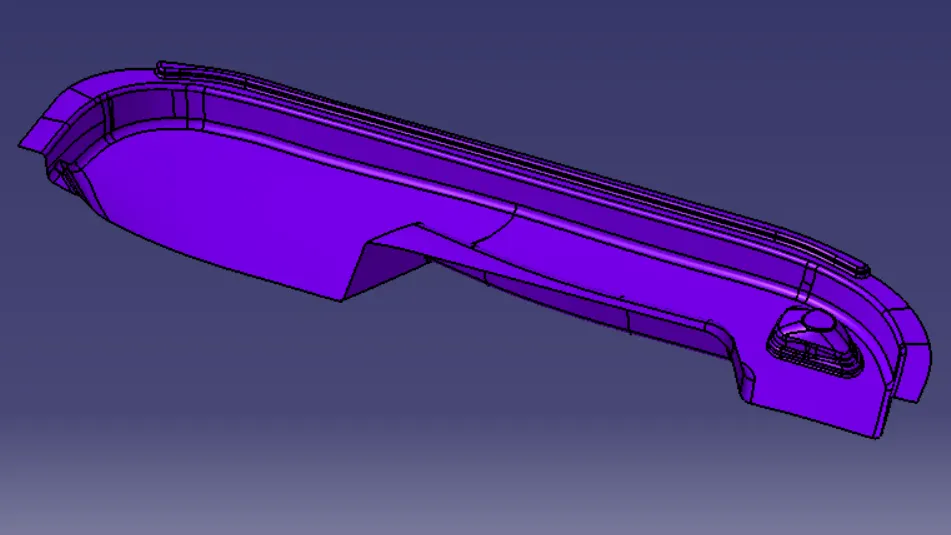
CLASS-A SURFACE:
Class A is an aesthetic finish with the highest quality finish. Most Class A surfaces for automotive components are created using Autodesk Alias based on final concept sketches. All Class A surfaces must have "curvature continuity". That is, continuity between surfaces must have the same boundaries. It is used as a reference for automotive plastics designers to create "Class B" and "Class C" finishes.
TOOLING AXIS:
The tooling axis defines the direction in which a mold or core and cavity open during the molding process. It's essentially the direction of the molded part's "pull" or "draft" away from the mold. To define the tooling axis, you typically need to identify a point and a direction or create a line that represents the tooling direction.
This axis is crucial for draft analysis and plastic component design.
The Tooling Axis is created from the Y Direction on the Class A surface:
- The center point was created using the point command on the base surface at 0mm.
- At this point, the axis system is created
- After pointing the surface to draw a line, the line is created from the point to the Y direction.
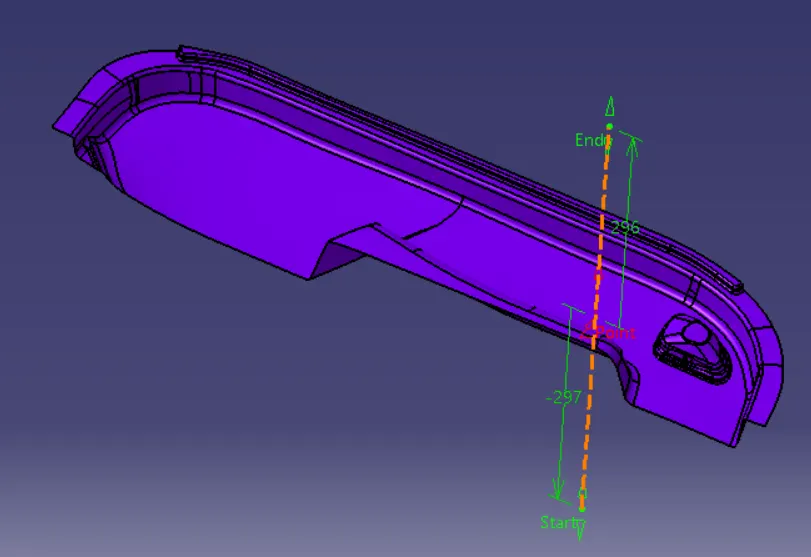
Perform the draft analysis using the Tooling axis. If any error, use the bisecting method to draw another Tooling axis.
DRAFT ANALYSIS:
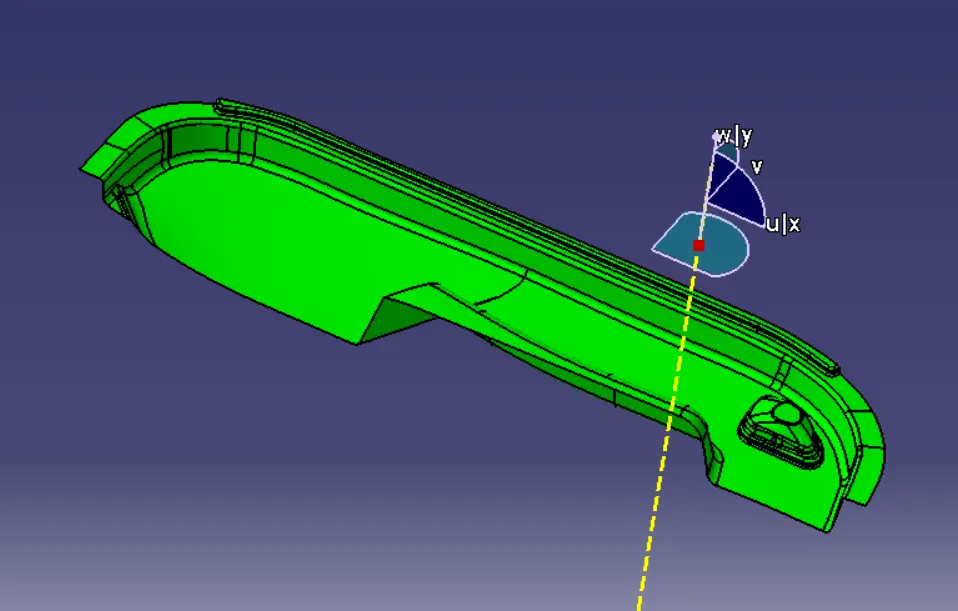
Draft analysis enables you to detect that the part we drafted will be easily removed. This type of analysis is performed based on color ranges, identifying the zones on the analyzed element where the deviation from the draft direction at any point corresponds to specified values.
- Go to insert
- Click on the compass icon and align it with the tooling axis, and click on the surface. We will get our result.
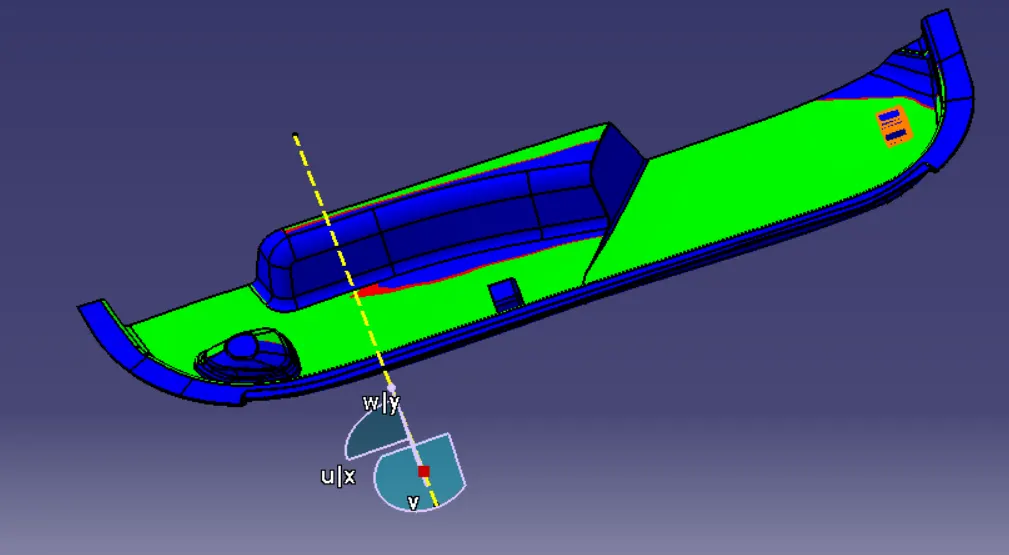
Class-A Draft analysis:
CLASS-B SURFACE:
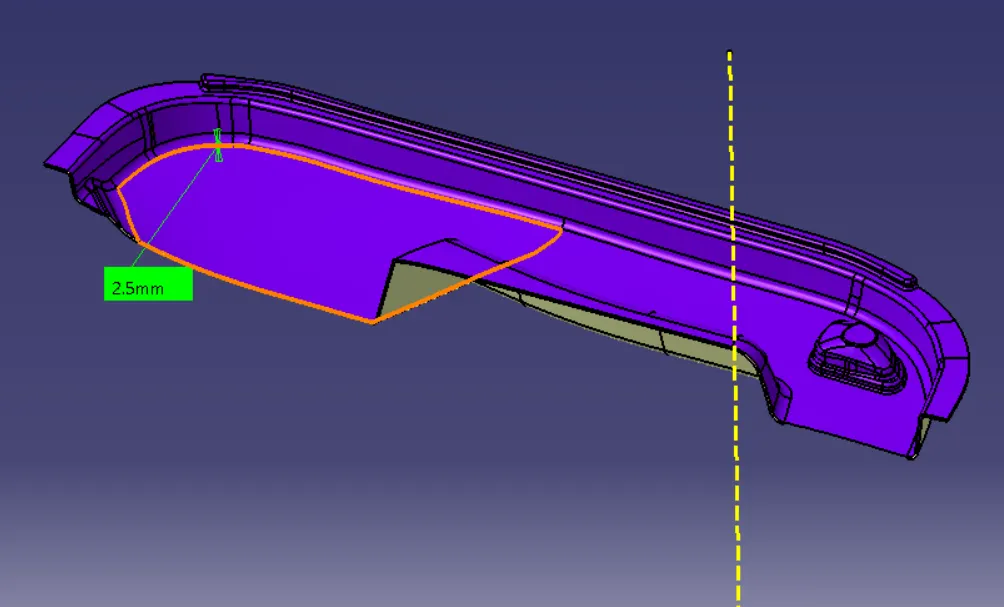
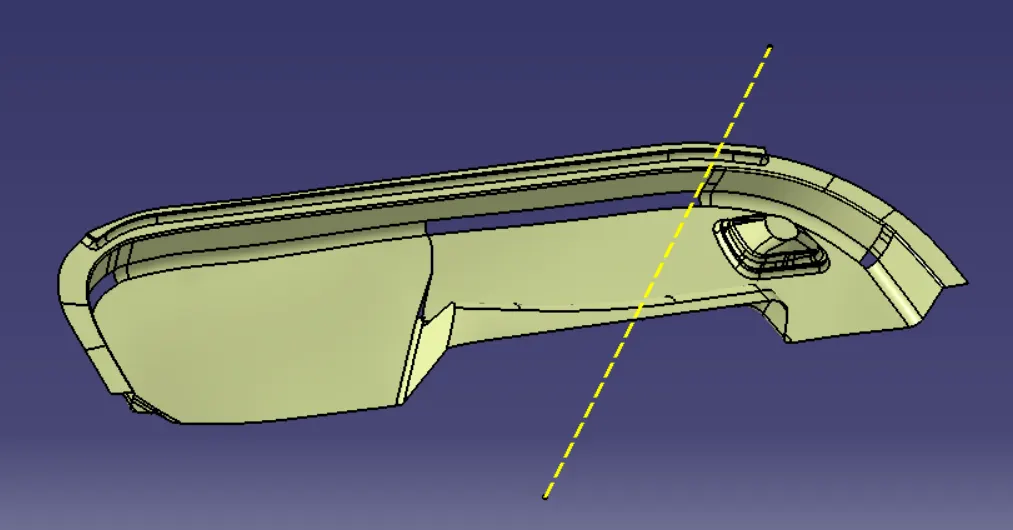
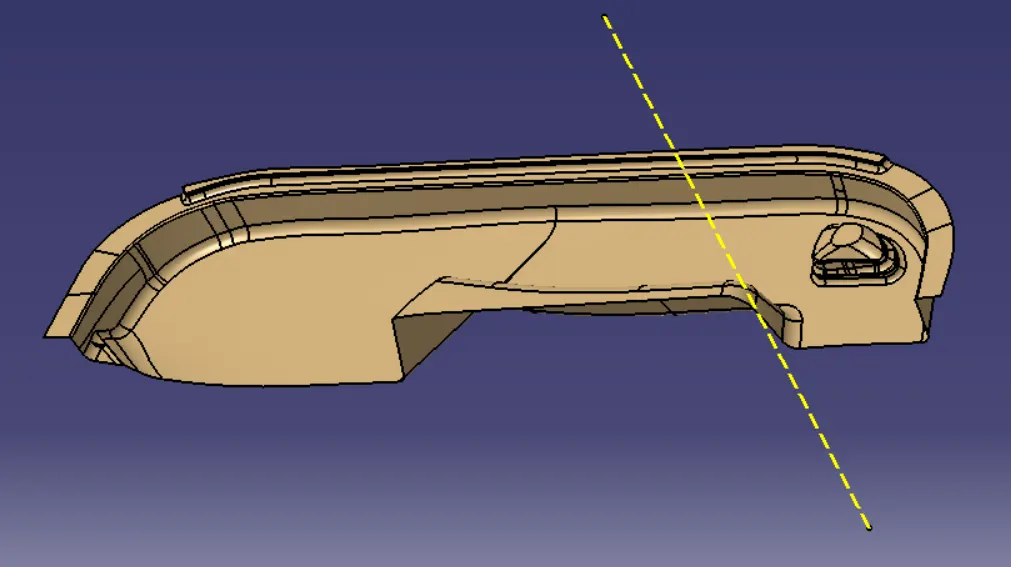
A class B surface is below a class A surface at a certain thickness. It is created using structural principles consisting of all necessary features such as ribs, bosses, and snaps. This surface is invisible to an outside observer.
Creation of Class-B Surface:
- Offset the Class-A surface by 2.5mm in the inward direction.
- Fill in the Patches for the discontinuity offset surface using commands like Extract, Multi-Extract, Boundary, Fillet, etc..
- Then join the surface and ensure the final Class-B surface created has no gaps.
CLASS-C SURFACE:
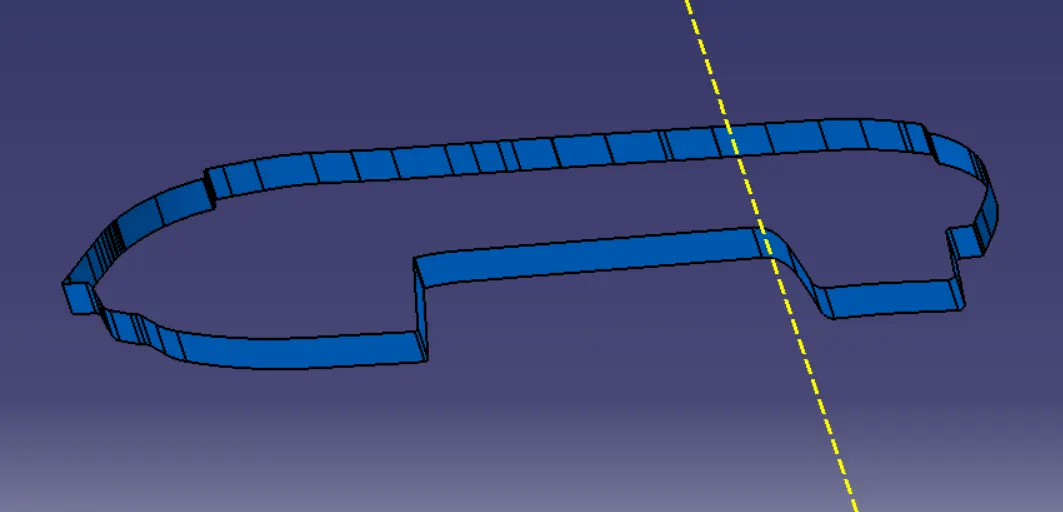
A class C surface is a surface created to connect class A and class B surfaces
Join all the surfaces (Class-A, B,&C)
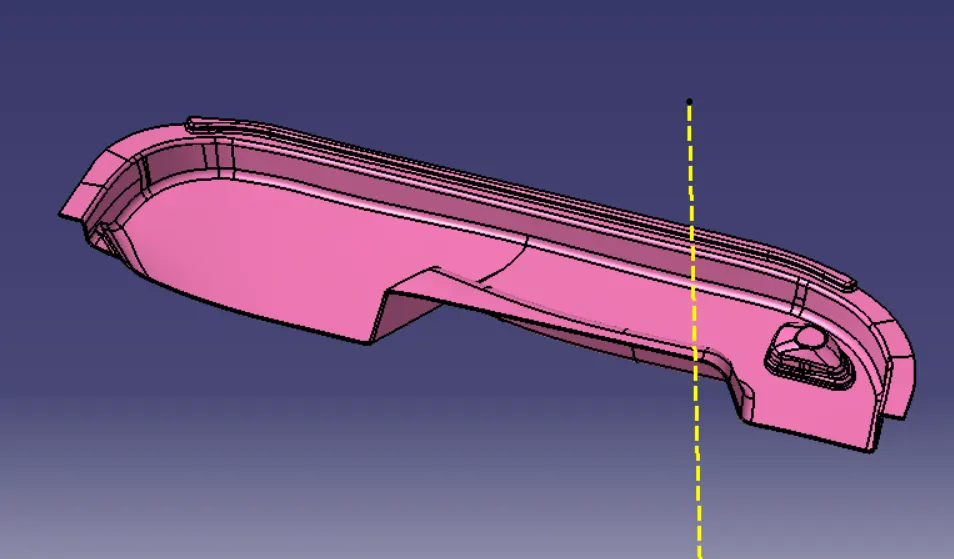
Close Body surface:
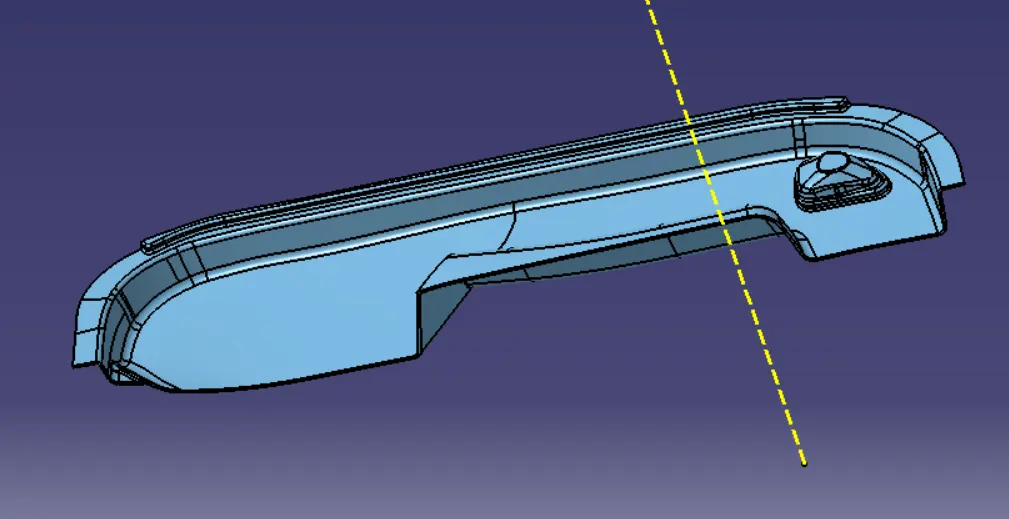
DOG HOUSE
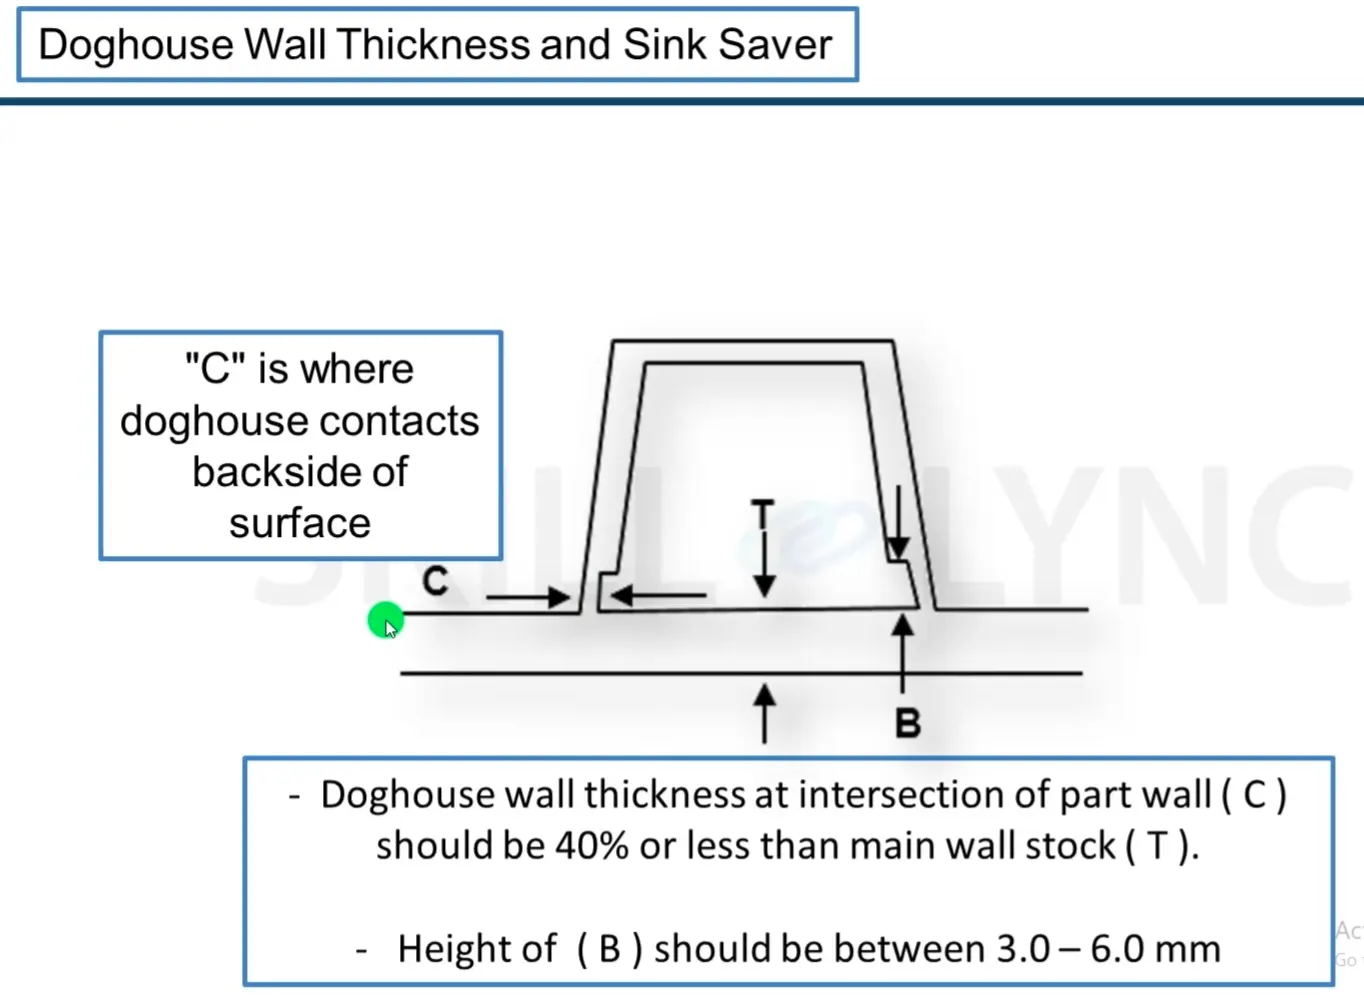
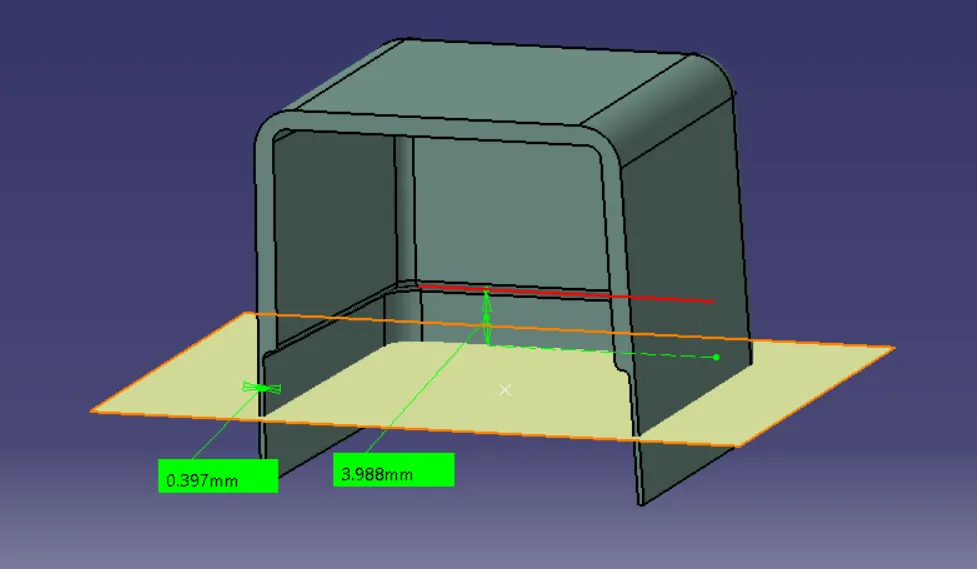
In plastic trim design, a "doghouse" is an engineering feature, often a molded pocket or recess, used to provide support for other components or to facilitate attachment. Doghouses are commonly used as a platform for mounting snaps, locators, screws, or other features that need to be held securely. Doghouses are built on the B-surface, which is the surface below the Class A surface (the visible exterior surface).
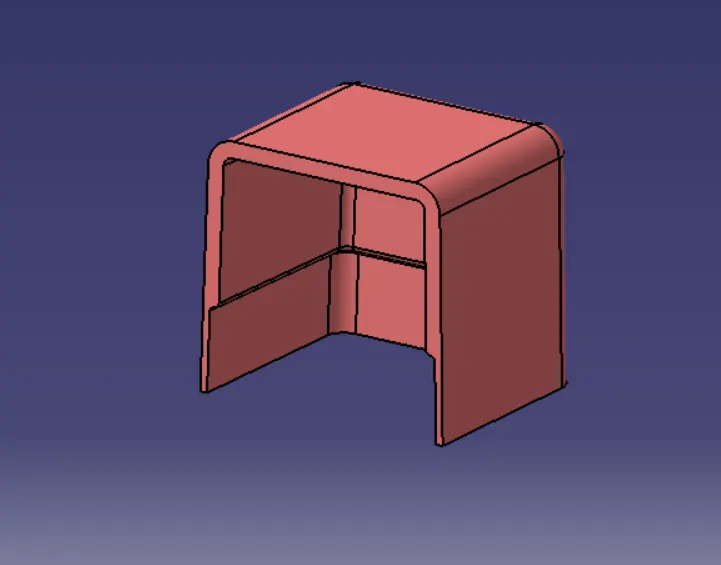
Function:
Doghouses serve as a supporting structure, allowing other features to be mounted on them. They help to reinforce the plastic trim and prevent breakage during ejection from the mold.
Placement:
They are typically located on the B-surface, which is the surface below the Class A surface, to avoid impacting the visible appearance of the part.
Purpose:
Doghouses help in:
Strength: They increase the strength and rigidity of the plastic trim.
Attachment: They provide a stable platform for mounting other components or features, such as snaps, locators, or screw bosses.
Avoidance of Sink Marks: They can help prevent sink marks, which are indentations that can occur on the Class A surface during molding.
Assembly: They can help with the assembly of different plastic parts.
Draft Angle: They require draft angles to ensure easy removal of the part from the mold cavity, sometimes requiring a lifter to assist in ejection.
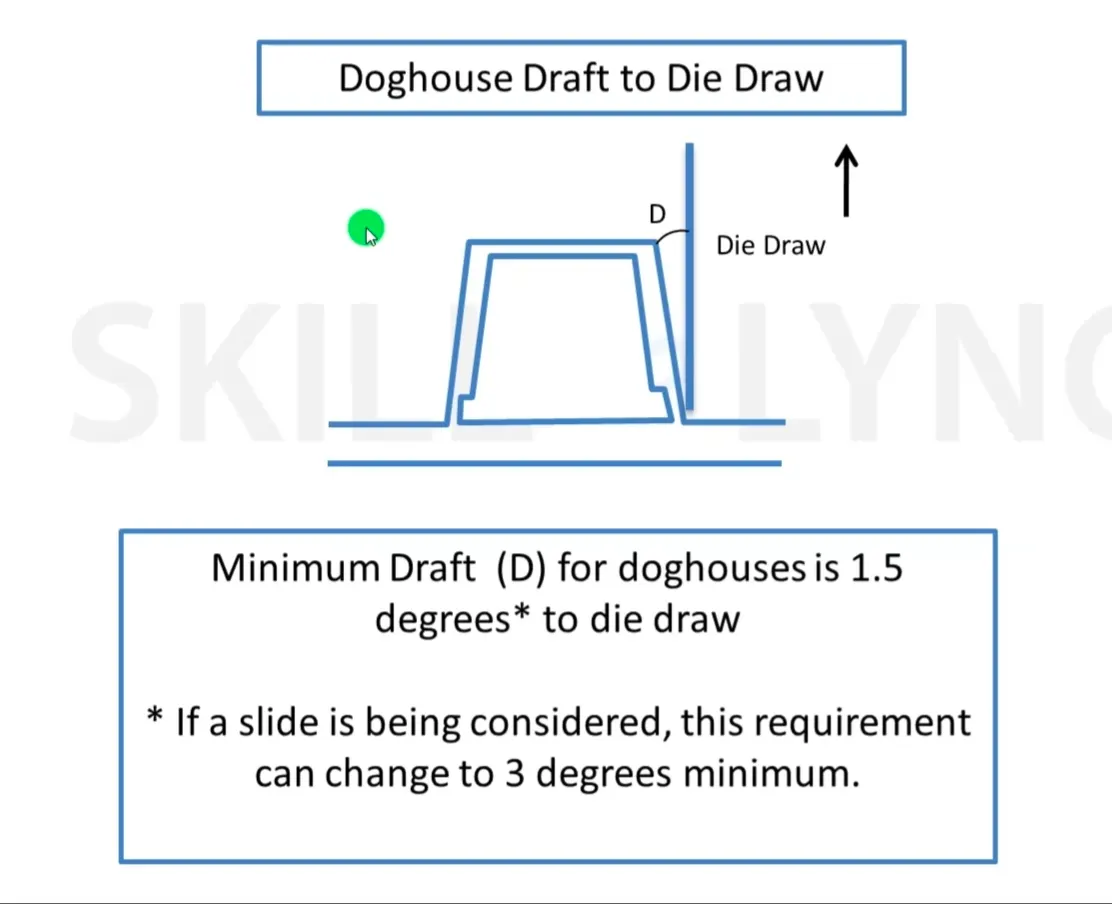
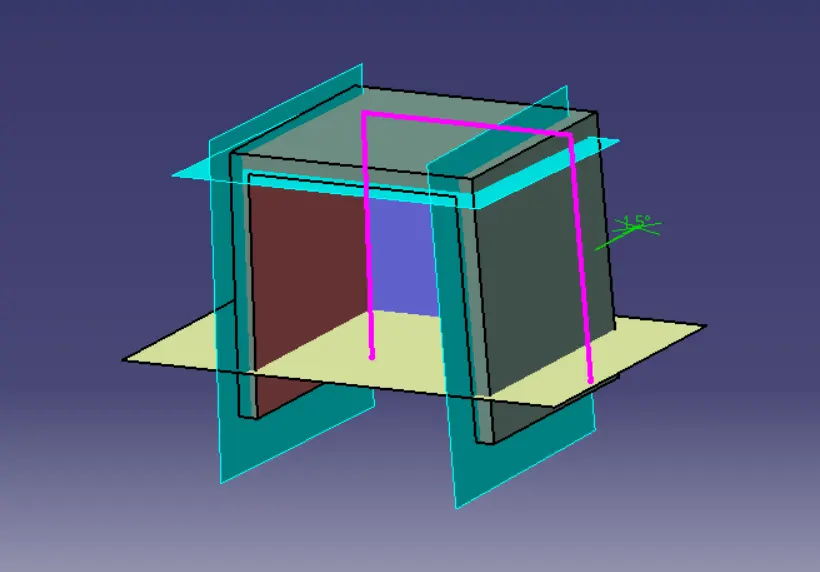
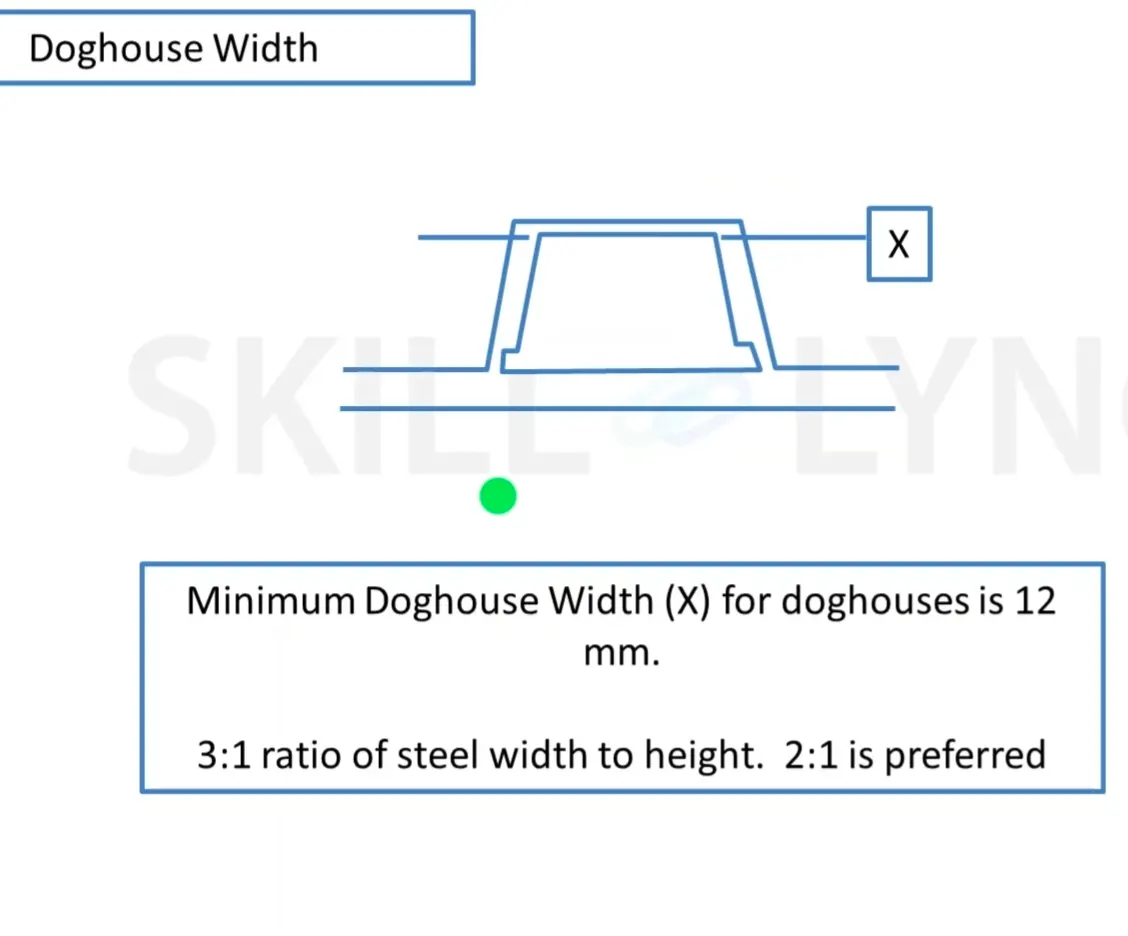
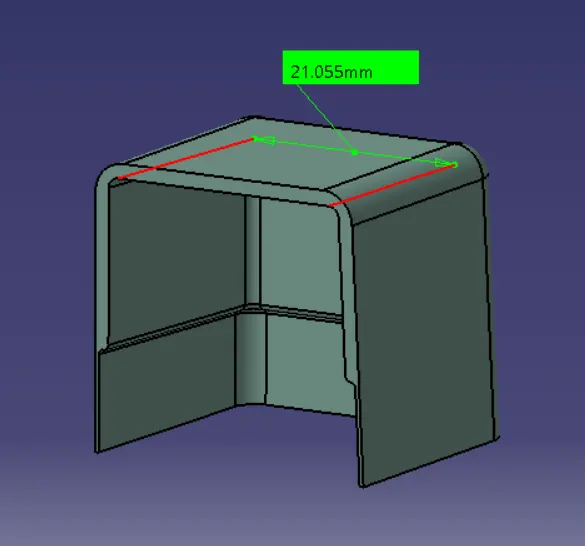
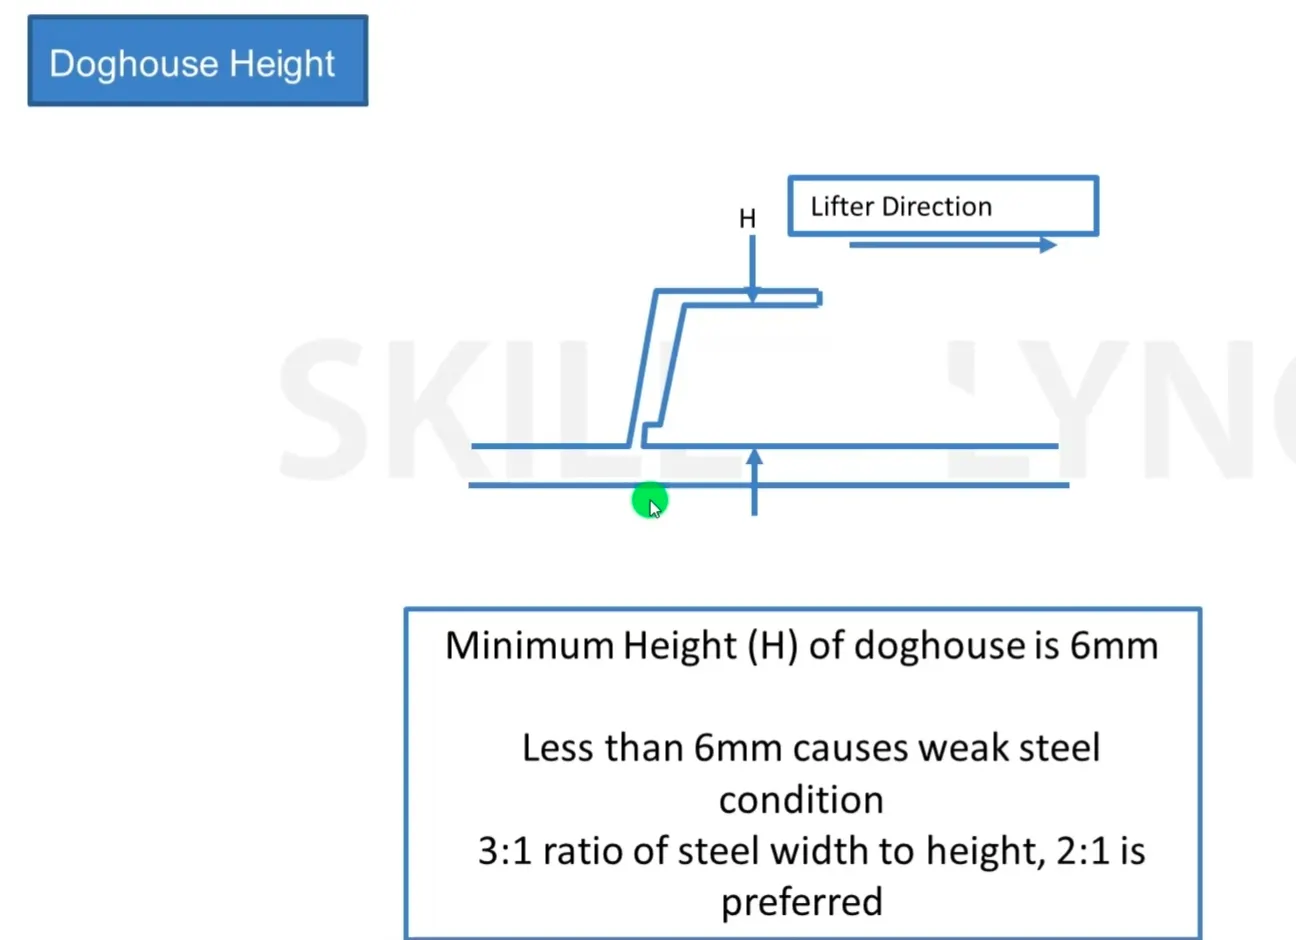
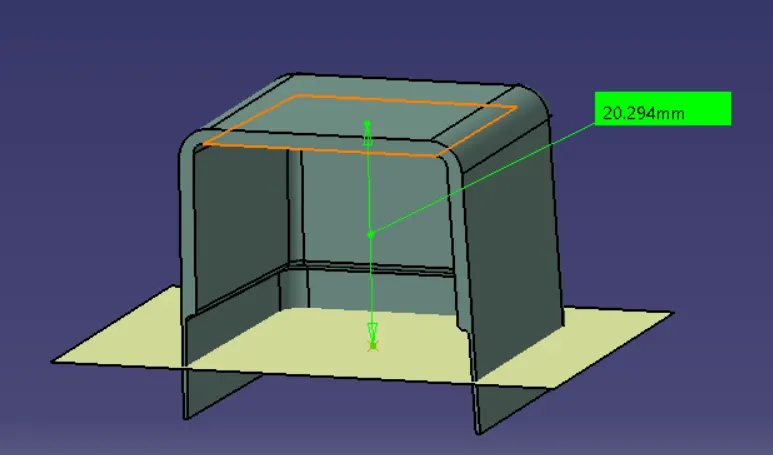
Draft Analysis of the dog house with main tooling axis:
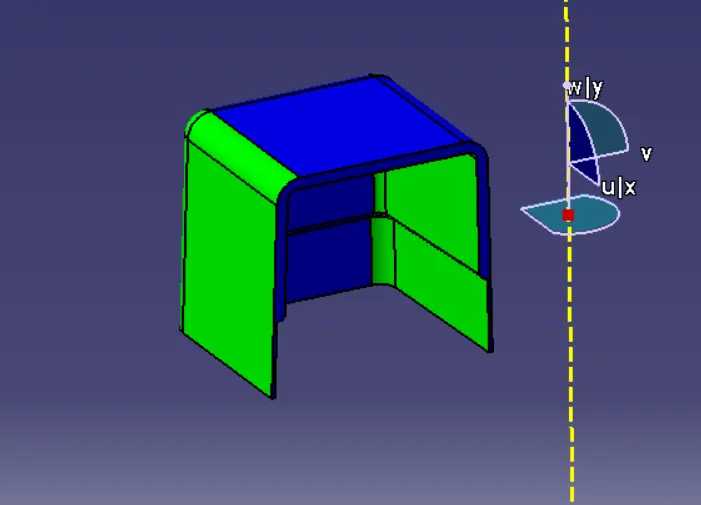
Draft Analysis of the dog house with sidecore axis:
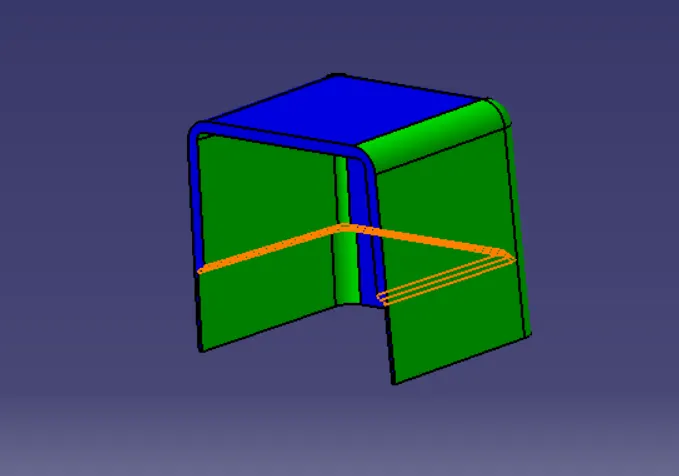
Final Body Draft Analysis :
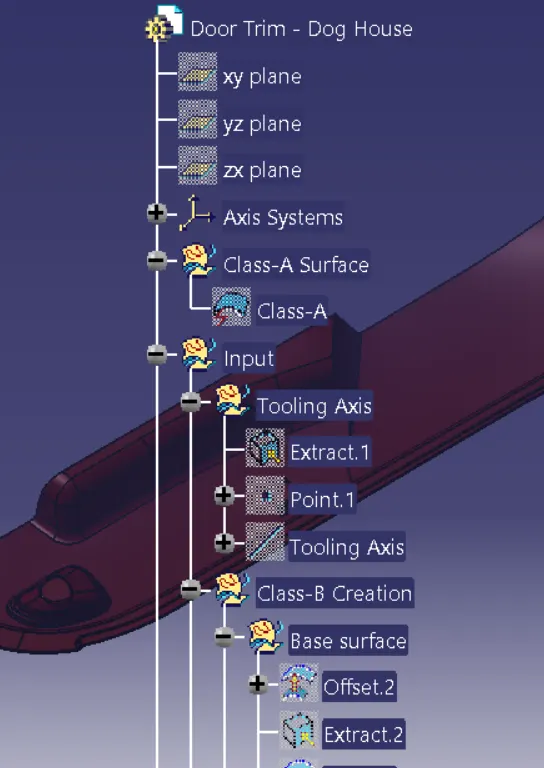
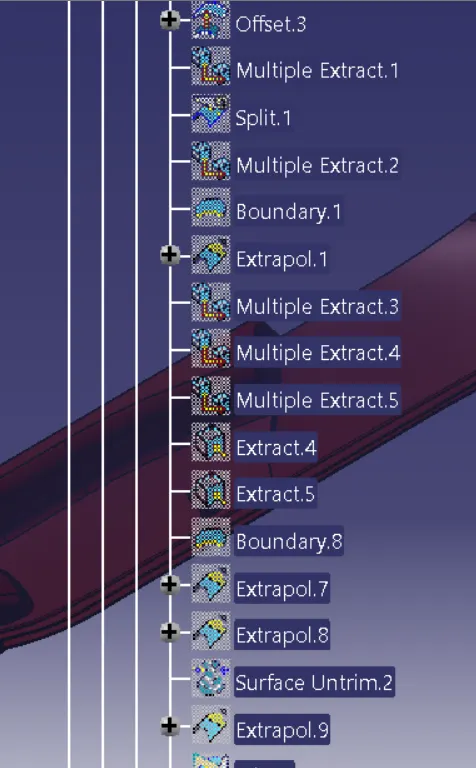
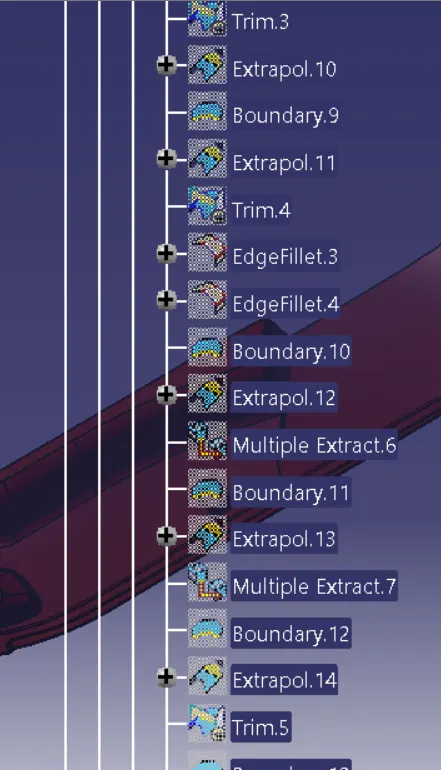
Tree Structure:
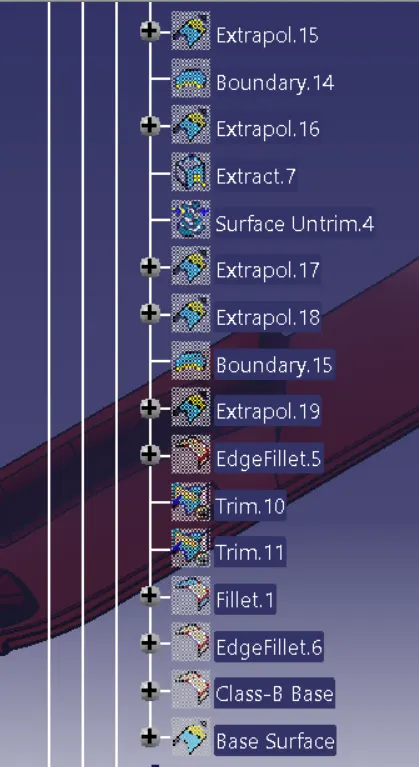
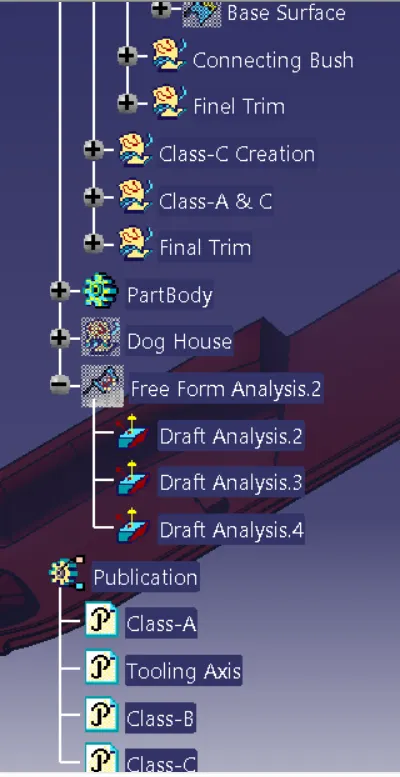
Orientations:
Isometric View:
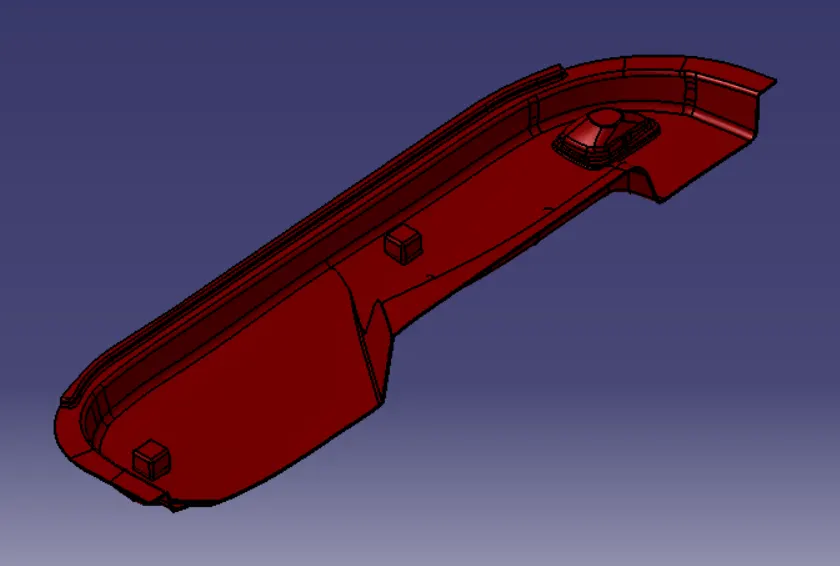
Left Side View:
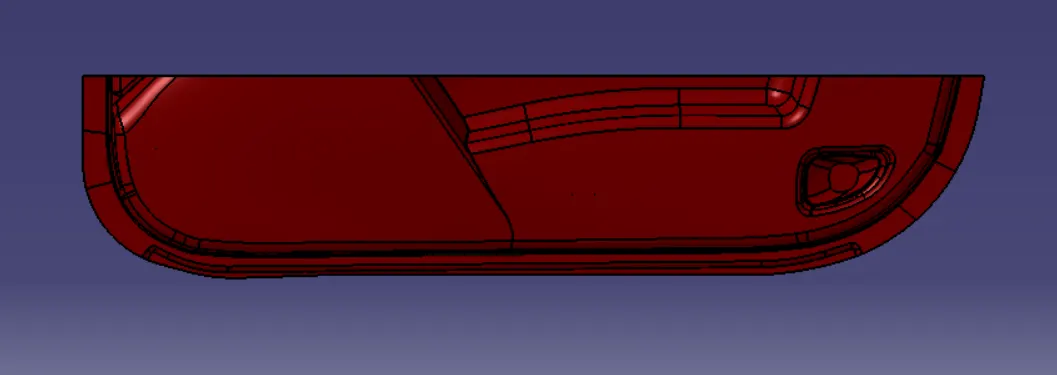
Right Side View:
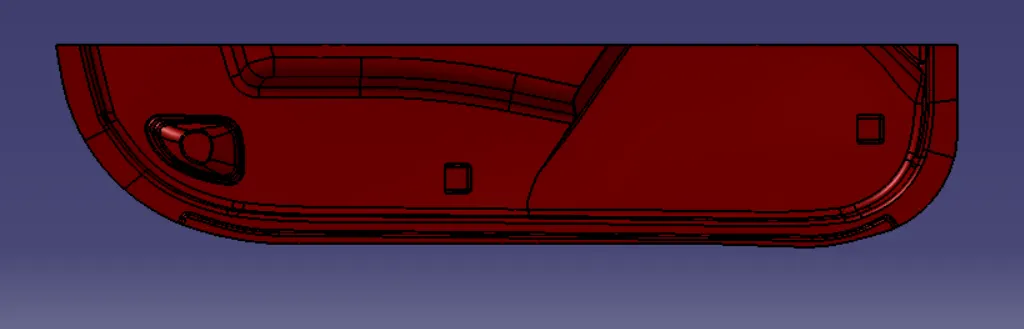
Top View: