Week 10 - Challenge 2- Attachment Feature Creation (Dog House)
Week 10 Challenge 2
Attachment Feature Creation (Dog House)
Introduction
Create the Attachment Feature Creation (Dog House) Plastic component through the Class-A surface. To begin with, the tooling axis for the given Class-A Surface should be created meeting the requirements of the draft angle, and also design a rib and screw boss at the end to perform the Draft analysis on the model.
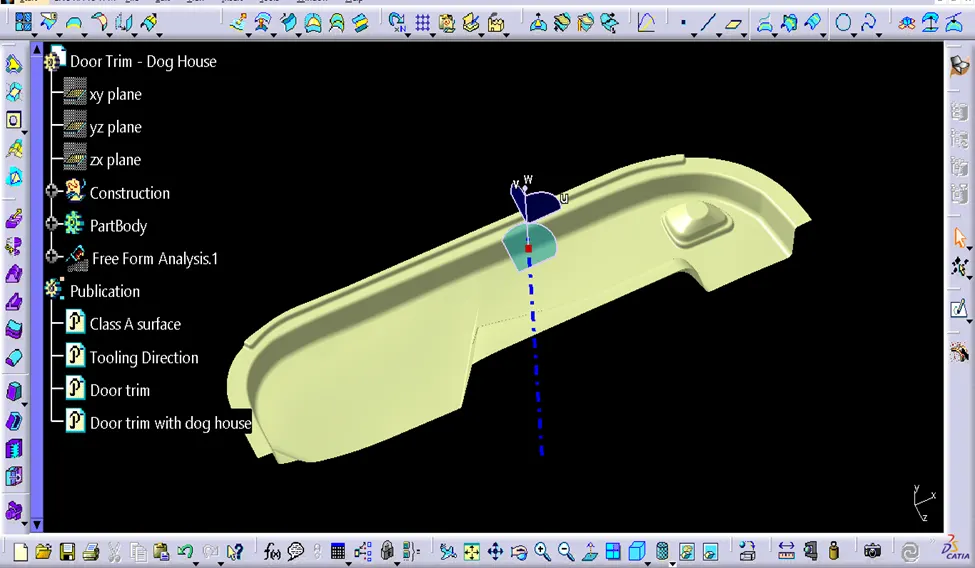
Tooling axis Creation
In injection molding, the Class A surface is first analyzed to determine the axis or tooling direction that separates the molds. Tooling direction is critical for plastic product design because it determines mold direction
What is Draft Analysis?
Draft Analysis
For molded or cast parts, the draft angle is the amount of taper perpendicular to the parting line. It is measurable in degrees. Because plastic shrinks and sticks on molding surfaces as it cools, we draft the walls of the plastic part so that it ejects or breaks free from the molding surfaces more easily and without dragging. To reduce the risk of damage to the parts and ensure ejection, a functional injection molding part must have drafts on both the cavity and core sides.
Nominal values for Draft angles
- 3 Degrees is a nominal draft angle
- 5 Degrees can also be manufactured. Increasing the manufacturing cost
- 7 Degrees is considered for Textured surface parts
Importance of Draft in injection molding
- Reduces the possibility of part damage due to friction during the release
- Reduces mold wear and tear
- Ensures a uniform, smooth, unscratched finish
- Ensures the integrity and uniformity of other surface finishes and textures
- Reduces overall cooling time by reducing or eliminating the need for unusual ejection setups
Steps followed for Draft Analysis
- The created part must be changed to the material mode in the display frame
- Compass is enabled and placed in the direction of the Tooling Axis
- The lock command is then used to fix the compass along the tooling axis
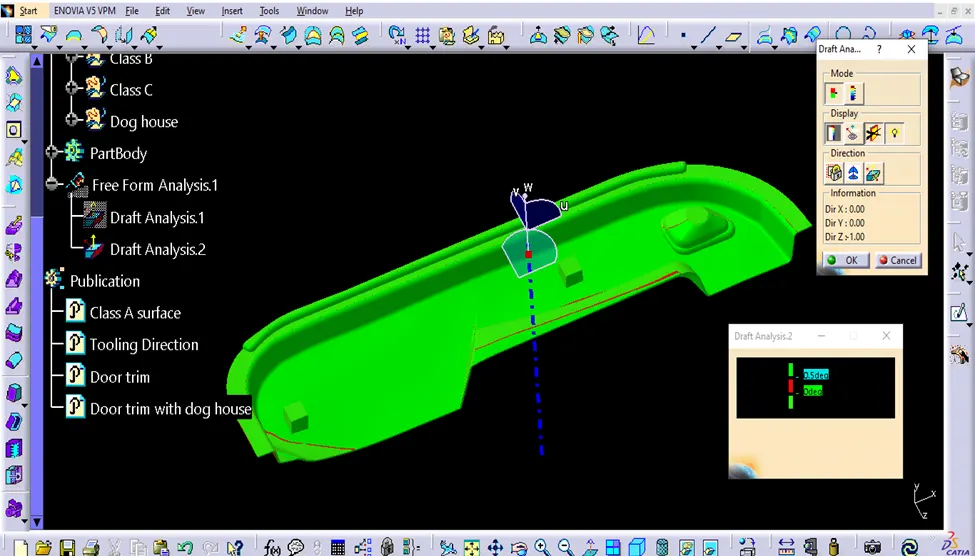
- Color codes are classified and a Draft angle is applied
- Running point analysis is used to display permissible draft angle
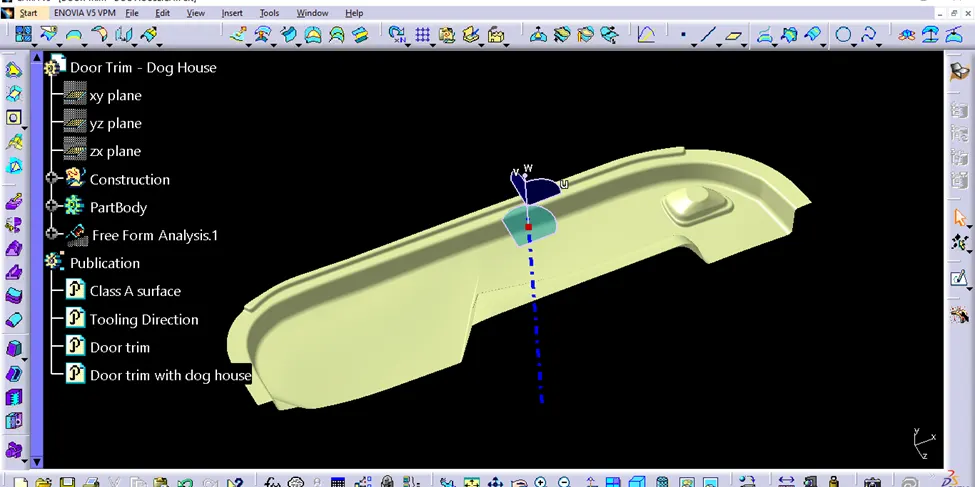
Input given: class A surface
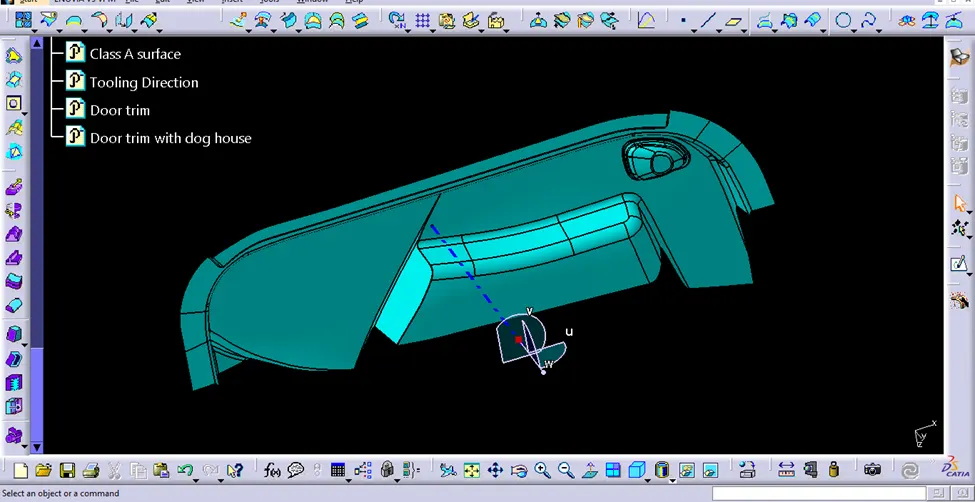
Creation of Class B Surface
It is the offset surface of the Class A Surface the offset value depends on the thickness of the material, here the offset value is 2.5mm
Class C surface
The surface that Joins both Class A and Class B surfaces is considered to be Class C Surface
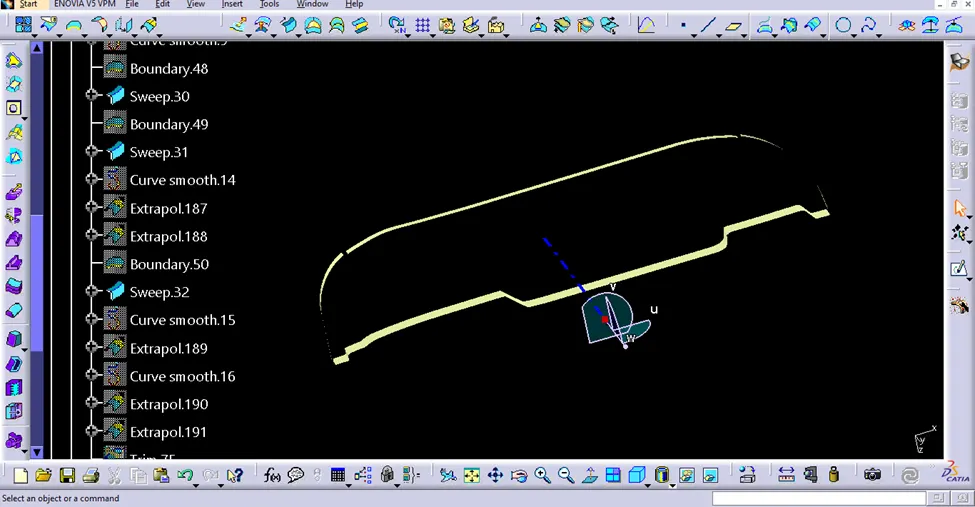
Class (A+B+C)
Here we combine all the surfaces into one closed surface using the Trim tool Command
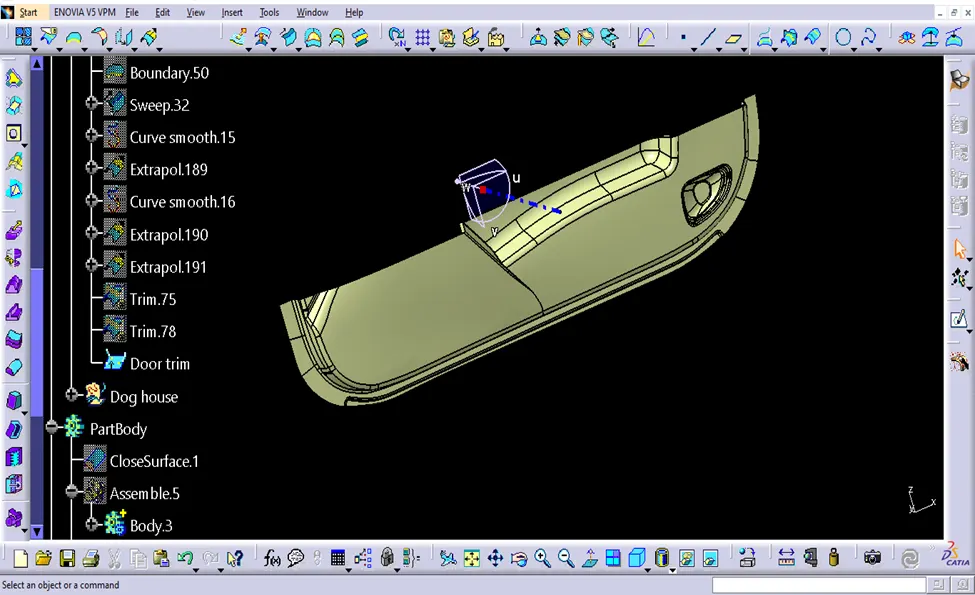
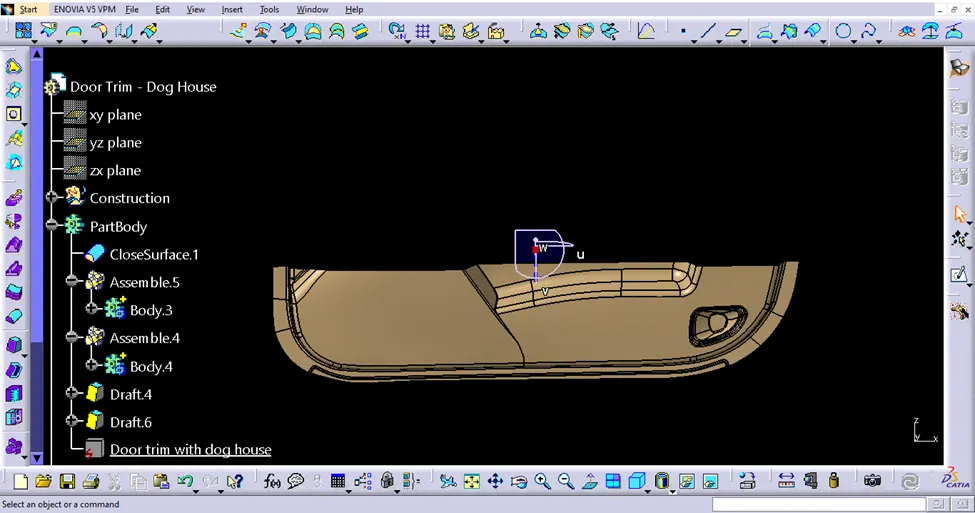
Conversion of Closed surface into Solid Part
Using Solid Command, we convert the closed surface to a solid surface in the Part model
Creating B Surface Attachment Feature Dog House
Creating Dog House on B Surface
Dog houses are designed to avoid Sink marks created on the CLASS-A surface by screw bosses and to solve the length issues when giving screw bosses which need to be assembled to other components. It is also useful when perpendicular screw bosses are required on the part of the tooling direction.
The dog house is an engineering feature used in the plastic trim design. Dog houses are used as supporting features. Sometimes other engineering features like snaps, locators, etc. are mounded on them to increase their strength. Dog house and other engineering Features are built on B-surface.
Design Rules For Dog House Creation
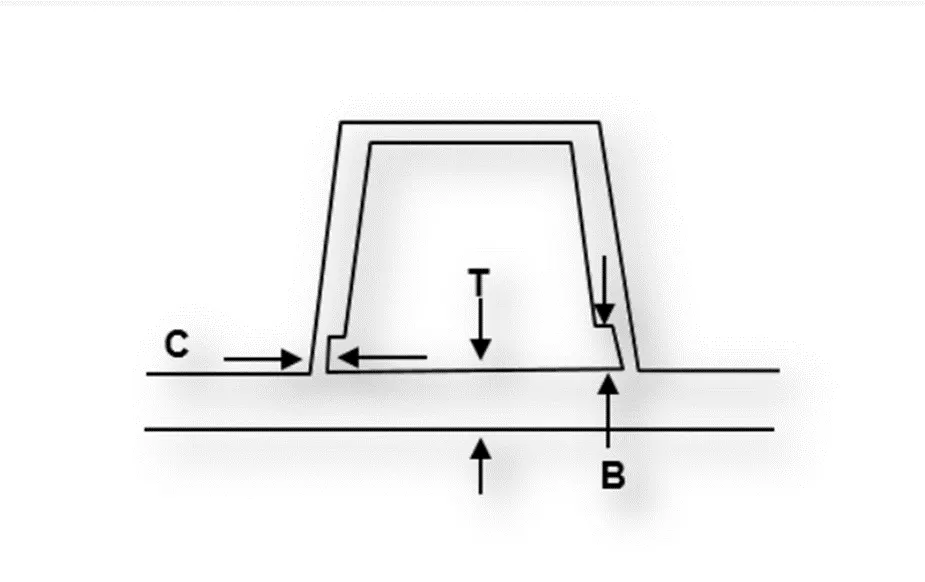
"C" is where the doghouse contacts the backside of the surface
Doghouse wall thickness at the intersection of the part wall (C) should be 40% or less than the main wall stock (T).
The height of (B) should be between 3.0 – 6.0 mm
C 40 % of T or ≤ T
B 3 - 6 mm
Width ≥12 mm
Width to Height Ratio 3:1
Draft 1.5
Side Core Axis or Lifter Axis
The side core axis is also a type of Tooling Axis, we can say it is an additional tooling axis for sub-elements on our part body in different axis.
Here we used the axis for inside clearance for the dog house part.
Inside walls of the dog house was drafted with those side core axis at 0.5 degrees draft angle with a pilling direction of the same.
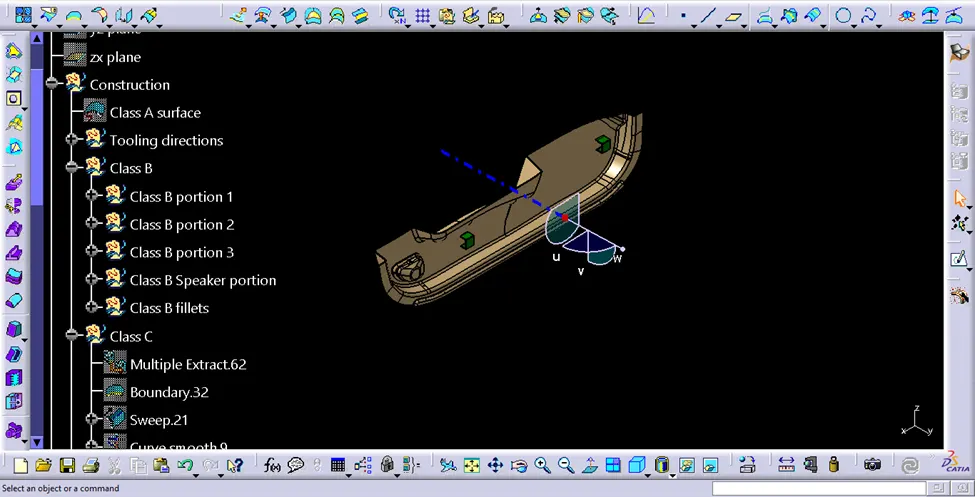
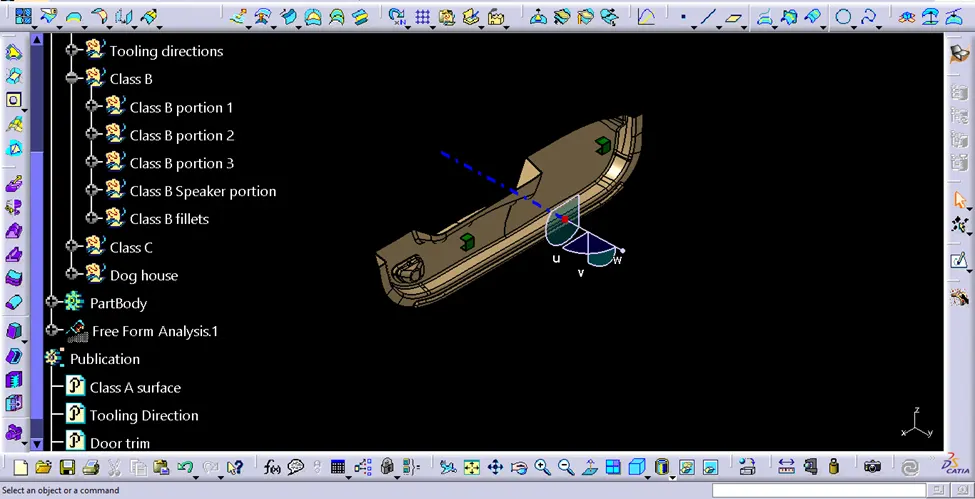
Views of the parts
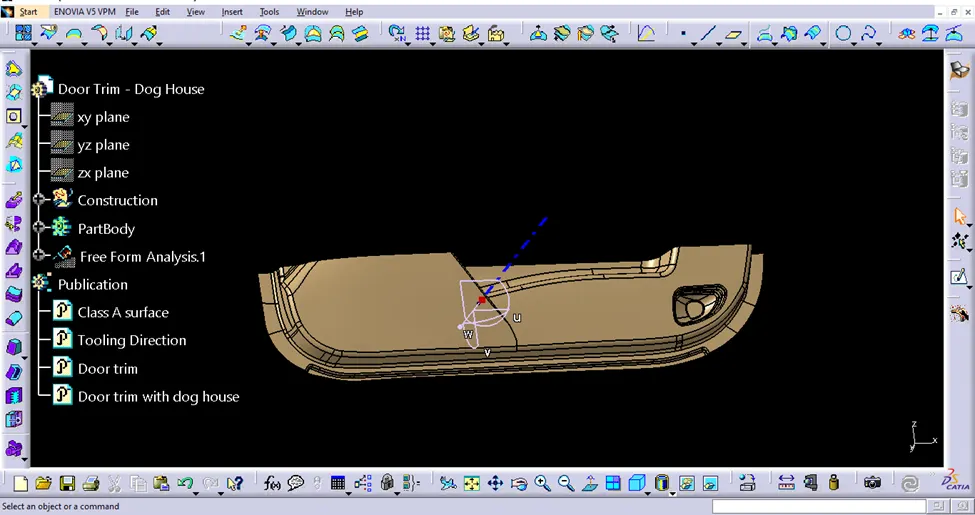
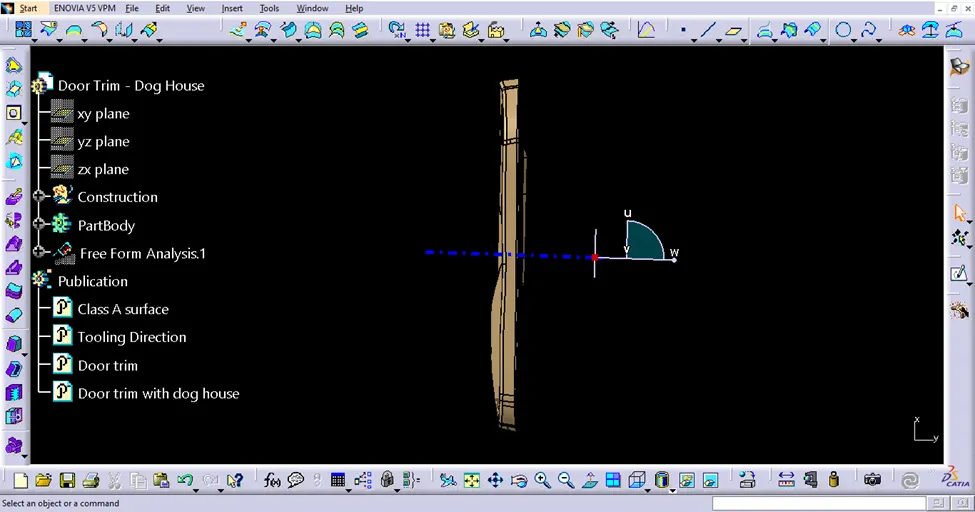
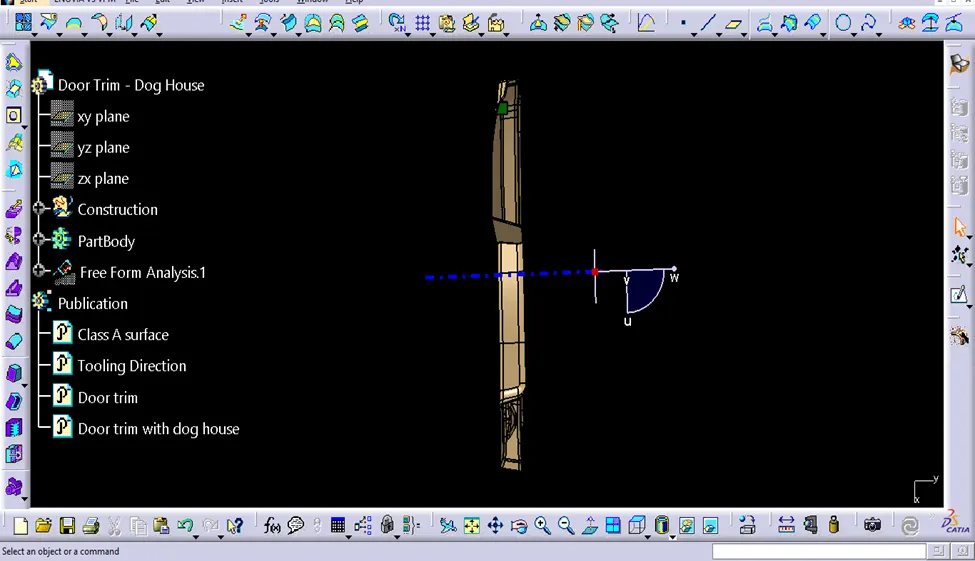
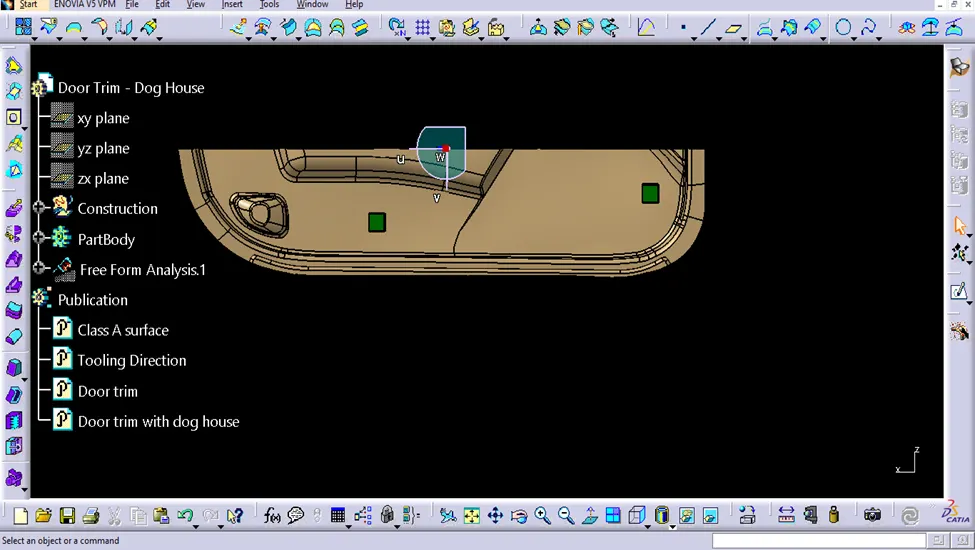
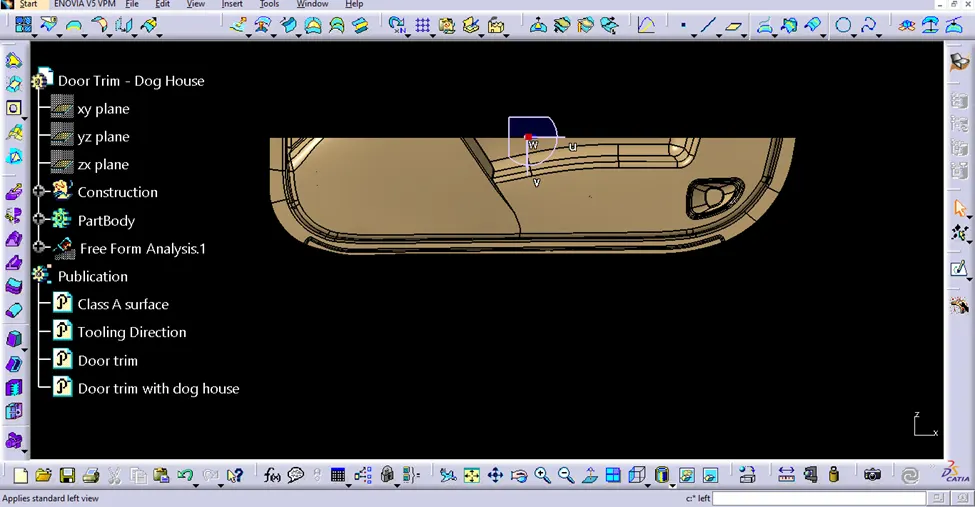
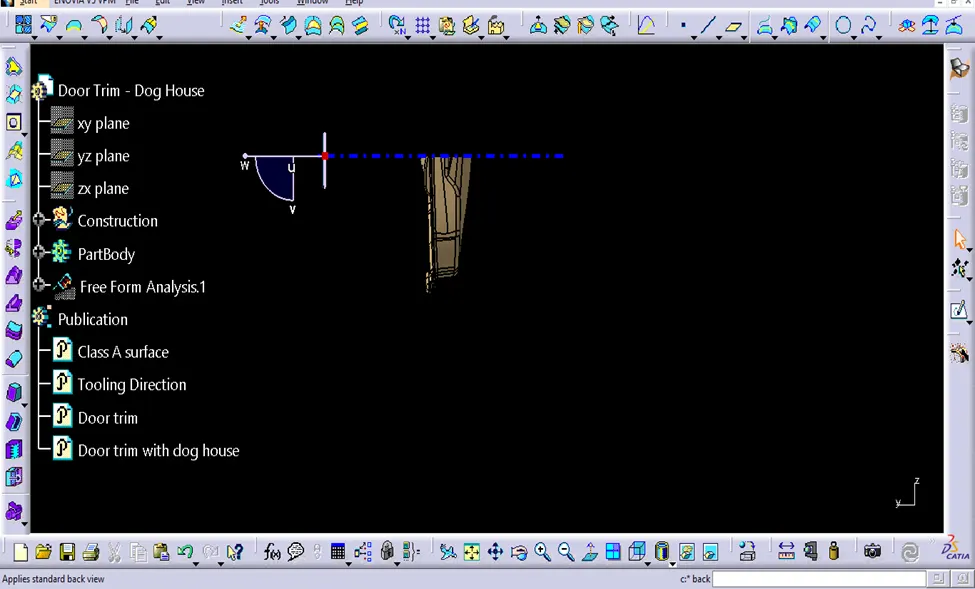
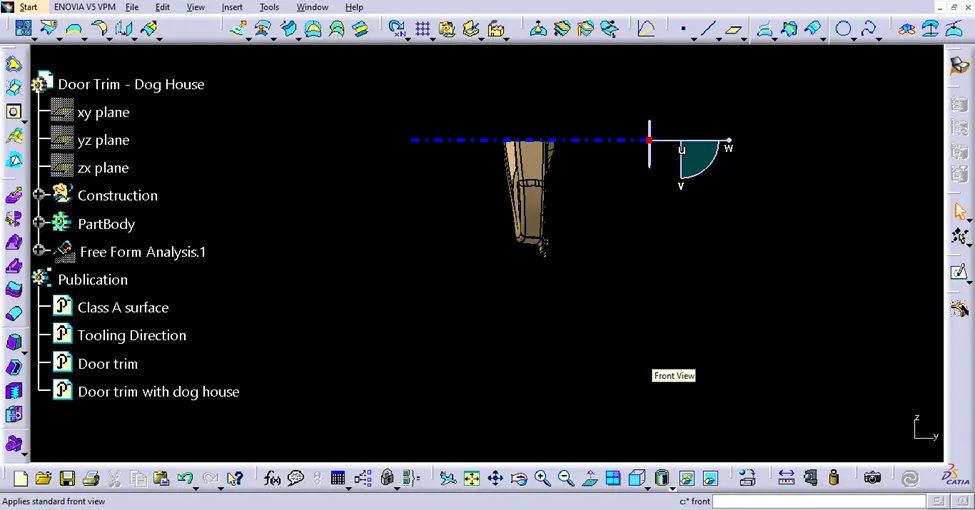
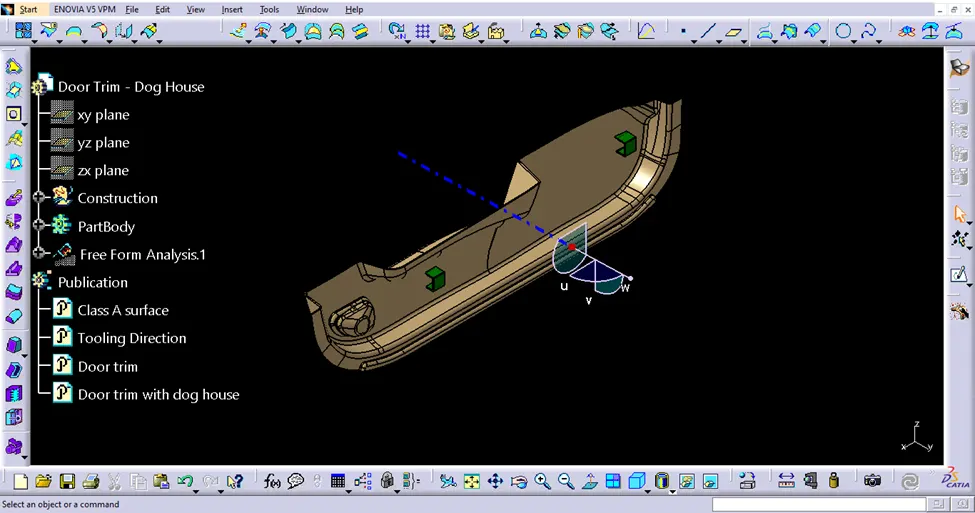
Feature Tree of the parts
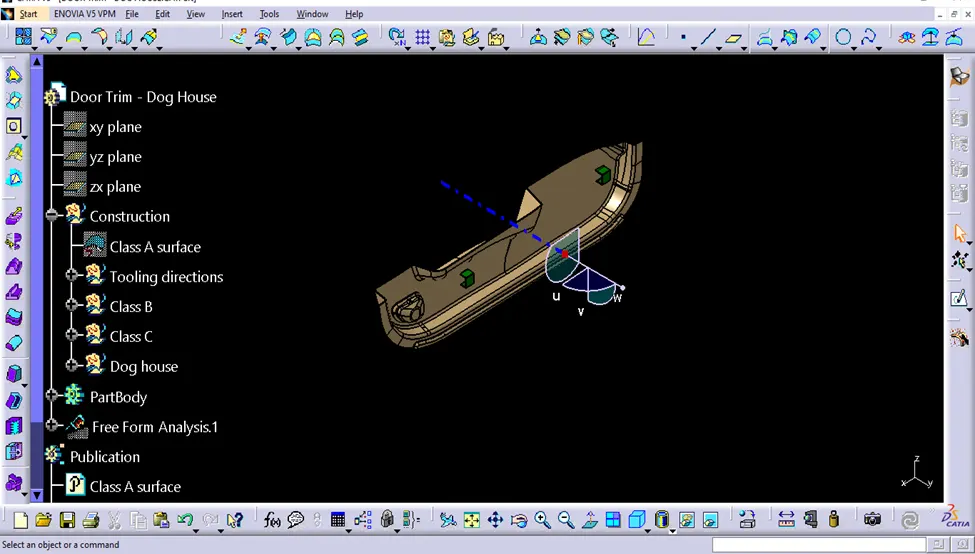
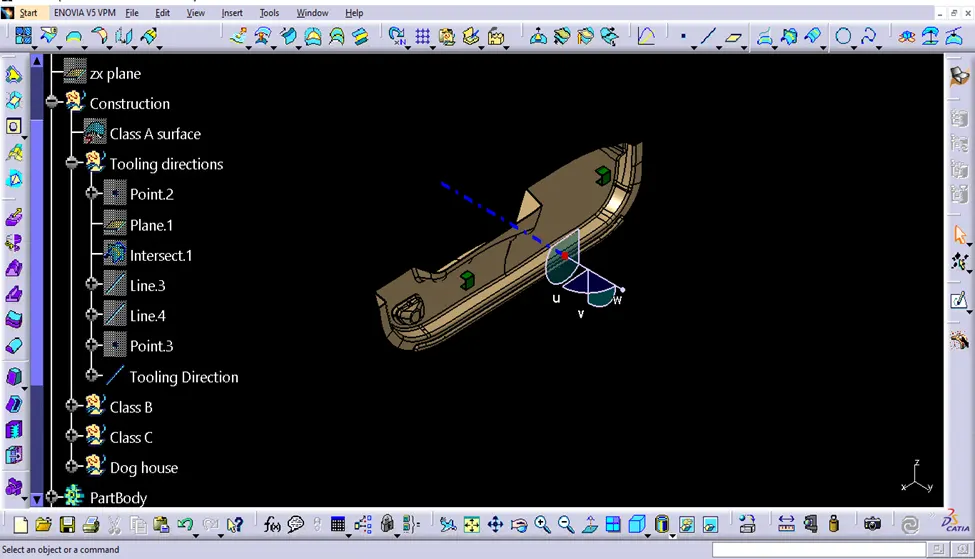
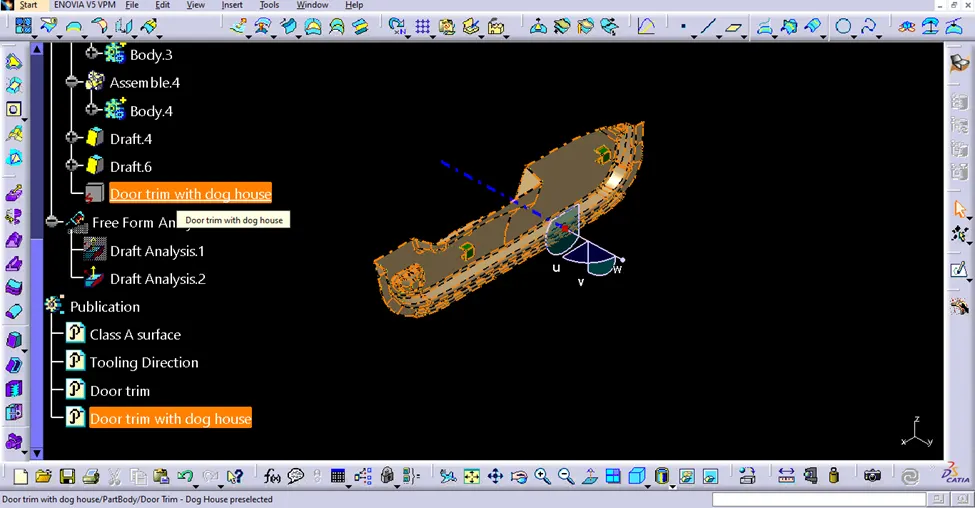
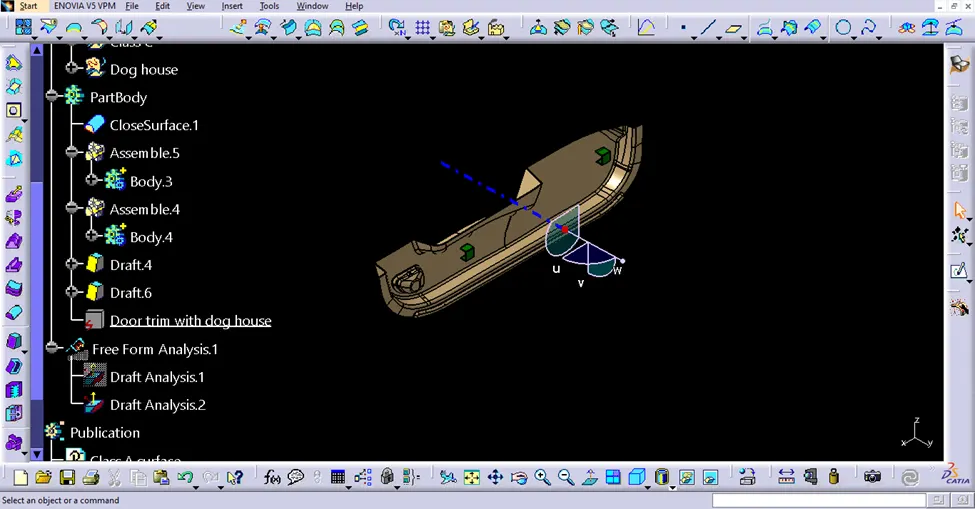
Performed draft analysis closed surface
Draft analysis is an essential step in plastic part design to ensure that the part can be successfully ejected from the mold. In CATIA, there are two main methods for performing draft analysis:
- Visual draft analysis: This method involves manually inspecting the part for undercut features. An undercut feature is a feature that has a negative draft angle, which means that it slopes away from the main parting line. Undercut features can cause problems during ejection because they can prevent the part from being pulled out of the mold.
- Automated draft analysis: This method uses CATIA's built-in draft analysis tools to automatically identify undercut features and calculate the draft angles at all points on the part. This is a more accurate and efficient method for performing draft analysis, but it is only available in CATIA V5R20 and later.
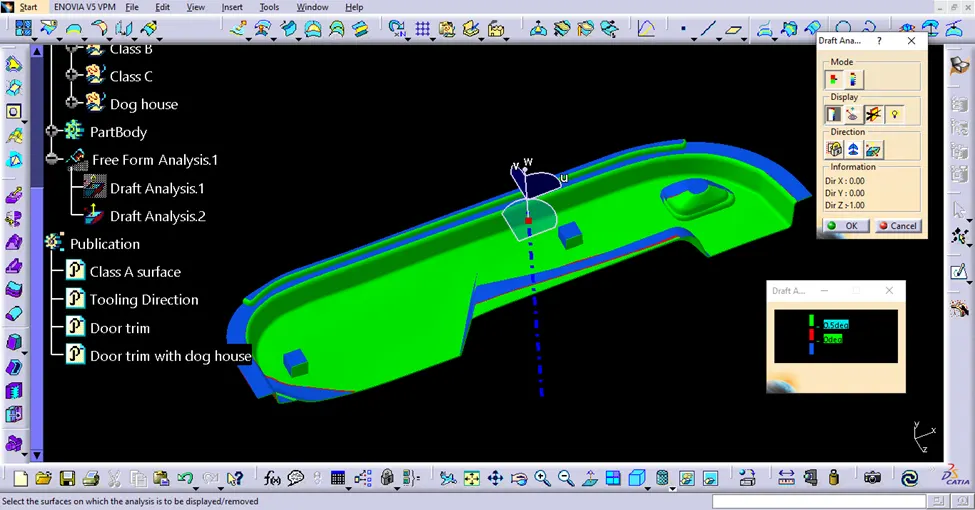
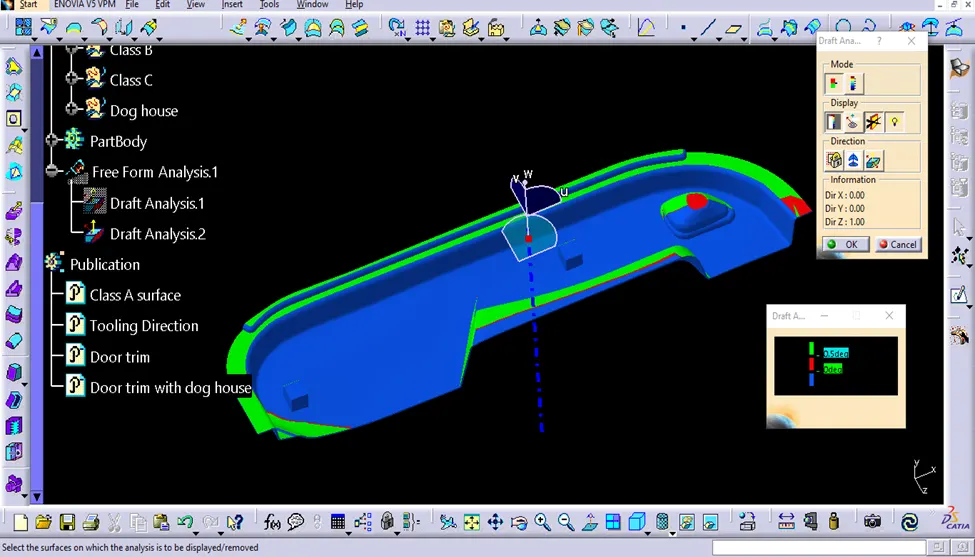
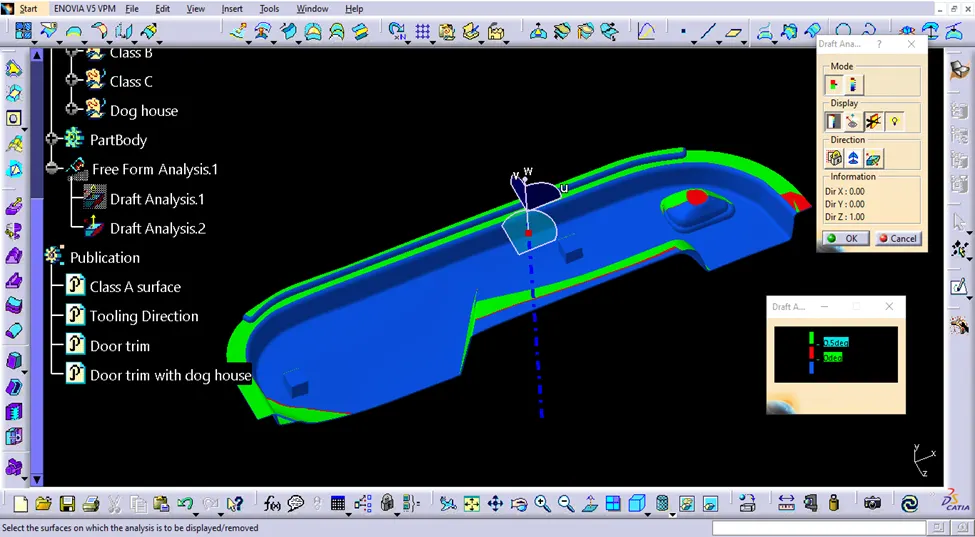
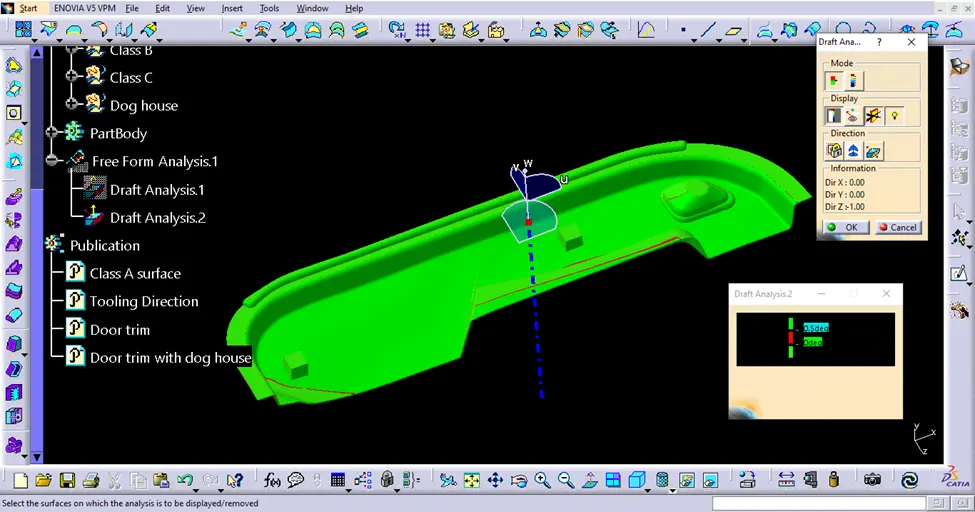
Analysis shows the drafted walls of Attachment Feature Creation (Dog House) are above 3 degrees which is permissible for manufacturing in injection molding
Conclusion
Creating the Attachment Feature Creation (Dog House) Plastic component through the given Class-A surface, Draft Analysis, Dog House is successfully completed.