Usage of Navigation tool , Timeliner and Clash Detection test using Naviswork
AIM: To use the architecture/ structure project file to export revit architecture and structural model to Naviswork cache file
TOOLS USED:
- FILE
- EXPORT
- NWC
PROCEDURE:
- open an architectural model created in week 8
- click on 3D view
- go to file
- click on export and save as NWC
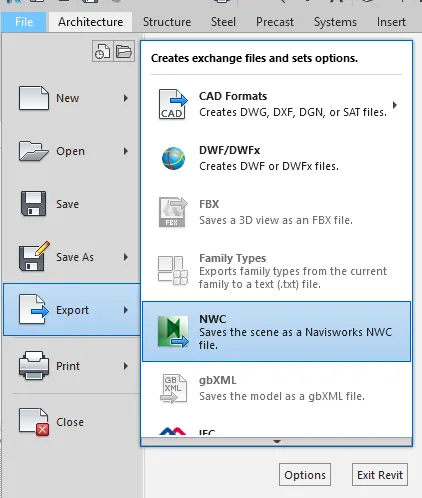
- repeat it for both architctural and structural model
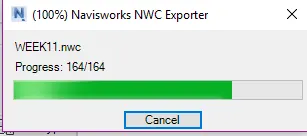
- open the filesin NAVISWORK Software
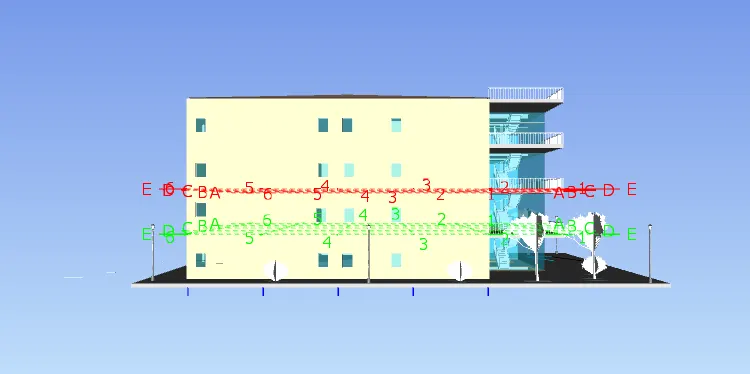
RESULT: revit architecture and structural model has been exported to Naviswork cache file.
2)
AIM:To Use Navigate Tool to walk around the model and walk through the rooms created and record my moving as animation in Navisworks file
TOOLS USED:
- NAVISWRKS
- VIEW POINT
- WALK
- RECORD
- STOP
PROCEDURE:
- Open the file exported previously
- clik on view point
- click on walk
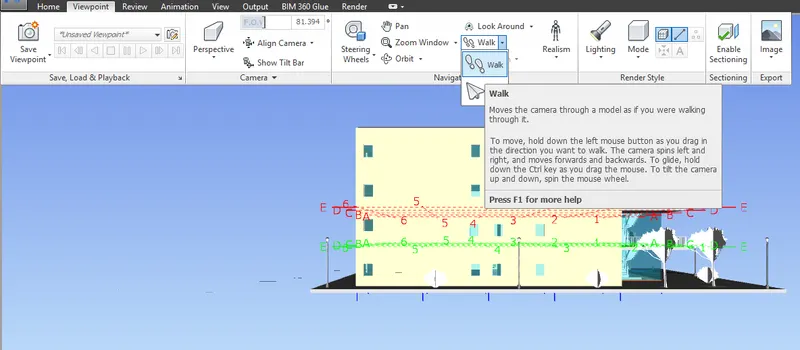
- go to animation tab click on record and it will star recording

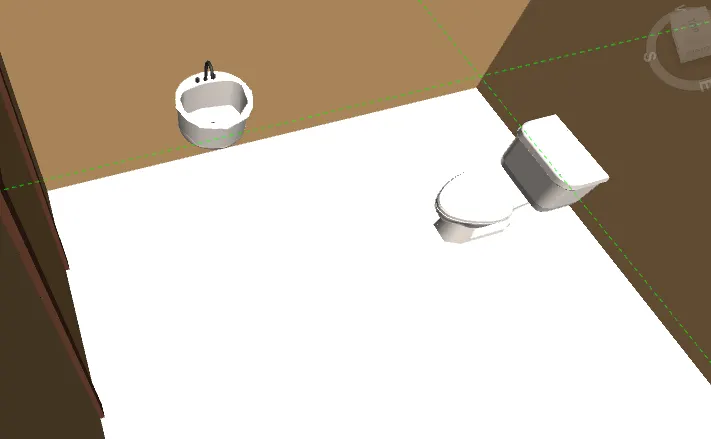
- walk throughly all the rooms
- click on stop after finishing
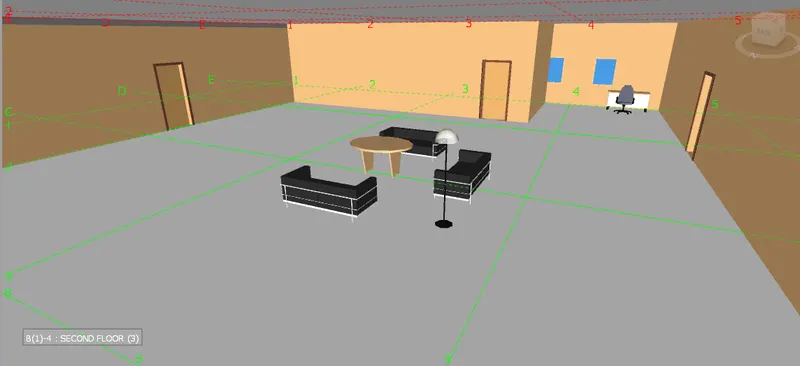
RESULT: Animation is recorded for the rooms walked thorugh and stored in saved view points
3)
AIM: Using navigate tool to use realism feature to walk through the model and record moving as aniation in Navisworks file
TOOLS USED:
- VIEW POINT
- REALISM
- WALK
- STOP
PROCEDURE:
- open the architectural model in naviswork
- click on view point and select the view
- click on realism command
- check on third person and select the record option
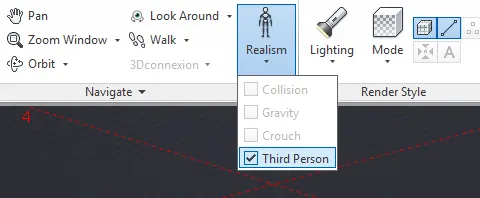
- select walk
- walk through all the rooms of model
- click on stoP
RESULT: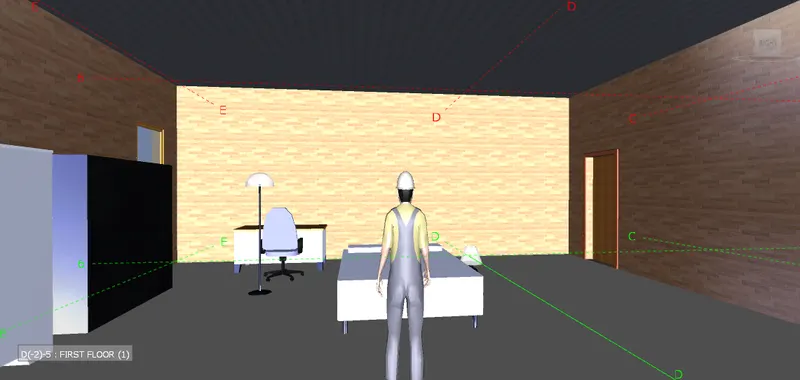
4)
AIM: To embed both architectural and structure *.nwc file to navisworks file and create a clash detection between thhe two models
TOOLS USED:
- HOME
- OPEN
- APPEND
- CLASH DETECTION
- RUN TEST
PROCEDURE:
- Open the architectural file in naviswork
- click on append in home tab
- select the structural model to identify clashes between models
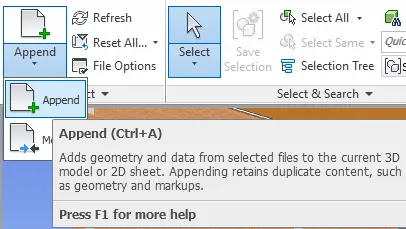
- click on clash detective
- select the architectural in one section and structural in other section
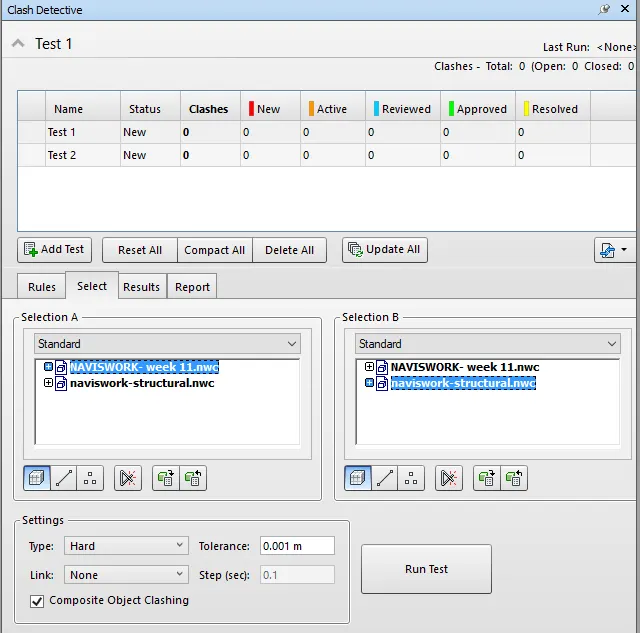
- click on run test
- after test study aboout clashes like beams colukns etc.,
- list the clashes which can be approved,reviewed,resolved by selcting them in drop down menu
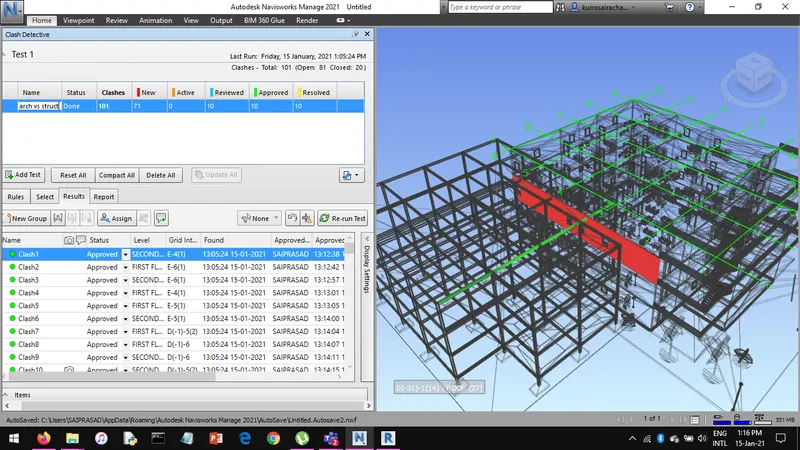
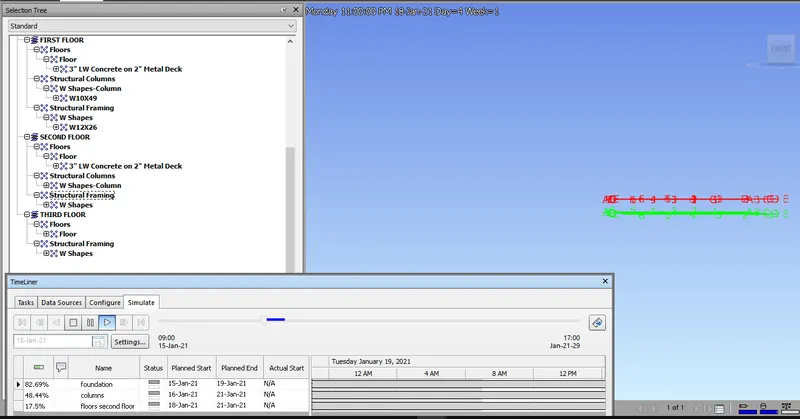
5) AIM: To use timeline feature in naviswork and prepare a schedule for the project developed in week 6 to 8 by addding reasonable assumptions for taskdate and end date and simulate the task completion as a visual simulation.
TOOLS USED:
- HOME
- TIMELINER
- ADD TASK
- ATTACH THE MATERIALS
PROCEDURE:
- open the structual file in naviswork exported from revit
- go to home
- click on timeliner
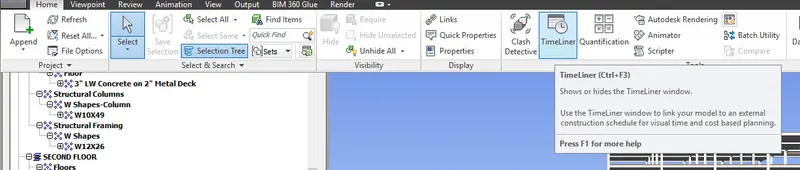
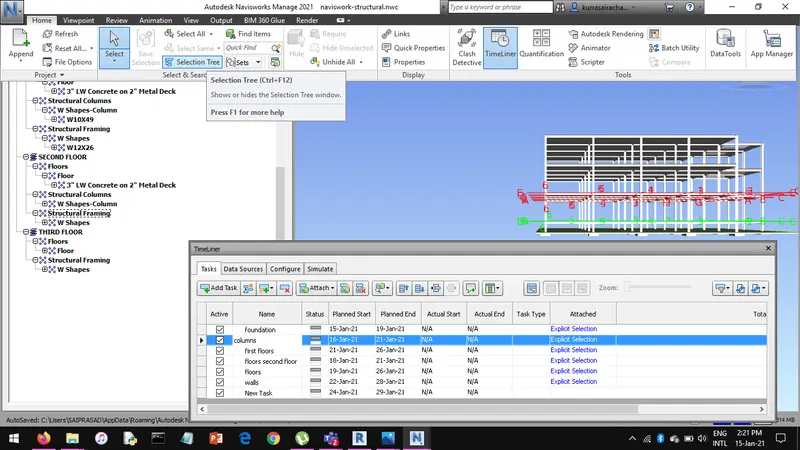
- add tasks and attach the materials by clicking on selection tree
- assign planned and actual start and ends dates to task
- Follow the the same procedure for entire building in which order the tasks have to complete
- click on record
- click on simulate to play recorded tasks and stop recording