Usage of Navigation tool , Timeliner and Clash Detection test using Naviswork
USAGE OF NAVIGATION TOOL, TIMELINER, AND CLASH DETECTION TEST USING NAVISWORK
AIM -
TO STUDY THE USAGE OF NAVIGATION TOOLS, TIMELINER, AND CLASH DETECTION TESTS USING NAVISWORK
INTRODUCTION -
Autodesk Revit is a building information modeling software tool for architects, landscape architects, structural engineers, mechanical, electrical, and plumbing (MEP) engineers, designers, and contractors. The original software was developed by Charles River Software, founded in 1997, renamed Revit Technology Corporation in 2000, and acquired by Autodesk in 2002. The software allows users to design a building and structure and its components in 3D, annotate the model with 2D drafting elements, and access building information from the building model's database. Revit is 4D building information modeling capable with tools to plan and track various stages in the building's lifecycle, from concept to construction and later maintenance and/or demolition
Autodesk Navisworks Manage software is a comprehensive project review solution that supports coordination, analysis, and communication of design intent and constructability. Used primarily in construction industries to complement 3D design packages (such as Autodesk Revit, AutoCAD, and MicroStation) Navisworks allows users to open and combine 3D models, navigate around them in real-time and review the model using a set of tools including comments, redlining, viewpoint, and measurements.
1) Use the Architecture/ Structure Project file developed by you in weeks 6 to 8. Export the Revit architecture and structure model to the Navisworks Cache file following the export settings discussed in class
PROCEDURE -
STEP 1
- To export the Revit file to navies work we have to first download the navies work exporters
- So go to the Autodesk webpage and search for navies work exporters and download the file
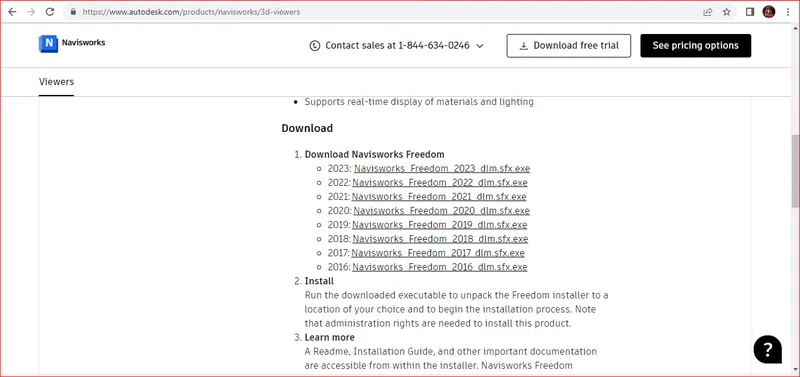
STEP 2
- After downloading the file install the file into the pc
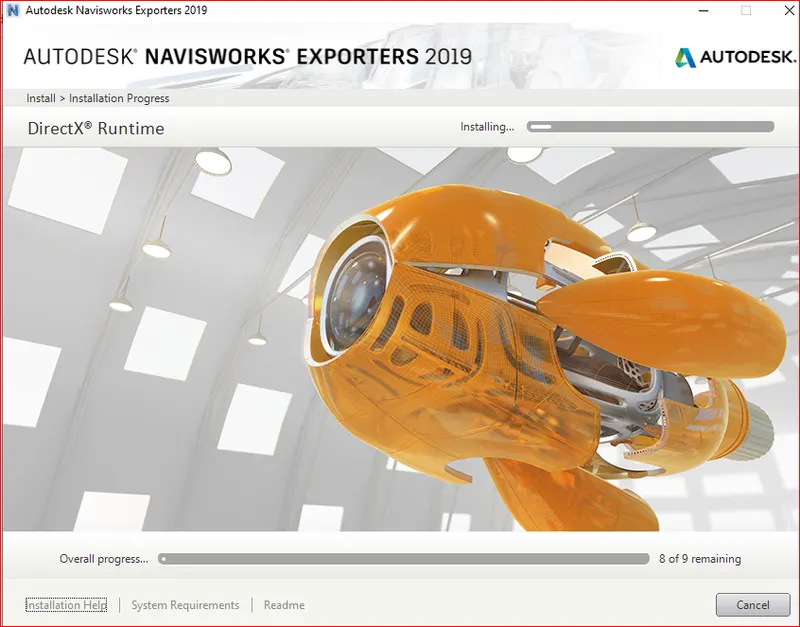
STEP 3
- Go to the Window search box to open a Revit workspace.
- In the window search bar type REVIT, and the icon of the Revit application will show on the screen
- Click on the icon of REVIT, the application of Revit will open and the user interface of Revit will show on the screen.
- Click on OPEN and open the model created in week 7
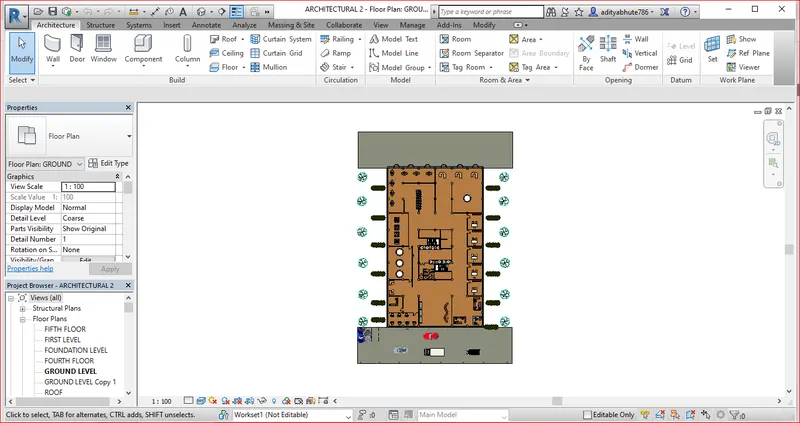
STEP 4
- Go to the file tab in the menu bar and click on EXPORT and select the NWC to export the Revit model into the navies work.
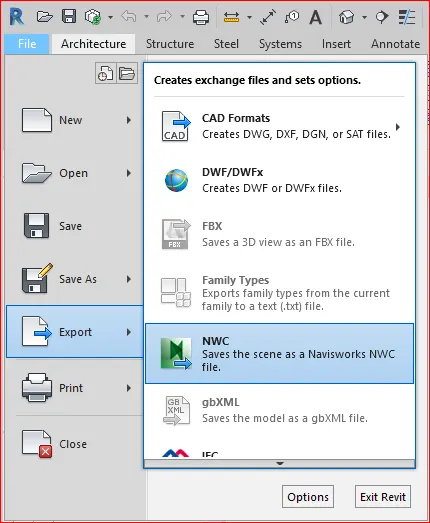
STEP 5
- After clicking on NWC the export process is the star as shown.
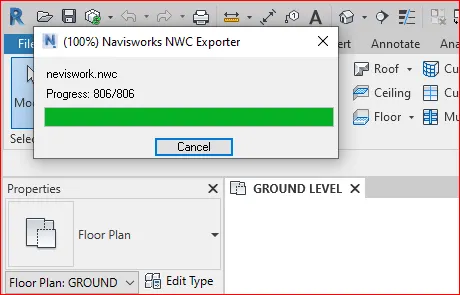
STEP 6
- Open the export file in the navies work manage
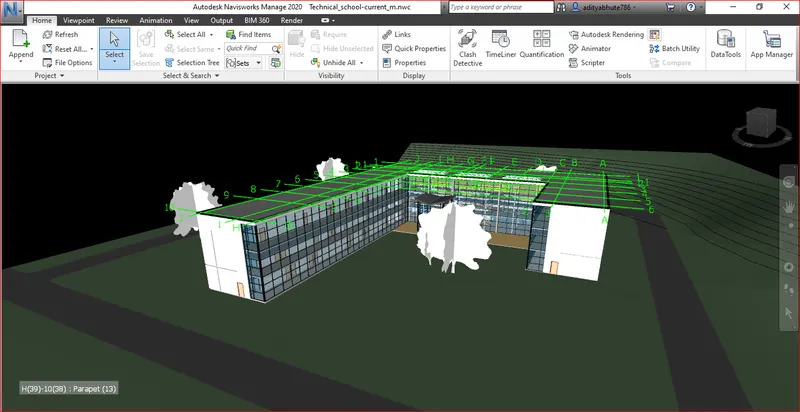
- Here in my case the file is corrupt so I will use the sample model of architecture from Revit.
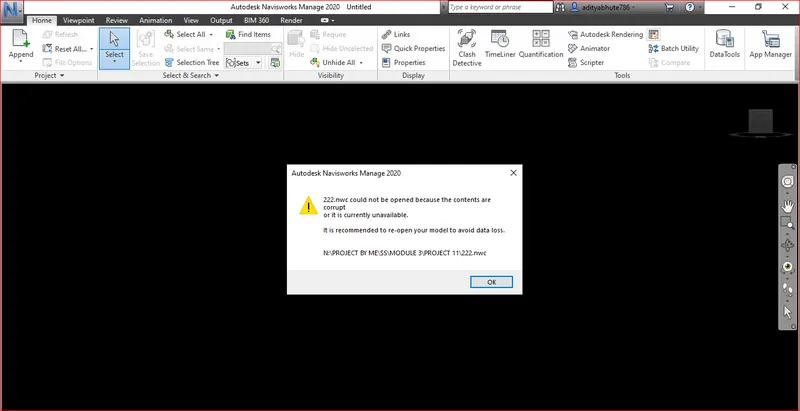
RESULT
TASK 2) Use Navigate Tool to walk around the model and walk through the rooms created and record your moving as animation in your Navisworks file
PROCEDURE -
- Open the last model export to the navies work
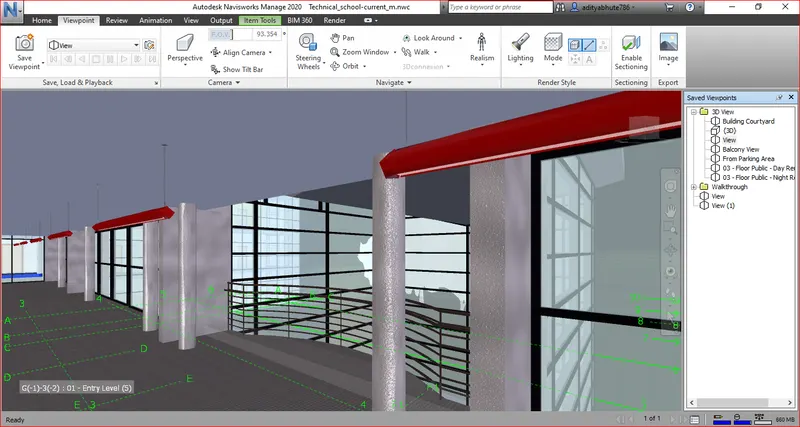
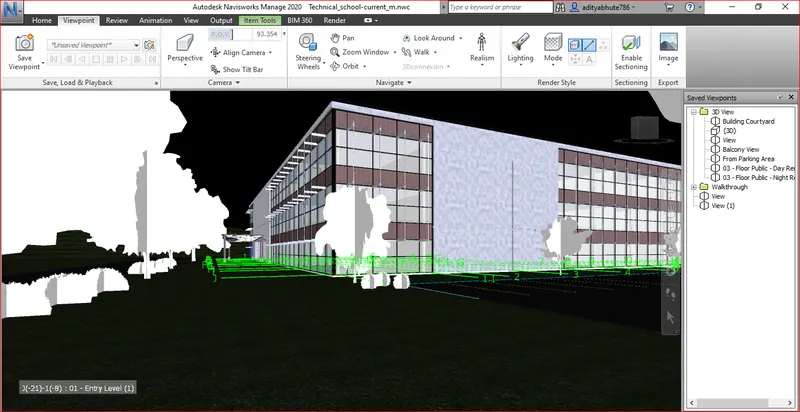
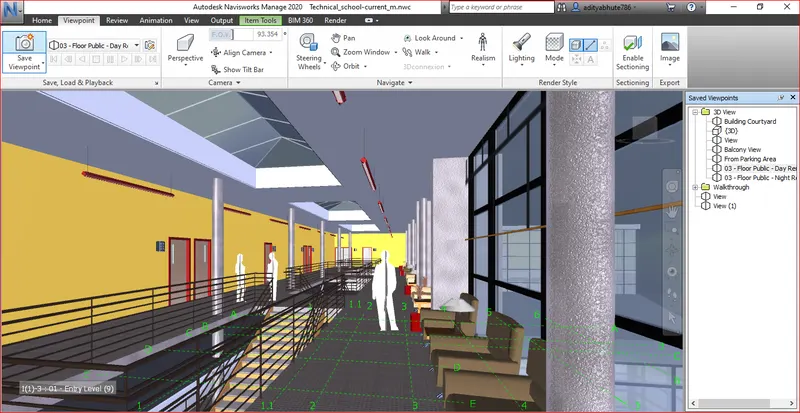
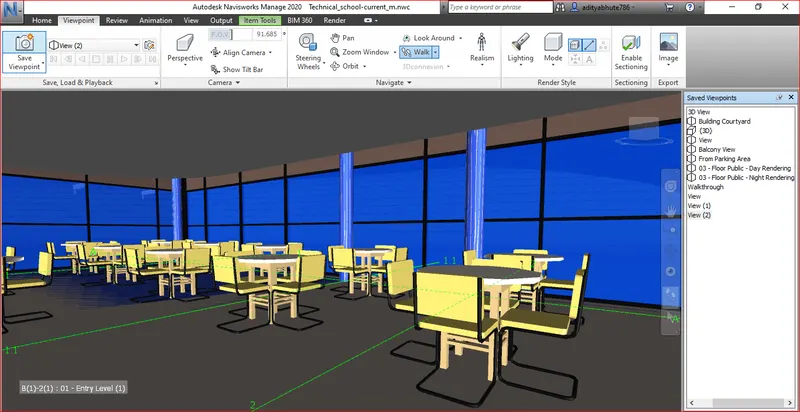
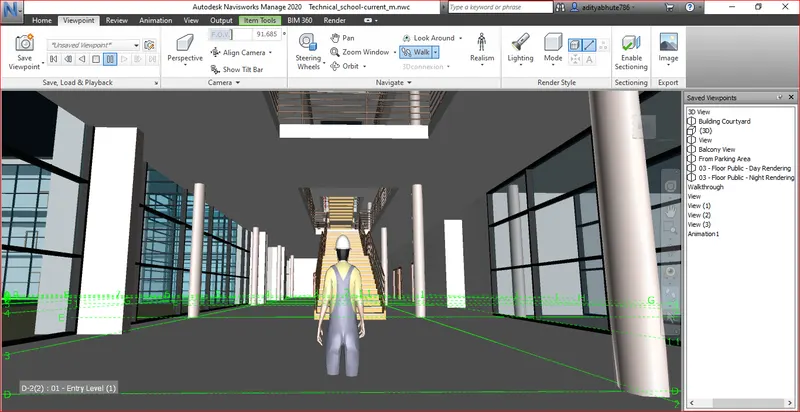
- And click on the walk feature in the home tab and press the front arrow on the keyboard to move forward.
BUILDING COURTYARD
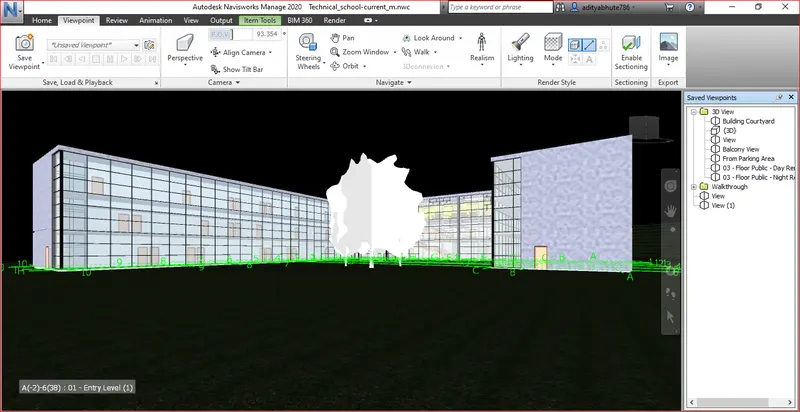
BALCONY VIEW
VIEW FROM OUTSIDE
FLOOR PUBLIC VIEW
STAFF ROOM
STAIR VIEW-
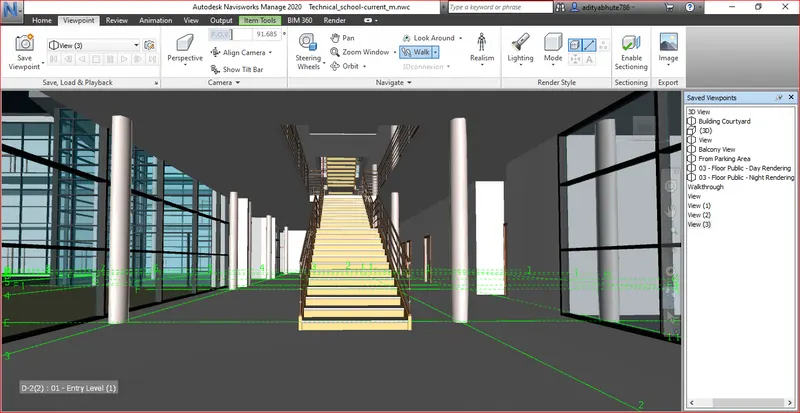
3) Use Navigate tool to use the Realism feature to walk through the model and record your moving as animation in the Navisworks file
PROCEDURE -
- To use of realism feature first open the Revit model in the navies work and then go to the home tab in the menu bar and click on Realism a drop-down will open and click on THIRD PERSON.
VIEW 1
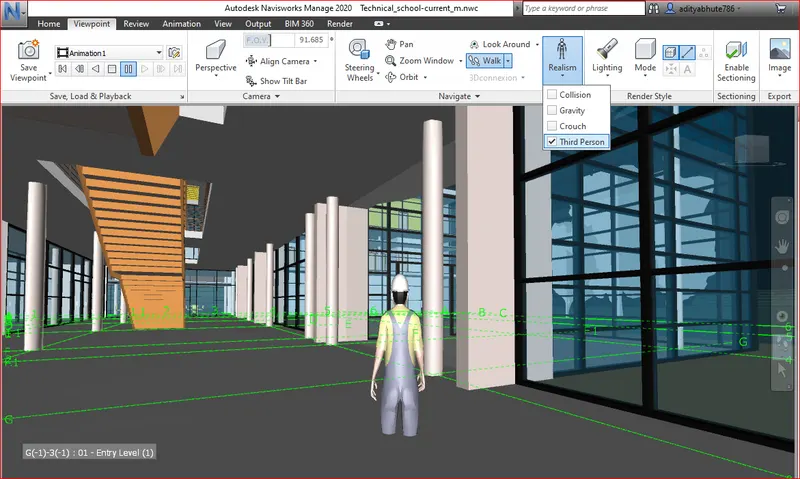
VIEW 2
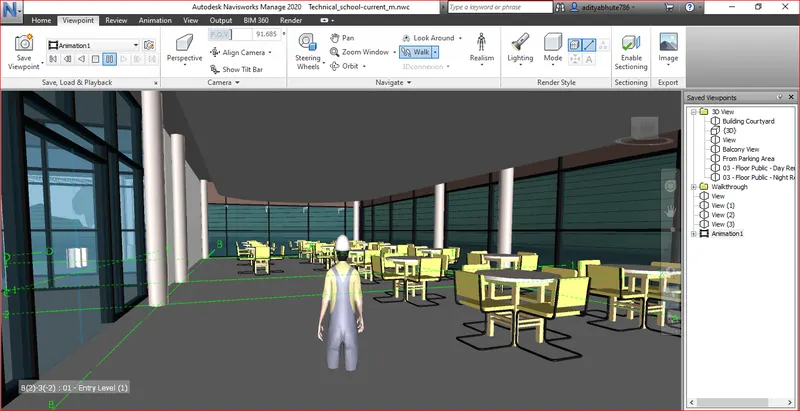
VIEW 3
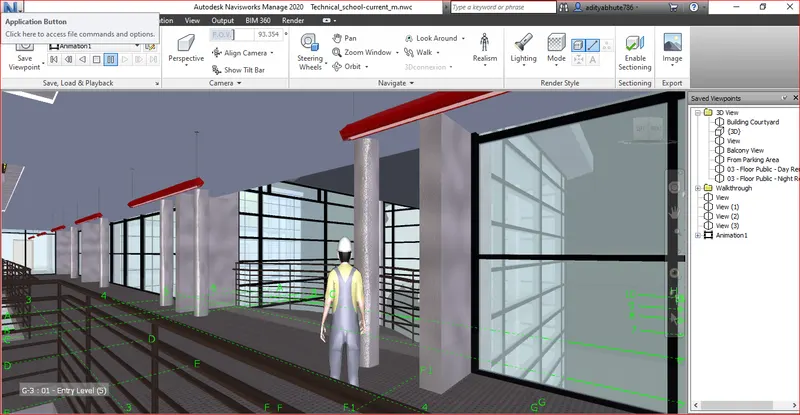
VIEW 4
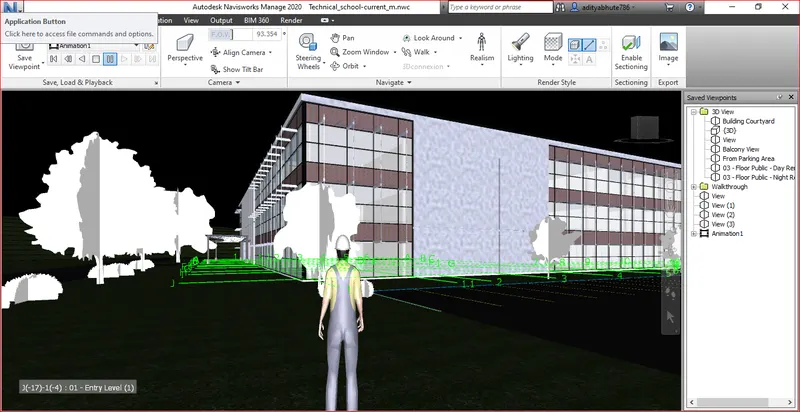
VIEW 5
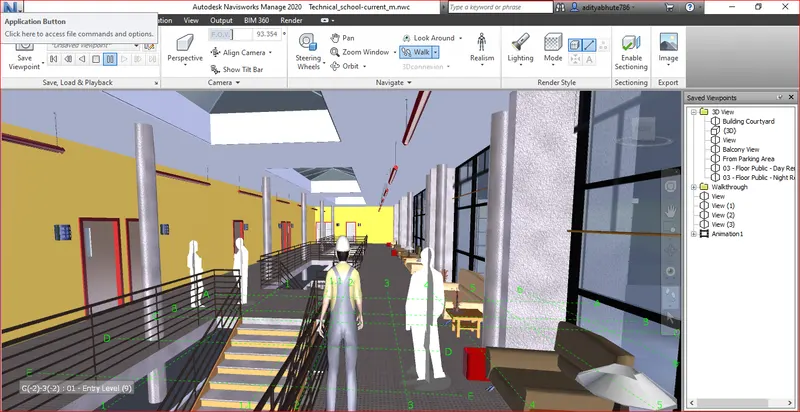
VIEW 6
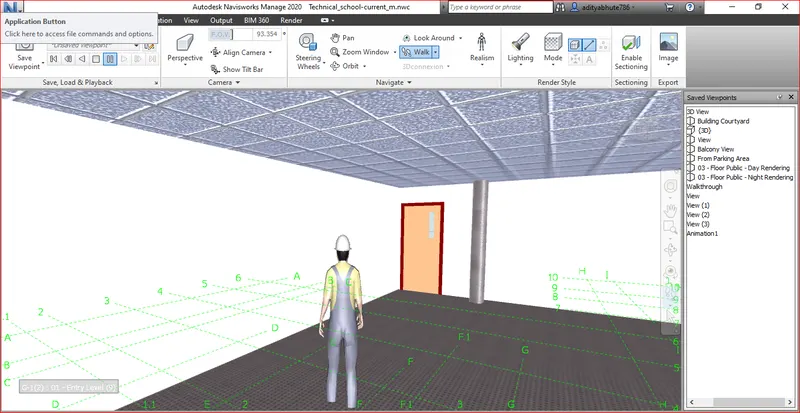
VIEW 7
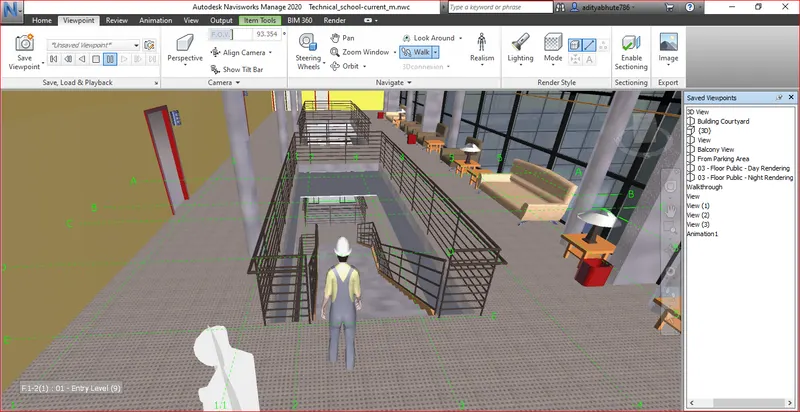
VIEW 8
4) Embed both architecture and structure *.nwc file to your Navisworks file. Create a clash detection test between the two models
a. Run the Clash Detection Test
b. Study the clashes between the two models
c. List which of the clashes could be approved
d. List which of the clashes could be neglected ( will be taken care of e later)
e. List which of the clashes can be resolved
f. Save the results after color coding the clashes to the Navisworks file
g. In case of resolution annotate the clash and save the view to defined views in Navisworks
PROCEDURE -
STEP 1
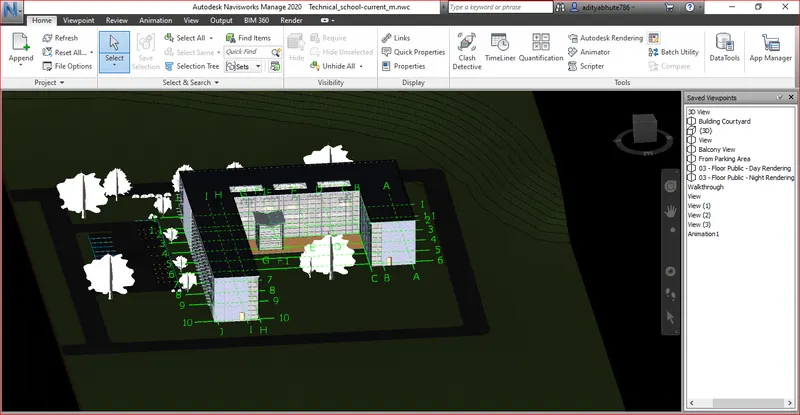
- Export the revit model to Naviswork as shown.
STEP 2
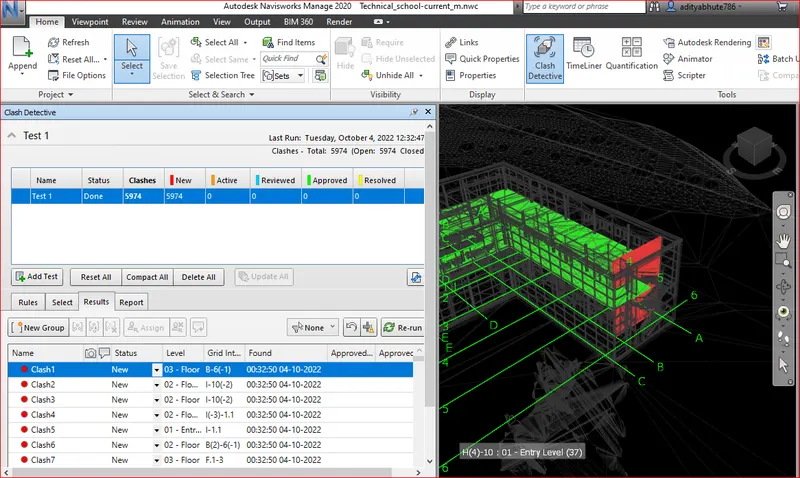
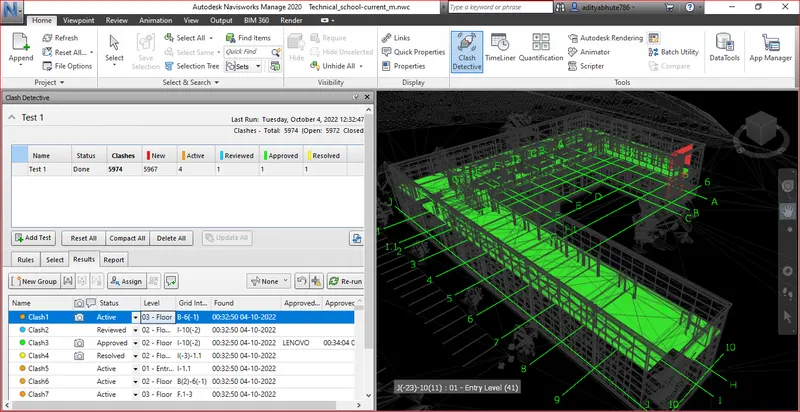
- Go to the home tab in the menu bar and click on CLASH DETECTIVE

STEP 3
- A new dialog box will open with all the clashes, active, rreviewedstatuses.
STEP 4
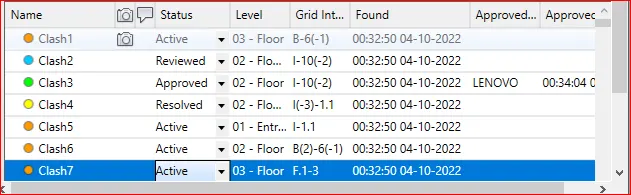
- Change the status to active, reviewed, approved, and resolved according to our use.
STEP 5
- Navisworks clash analysis was carried out successfully
5) Using the Timeliner feature in Navisworks prepare a schedule for the project developed in weeks 6 to 8 by adding reasonable assumptions for the task start date and end date and simulate the task completion as a visual simulation. Record it and save the timeliner simulation the to Navisworks file
PROCEDURE -
STEP 1
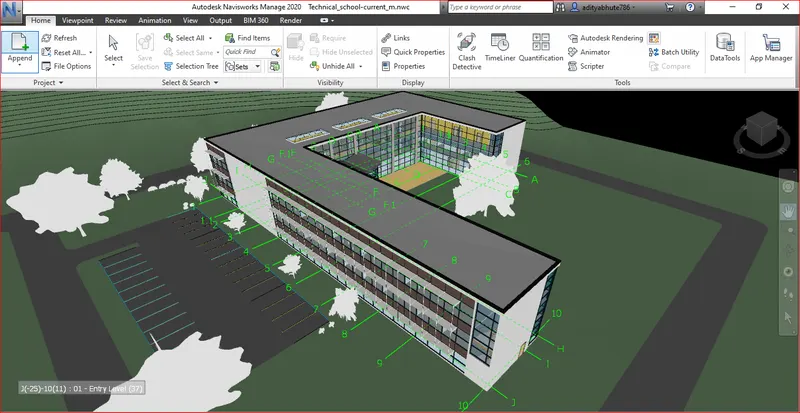
- Export the revit model to Naviswork as shown.
STEP 2
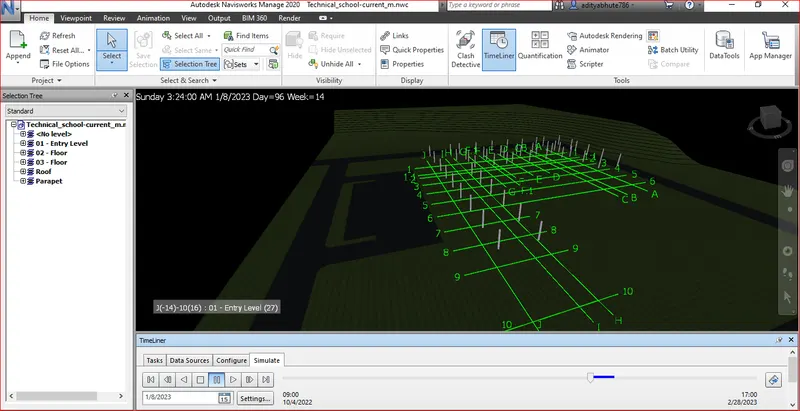
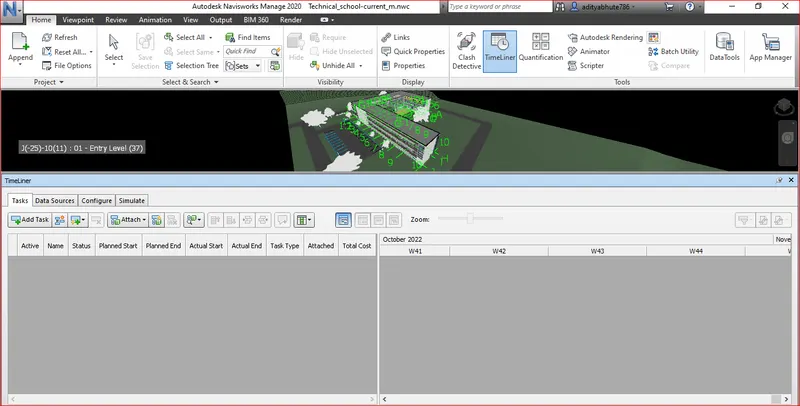
- To carryout the timeliner feature go to the home tab in the menu bar and click on the timeliner

STEP 3
- After clicking the timeliner a new dialog box will open in the amen timeliner as shown.
STEP 4
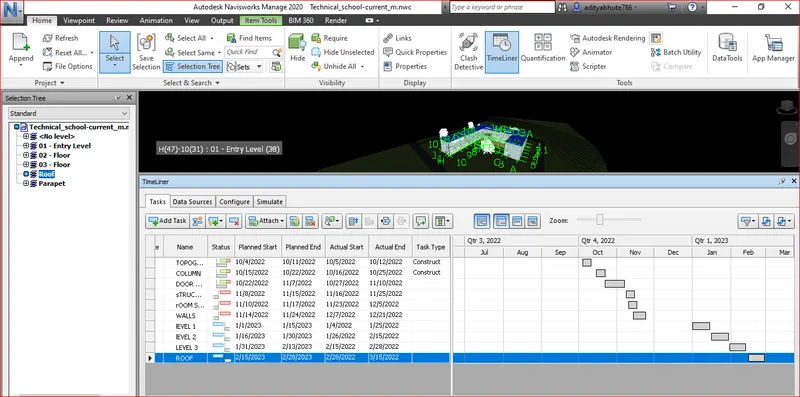
- Add the task to our schedule to perform the timeliner feature
- Name the task, change the status, assign the planned start and end date, as well as assign the actual start and end date
- Give the task type and assign the selection from the selection tree.
STEP 5
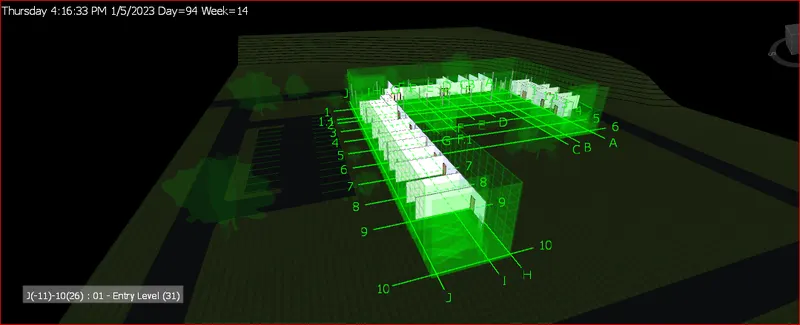
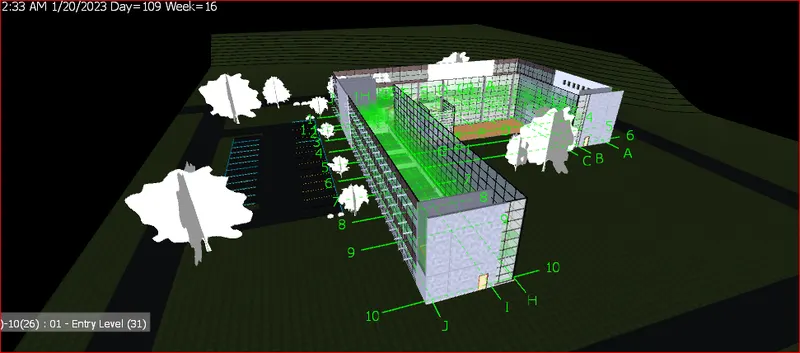
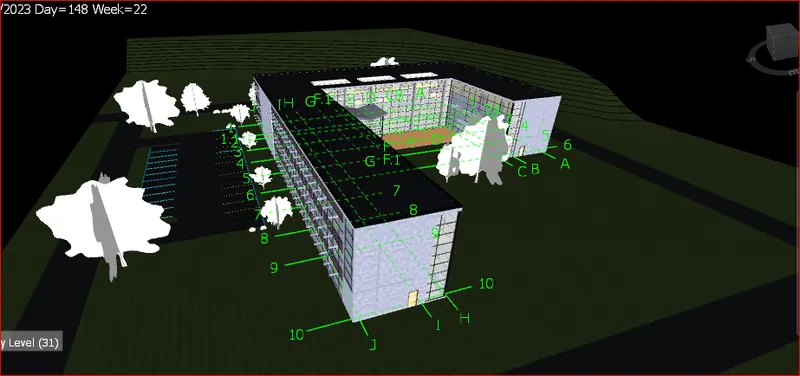
- Go to the simulation to perform the timeliner feature
- click on the start bottom the feature will bbegin
RESULT -
THE timeliner PROCESS IS SUCCESSFULLY CARRIED OUT.