Usage of Navigation tool , Timeliner and Clash Detection test using Naviswork
1) Use the Architecture/ Structure Project file developed by you in Week 6 to 8. Export the Revit architecture and structure model to Navisworks Cache file following the export settings discussed in class
Aim:
Usimg the Architecture/ Structure Project file developed by you in Week 6 to 8. Export the Revit architecture and structure model to Navisworks
Procedure:
I. Open the Revit file
II. And in file open
III. Select the desired file
IV.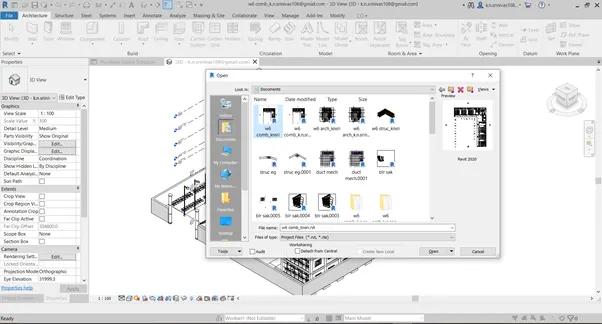
V. Next go to file
VI. And select the export option
VII. And select NWC file option
VIII.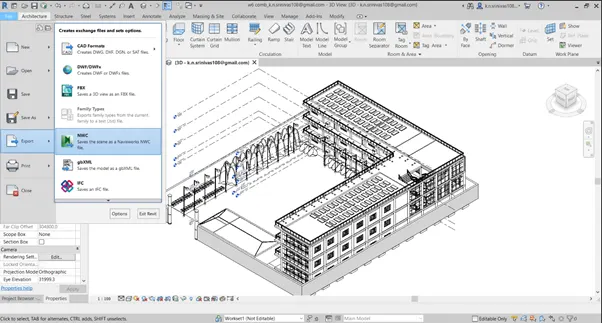
IX. Then in the file location
X. Click on the NWC file and open it
XI.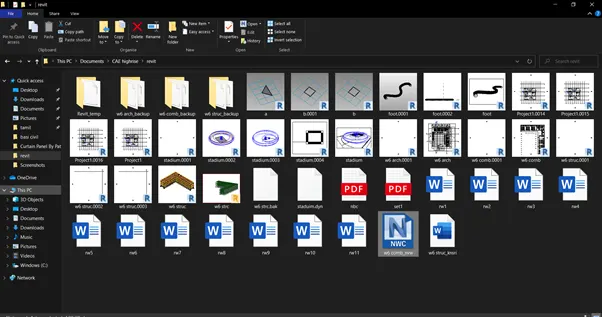
Result:
Export of the file for the naviswork was done.
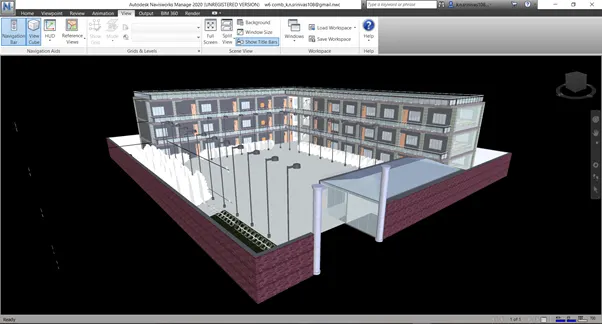
2) Use Navigate Tool to walk around the model and walk through the rooms created and record your moving as animation in your Navisworks file
Aim:
Using Navigate Tool to walk around the model and walk through the rooms created and record your moving as animation in your Navisworks file
Procedure:
I. Open the NWC file created
II. Select the viewport in the menu bar
III. And here selects the walk option
IV. Drag and slide the curser for walking through the project
V.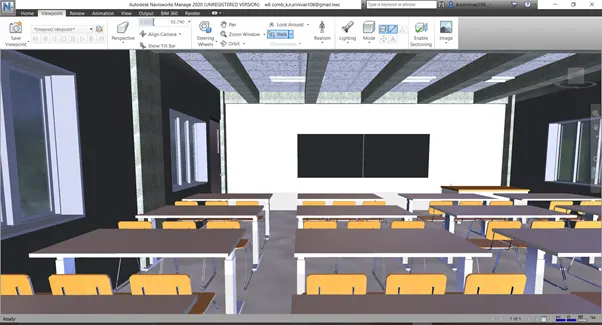
VI. And go to animation
VII. And click record
VIII.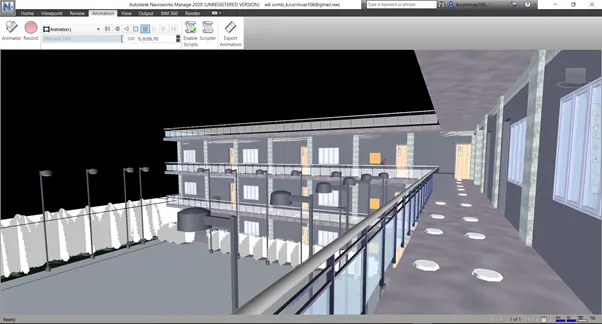
IX. And now move the cursor and recording will be done
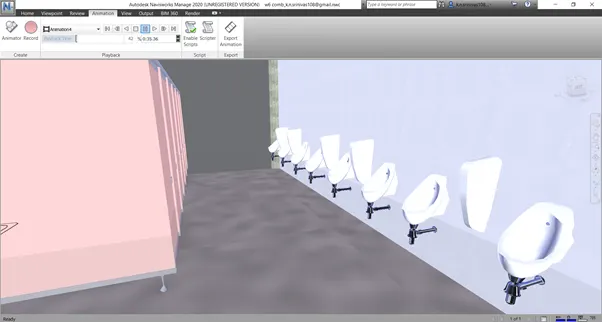
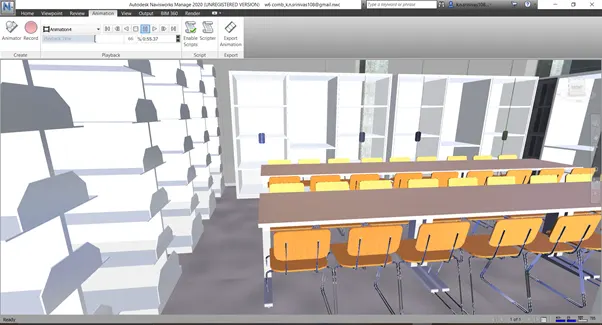
Result:
Record file of the walkthrough was created
3) Use Navigate tool to use Realism feature to walk through the model and record your moving as animation in Navisworks file
Aim:
Using Navigate tool to use Realism feature to walk through the model and recording moving as animation in Navisworks file
Procedure:
I. Open the NWC file created
II. Select the viewport in the menu bar
III. And here selects the walk option
IV. And select the realism option
V. And in drop down select all options
VI.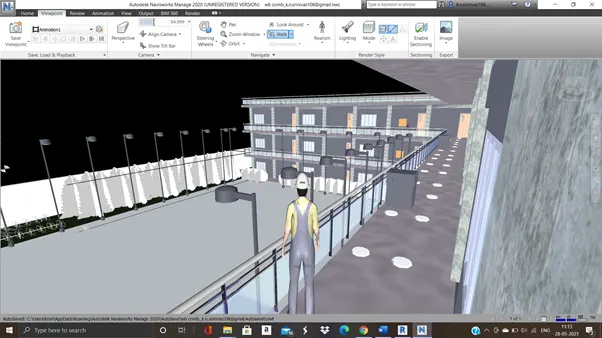
VII. And go to animation
VIII. And click record
IX.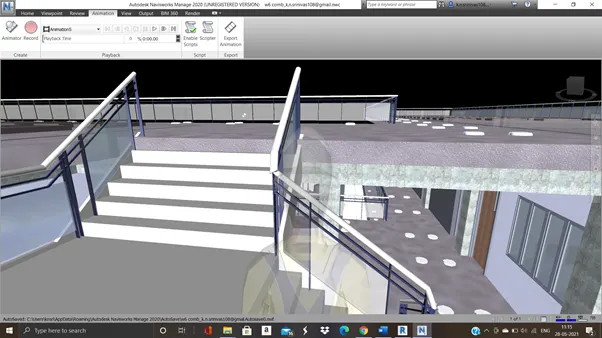
X. Now walkthrough the building
XI. By moving the cursor in the required direction
XII. And in animation export the animation and save the file
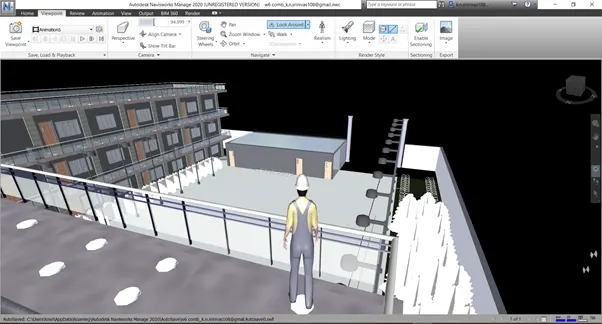
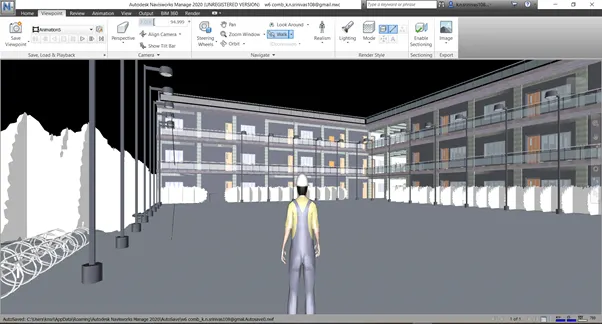
Result:
Animation of the realism walk through was created
4) Embed both architecture and structure *.nwc file to your Navisworks file. Create a clash detection test between the two models
a. Run the Clash Detection Test
b. Study the clashes between the two models
c. List which of the clashes could be approved
d. List which of the clashes could be neglected ( will be taken care later)
e. List which of the clashes can be resolved
f. Save the results after color coding the clashes to the Navisworks file
g. In case of resolution annotate the clash and save the view to defined views in Navisworks
Aim:
To run the clash detection test and listing the different types of the clash
Procedure:
I. Open the NWC file created
II.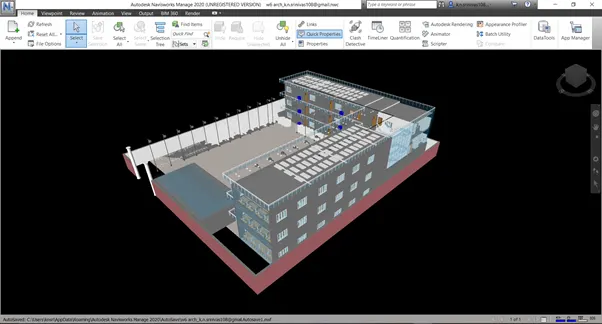
III. Select the viewport in the menu bar
IV. And here selects the home
V. And select the append option
VI. And select the structural NWC file
VII. And the both the files gets appended here
VIII.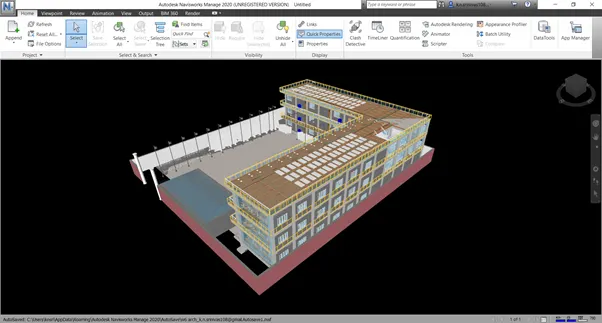
IX. Next in the home bar select the clash detective
X.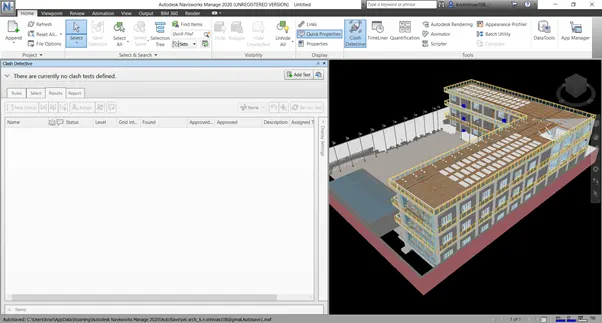
XI. In the popup select the add test
XII. And in selection A select the architectural model
XIII. And in selection B select the structural model
XIV.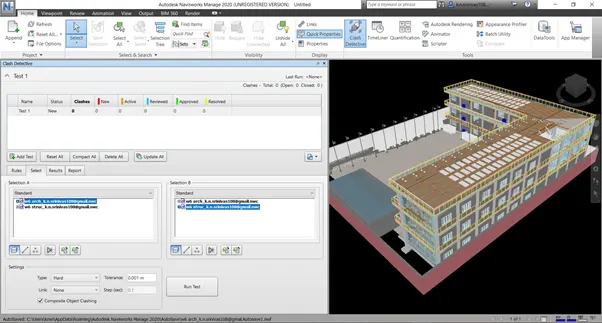
XV. And click on the run test
XVI. All clashes will be displayed
XVII.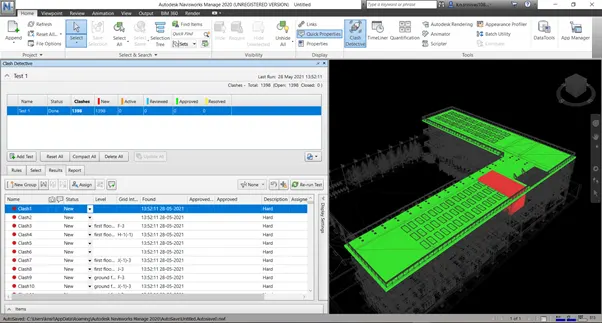
XVIII. In the status drop down select the status of the clashes and group them respectively
XIX.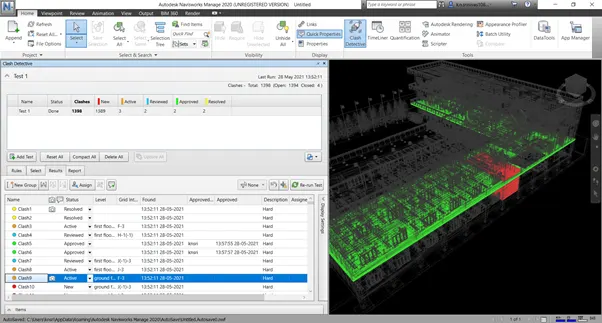
XX. By this the colour coding of the clash is also done and by click on the type change the colour as you desired
XXI. And save the file as shown in the figure below
XXII.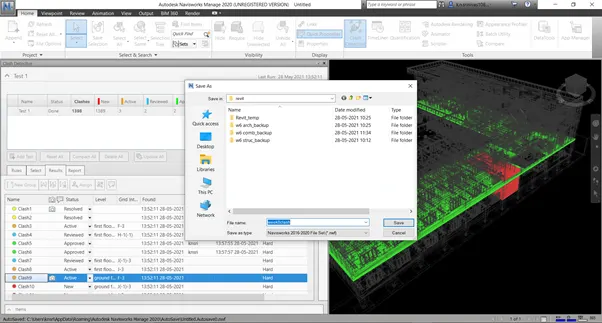
Result:
All the clash detection test was done and listing the different types of the clash were done and file was saved.
5) Using the Timeliner feature in Navisworks prepare a schedule for the project developed in week 6 to 8 by adding reasonable assumptions for task start date and end date and simulate the task completion as a visual simulation. Record it and save the timeline simulation to Navisworks file
Aim:
Using the Timeliner feature in Navisworks preparing a schedule for the project developed
Procedure:
I. Open the NWC file created
II. And here selects the home
III. And select the timelinear option
IV.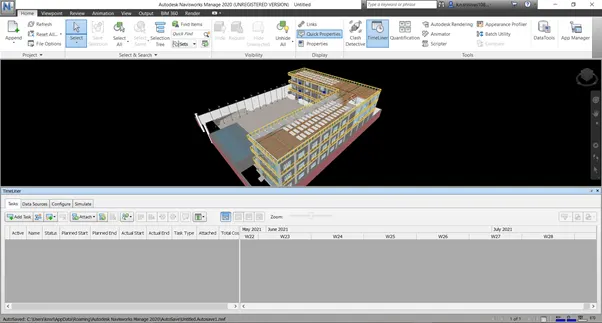
V. And select the selection tree
VI.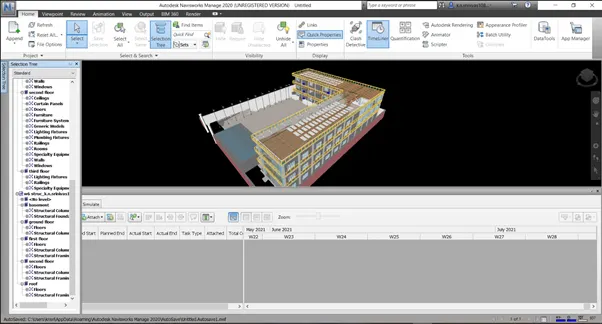
VII. And in the timelinear click on the add task
VIII. Name the task as footingadd the start date and end date and task type
IX. And in the attached click on the attach icon and selct all the element linked to this task and select the current selection in the drop down
X.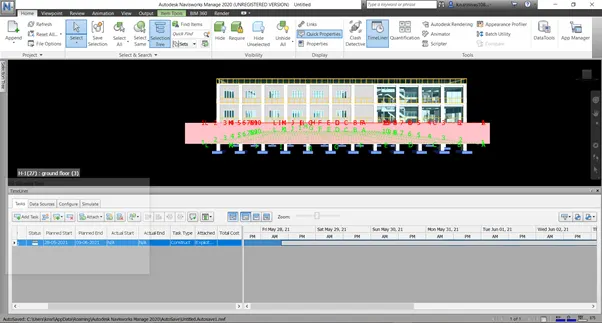
XI. Similar add the required tasks following the chances in the dates and the selection
XII.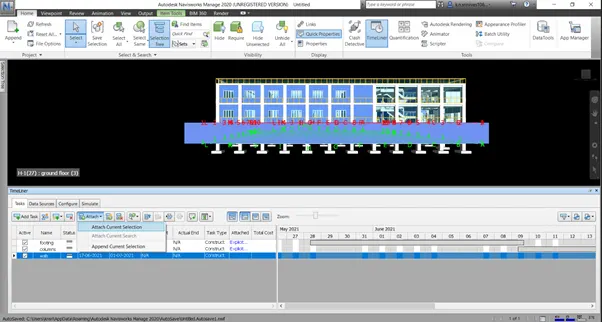
XIII. After selection of all the tasks and addition of all things
XIV. Now Click on the simulate
XV. And in animation tab select the record option
XVI. And in the simulate click on the play
XVII. And record the simulate
XVIII. As some of the screenshots of the simulate is provided
XIX.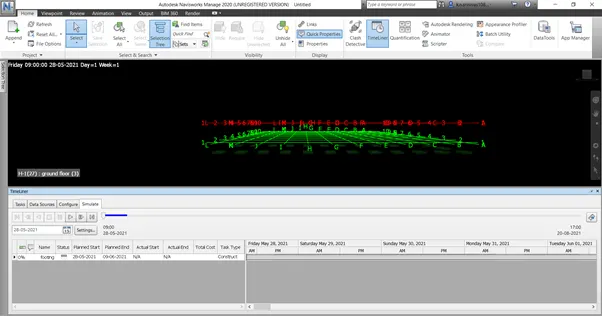
XX.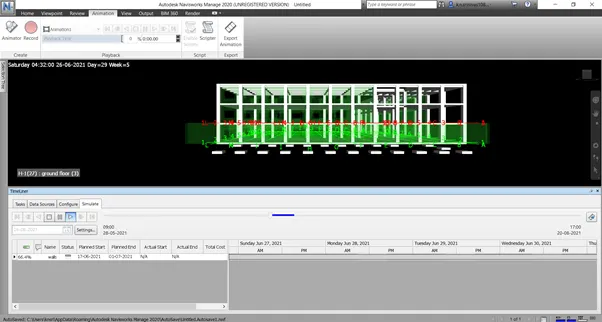
XXI.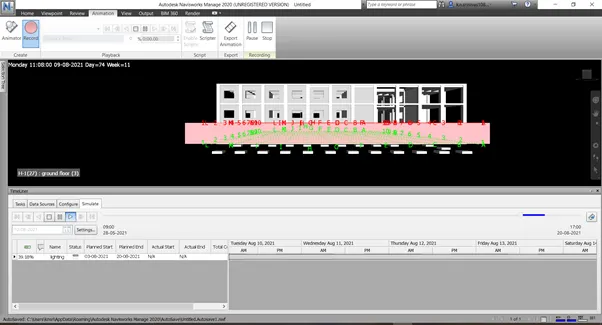
XXII. In animation tab click on the export option
XXIII. And save the simulate file
XXIV.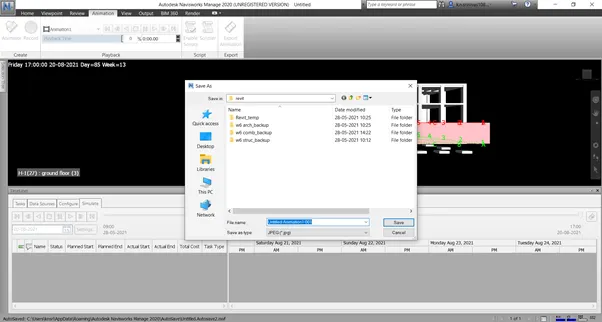
Result:
Using the Timeliner feature in Navisworks preparing a schedule for the project developed was made.