Usage of Navigation tool , Timeliner and Clash Detection test using Naviswork
1.Use the Architecture/Structure Project file developed by you in Week 6 to 8. Export the Courses
Revit architecture and structure model to Navisworks Cache file following the export settings discussed in class. AIM: To export revit architectural model and structural model to "Navisworks".
INTRODUCTION:-
Navisworks project software used to improve BIM (Building information model) coordination. It combines design and construction data into a single model To identify and resolve clash and interference problems before construction. It aggregate data from multiple trades to better control outcomes. Navisworks available in Freedom is a free viewer for native NWD files. Simulate is the base level and includes the functionalities except for clash detective. Manage on other hand is the top level and include all features.Navis works NWC export utility: It helps to distribute the revit file and feature to naviswork that can be used for the transfer of object geometry and associated data.
PROCEDURE:
STEP :
• Open week 7 project (architectural model)
• Go to file, click on export and then select NWC.
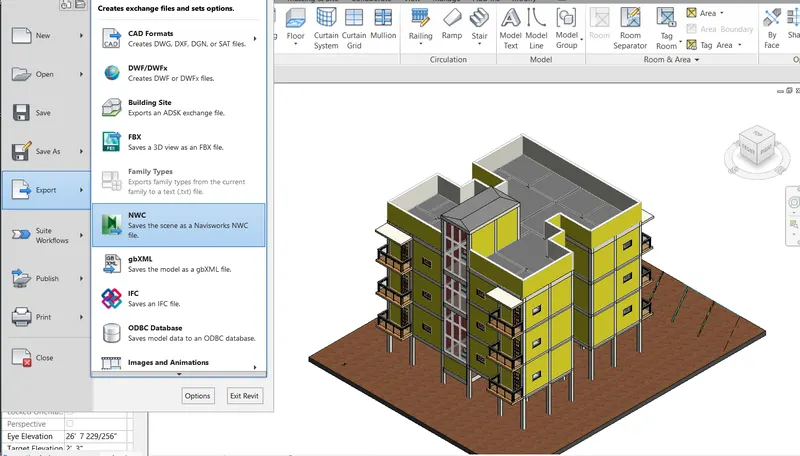
Save it in new folder.
RESULTS: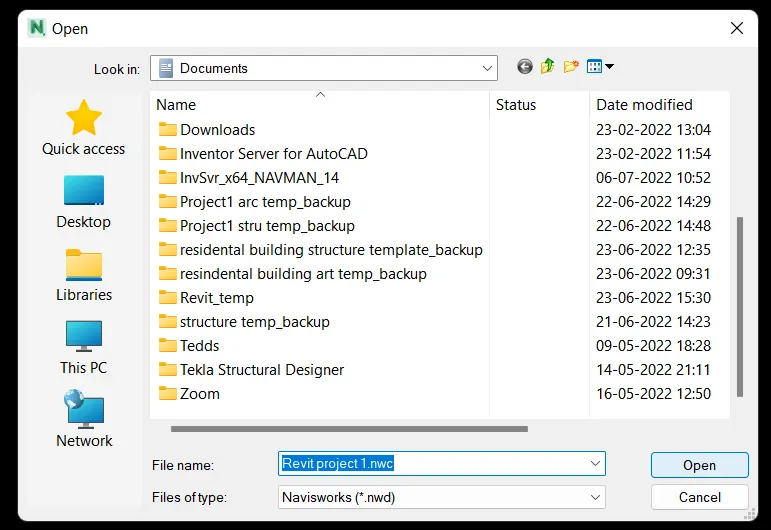
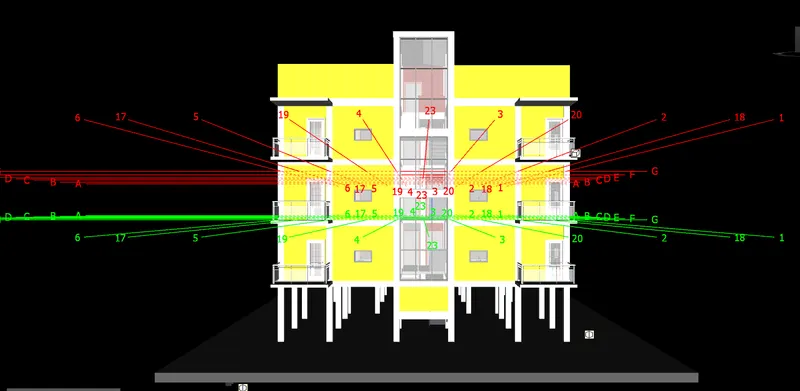
2.Use Navigate Tool to walk around the model and walk through the rooms created and record your moving as animation in your Navisworks file.
AIM:
To use navigate tool to walk around the model and record moving animation
INTRODUCTION:
View point animation is a quick and efficient way of recording movements through model.
There are two wa to produce viewpoint animation one is by recording interactive navigation and another one is creating animated transitions between saved views.
PROCEDURE:
STEP 1:
• Open Navisworks manage
Click on file and then select open
Open architectural file which is saved as NWC format.
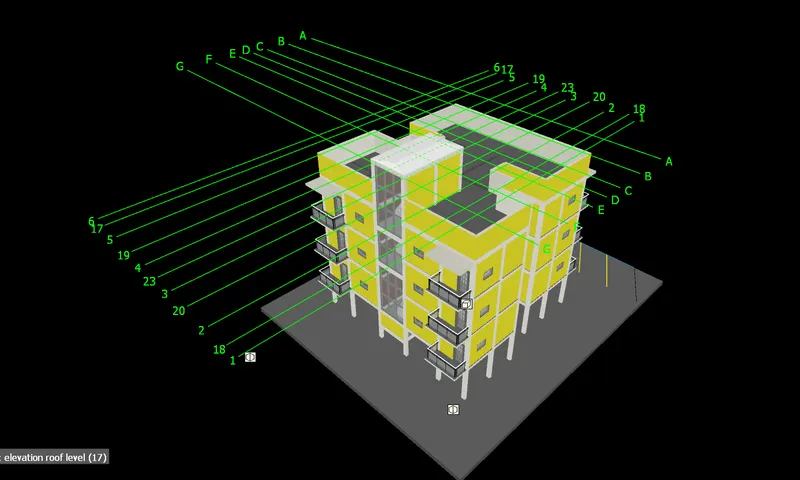
STEP 2:
Go to view point tab.
• Click on "WALK".
• Use arrows in the keyboard as left arrow for moving left right arrow for movingright, top arrow for moving forward and bottom arrow for moving backward.
• Click on "save viewpoints" and save various views.
Click on "Record" in save view point and walk around the building.
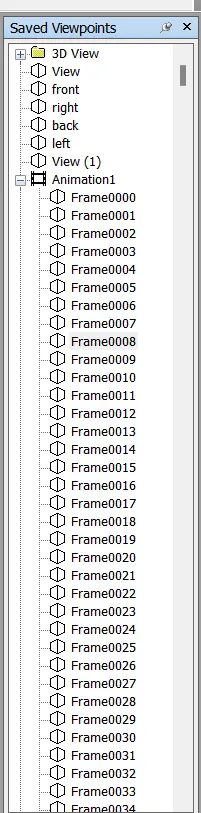
• Click on stop and animation is created with various frames Select the animation and click on play button in view point.
• Animation created will be played.
RESULTS:
3) Use Navigate tool to use Realism feature to walk through the model and record your moving as animation in Navisworks file.
AIM:
To use realism feature in navigate tool to walk through the model and record the animation.
INTRODUCTION:
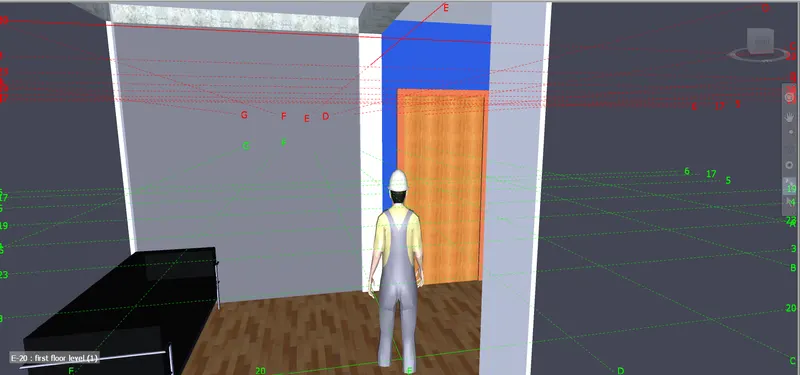
Navigate 3D model using realism tools such as thirdperson. When third person is activated, an avatar is created within 3D model.
It allows to visualise exactly how a third person would interact with the intended design.
PROCEDURE:
STEP :
• Go to viewpoint tab
• Click on Realism tool and select third person
• Click on walk and move around the building
• Click on record and save the animation.
RESULTS: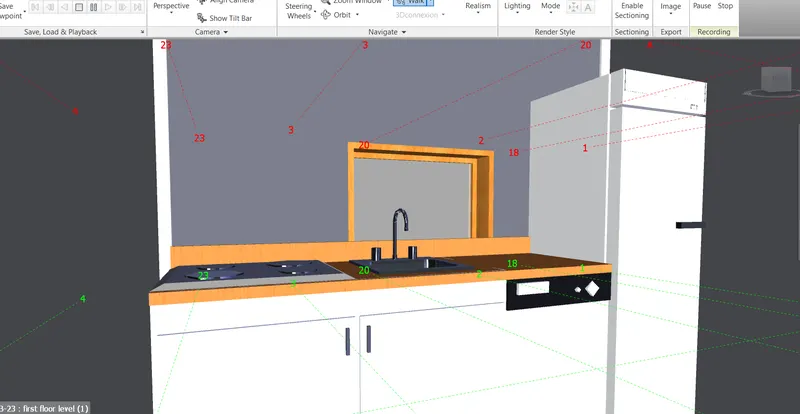
4.Embed both architecture and structure .nwc file to your Navisworks file. Create a clash detection test between the two models.
a. Run the Clash Detection Test
b. Study the clashes between the two models.
c. List which of the clashes could be approved
d. List which of the clashes could be neglected (will be taken care later)
e. List which of the clashes can be resolved
f. Save the results after color coding the clashes to the Navisworks file
g. In case of resolution annotate the clash and save the view to defined views in Navisworks.
AIM:
To create clash detection between architectural and structural model.
INTRODUCTION:-
Navisworks manage is used for reviewing, coordinate and resolve clashes between multiple disciplinary projects.
The clash detection enables identifying cross discipline interferences early in design process.
It ensures all building components, assemblies and trades are in ready to be installed conditions without any conflicts.
PROCEDURE:
Open architectural model in navisworks.
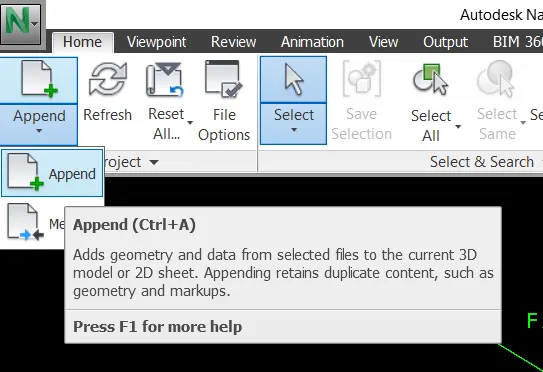
• Click on "Append" in home tab.
• Now click on "Clash detective" in home tab.
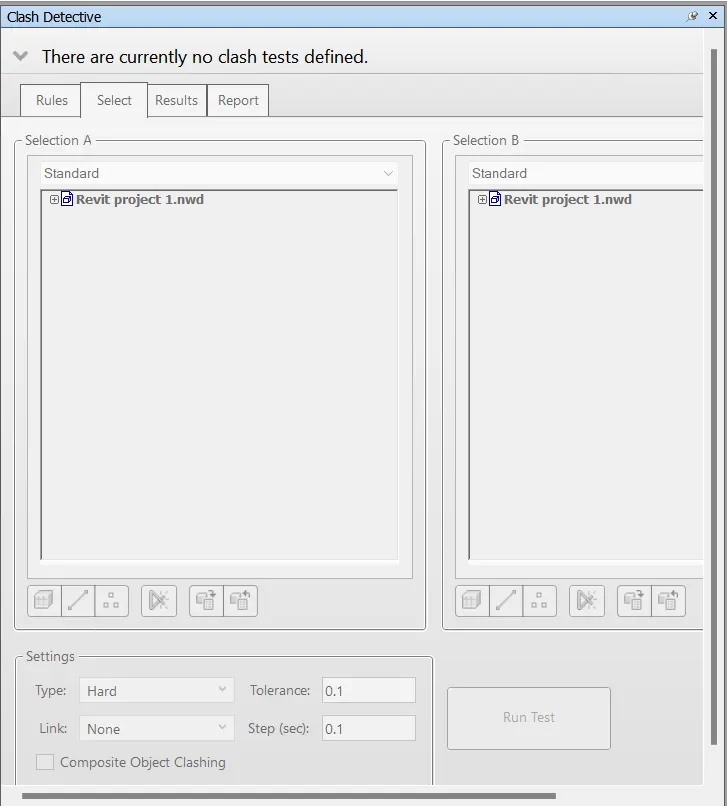
• Clip on top arrow and select "Add test".
• Name the test as "Revit project 1". Select selection A and selection B.
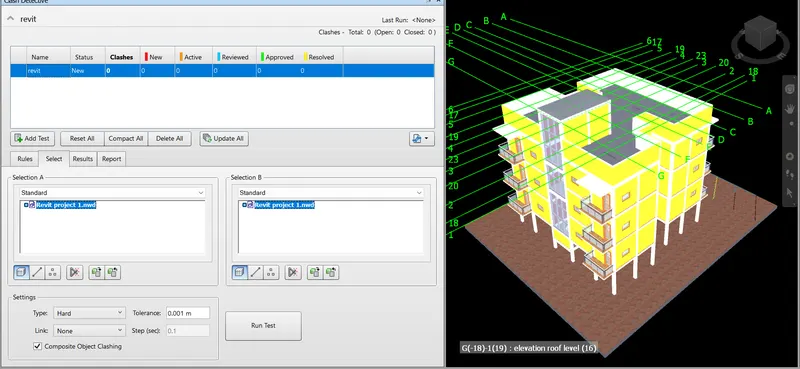
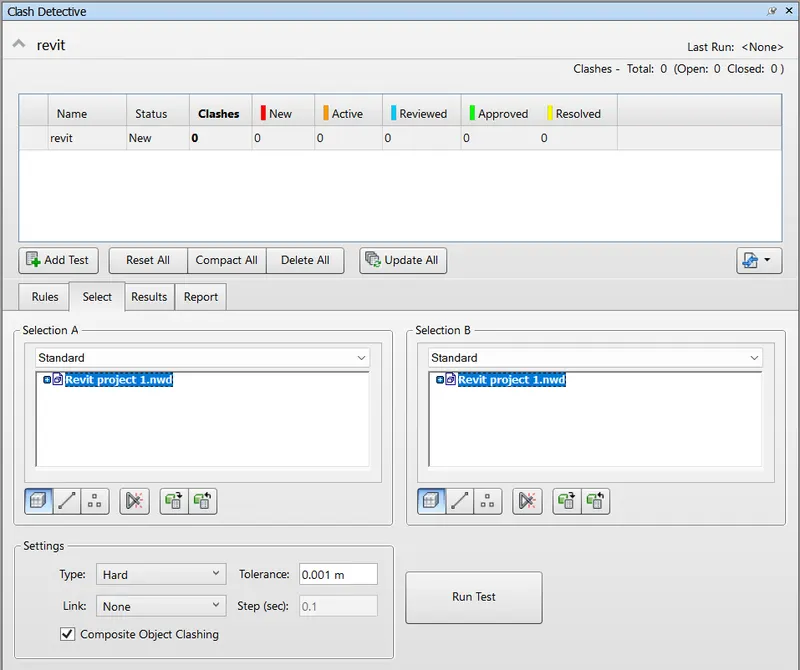
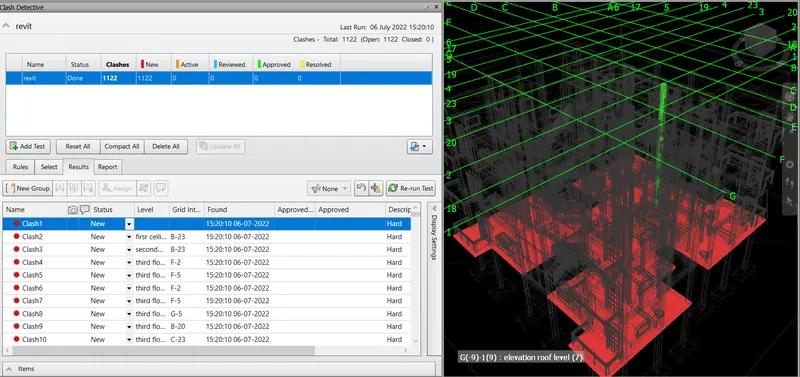
. Now select surfaces and click on run test.
Click on status and change the status to resolved or reviewed or approved accordingly.
RESULTS:
• Total 1122 clashes are found
• Approved lists.
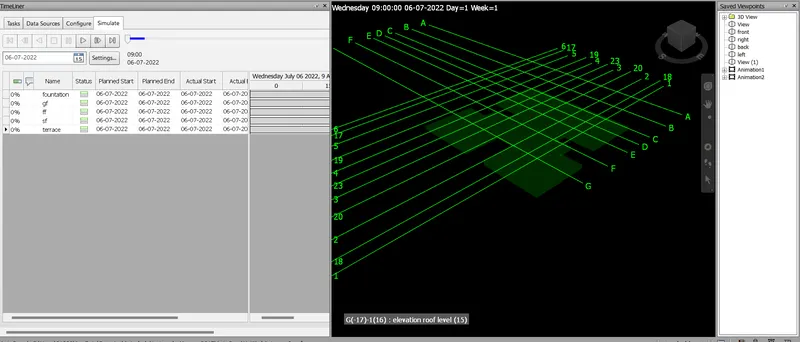
5) Using the Timeliner feature in Navisworks prepare a schedule for the project developed in week 6 to 8 by adding reasonable assumptions for task start date and end date and simulate the task completion as a visual simulation. Record it and save the timeline simulation to Navisworks file.
AIM:
To create schedule for the project using timeliner feature
INTRODUCTION:
Navisworks manage also gives platform for simulation analysis and scheduling activities when working on a project.
Timeliner tools used for scheduling activities and it allows to see the effects of schedule on the model through simulation.
It compares planned dates against scheduled dates. Cost is also assigned to project to track total cost of the project.
PROCEDURE:
Go to home tab.
• Click on timeliner.
• Click on "selection" in home tab.
• Click on add task in 'Timeliner".
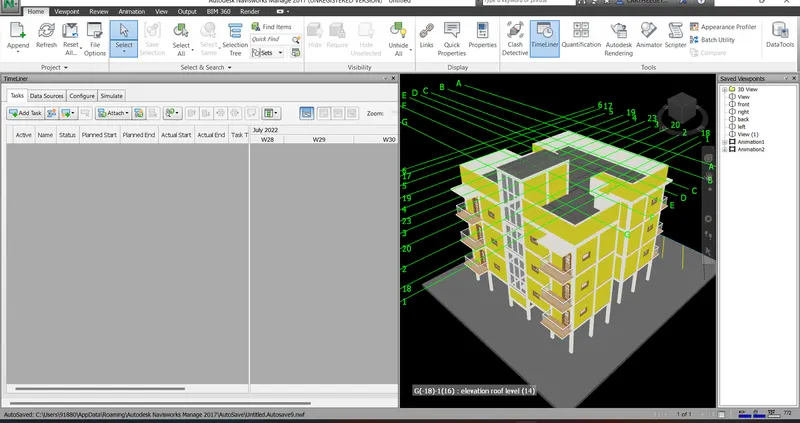
• Task 1 - Foundation slab
• Task 2-gf
Task 3-ff
• Task 4 -gf
• Task 5- trecce
• Enter dates and type as shown below.
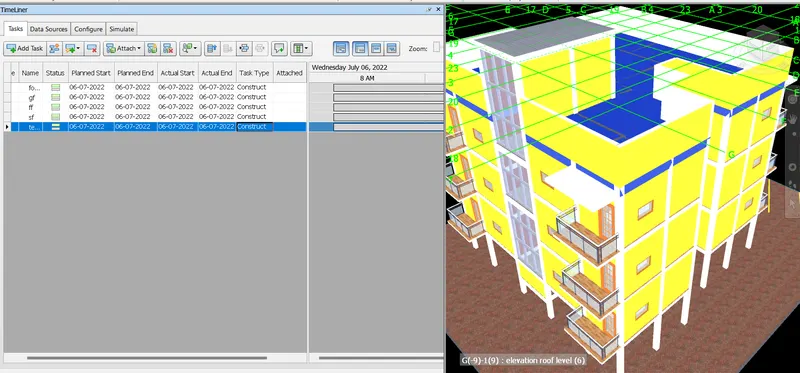
• Now click on simulate and click on record at save view point.
RESULTS: