Usage of Collaborate tool in REVIT
1 ANSWER:
AIM:The purpose is to set up base point and project shared co ordinates for the project.
PROCEDURE:
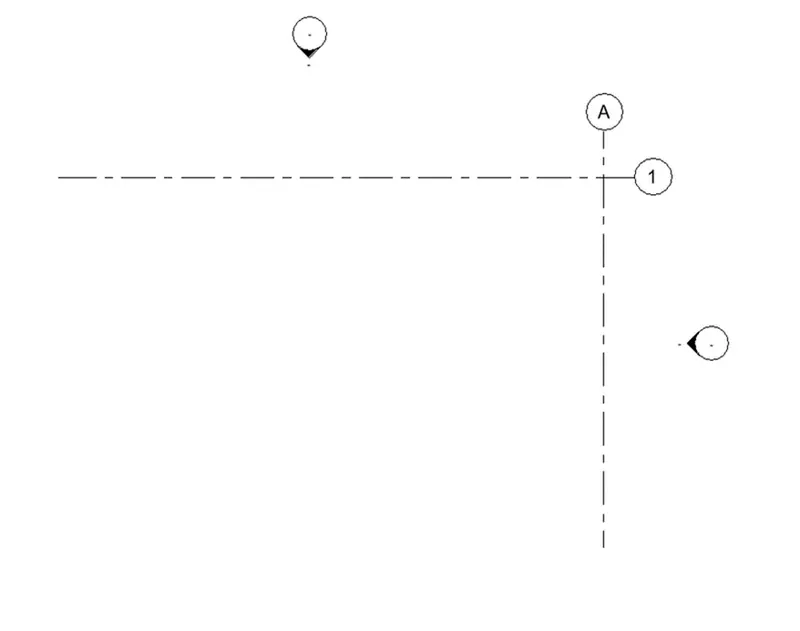
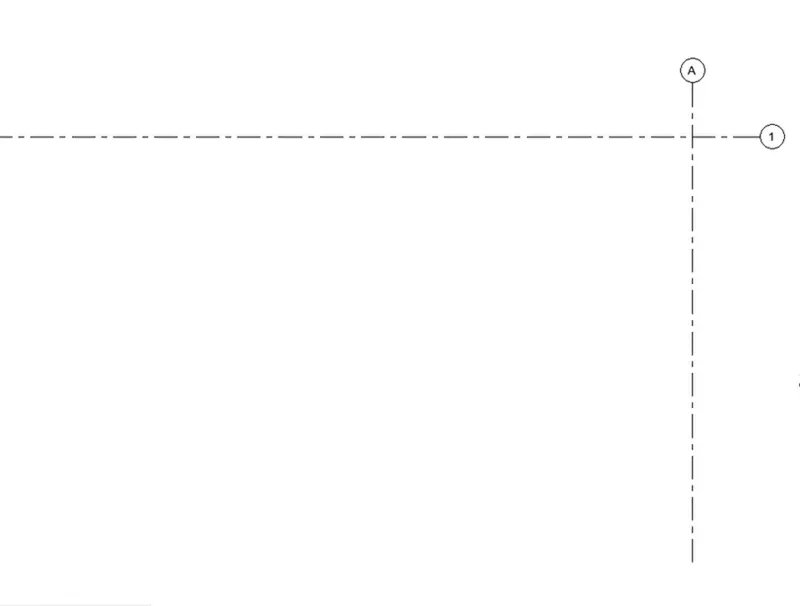
- Open a new architechtural tab in revit and draw grid lines as shown and name them
- Name horizontal grid lines with numbers and vertical grid lines with alphabets as shown
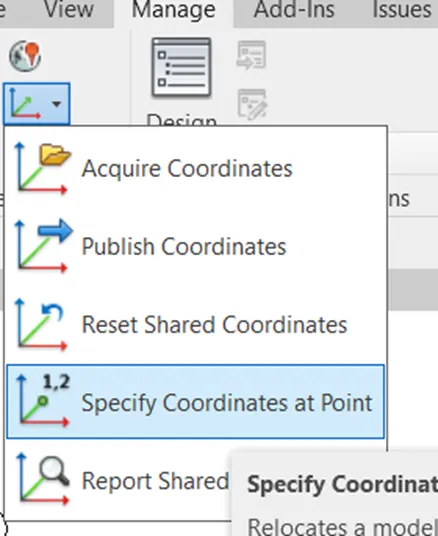
- Select manage tab and click coordinates
- Now click on specify coordinates at point
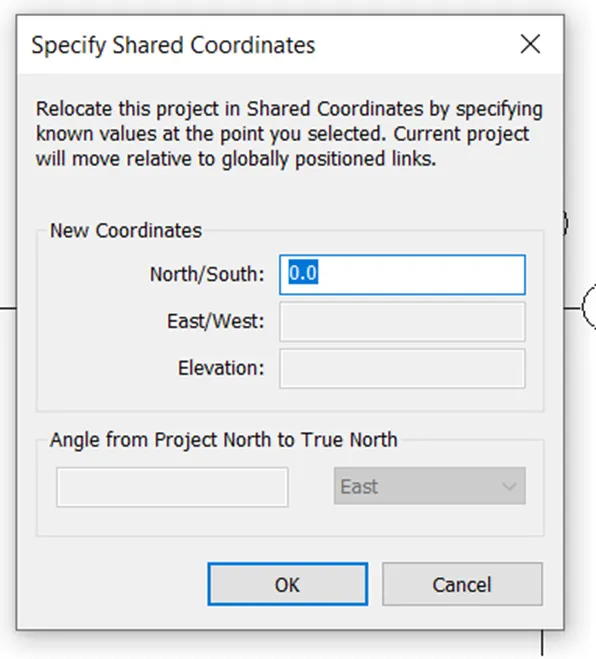
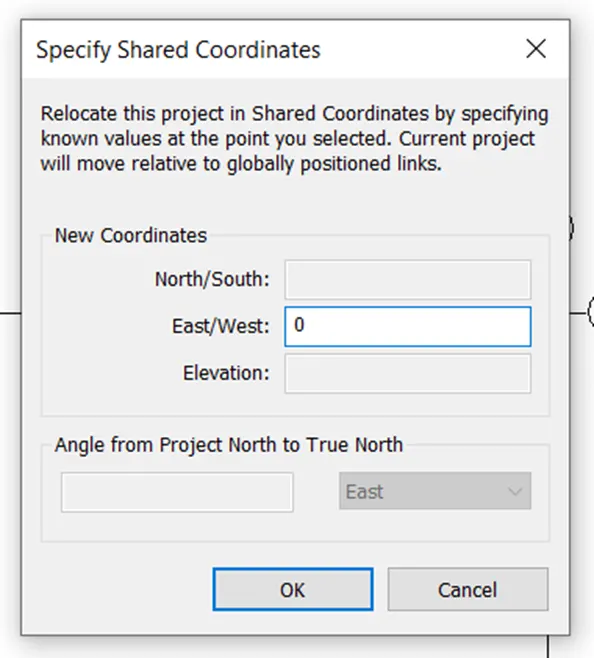
- Then click on the two grid lines and change the coordinates to 0 as shown
- Then save the file and name it

RESULT:Hence the file is saved and project coordinates are specified
2 ANSWER:
AIM:To open new structural file and set base points same as architectural file
PROCEDURE:
- Open new structual tab and draw grid lines
- Name them as we had done in architectural file
- Then under manage tab click on coordinates and specify coordinates at a point and set the co ordinates of the two grids to 0
- Then save the file and name it
RESULT:Hence coordinates are specified and file is save for the structural model
3 ANSWER:
AIM:Purpose is to make the architectural model as a central file
PROCEDURE:
- Open the architecture model created in 1 st question
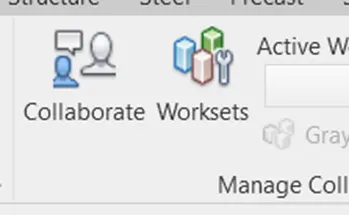
- Then open collaberate tab and click on collborate
- Then select with in your network to collaborate
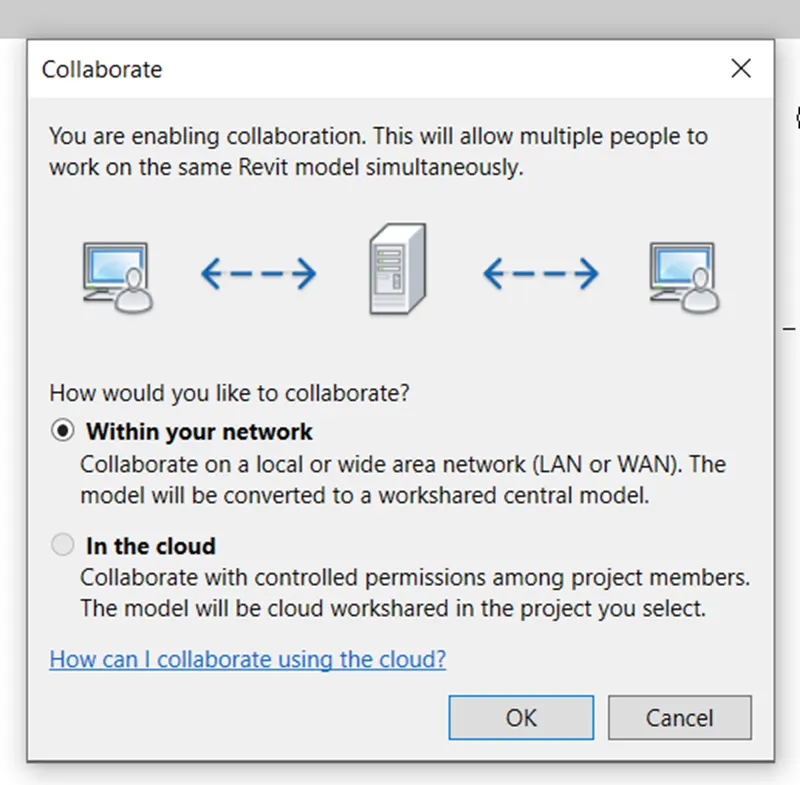
RESULT:Hence architectural model is made into central model
4 ANSWER:
AIM:The purpose is to draw additional vertical and horizontal grids for the structural project
PROCEDURE:
- Open structural file, click on grid and draw grids both in vertical and horizontalway with equal spacing
- Then consider spacing between the grid lines ,here i am considering the spacing as 30 feet
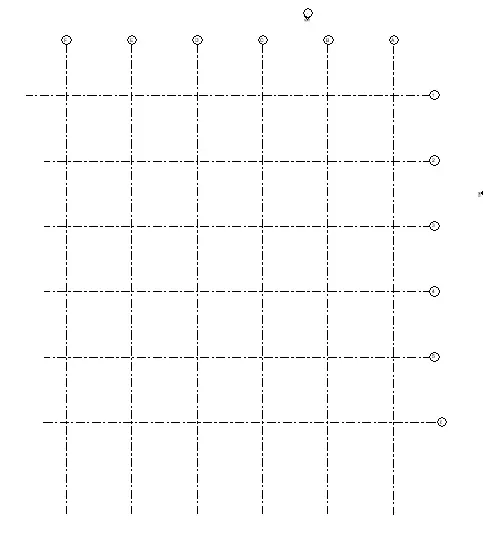
RESULT:Hence ,grid lines are drawn for structural project
5 ANSWER:
AIM:The purpose is to synchronize the changes from local copy to central copy of architectural model
PROCEDURE:
- Open architectural file and select collaborate tab
- then click on synchronize and modify settings as shown
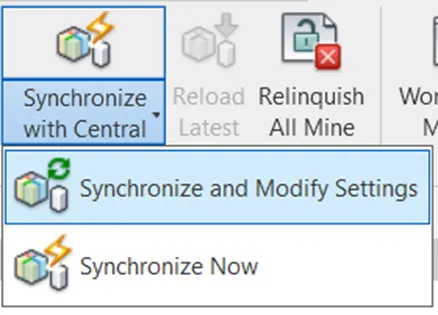
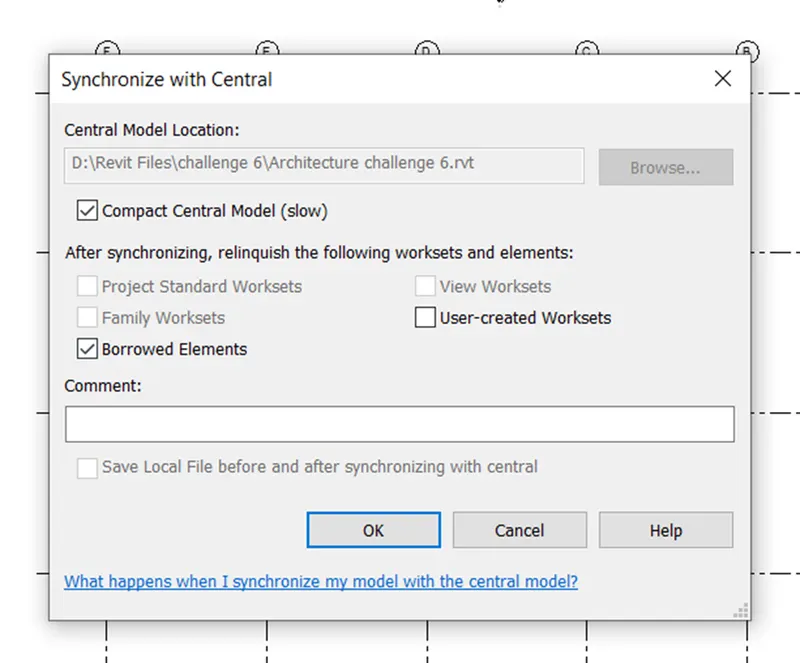
RESULT:Hence,the model is synchronized the changes to central model
6 ANSWER:
AIM:The purpose is to make the structural model as a central model
PROCEDURE:
- Open the structural model
- then click on collaborate tab and click on collaborate
- then click on within your network as shown
RESULT:Hence,structural model is made into central model
7 ANSWER:
AIM:The purpose is to Use the Collaborate tab, to copy the grids and levels from the architectural model to structural model
PROCEDURE:
- select manage links in manage tab and add the saved architectural file
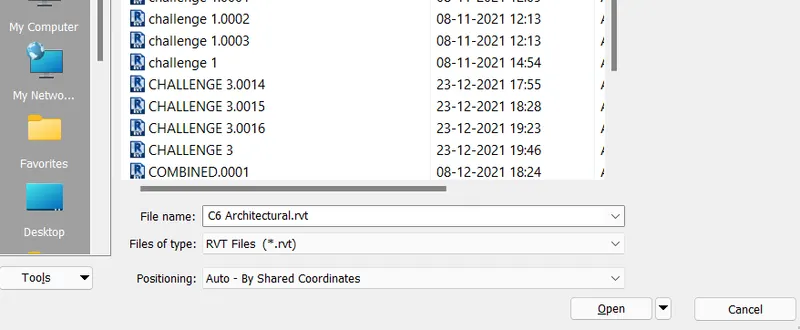
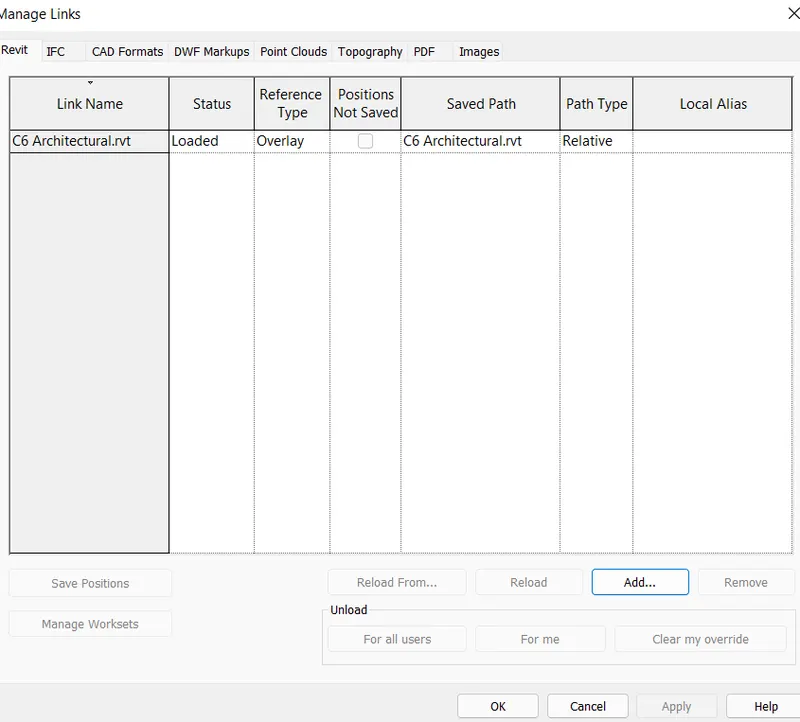
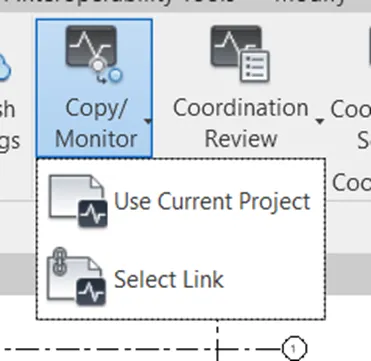
- Then select copy monitor from collaborate tab and then click on select link
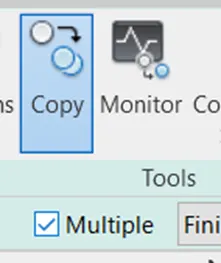
- Now click on copy and select the grids that need to be copied and then click finish
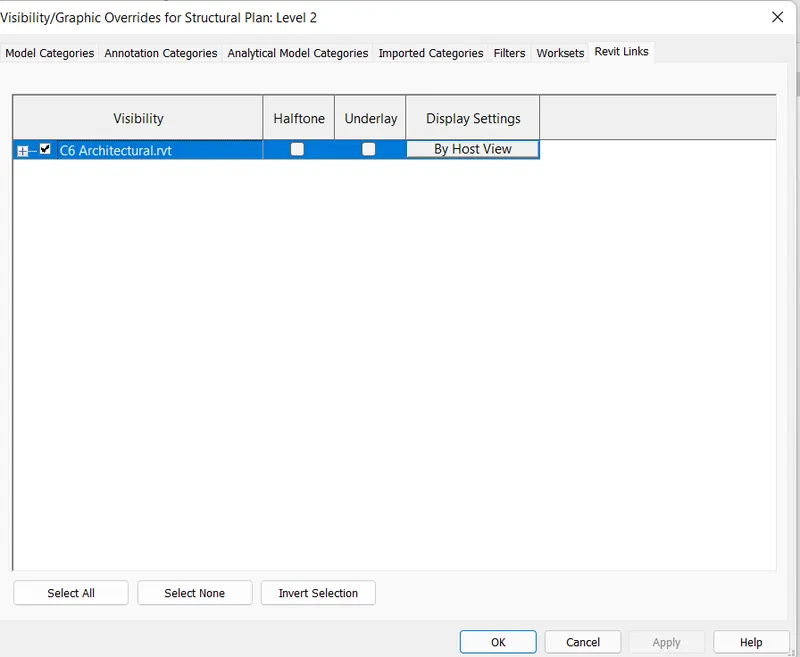
- In orser to check the grids are copied or not ,click on visibility graphics and then unselect from revit links and click ok
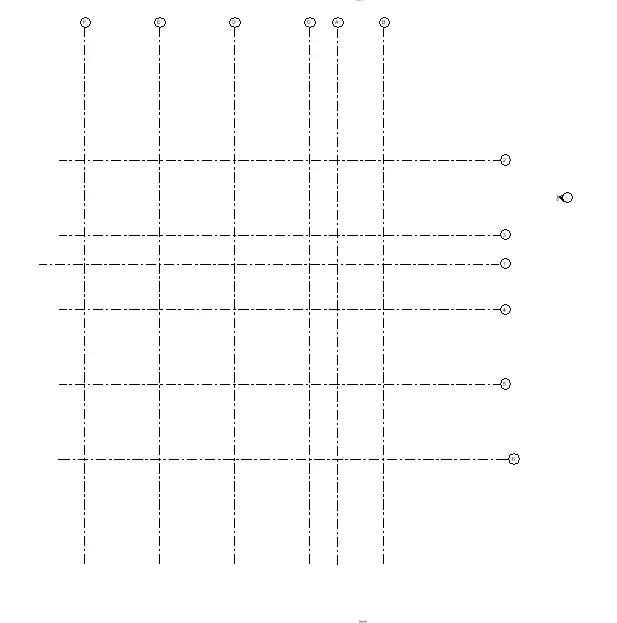
RESULT:Hence ,the grids are copied from architectural model to structural model
8 ANSWER:
AIM:The purpose is to create and a new construction template and add the architecture and structural model to it
PROCEDURE:
- Open a new construction template
- then select collaborate tab and then click on collaborate
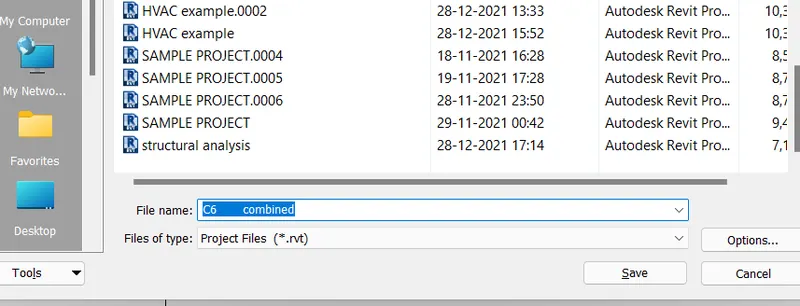
- Now save the file and name it
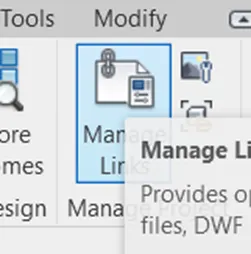
- Then click on manage links from manage tab
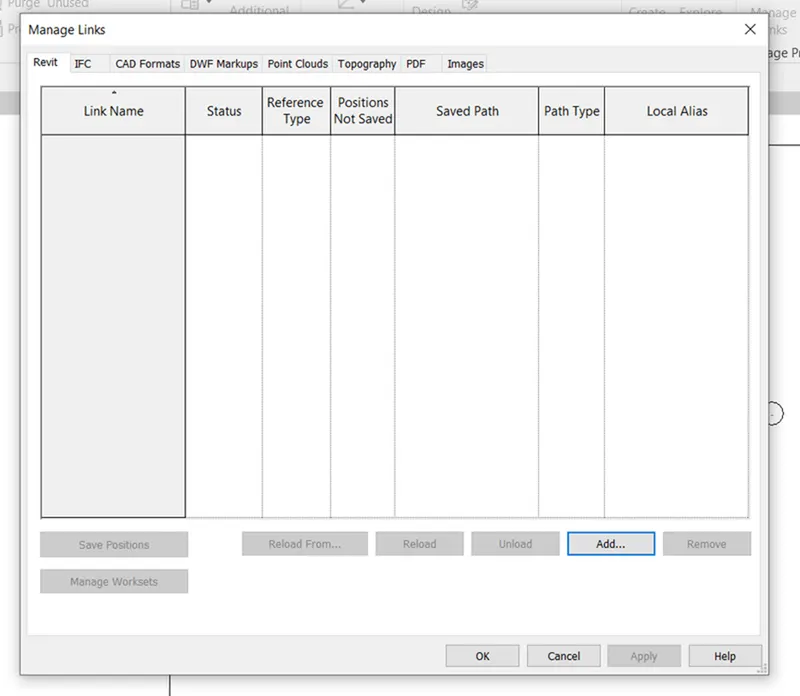
- Then add architectural and structural models that are already created
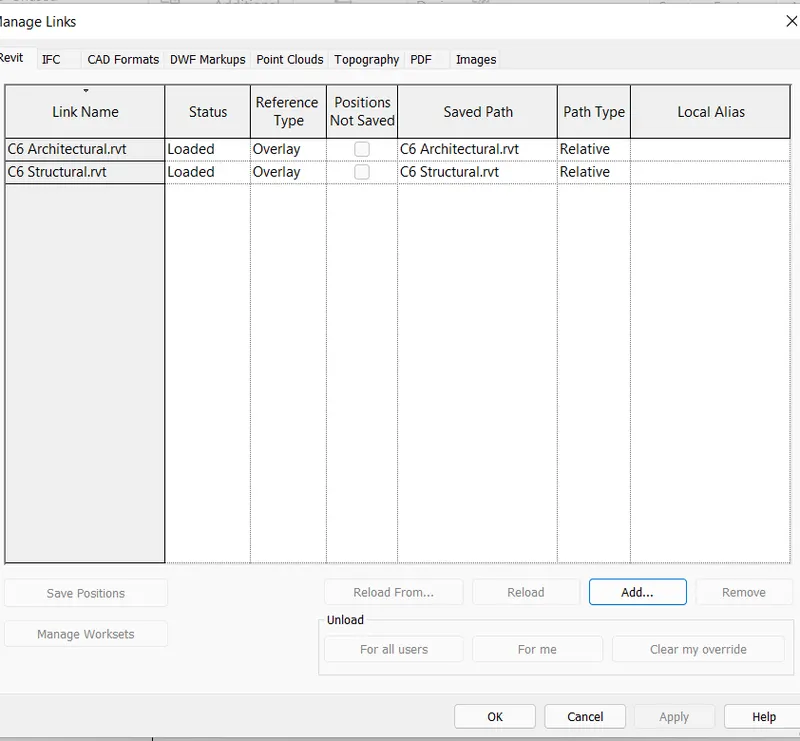
- then click ok
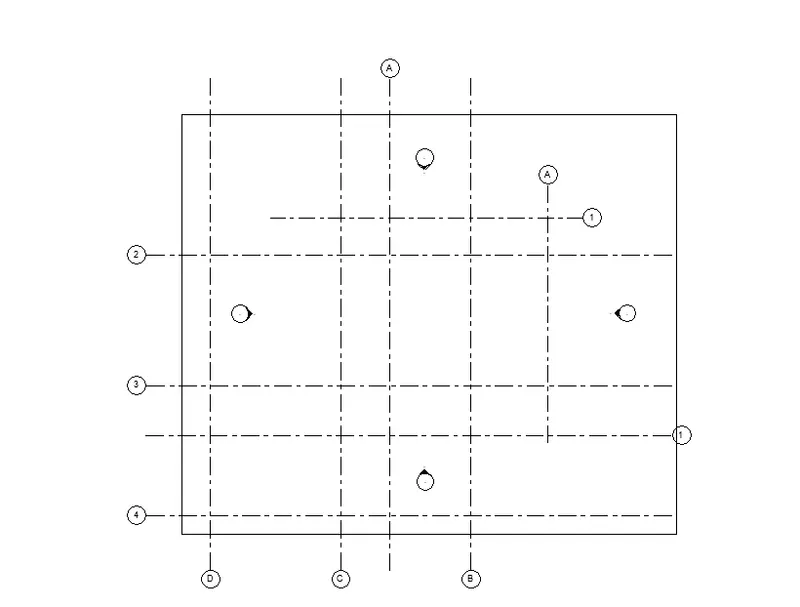
RESULT:Hence architectural and structural model are added to the new construction model
9 ANSWER:
Here in answer 8 ,architectural and structural model are linked to construction model,but they did not coincide as shown in the figure above.
AIM:To make the architectural and structural model grids coincide
PROCEDURE:
- Click on acquire coordinates and click on the grids in manage tab
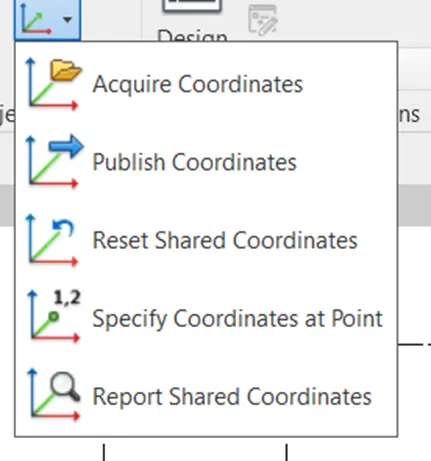
- Then click on Relocate project place the cursor at intersection of grid line 1 and A and coincide them
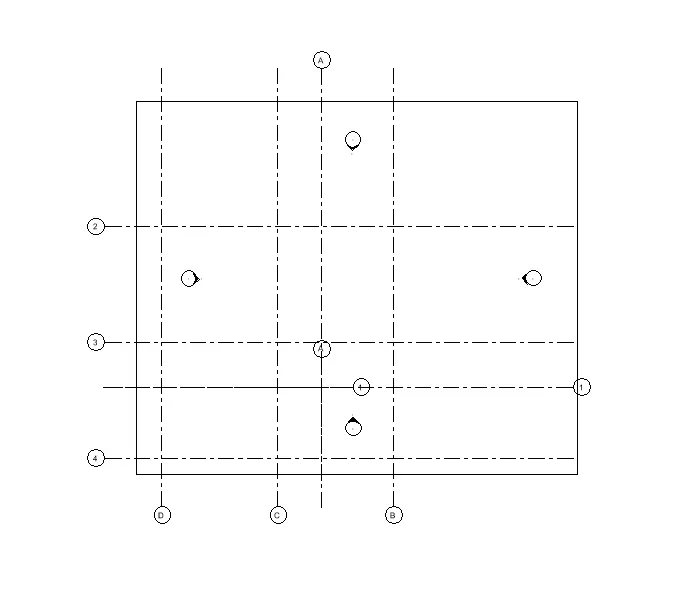
RESULT:Hence ,this model is set up for project 2
10 ANSWER:
Flow chart of consrtruction model,architectural model,structural model
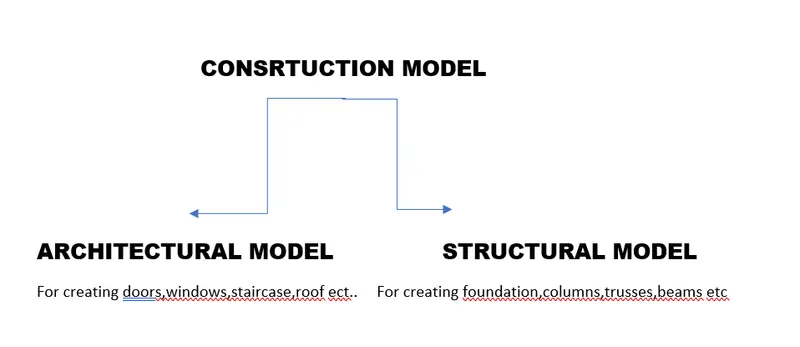
Using colloborate option different people like architectural engineer,structural engineer, electrical engineer ,hvac,sustem engineer,plumbing etc can work on the model at the same time