Creating Levels, Grids, Layout and model elements for a residential unit using REVIT
Q 1) ANSWER:
- BIM is called as Building Information Modelling.
- It involves the process of co-ordination and computation.
- It involves co-ordination between multiple disciplines like structural engineer,architects,mechanical engineers etc..
- Where as Computation involves Material schedule,Quantity schedule, Energy evaluation,Robo structural analysis.
- BIM benifits over 2D CAD tools because BIM helps in making 3D models with advanced features with less amount of time and provide variety range of family elements.
Q2)ANSWER :
OBJECTIVE:1) To understand the concept of categories,families,elements in Revit.
2)To choose a category,pick a family and element and insert it into a revit model
CONCEPT: 1)
- The properties that are already present in revit are called categories.They are the properties that are predefined by the software. EXAMPLE:doors,windows,wall,floor etc..
- Family consists of a group of elements that share a common property
EXAMPLE:different types of doors or windows available in revit.
PROCEDURE:
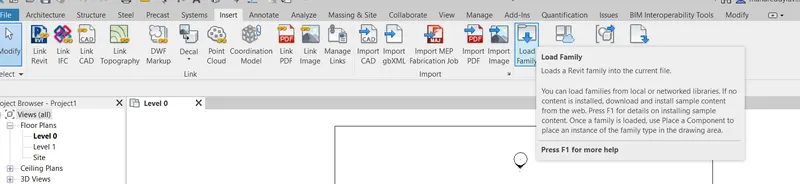
- Open a new project and in the main window go to insert tab and click load families.
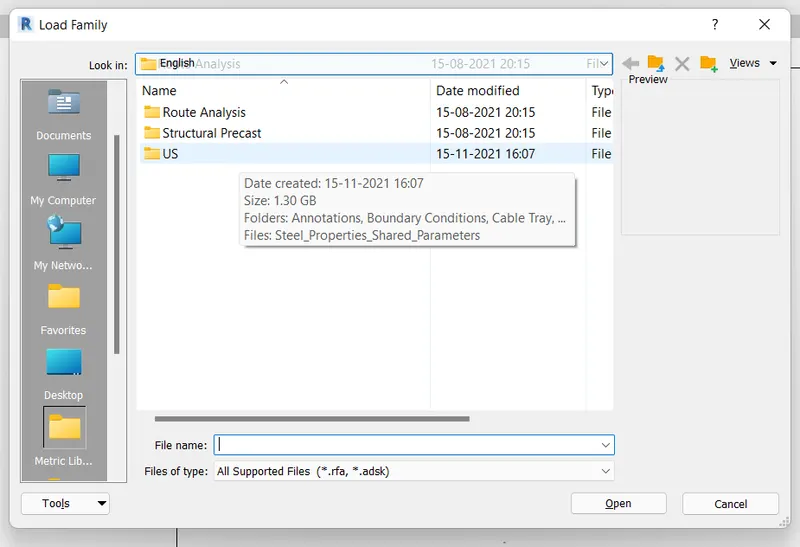
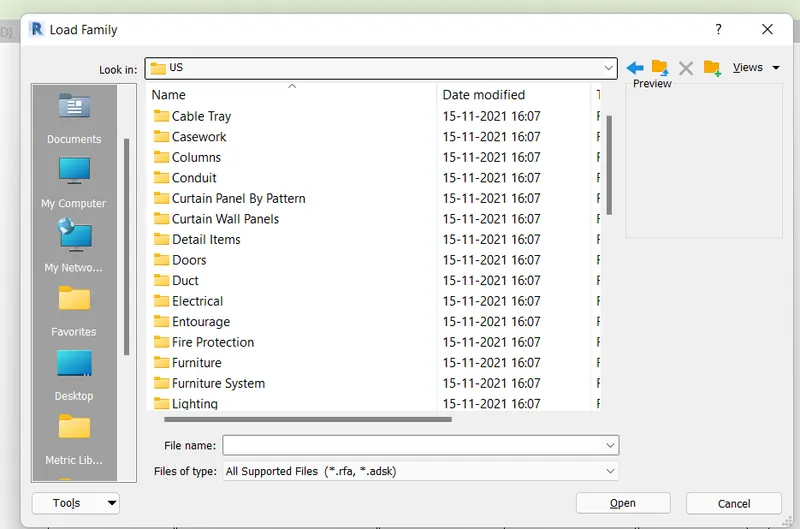
- Click on US and select any category(here I am selecting windows)
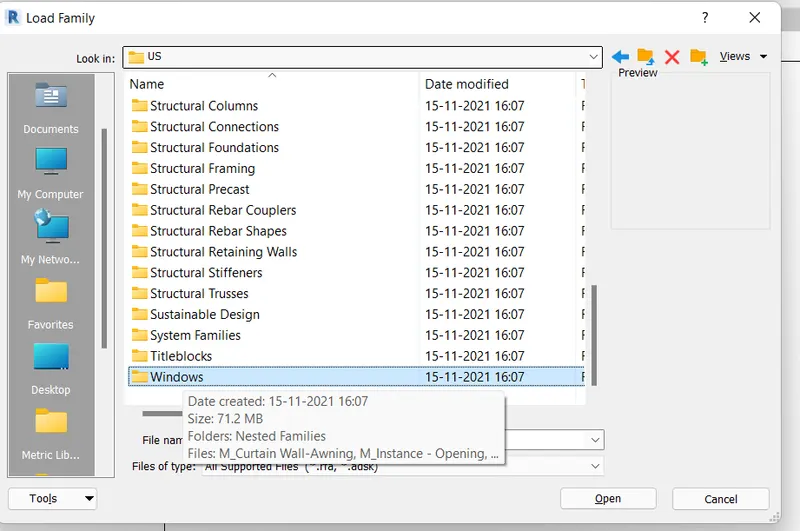
- Click any one of the window from given family of window and insert it in the revit model.
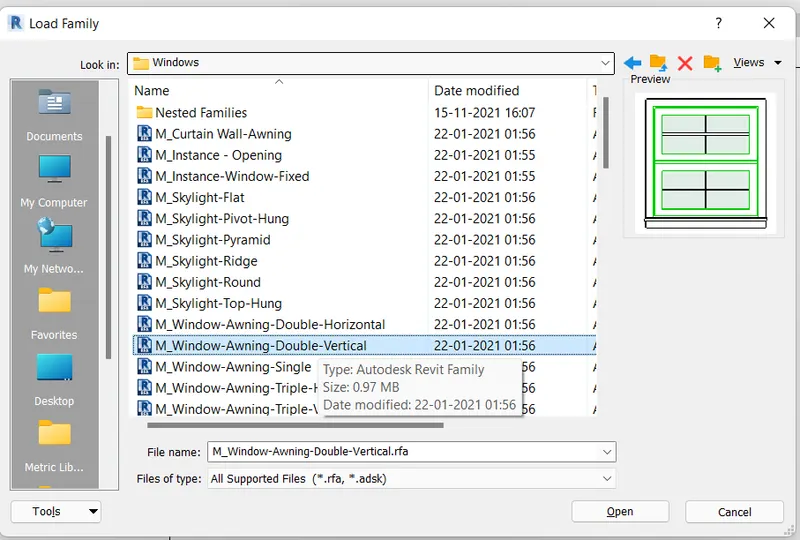
RESULT: : hence,Elements are inserted into the given model.
Q3) ANSWER:
OBJECTIVE:Setting up a new project and detailing it.
PROCEDURE:
- Open home screen of Revit and click on NEW from models and select a architecture template .
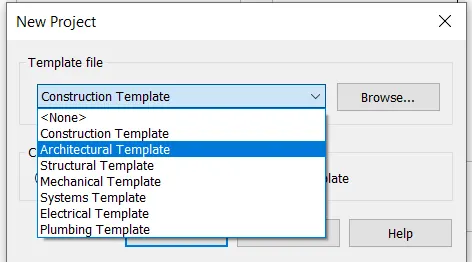
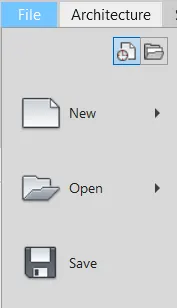
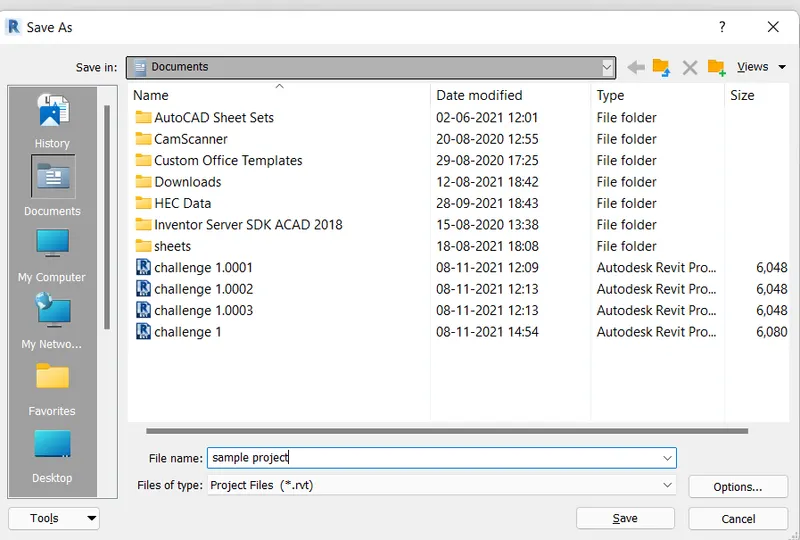
- For saving the project, click on FILE and select save and name it with appropriate name.
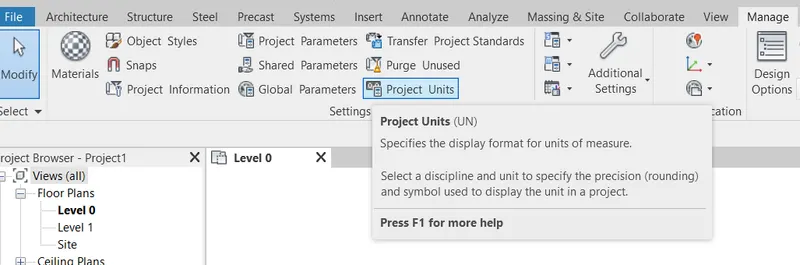
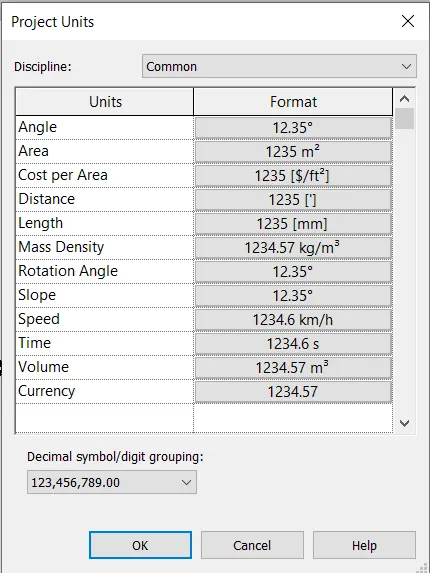
- Then to setup units ,click on project units under manage tab and then select the units as required as shown
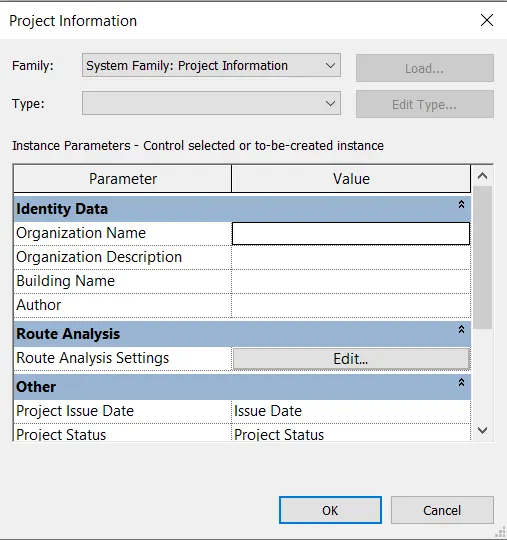
- To set up project information ,click on project information under manage tab and fill up the Details required.

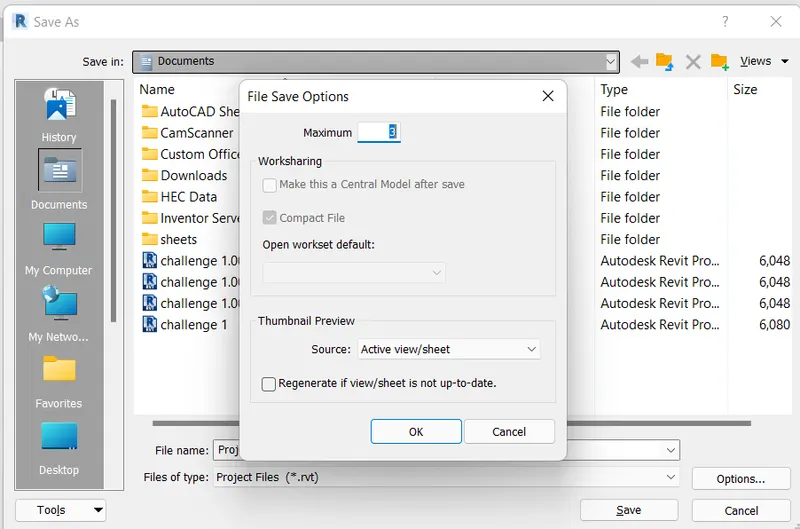
- For setting up back ups for project files ,click on save from file menuand select project
- And click on options and set maximum back ups as 3.
RESULT:Hence,New project was created and detailing of project was done.
Q 4) ANSWER:
OBJECTIVE:1)To understand the concept of levels and grids
2)To draw the given levels and grids.
CONCEPT :1)
- Levels and grids are used as building blocks in revit.Like they are used as reference.
- They are used to indicate the location of other elements.
- Grids can be both horizantal and vertical lines.
- Horizantal lines are named either from left to right or from right to left using alphabets and vertical lines are named using numbers in an order.
PROCDURE:
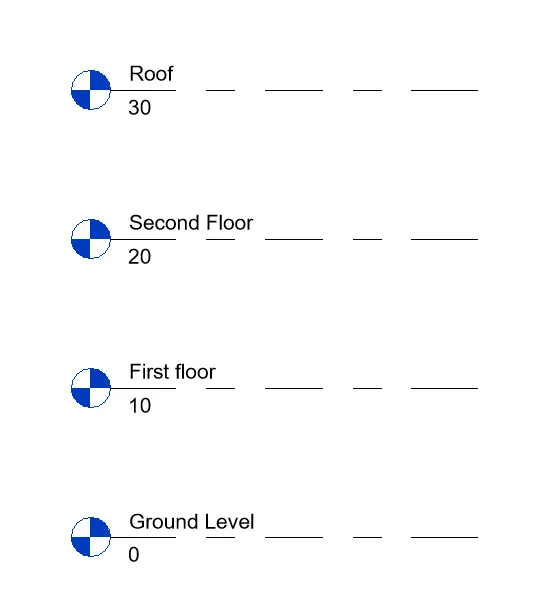
- Draw the given levels, they are:Ground floor at 0',first floor at 10',second floor at 20', roof at 30 '
- Now open a new construction template and go to any one of the elevation view.
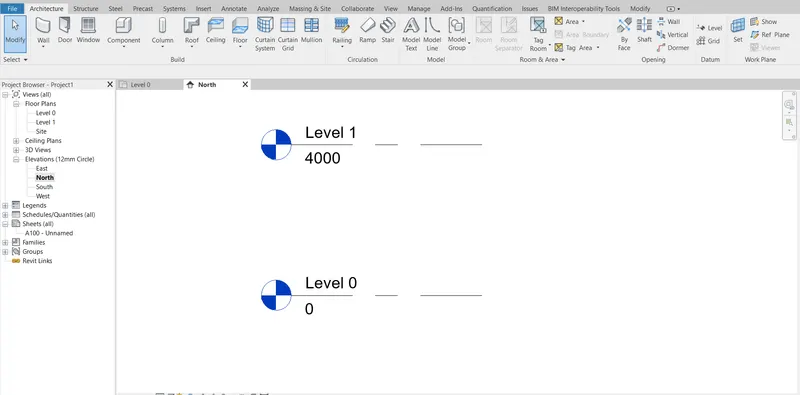
- Then to rename the levels click on the respective levels and rename them
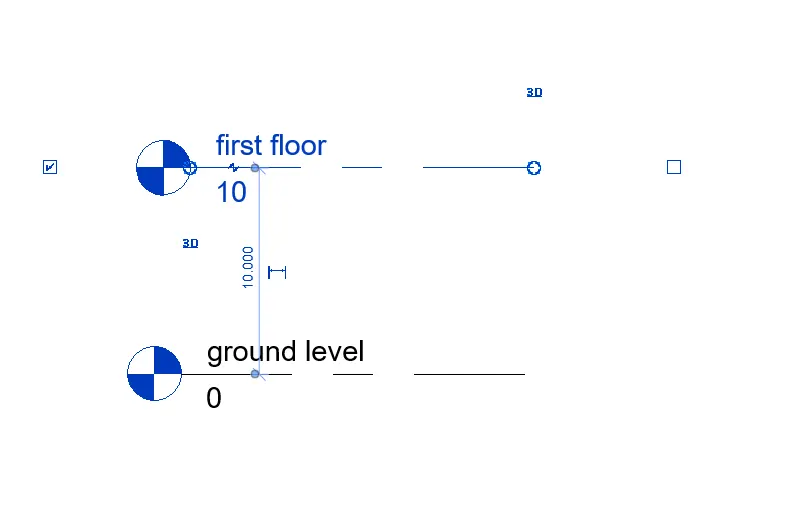
- Now rename level 0 as ground level and level 1 as first floor also change first floor height to 10 feet
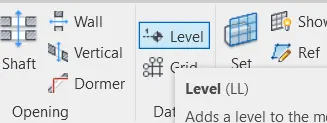
- Now to add new levels ,click on levels on the top right corner and add them by adjusting required height as given
- Draw the given grids- transverse A,B,C,D,E spacing 10', longitudanal grids 1 to 10 at 20' spacing
- Go to a new template and click on grids which is present below levels option .
- Then draw grids as per given conditions (transverse:A to E with 10 feet spacing and longitudinal:1 to 10 with 20 feet spacing)
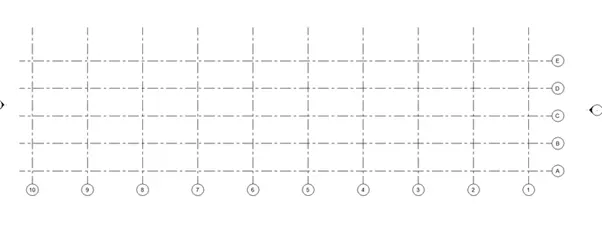
RESULT: Hence, we understood levels and grids and we have drawn the given readings.
Q 5 ANSWER:
OBJECTIVE:To draw a conceptual layout of a residential house.
PROCEDURE:
- Click on new construction template from home page.
- Now click on architecture wall from walls from architecture tab.
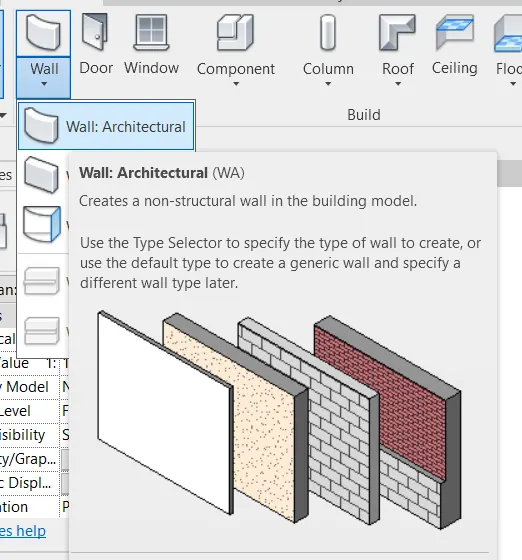
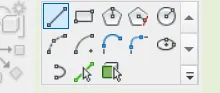
- Click on line and draw a layout as shown.
-
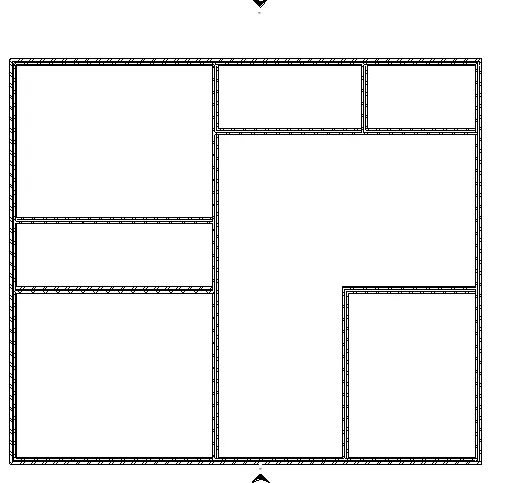
RESULT: Hence a conceptual layout is created.
Q 6)ANSWER:
OBJECTIVE:To align dimensions to the layout created.
PROCEDURE:
- Create a required layout as shown in previous question .
- Then go to annotate tab and click on aligned dimensions option .

- Now place the cursor at the walls and give dimensions to your layout as shown in the figure below.
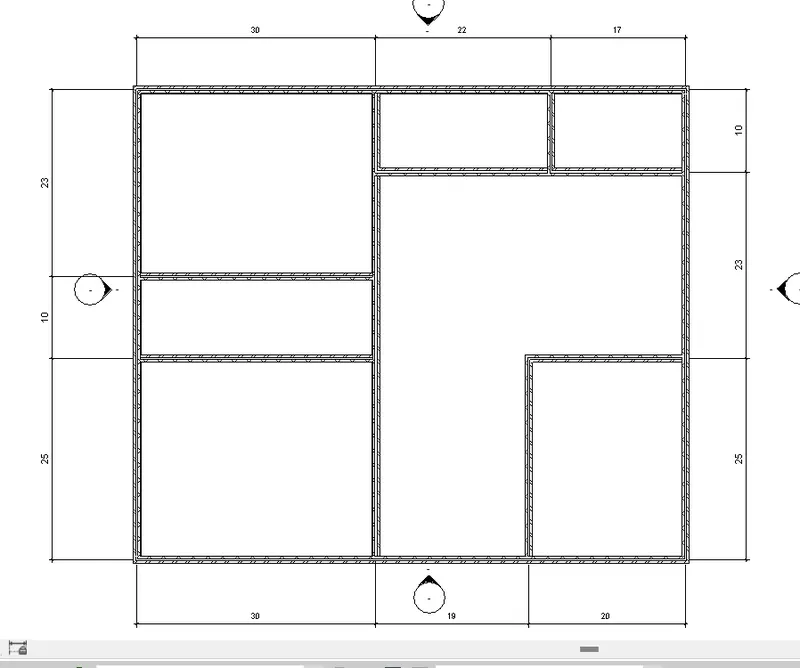
RESULT:Hence ,aligned dimensions are created for the layout.
Q 7) ANSWER:
OBJECTIVE:To insert model elements like doors, windows, tables, chairs, couch, bed, lamps from library into our layout.
PROCEDURE:
- Draw a layout as per required conditions.
- Then assign grids to your layout (both horizantal and vertical ones )and name the rids properly as shown.
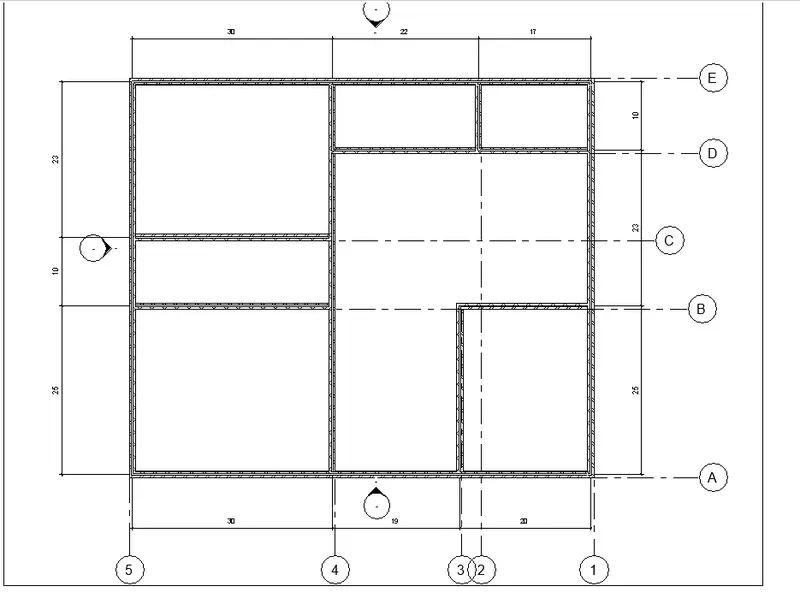
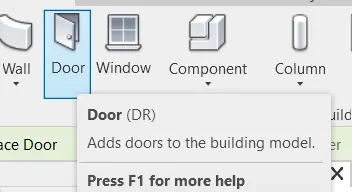
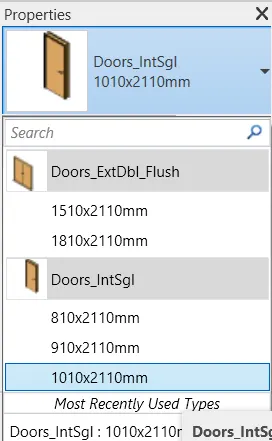
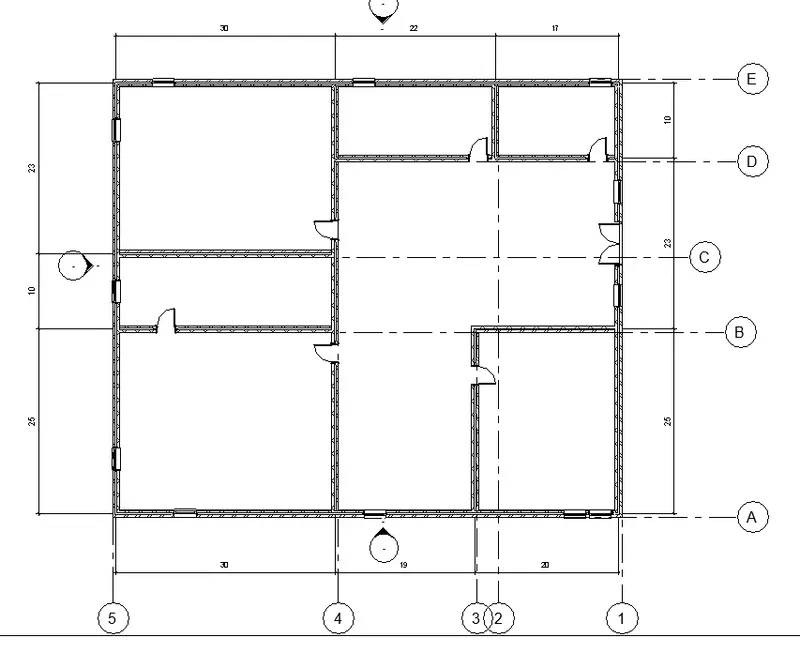
- Now click on doors from architecture tab ,select the type of door from properties tab and insert them into your layout as per given dimesions as shown.
- Repeat the same process for windows also.
- Now to add tables,couches,beds ,chairs .., click on place a component from architecture tab and click on load family.
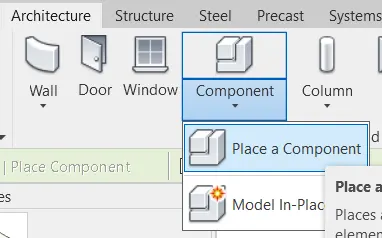
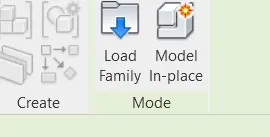
- Now,Select the required component from the menu (tables,chairs , coaches etc ) and add them to residential unit as shown.
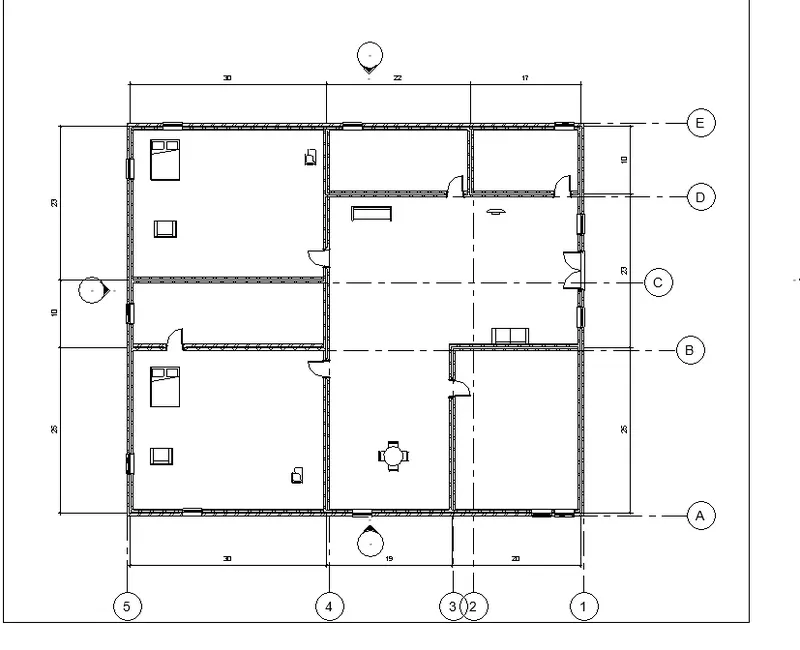
RESULT:Hence doors,tables,beds and other components are identified and added them into our layout.