Usage of Collaborate tool in REVIT
Aim : 1) Open an architectural template. Using the Manage tab set project base point and project shared coordinates for the project
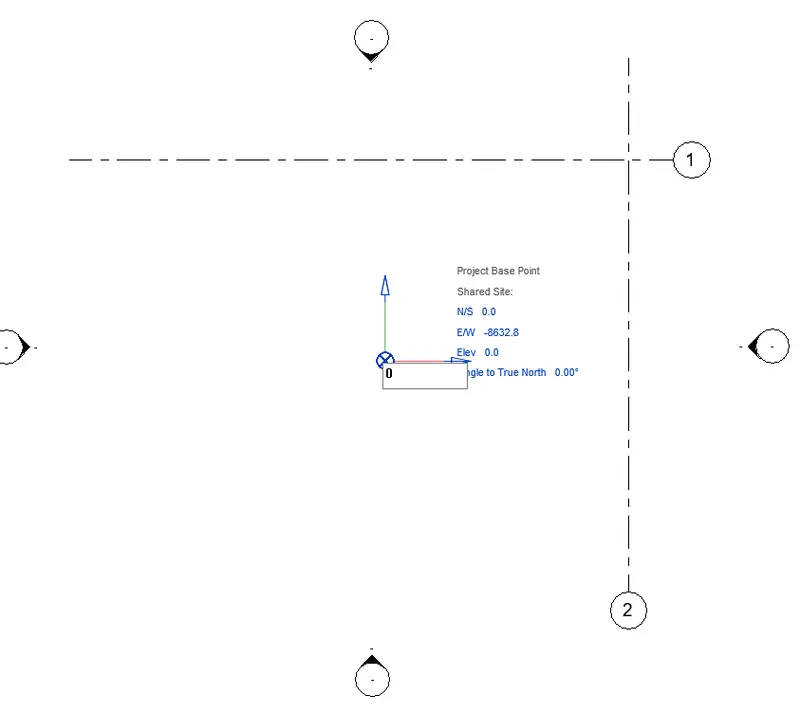
Procedure : Go to Revit Software
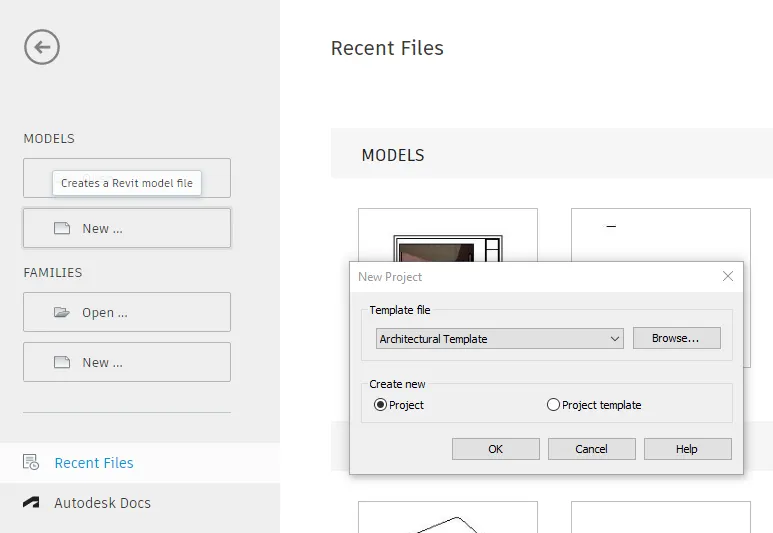
2. Open the New File and Select Architectural Template
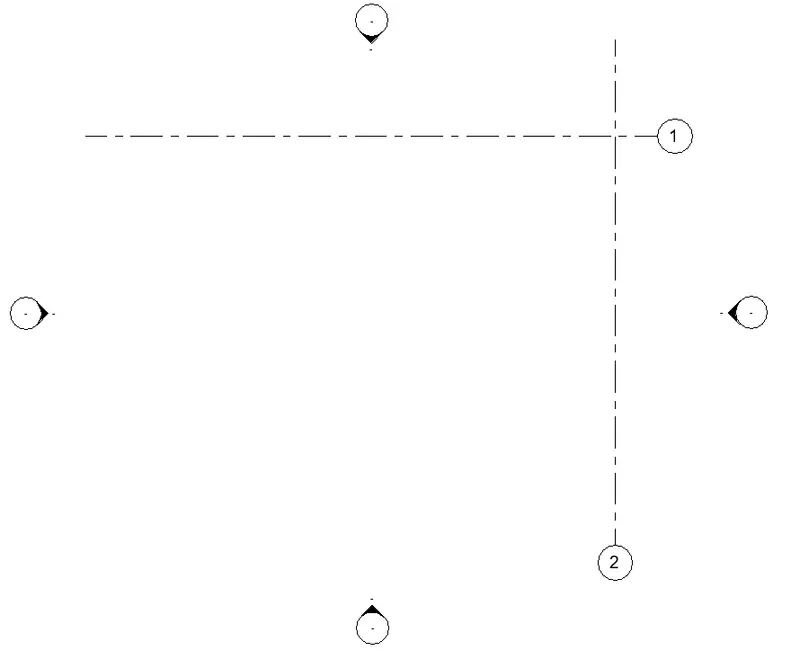
3. After opening a new File Go to Architecture tab and select the Grid.
4. Draft a Grid Vertical and Horizontal
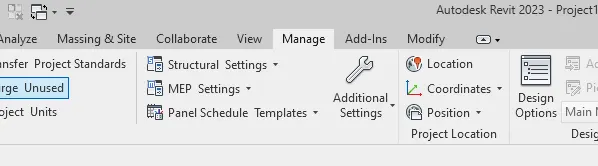
5. Go to manage tab and select Co- Ordinate
6. After selecting the co-ordinate, select the base point wehre the two co-ordinate crosses each other.
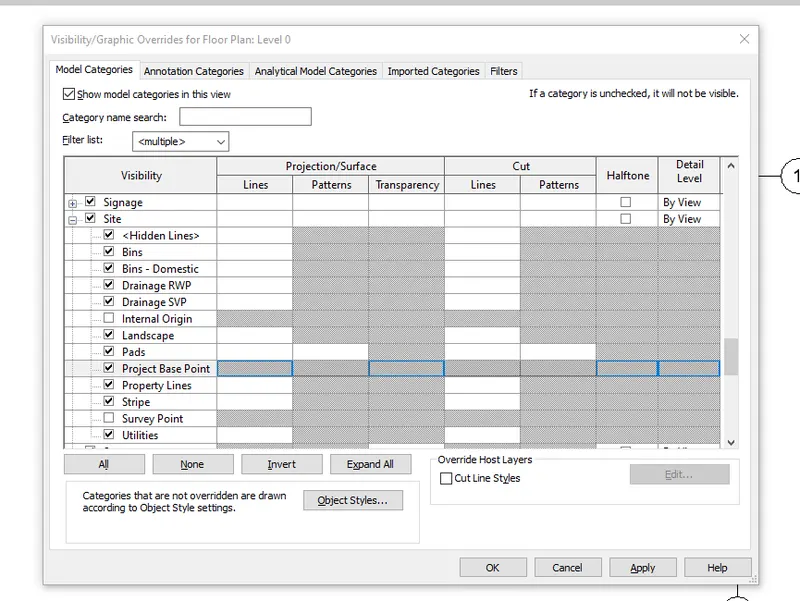
7. Then type VG Visibility Graphics and go to the Site.
8. After selecting site select project base point.
9. Make the project Base point zero.
Aim : 2) Open another new file but with a structural template. Using the manage tab set project parameters the same as the architectural model. Copy the parameters from the architectural model to the structural template or enter the parameters manually into the structural model
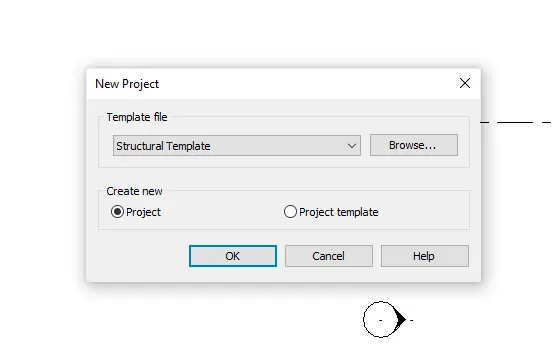
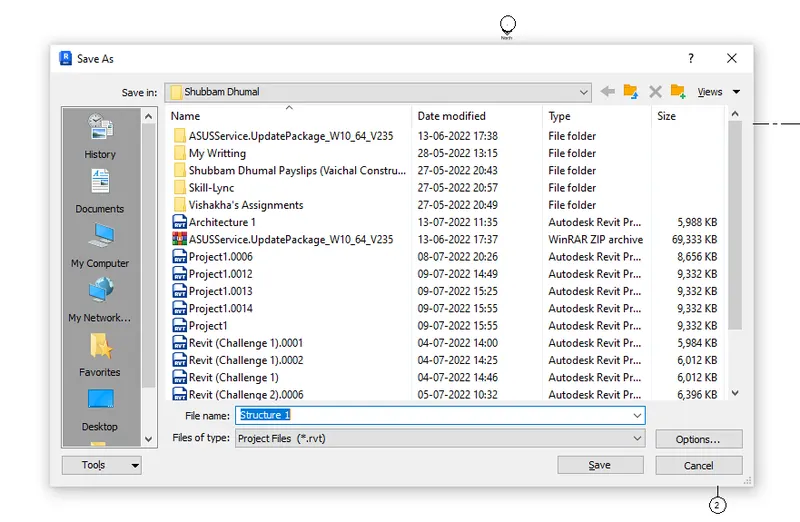
Procedure : Go to Revit Software
2. Open the New File and Select Structure Template
3. After opening a new File Go to Architecture tab and select the Grid.
4. Draft a Grid Vertical and Horizontal
5. Go to manage tab and select Co- Ordinate
6. After selecting the co-ordinate, select the base point wehre the two co-ordinate crosses each other.
7. Then type VG Visibility Graphics and go to the Site.
8. After selecting site select project base point.
9. Make the project Base point zero.
Aim : 3) Re-open the architectural model. Using the tools under the Collaborate tab make the architectural model a central model (enabling simultaneous working on the model)

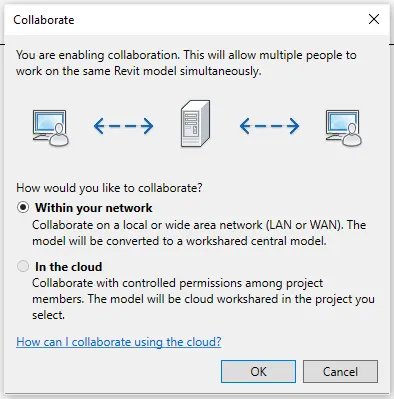
Procedure : Go to the Revit Software
2. Open the Architecture File which was saved before
3. Go to collaborate Tab
4. After going to Collaborate Select the Collaboarate option.
5. Select within your network and select OK
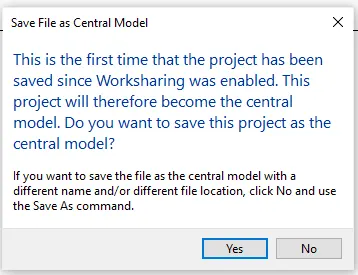
6. And then save file as Central Model
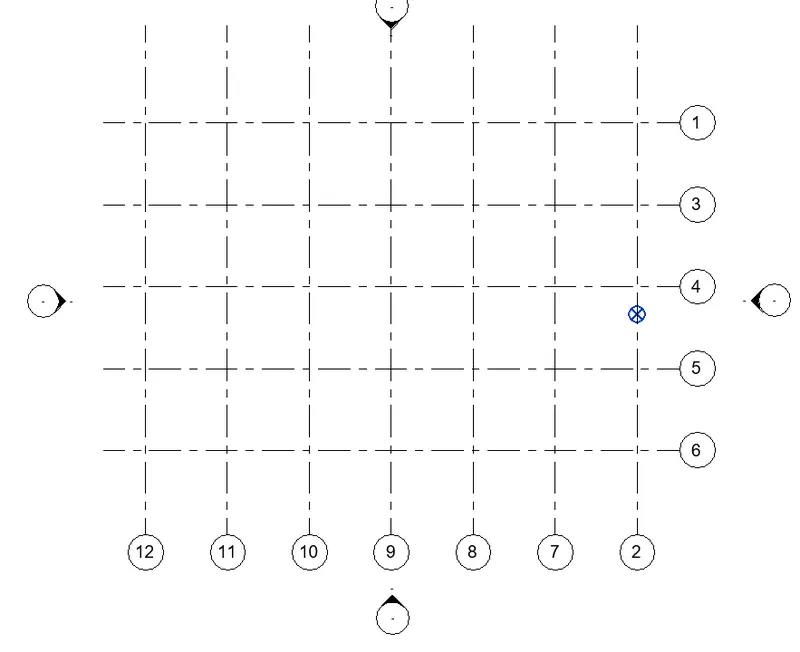
Aim : 4) Create the Grids Longitudinal and Transverse pattern for the project similar to the task done in Week 2

Procedure : Go to Revit Software
2. Open the Architecture Tab
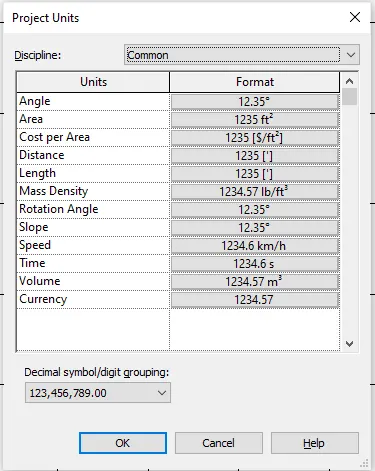
3. TYPE UN and select the Unit as Feet.
4. Go to Grid in Architecture tab and select offset as 10 feet
5. After selecting the offset draft the grid vertically and Horizontally
Aim : 5) Synchronize the changes from the local copy to the central file of the architectural model.

Procedure : Go to Revit Software
2. Open the Architecture file which was saved Before
3. Go to Collaborate Tab
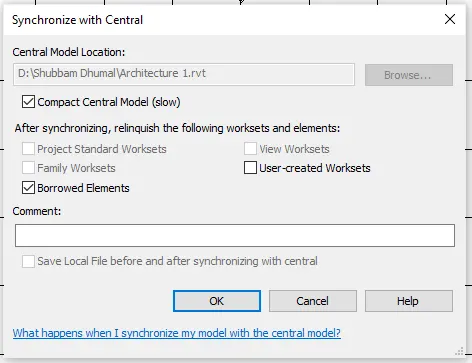
4. After going to Collaborate go to Synchronize with central
5. After selecting it Select Compact Central mode and select OK
6. Synchronization Done
Aim : 6) Open the structural model and use the collaborate tools to save the model as a central file.
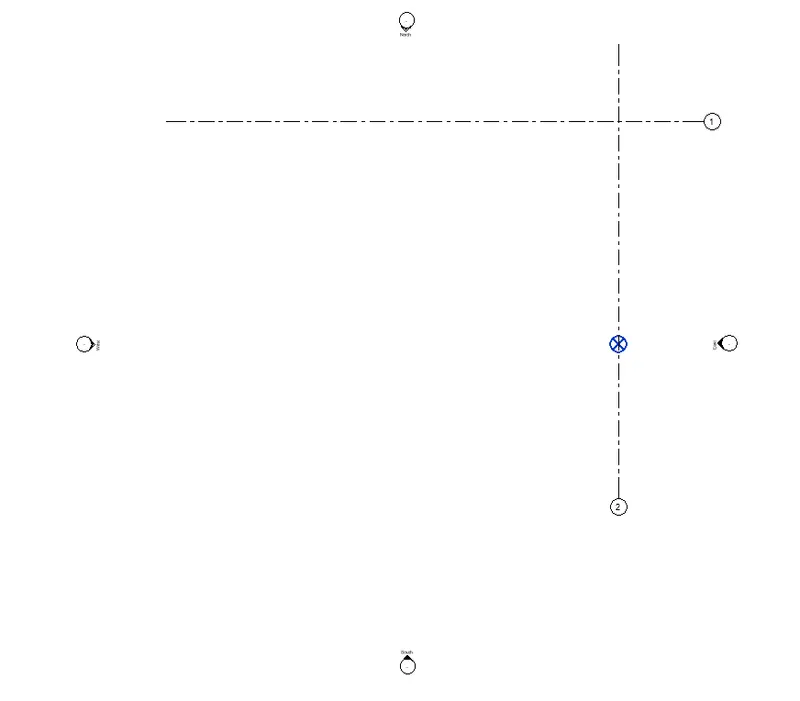
Procedure : Go to the Revit Software
2. Open the Structure File which was saved before
3. Go to collaborate Tab
4. After going to Collaborate Select the Collaboarate option.
5. Select within your network and select OK
6. And then save file as Central Model
Aim : 7) Under the Collaborate tab, select the grids and levels from the architectural model, and using Copy Monitor try to copy the grids to the structural model. See what happens when the copy monitored grid is moved around in the structural model
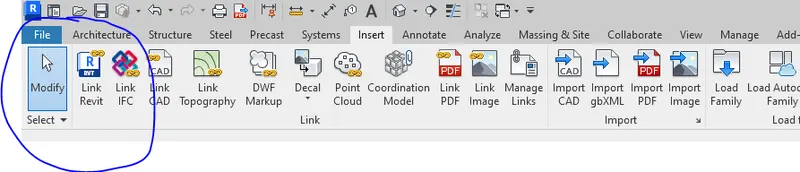
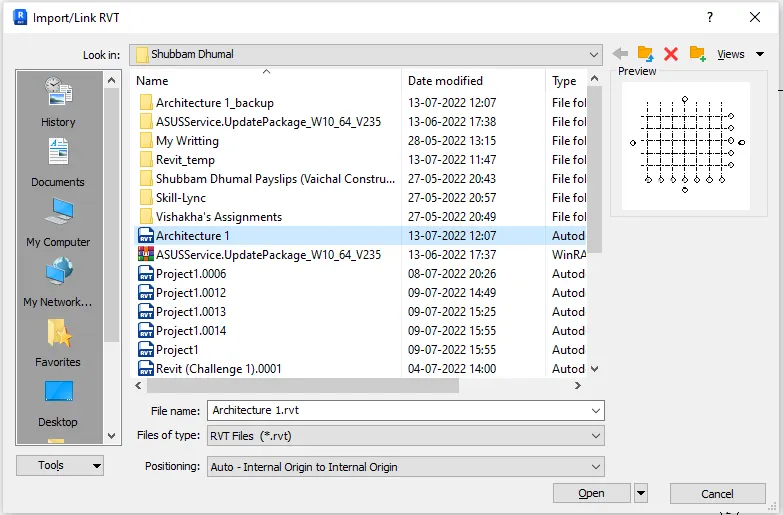
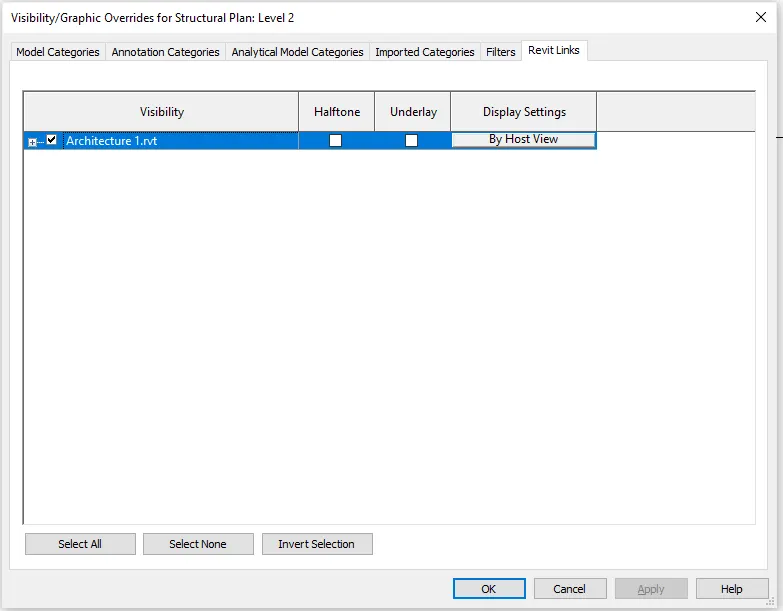

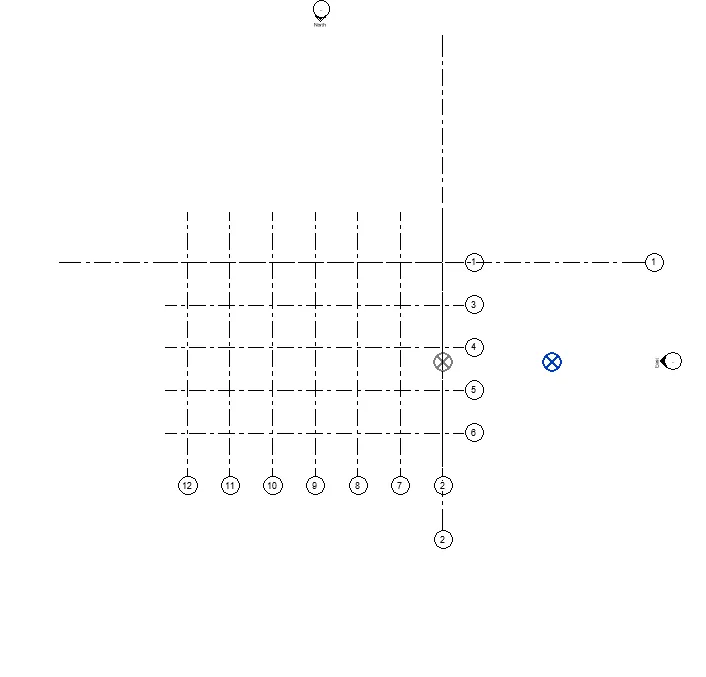
Procedure : Go to the Revit Software
2. Open the Structure file.
3. Go to Insert Tab and then select Link Revit
4. After that from file select the Architecture file and select Open
5. For cross checking wether both files are copied or not just go to Visual Graphics by Typing VG and go to Revit Links and untick the Architecture Files. If the Architecture file is vanished then it is not copied.
6. Now go to Collaborate and select Copy Monitor.
7. Select the Architecture Grids and Tick Multiple and select Finish.
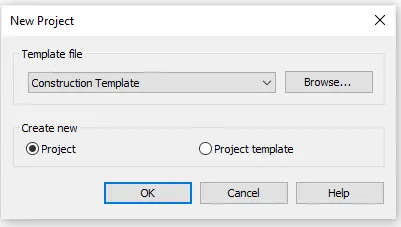
Aim : 8) Create another new file with a construction template. Save the new file as a central model. This file will include both architectural and structural model. Under the manage tab, Click manage links to link both architectural and structural files. Save the file and close all the files.

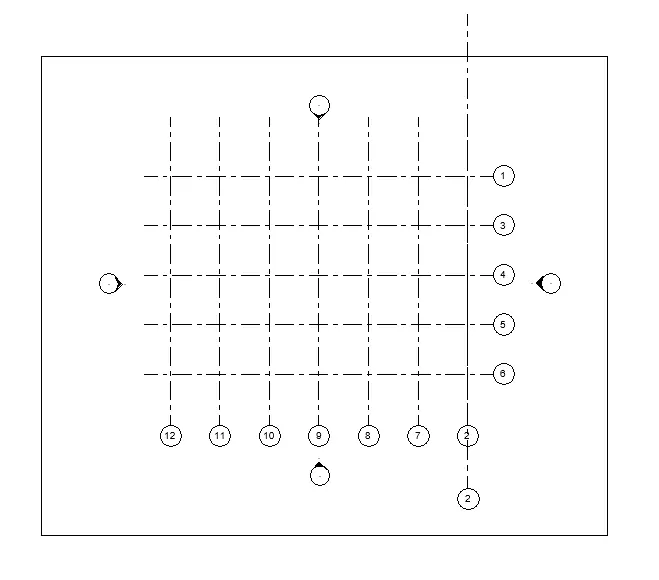
Procedure : Go to Revit Software
2. Select new file and select Construction Template
2. Open the Construction File which was saved before
3. Go to collaborate Tab
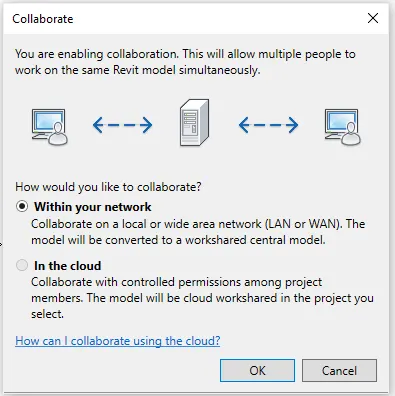
4. After going to Collaborate Select the Collaboarate option.
5. Select within your network and select OK
7. And then save file as Central Model
8. Go to Insert Tab and select Revit Links and select the Architecture and structure files.
9. The Architecture and Structure Files will be linked to Construction Files
Aim : 9) Are the grids from structural and architectural model matching in the construction template created? If yes the model is set up for project 2. If not work on the shared parameters and linking options under Manage links
( Hint: origin to origin, by shared coordinates or by project base point to base point ) to link the models in an appropriate manner
Procedure : The Grids from Structure and Architectur files are matching in Construction Template created above.
Conclusion : Hence the Challenge 6 is Completed