Tool Test 1
I) Aim :- Tool test for model one - switch panel modified .
Solution :-
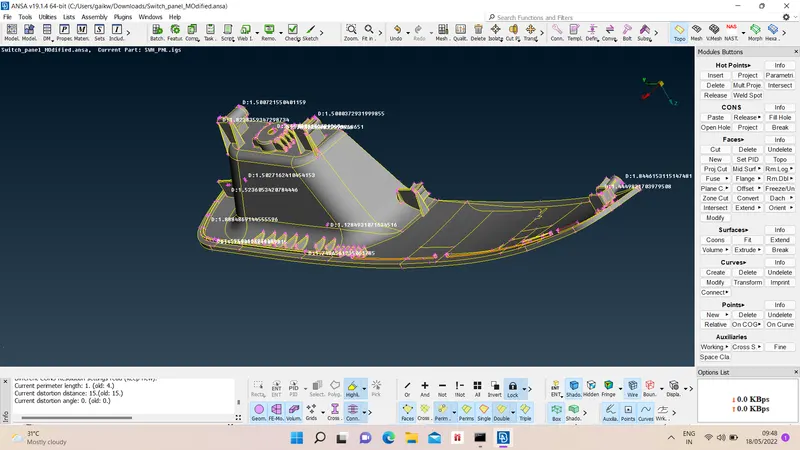
1) Import Model :-
Open model from file menu.
2) Geometry cleanup :-
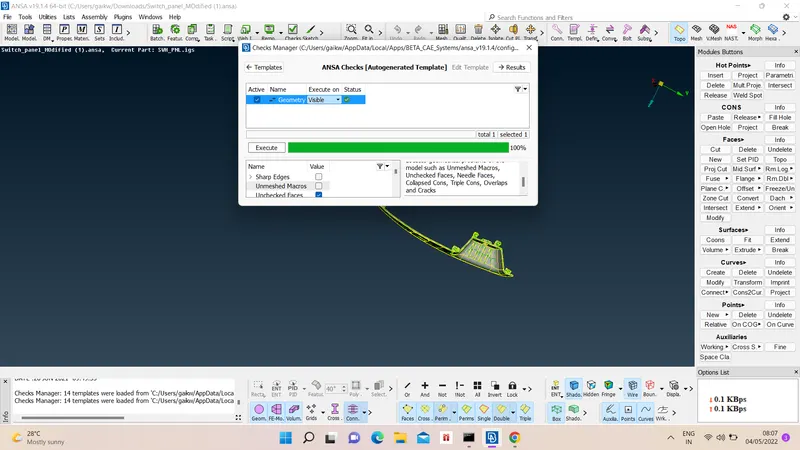
We have to check for geometry cleanup for given model, for that go in checks manager option and choode geometry check option and execute.
Ansa has shown no errors to us, so geometry is clean.
3) Mid surfacing -
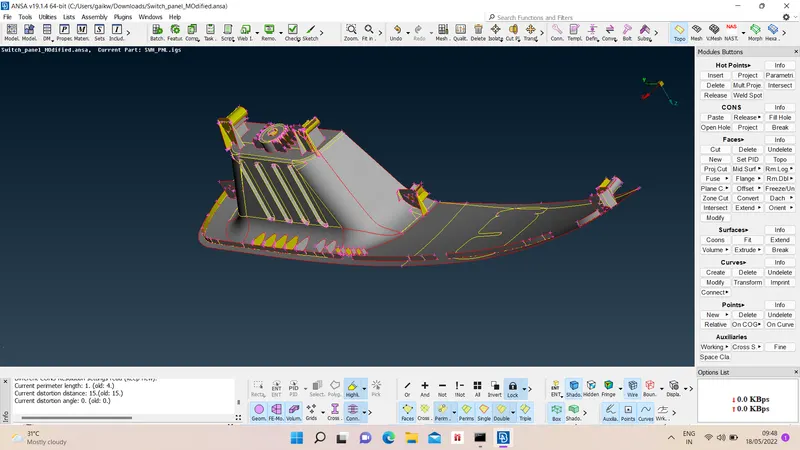
We can take mid surface either manually or automatically too. For manual mid surface we choose Offset option and give distance value with appropriate direcrtion and for automatic midsurface we use Automid option from Faces option.
So results of midsurfacing are as follow
4) Property Assigning to mid surfaces :-
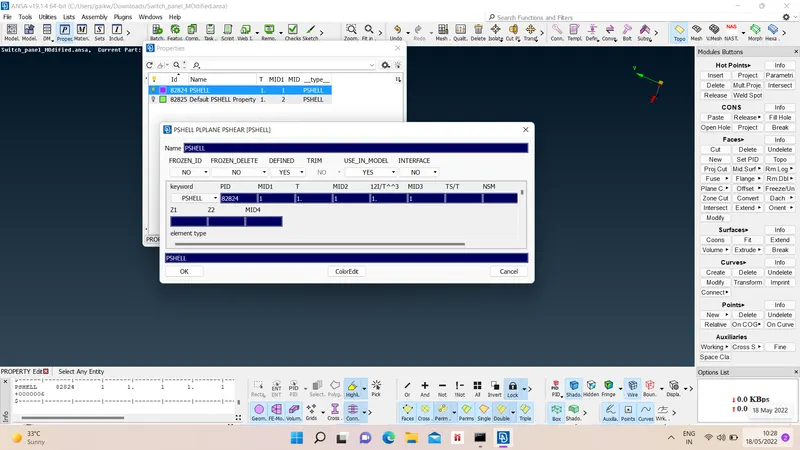
The newly formed midsurfaces has to assigned with new PID. For that we choose Set PID option and select faces, after that we create new Pshell card with appropriate number, thichness and color for given chosen components.
5) Meshing Preparations :-
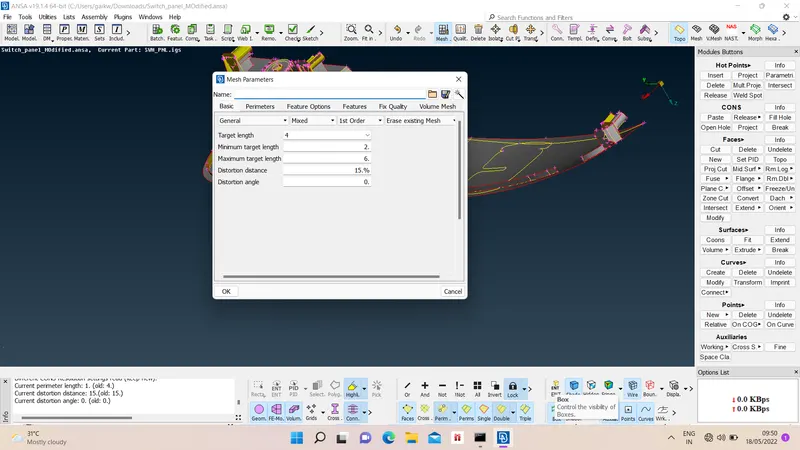
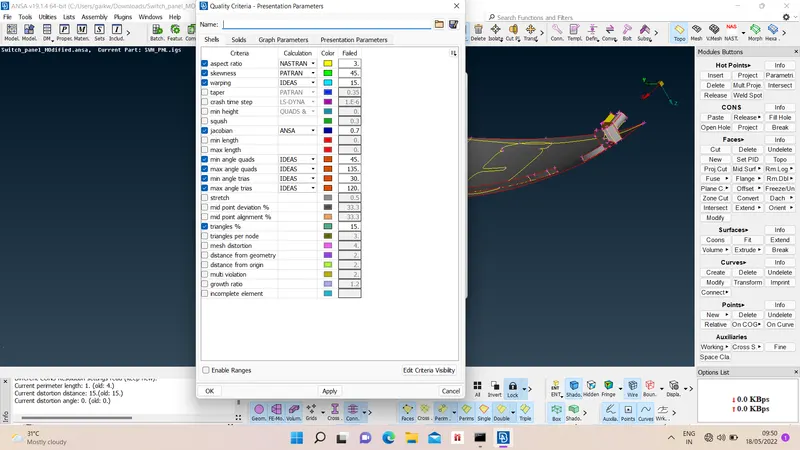
Before starting meshing we have to give equal length parameter to model with mesh parameters and mesh quality criteria.
For equal length we choose Perimeter > length > appropriate value.
For mesh parameters Utilities > mesh parameters > set target length, max and min length > ok.
For quality criteria Utilities > quality > apply qualities > ok.
6) Meshing :-
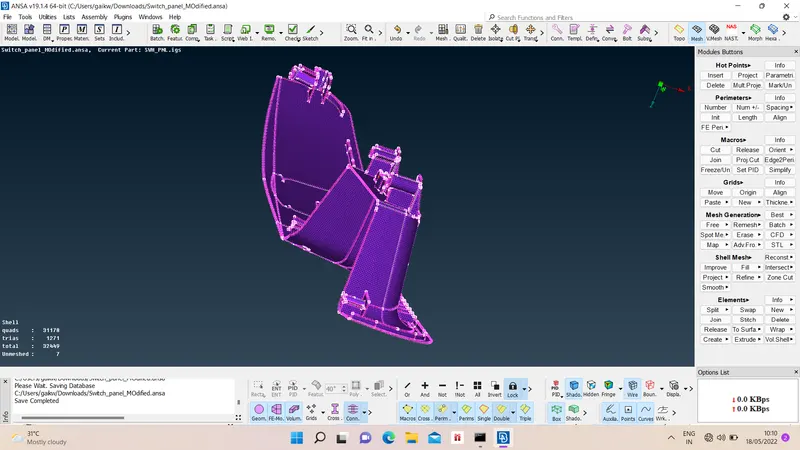
We can choose different method for meshing but for best result we choose Mesh generation > Best > select faces > confirm.
After meshing mesh improvement has to be done to achieve quality criteria, so we have to reconstruct mesh Shell mesh > Reconstruct. > select area of mesh > give try and rerun mesh.
Further failed mesh pattern like trias are removed using split, swap, join, smooth, etc. options.
Mesh results are as follow -
Model 1 G-drive link :- https://drive.google.com/file/d/1mjNrtbwYuV_3t07Wdt2do-vbQ_VO6TOc/view?usp=sharing
Time taken to finish model - 5.5 Hours.
II) Aim :- Tool test for model two - component igs.
Solution :-
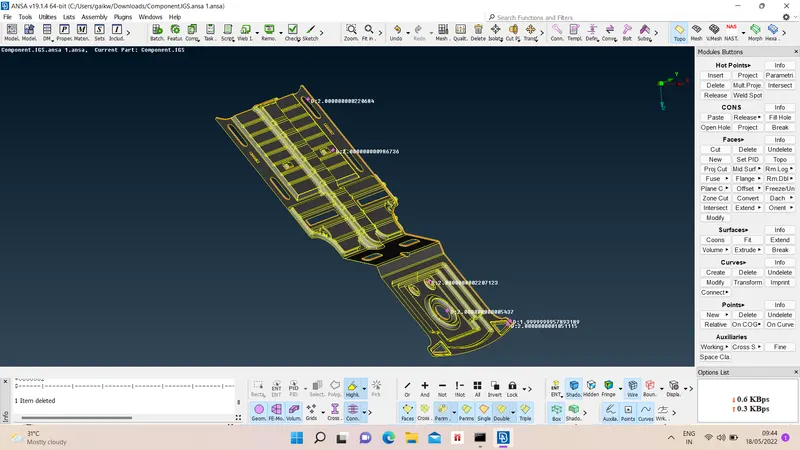
1) Import Model :-
Open model from file menu.
2) Geometry cleanup :-
We have to check for geometry cleanup for given model, for that go in checks manager option and choode geometry check option and execute.
Following errors Ansa has shown to us
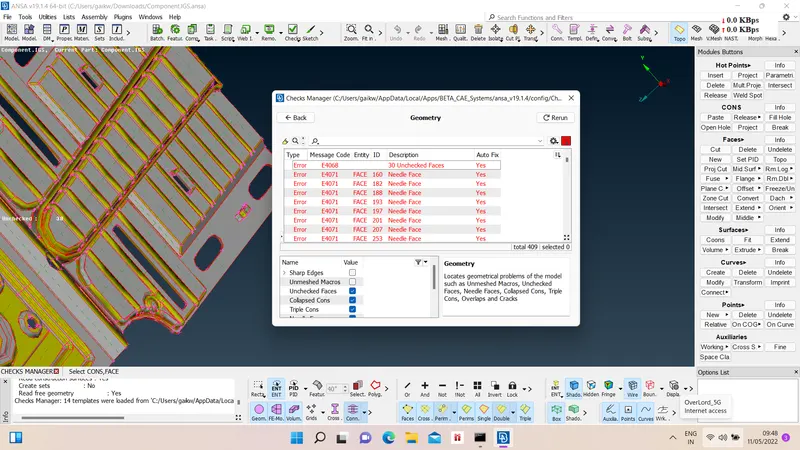
Ideally our model should have no errors with 100 % geometry cleanup, so we will fix the errors through automatic fix option.
After rerun geometry check results are
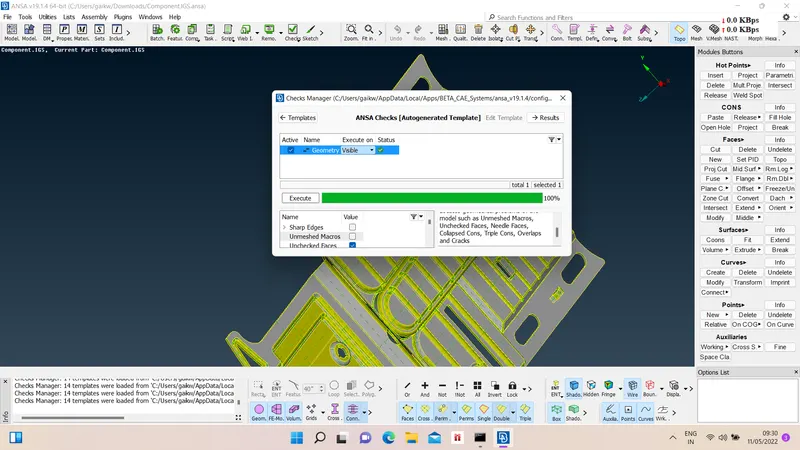
3) Mid surfacing -
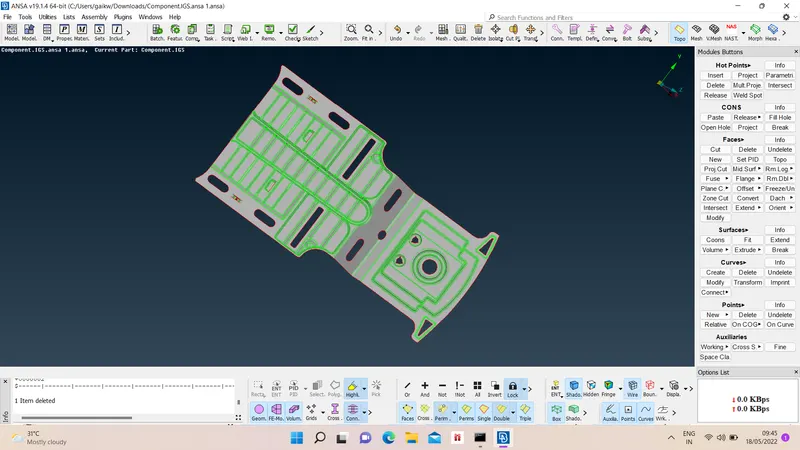
We can take mid surface either manually or automatically too. For manual mid surface we choose Offset option and give distance value with appropriate direcrtion and for automatic midsurface we use Automid option from Faces option.
So results of midsurfacing are as follow
4) Property Assigning to mid surfaces :-
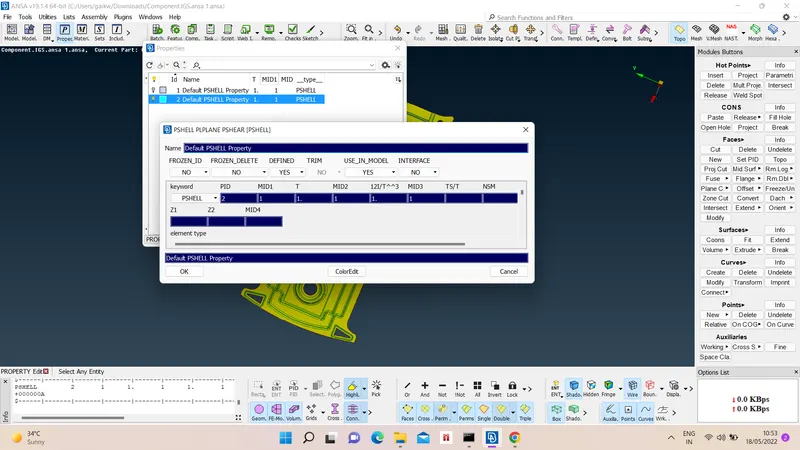
The newly formed midsurfaces has to assigned with new PID. For that we choose Set PID option and select faces, after that we create new Pshell card with appropriate number, thichness and color for given chosen components.
5) Meshing Preparations :-
Before starting meshing we have to give equal length parameter to model with mesh parameters and mesh quality criteria.
For equal length we choose Perimeter > length > appropriate value.
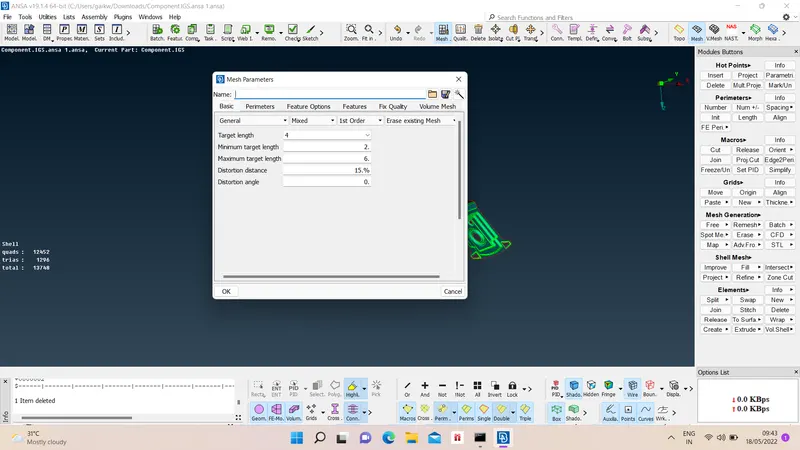
For mesh parameters Utilities > mesh parameters > set target length, max and min length > ok.
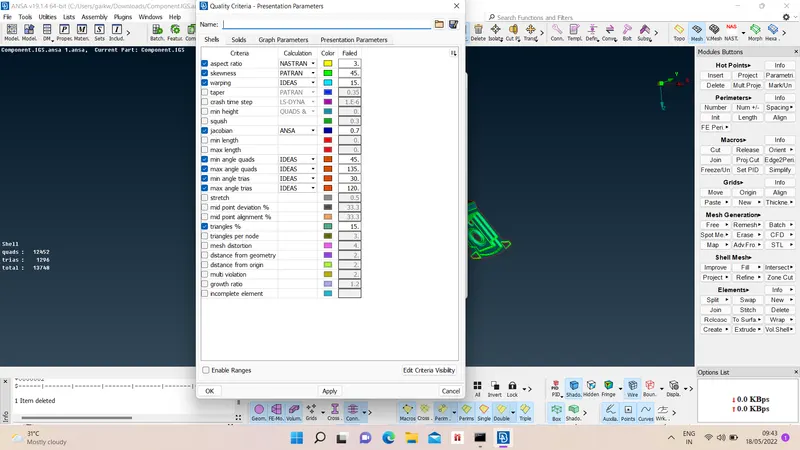
For quality criteria Utilities > quality > apply qualities > ok.
6) Meshing :-
We can choose different method for meshing but for best result we choose Mesh generation > Best > select faces > confirm.
After meshing mesh improvement has to be done to achieve quality criteria, so we have to reconstruct mesh Shell mesh > Reconstruct. > select area of mesh > give try and rerun mesh.
Further failed mesh pattern like trias are removed using split, swap, join, smooth, etc. options.
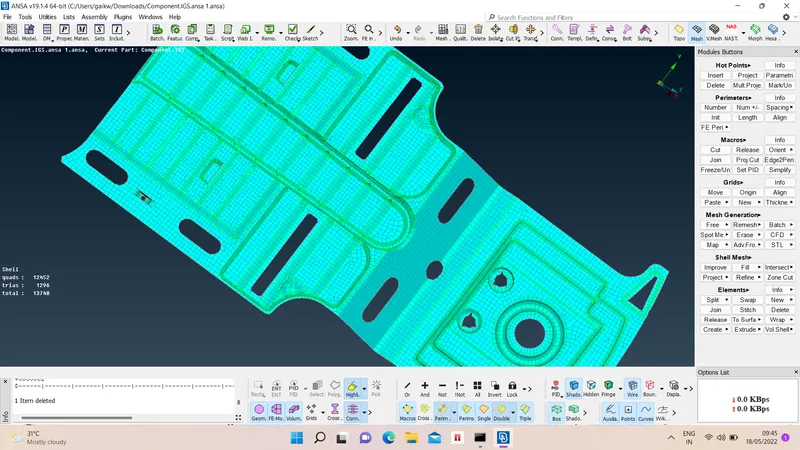
Mesh results are as follow -
Model 2 G-drive link :- https://drive.google.com/file/d/1T55ajEAb1uDHOJ5eA7e6uWDx-QX0ASaS/view?usp=sharing
Time taken to finish model - 2.5 hours.