Radar Mast & Final Assembly of Yacht
Radar Mast:
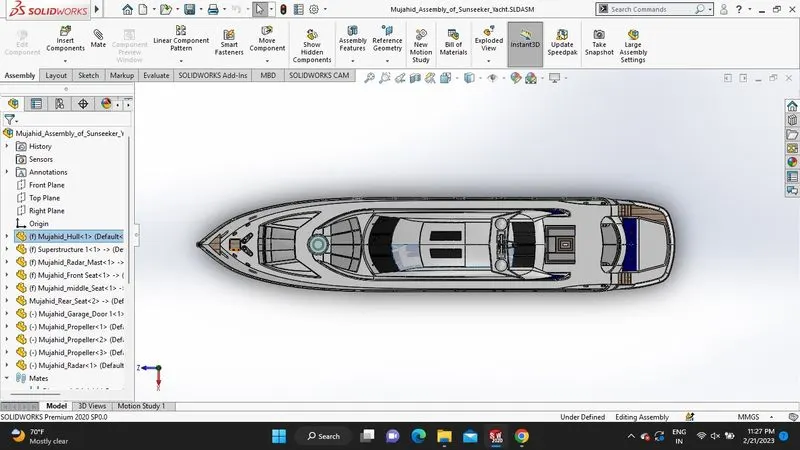
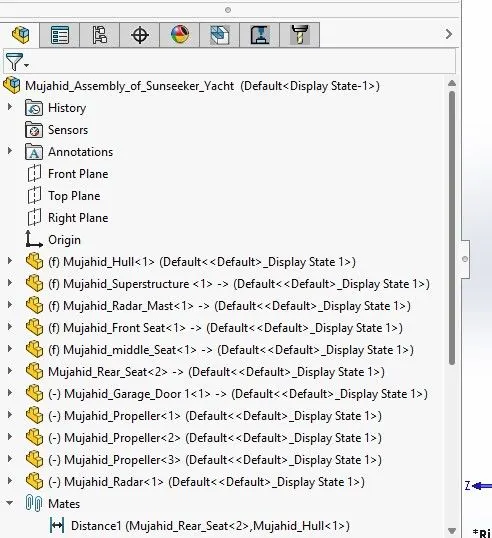
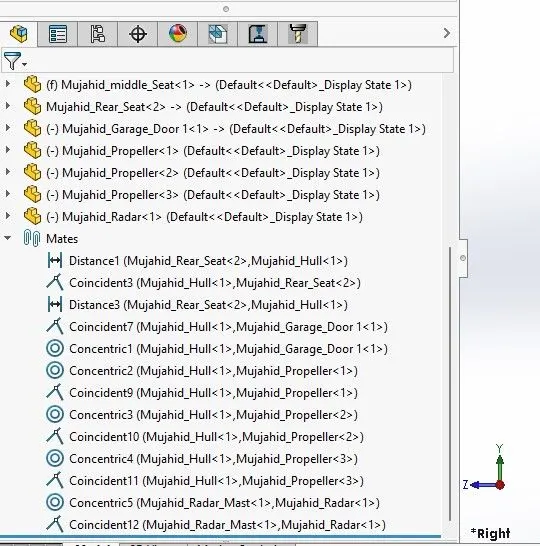
Yacht Assembly :
Project Report :
DESIGNING OF SUNSEEKER PREDATOR YACHT USING SOLIDWORKS
OBJECTIVE:
Designing and assembling the various parts of the Sunseeker yacht requires learning complex surfacing capabilities using Solidworks software.
INTRODUCTION:
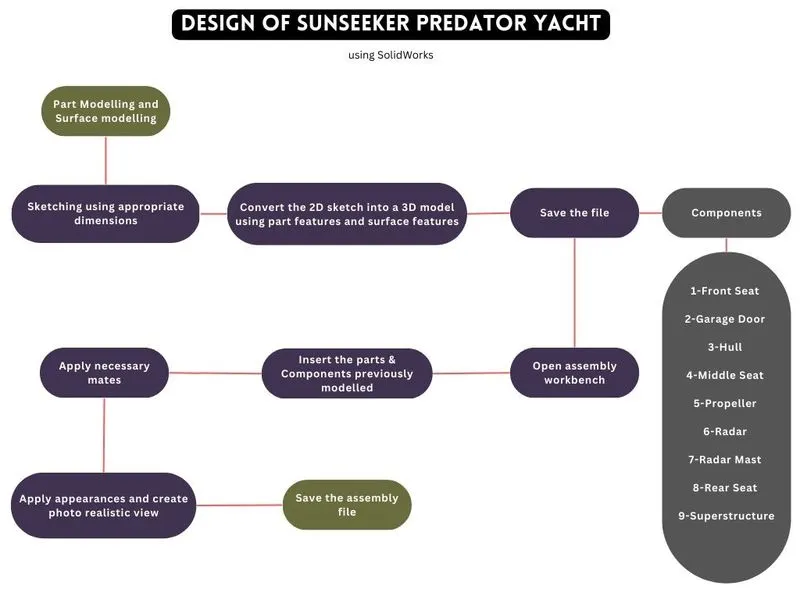
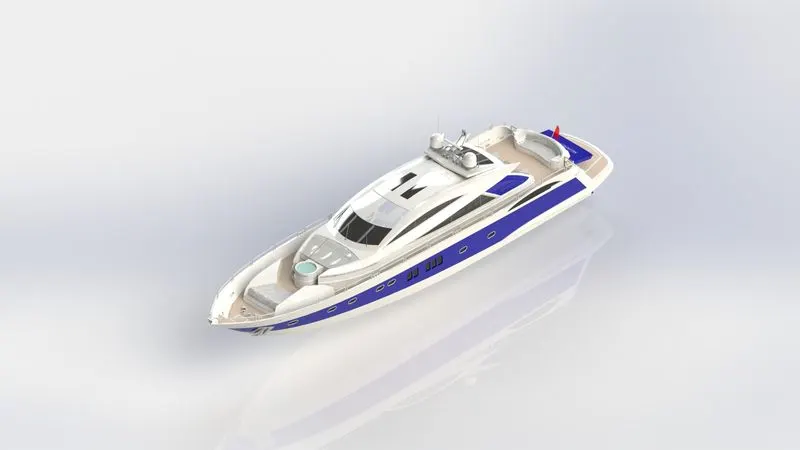
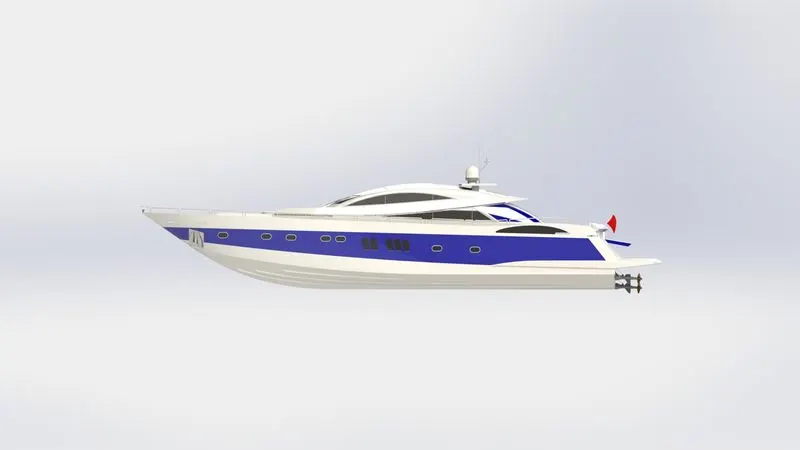
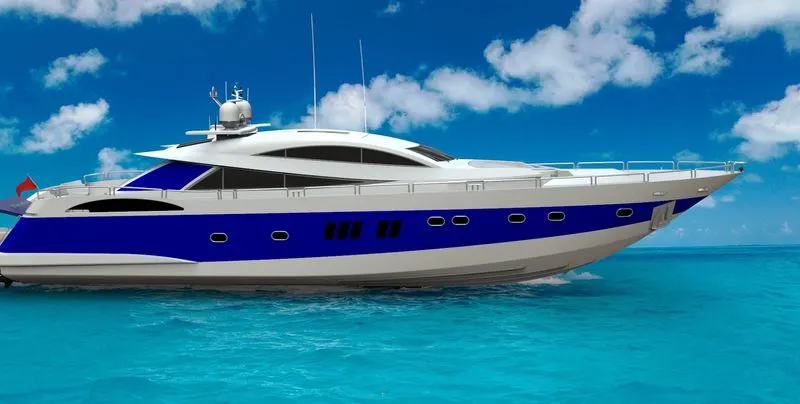
For this project, I built the Sunseeker predator108 yacht. Design starts with creating a layout setup by setting up different views with the correct daemons and orientations. Then all the parts are designed one by one according to the configuration of the blueprint. All parts are assembled in an assembly environment and rendered using the SOLIDWORKS visualize.
DESIGN METHODOLOGY:
First, design each component with appropriate dimensions that allow you to create a fully defined sketch.
- Assemble the parts with the correct mates and relationships to create the complete model.
- A set configuration that uses decals as a model and reproduces photos realistically.
- Finally, use SolidWorks PhotoView360 and SolidWorks Visual to render the model in different scenario settings and views to create photorealistic pictures.
LIST OF COMPONENTS IN YACHT:
- Front Seat
- Middle Seat
- Rear Seat
- Garage Door
- Hull
- Propeller
- Radar
- Radar Mast
- Superstructure
DESCRIPTION:
Blueprint Setup:
Blueprints are essentially engineering plans or technical drawings of different orthogonal views of a product. The design motto is to bring out the exact shape and form that the designer designed. Designing a product without blueprints can lead to multiple errors, unnatural proportions, and inaccurate dimensions. You can avoid all these problems by setting up your Blueprints properly.
Use SOLIDWORKS sketch mode on each layer to set up the blueprint. In this case, the front, side, top, back, and top view images are added to their respective layers. A very important thing to consider when creating a blueprint is size. All parts are designed by placing a blueprint on top for reference, so it is very important to maintain the correct physical size of the blueprint in the first step. You can adjust the dimensions manually or by adjusting the scale bar.
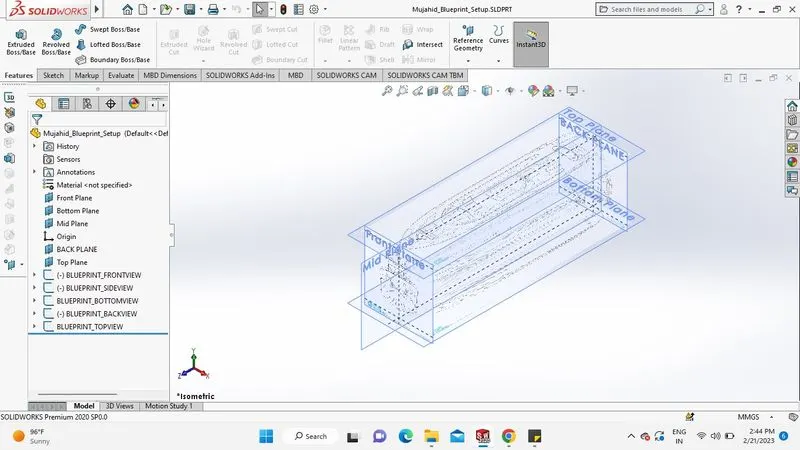
- FRONT, MIDDLE AND REAR SEATS:
Here we have modelled the front, middle and rear seats of a yacht. For the front seats, middle seats, and rear seats, I used the blueprint setup file I made earlier and the finish of the upper deck. Surface tools were mainly used in the production of the front and rear seats. The sheet is symmetrical about the midplane, so half of the part is surface modelling and other features, and the other half is mirrored. Harden the model using a knit surface. Boss features are used to create pillows that can be staggered and rotated. The dome feature gives the cushion a curved appearance. Utilizing a loft surface and swivel hub feature, the Flag is produced in the rear seat. Fillets are provided on all relevant edges.
Front View: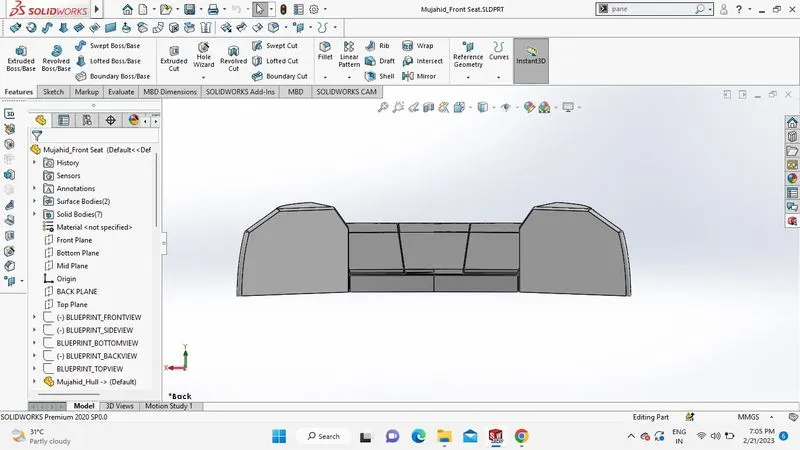
Isometric View: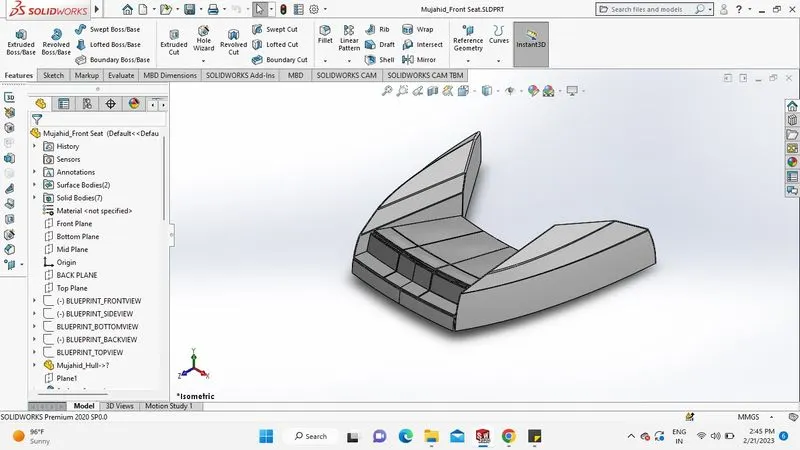
Side View: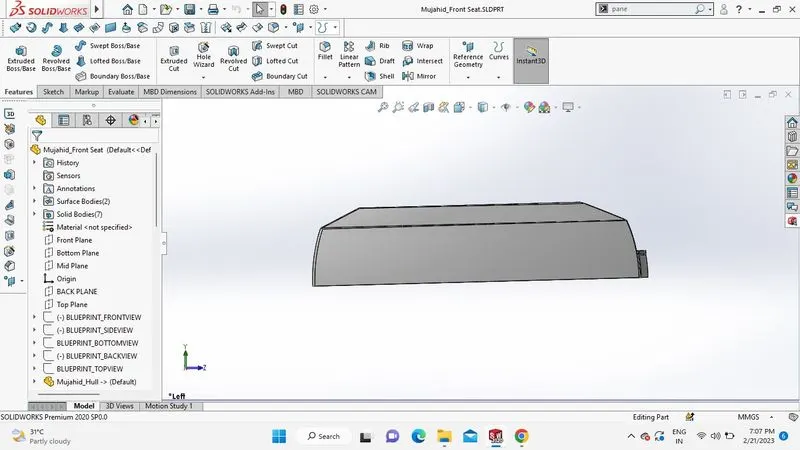
Top View: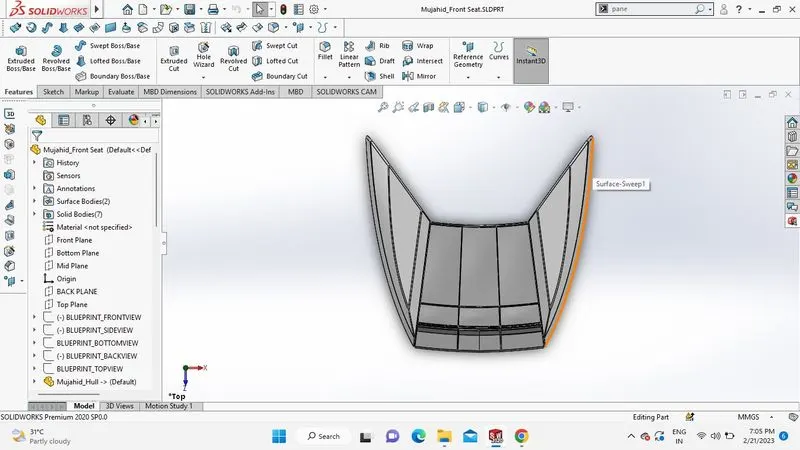
Front View: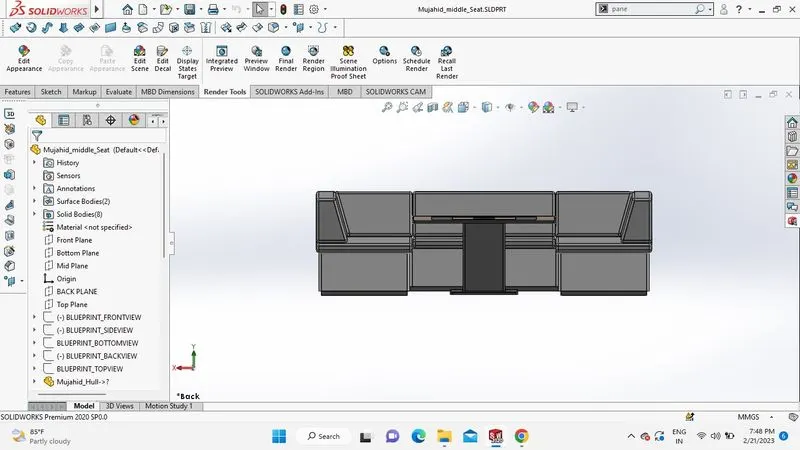
Isometric View: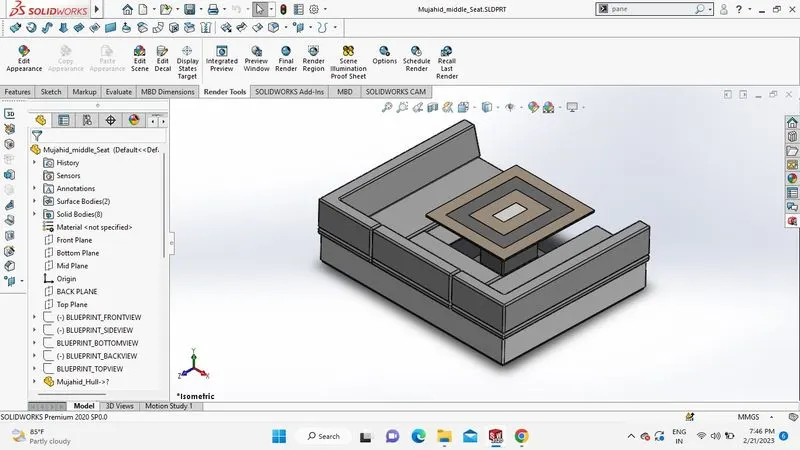
Side View: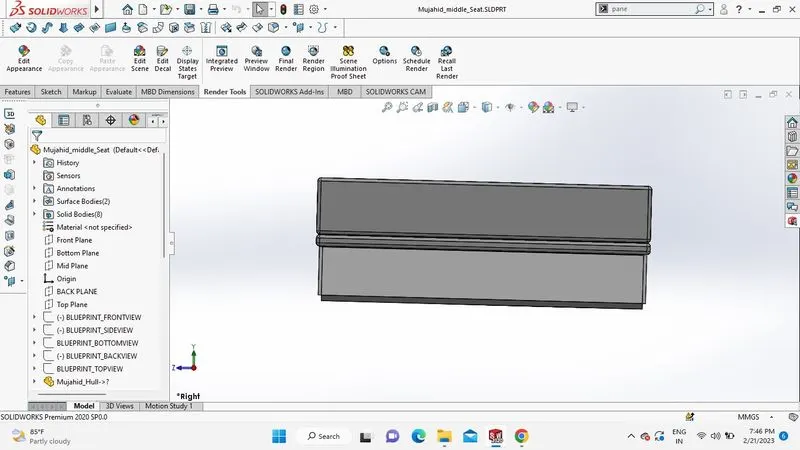
Top View: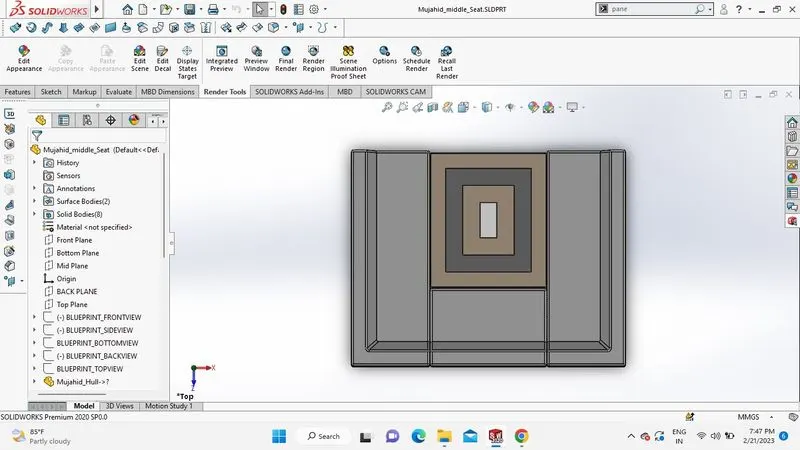
Front View: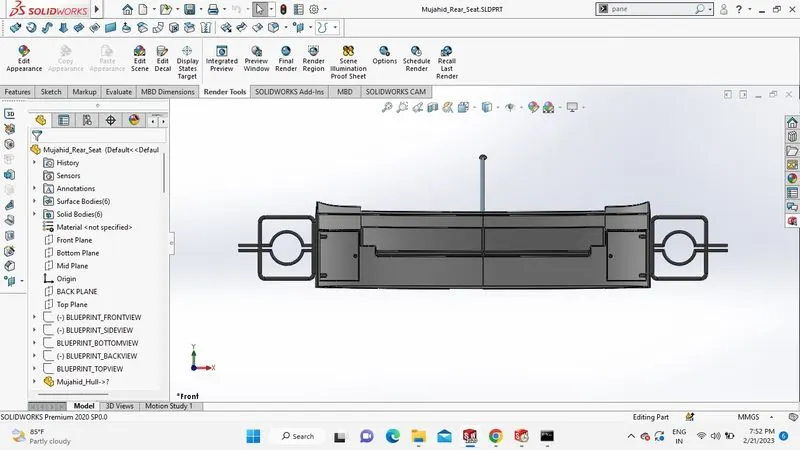
Isometric View: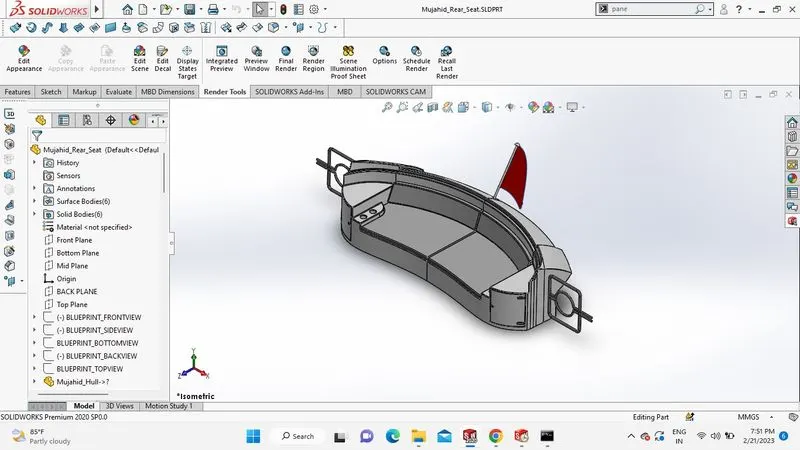
Side View: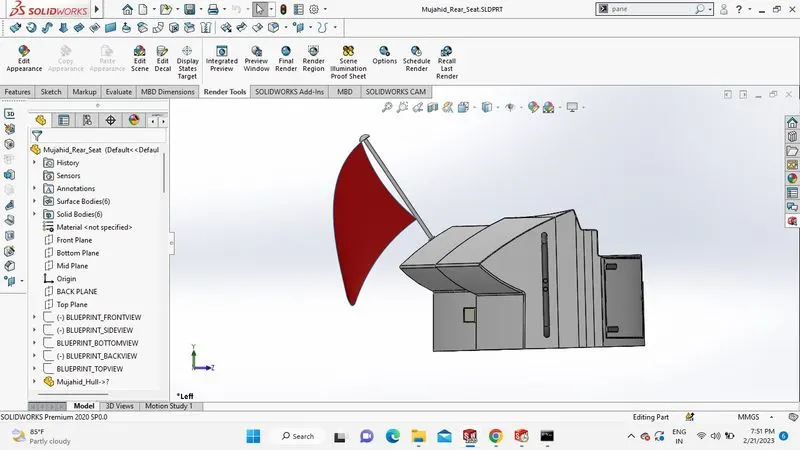
Top View: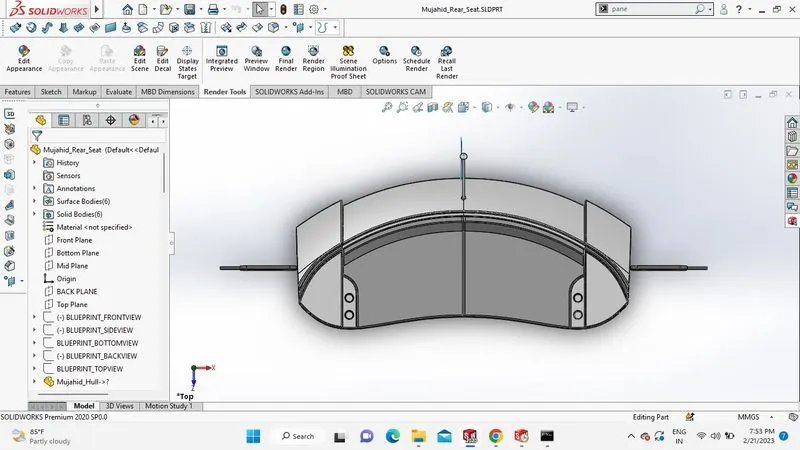
Rendered Image of front seat: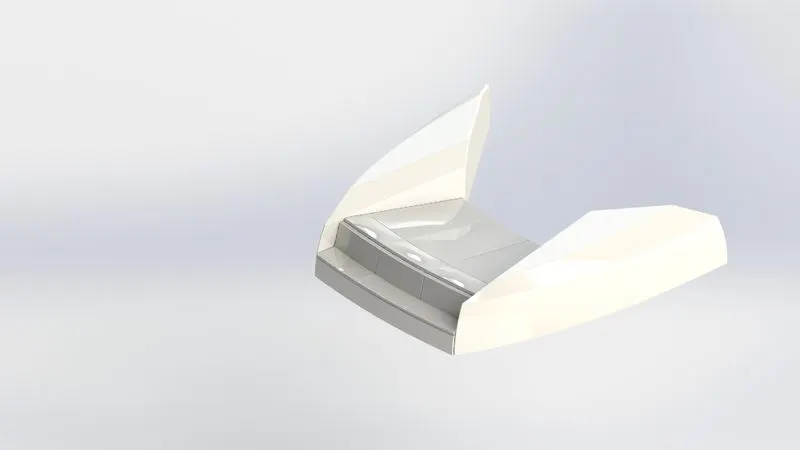
Rendered Image of middle seat: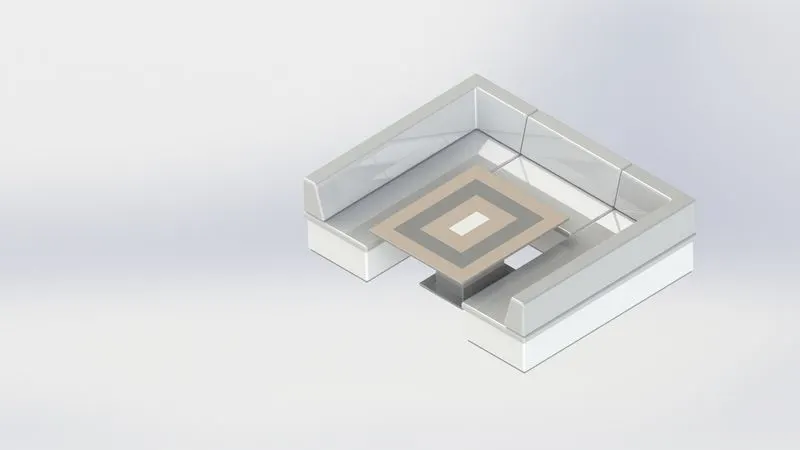
Rendered Image of rear seat: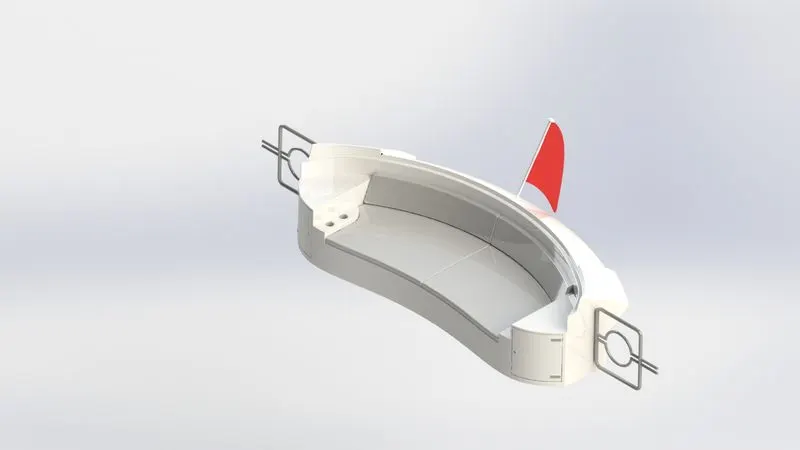
- GARAGE DOOR:
Here we have modelled a garage door that will later be assembled for the yacht. Use the share feature to create a garage door using this part of the hull. Use the Extrude Cut feature to eliminate the garage door excess first, then use the Shell feature to hollow out the door. Since the door is symmetrical about the midplane, we will create one half of the door first and then mirror the other half. All required edges have fillets. Create the text on a separate layer using the Extrude Cut feature and project it onto the garage door.
Front View: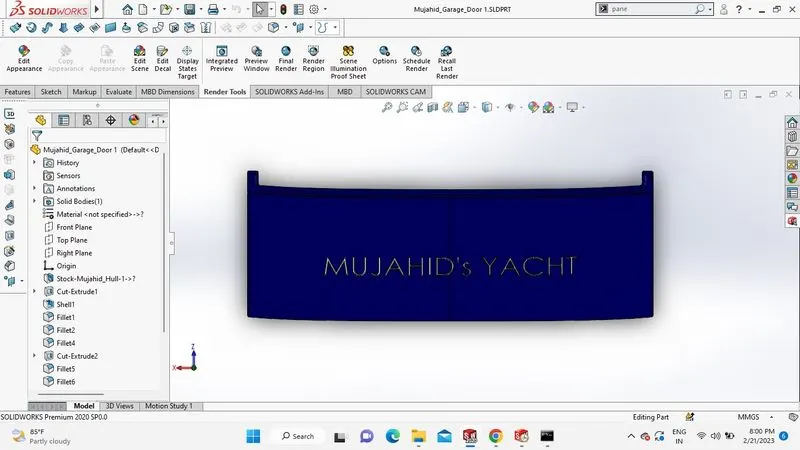
Isometric View: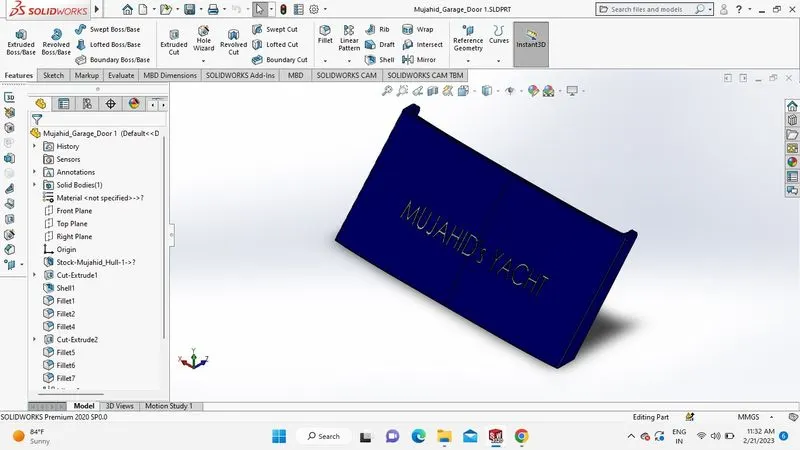
Side View: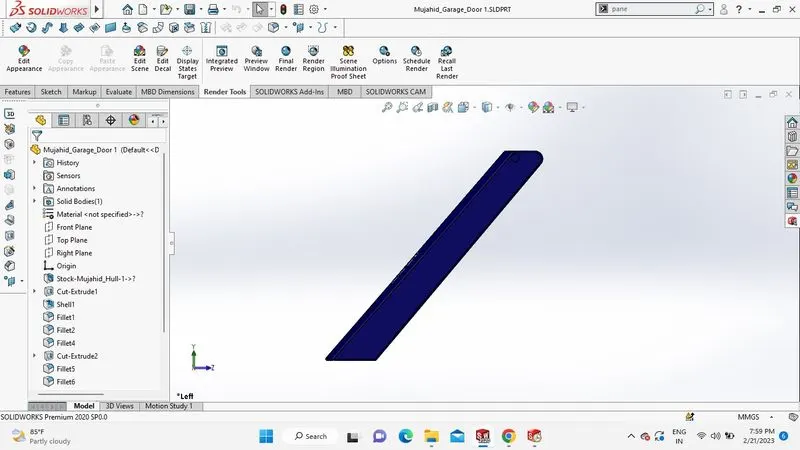
Top View: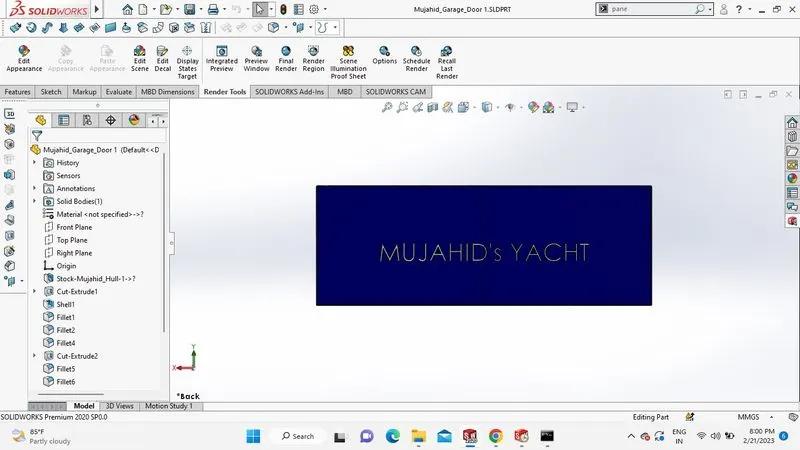
Rendered Image: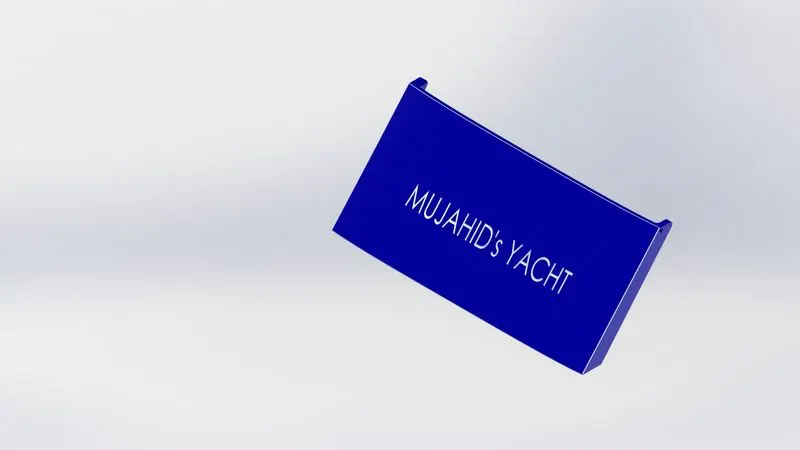
- HULL:
The watertight shell of a yacht is called the hull. The yacht's crew and the yacht's machinery are housed in these compartments in the hull. It is the most notable structural component of the yacht. Here we have incorporated all necessary measurements and yacht blueprints. Creating the hull primarily involved surface modelling. Raised surfaces, extruded humps, swept bosses, extruded surfaces, surface offsets, revolved humps, and surface knits are features used in yacht hull modelling. First, blueprints for all views are placed in the environment. Create the hull face piece with reference to these blueprints. Apply the Knit Surface tool to convert a surface body to a solid object. Using the offset surface feature creates a surface with an offset distance of 0. This area of the fuselage deck appears blurry. This surface will be used as a reference for sheet modelling. The hull deck, stairs, and garage floor are reproduced with decals.
Front View: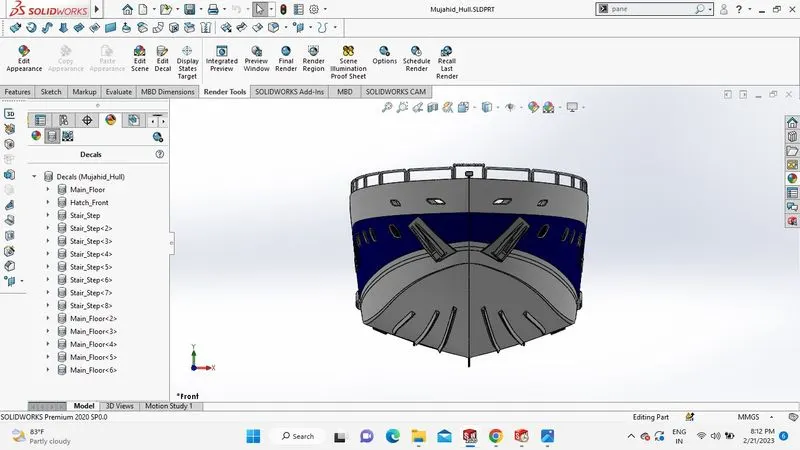
Isometric View: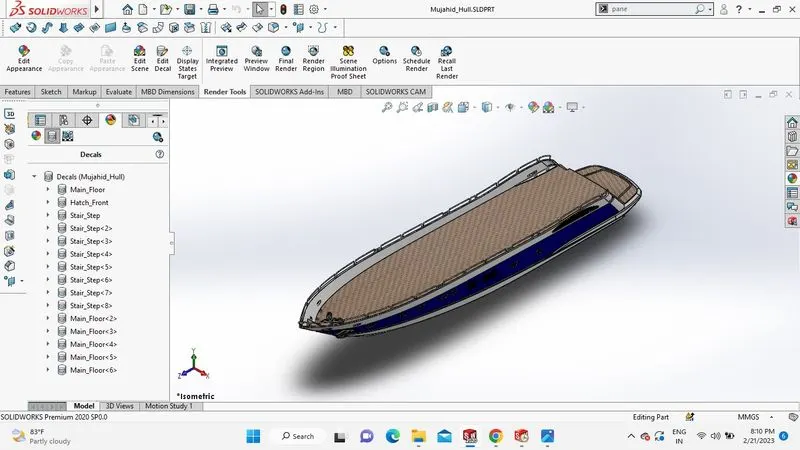
Side View: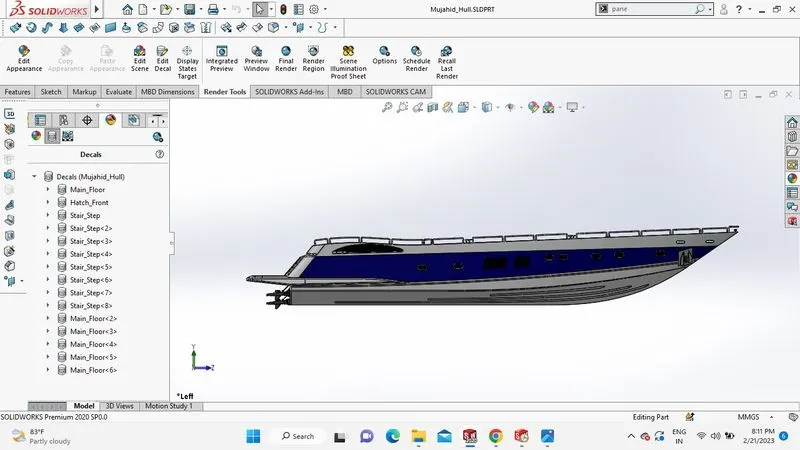
Top View: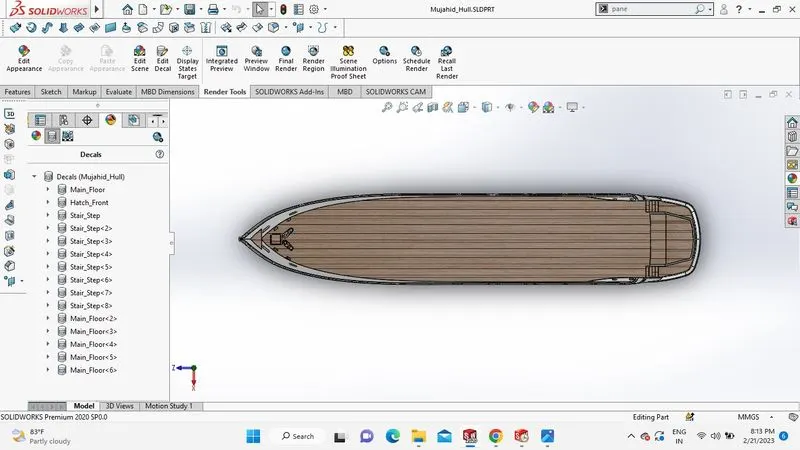
Rendered Image: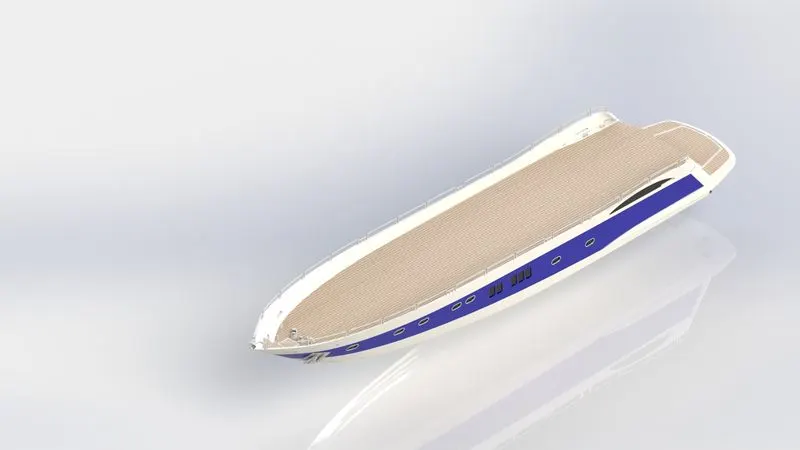
4 . PROPELLER:
The Predator Yacht has three identical six-bladed propellers. Yacht weight is usually taken into account when determining the number of seats. As ships get heavier, more surface area is required to allow the blades to propel the boat through the water with minimal slip and cavitation. First I used the line and spline tools to draw the propeller hub in the proportions and proportions I wanted. Then I rotated it around the axis. Then the top side of the blade facing away from the hub and the bottom side attached to the surface of the hub were sketched. A sturdy attic was created using his two previous sketches. The blade was then covered with a suitable fillet. His five remaining blades were modelled using a circular pattern around the hub. A cut profile was made in the hub to attach the propeller to the shaft. Finally, the propeller received the proper finishing touches.
Front View: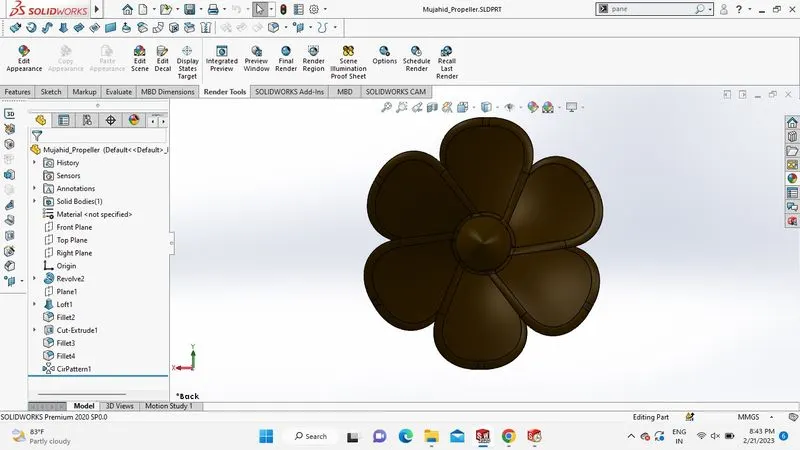
Isometric View: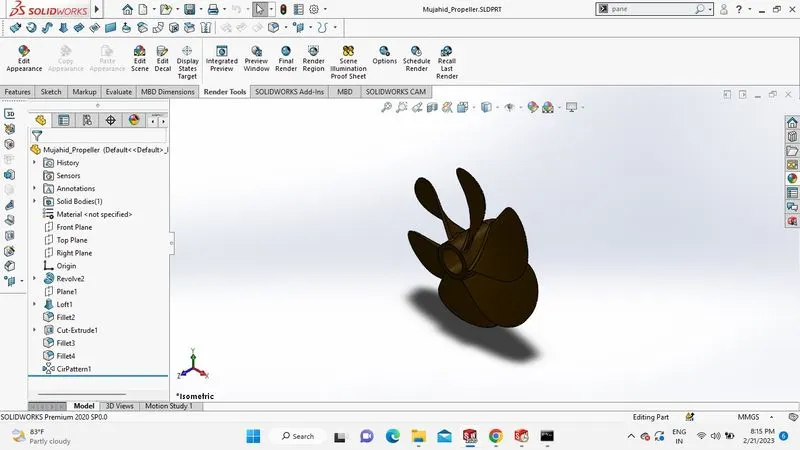
Side View: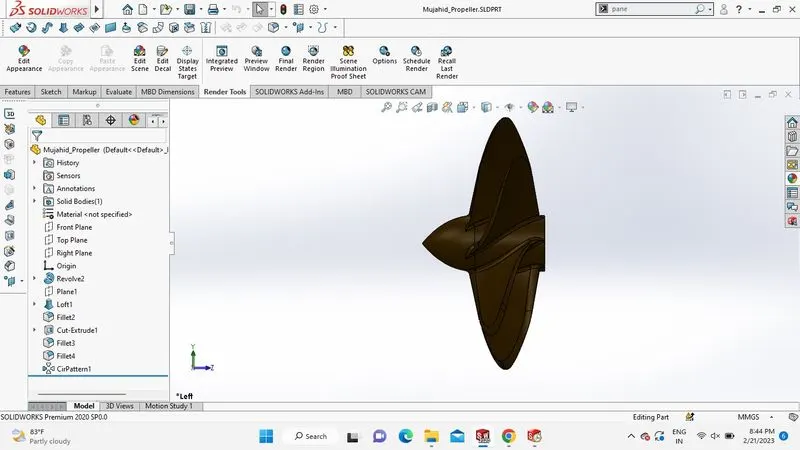
Top View: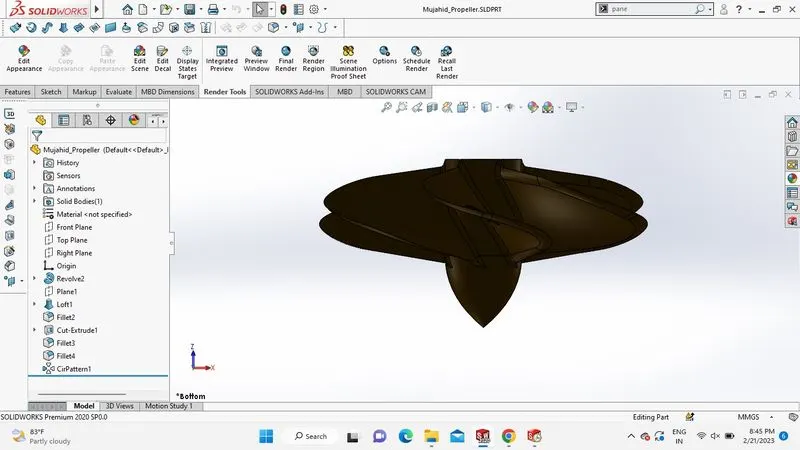
Rendered Image: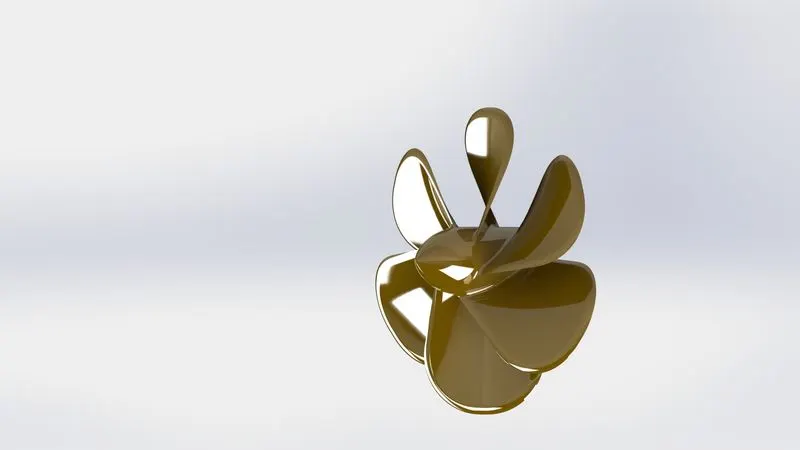
5 . RADAR:
Marine radar is the best collision avoidance system ever developed for recreational boaters. Radar systems allow you to 'see' conditions in darkness, fog and stormy weather. To model the radar, I first sketched and extruded a cross-section. Apply the desired fillet. Finally, I changed the font style and colour of the text containing my name and added it to Radar's interface. Correct appearance applied to radar.
Front View: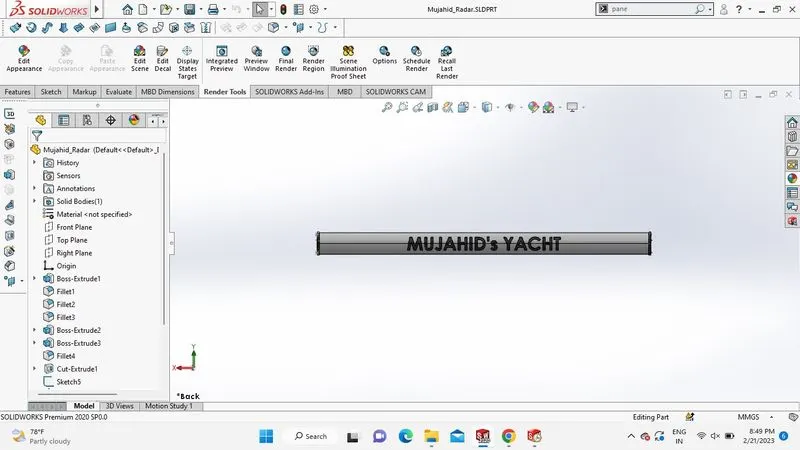
Isometric View: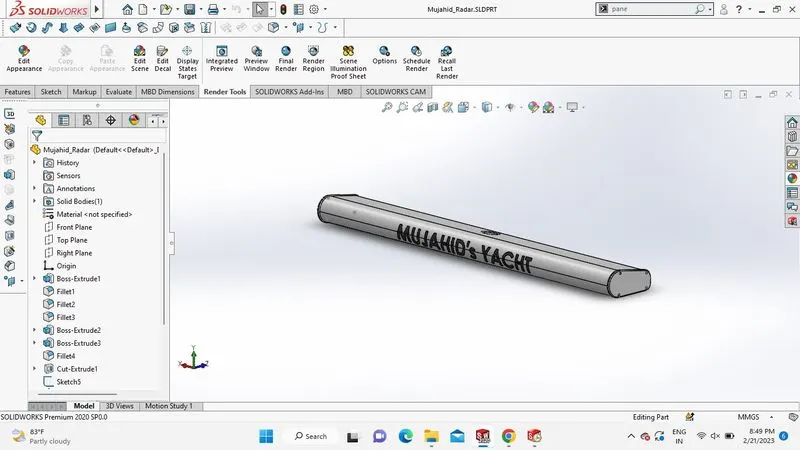
Side View: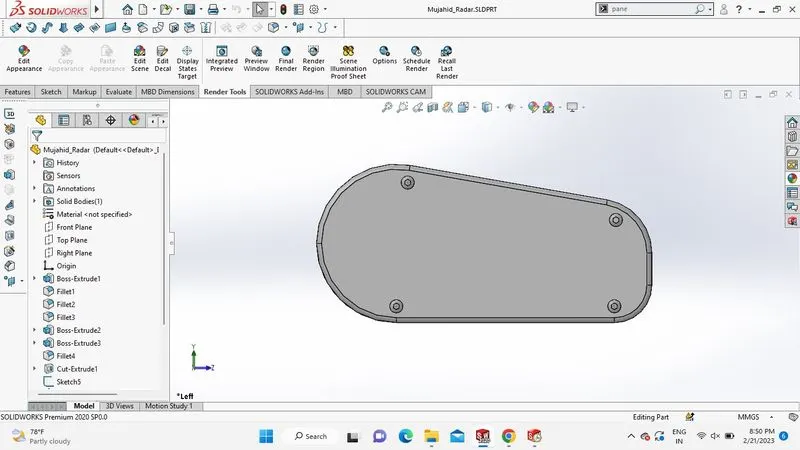
Top View: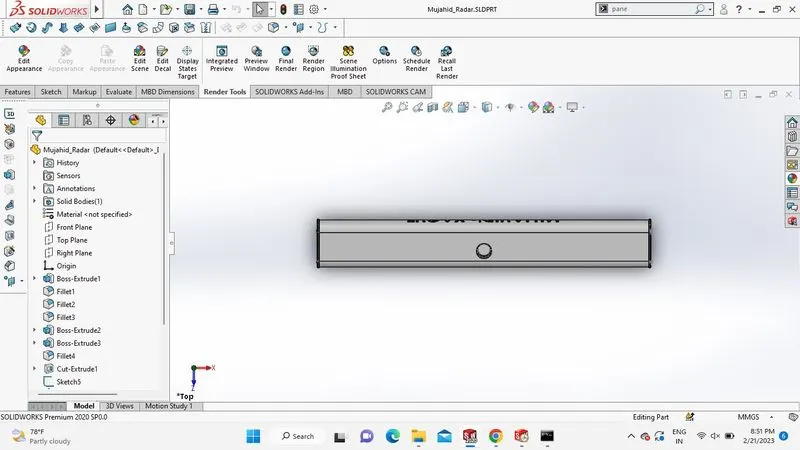
Rendered Image: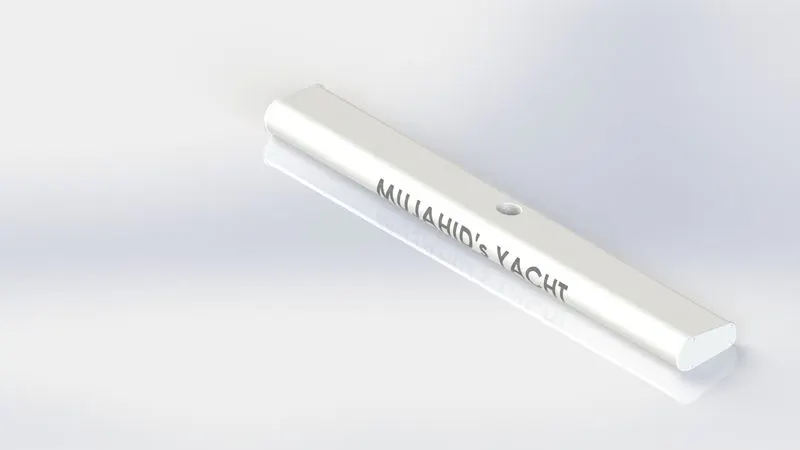
- RADAR MAST:
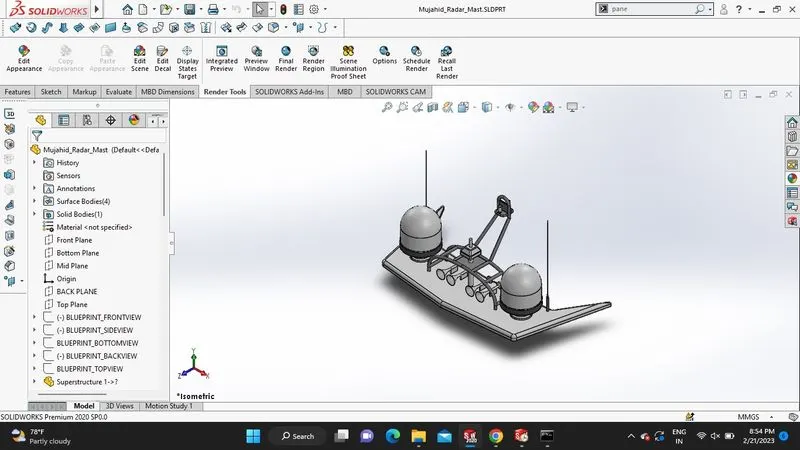
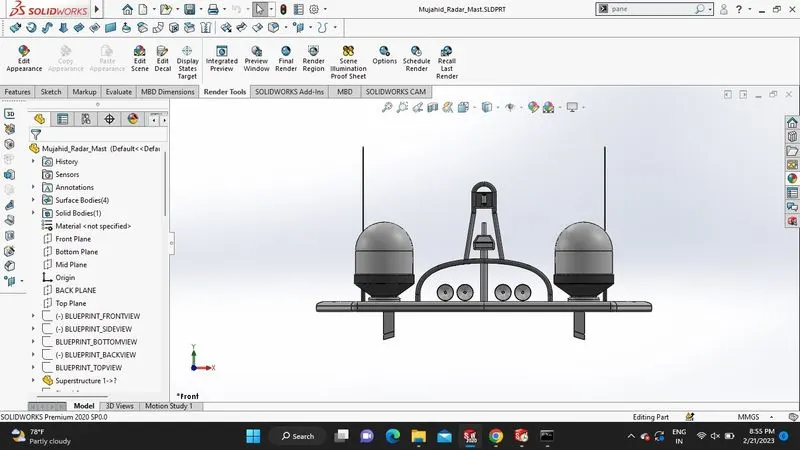
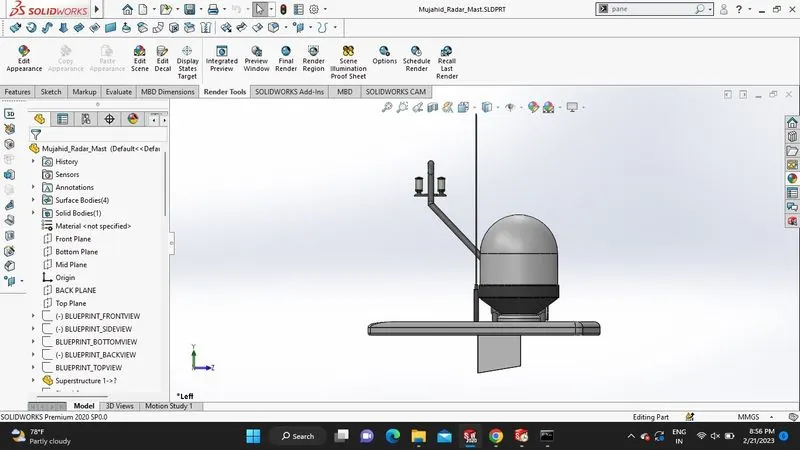
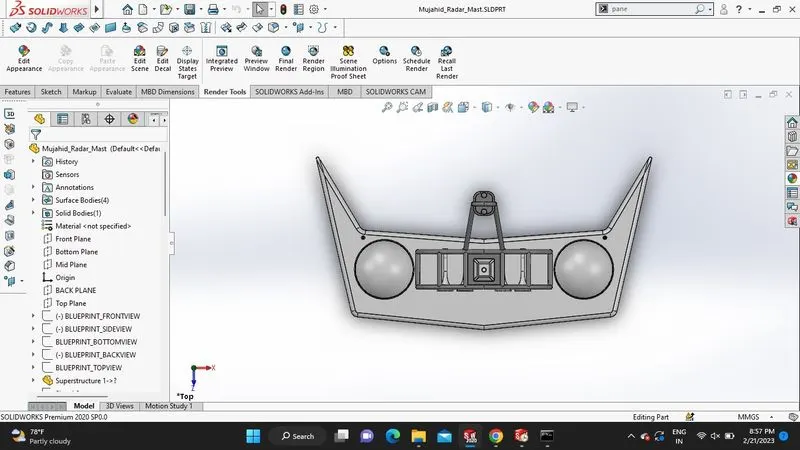
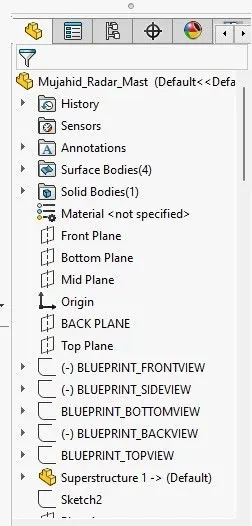
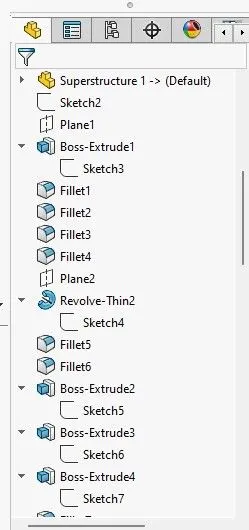
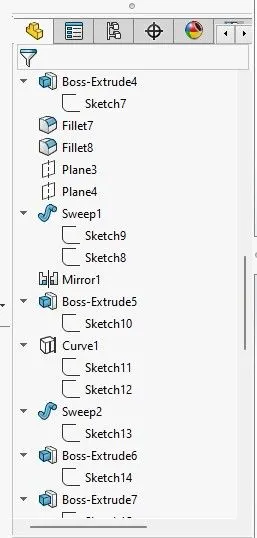
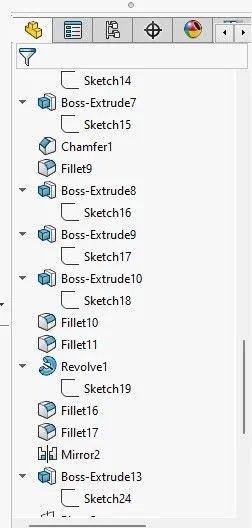
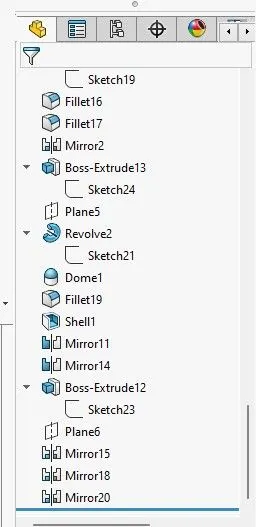
First import the reference from the superstructure. Various functions are used to create a radar mast. Create a tube using a projected curve. The required fillets are provided on the edges.
Front View:
Isometric View:
Side View:
Top View:
Rendered Image: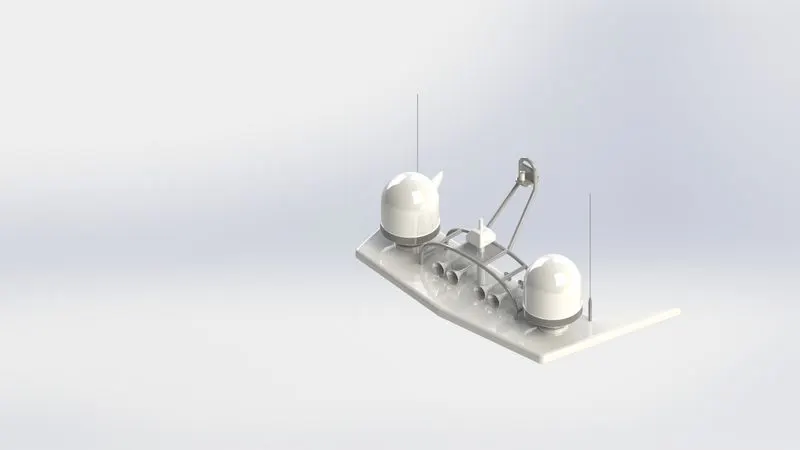
7 . SUPERSTRUCTURE:
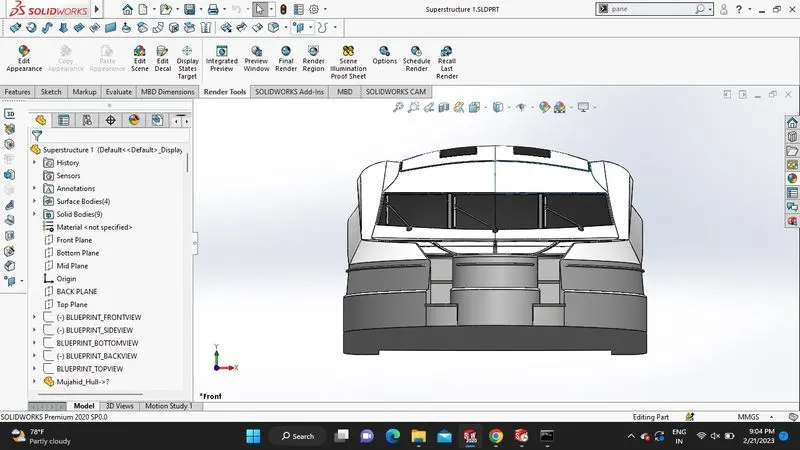
We used Solidworks to model the yacht layout. An elongated building or platform structure that stands out from the rest of the structure is called a superstructure. Therefore, adding structure to an existing structure is a superstructure. Our yacht's superstructure protrudes from the deck. Surface modelling techniques were primarily used for modelling the superstructure. Again, we used the yacht blueprints and all available dimensions. The most commonly used surface modelling tools were lofted surfaces, bonded surfaces, revolved surfaces, extended surfaces, trimmed surfaces, and ruled surfaces. Additional features include "Extruded Boss/Base", "Extruded Cut", and "Revolved Boss/Base".
Front View:
Isometric View: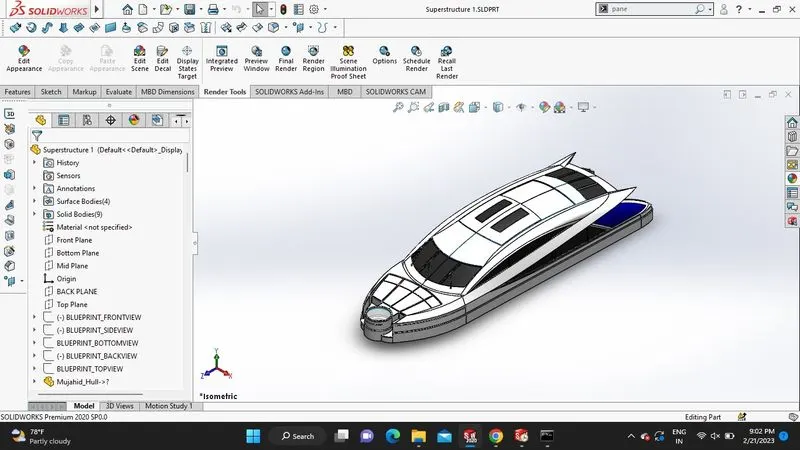
Side View: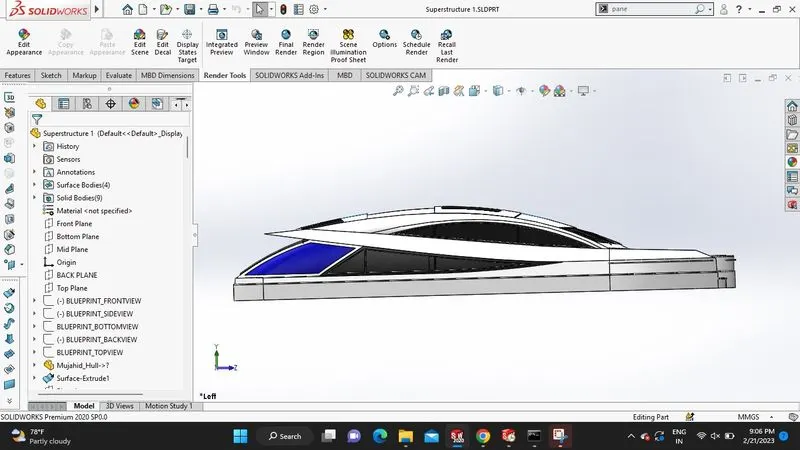
Top View: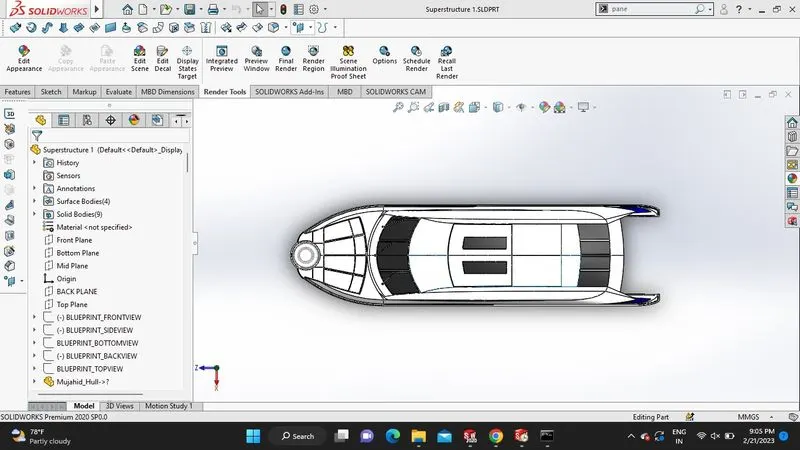
Rendered Image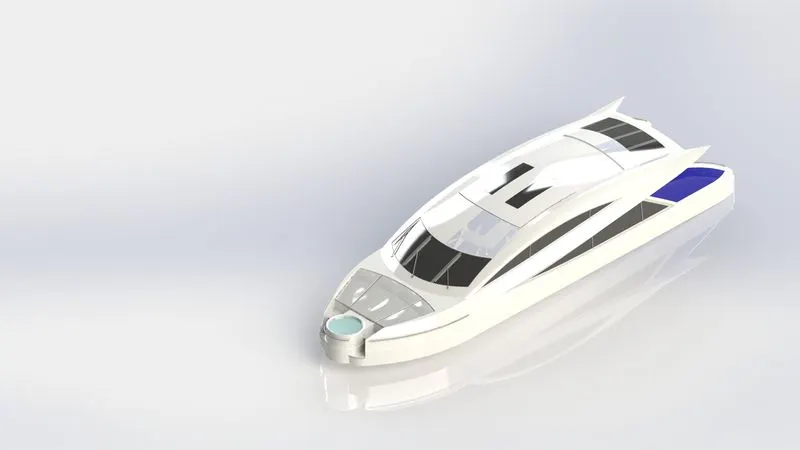
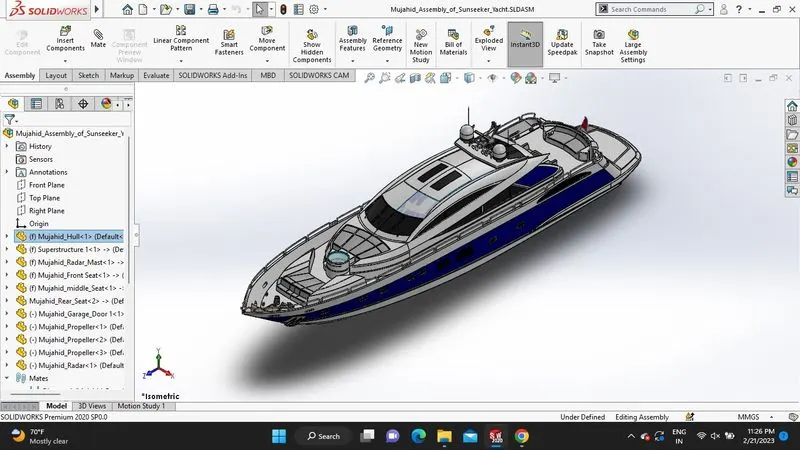
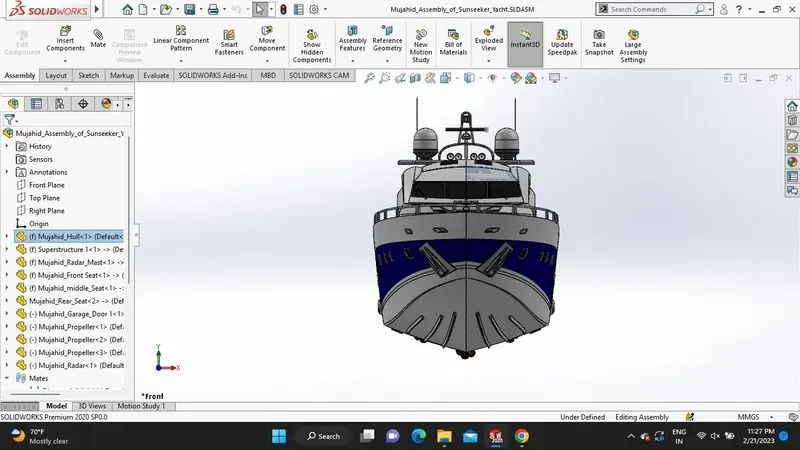
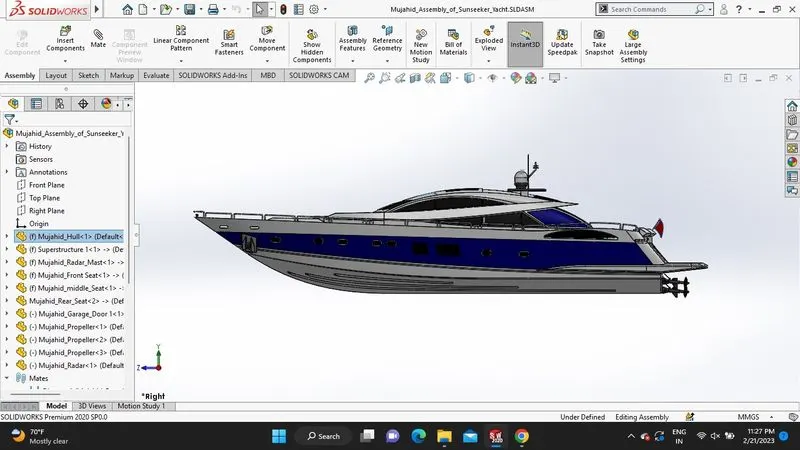
ASSEMBLY:
- SmartMates - SmartMates are automatically created mates in assemblies.
mate - A mate is a geometric relationship: B. Congruent, vertical. Tangents between parts in an assembly and
etc.
- Mate Group - A mate group is a collection of mates that are solved together. The order in which
partners appear within the mating group is not important.
- Subassemblies – Subassemblies are assembly documents that are part of a larger assembly. For example, an automobile steering mechanism is an automobile subassembly.
Inserting Components - You can insert multiple instances of a component group without closing the property manager.
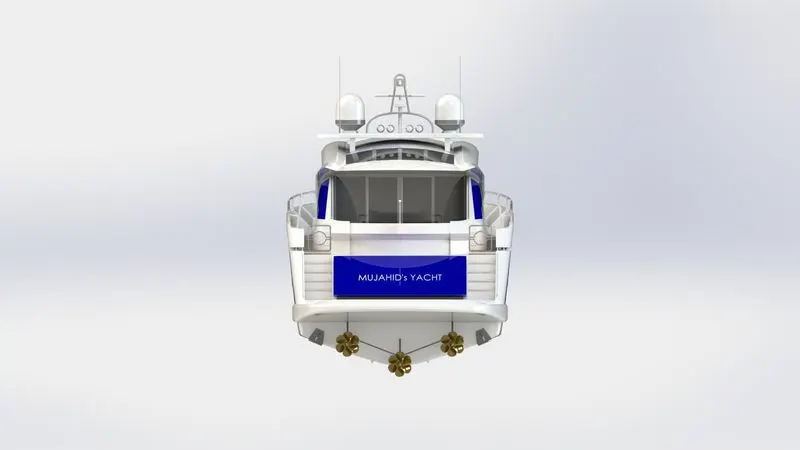
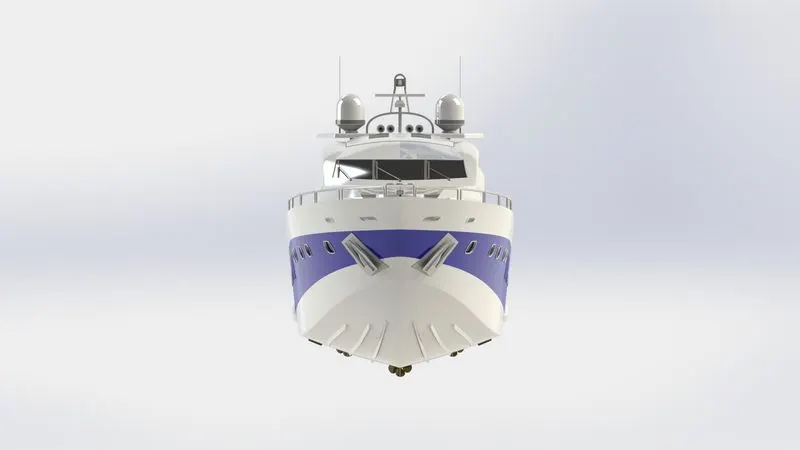
Front View:
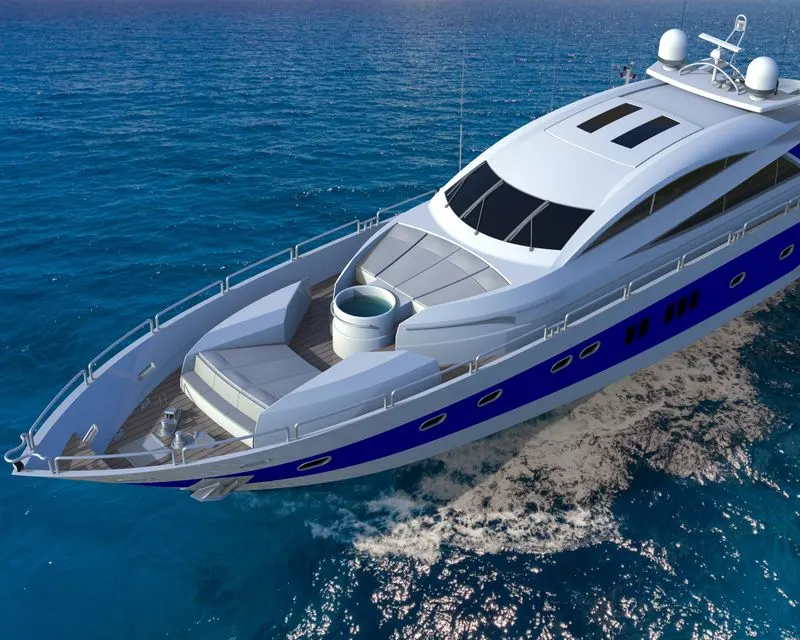
Isometric View:
Side View:
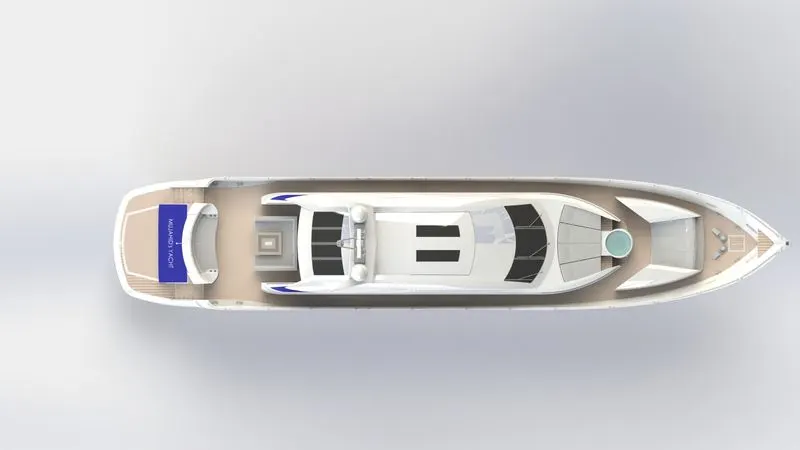
Top View:
Rendered Images:
CONCLUSION:
THE SUNSEEKER PREDATOR YACHT WAS ENTIRELY DESIGNED IN SOLIDWORKS AND THEN SHOWN WITH IMAGE VIEW 360, with this project, I learned the surface workbench and part workbench.