Radar Mast & Final Assembly of Yacht
REPORT:-
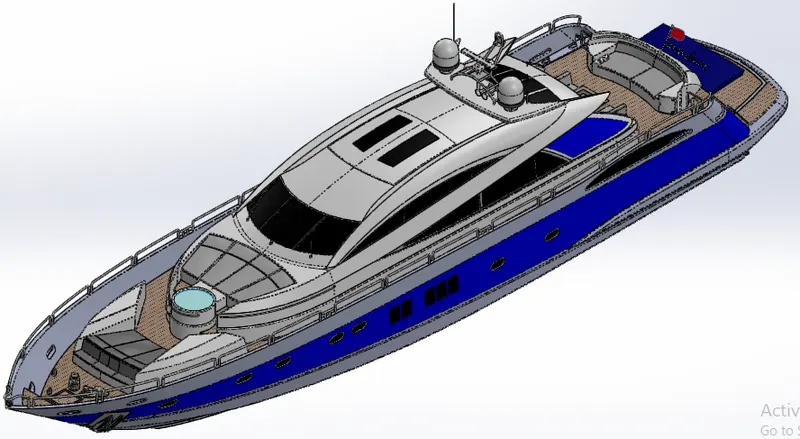
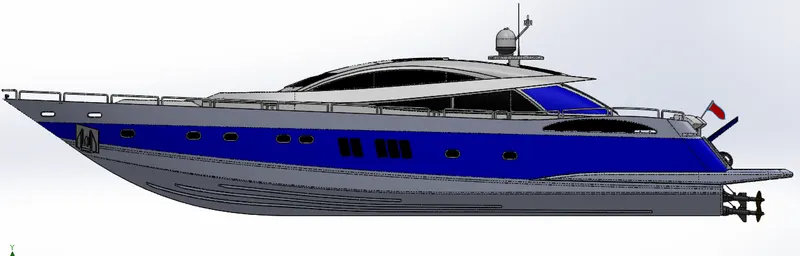
Title :- Modelling and Assembly of Sunseeker Predator Yacht.
Objective :- The objective of the project was to test the solidworks skills and a whole practice for modelling all components of the superyacht in a efficient way , later doing the assembly and rendering it in a realistic environment.
Introduction :- SOLIDWORKS is a CAD software that lets designers quickly sketch out ideas , experiment with features and dimensions and produce models. Here we are going to see the model of a Super yacht with its assembly and final render.
Design methodology :-
|
Setting up the blueprints |
|
Sketching of the part in 2D on respective plane with the help of blueprints |
|
Adding relations to the sketch. |
|
Making the sketch fully defined by adding dimensions |
|
Using features like extrude , revolve , cut, pattern , sweep, surface trim , surface loft , ruled suface , extended surface ,etc |
|
Using of reference plane or projected curve for other sketches |
|
Later adding fillet/chamfer to respective parts |
|
Adding appearance to the components |
|
Saving the File in respective location. |
|
Later adding those saved files in assembly to create the whole assembly model by adding mates |
|
Pre rendering in photoview 360 |
|
Using Solidworks visualize for making a realistic photo render in fast way. |
Description :-
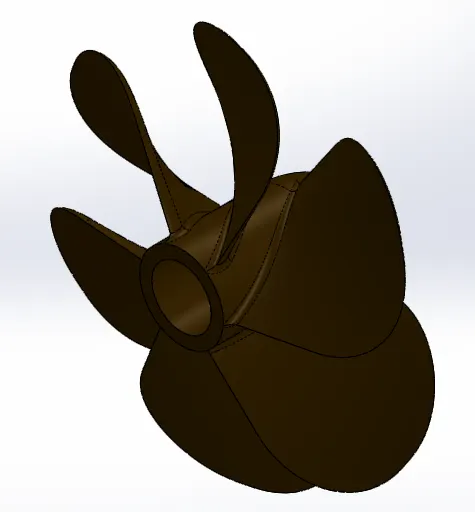
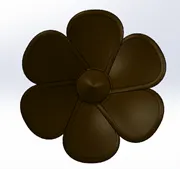
- The first part to model was the Propeller of the yacht , it was a basic part which was completed by using features like the revolve , cut extrude , lofted base and circular pattern for remaining fins of the propeller .
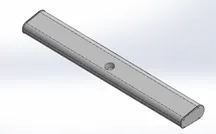
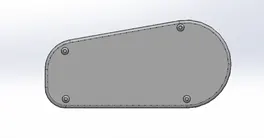
- Next was an easy and small part the Radar of the yacht .It was just a boss extrude of the sketch and adding points for making the rivets on the side of the radar and later mirroring on the midplane. And later adding the text on the back side of the radar.
- After modelling those two parts , it was time for setting up the blueprints according to the plane for modelling the next components of the yacht . Using the sketch pictures all the blueprints were setup as per the plane.
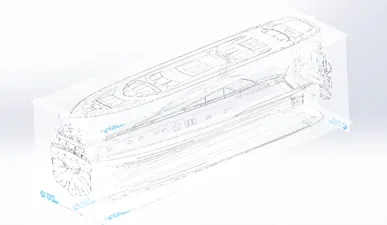
- After that I started modelling the HULL which was a complicated component. As it was a surface model all started by making sketch and projecting the curves which later were surface lofted according to the design. Unwanted surface were trimmed using surface trim option. After making multiple surfaces it was necessary to knit them together frequently. Sometimes knit was also creating showing errors , which was solved with some help. Linear pattern was also used to make the window projections. Later creating multiple planes according to design the sweep of window frame , railing of the hull . Using fillet and chamfer where ever needed respectively. Later making the propeller shaft and other required parts of the hull and mirroring it with respect to the mid plane. The mirror was creating a problem so I used extrude cut of 0.001 through out the model of the mid plane then the mirror was successful. Decals were also added on the deck surface and stairs to make it more realistic.
A offset surface of 0mm ( Deck surface ) was also created which was going to help in modelling the other parts with reference of hull.
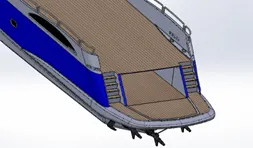
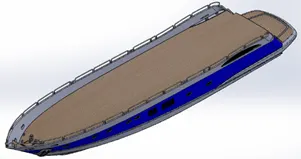
- Later was the design of the seats ; the frontseat , middle seat and the rear seat . All the three seats ever modelled by taking the reference of the deck surface which we created in during modelling of the hull. The front and rear seats were a bit difficult and used multiple splines and cross checking with the blueprints and then projecting the curves to make the surfaces. Trimming the unwanted surfaces and giving fillets to the cushion cover and later mirroring it and making a complete solid model. The flag on the Rear seat was creating errors but was solved later.
- On the other hand the Middle Seat were very simple and straight forward just extruding the sketches and mirroring it and later adding the appearances.
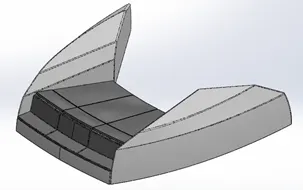
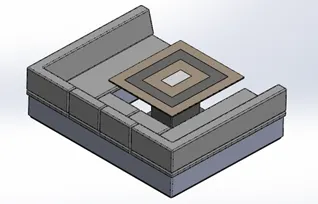
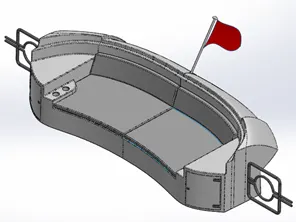
- Next part was the SuperStructrue , and was as complicated as the hull. The superstructure was also made on the reference of the deck surface. Most of the this part was made on projected curves and 3D sketches. I had many errors while making the superstructure like the beginning ruled surface was not bent inward which later caused problems in surface extend. So I needed to edit every feature all over again to solve the errors one by one. Fillet and chamfers were added accordingly. Later knitting and merging all surfaces to create a solid. Then changing the appearance and saving the part.A surface offset was created as a reference for modelling the radarmast.
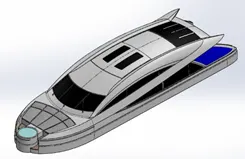
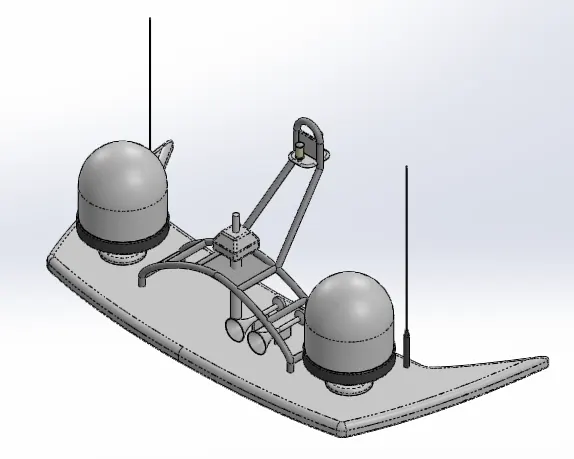
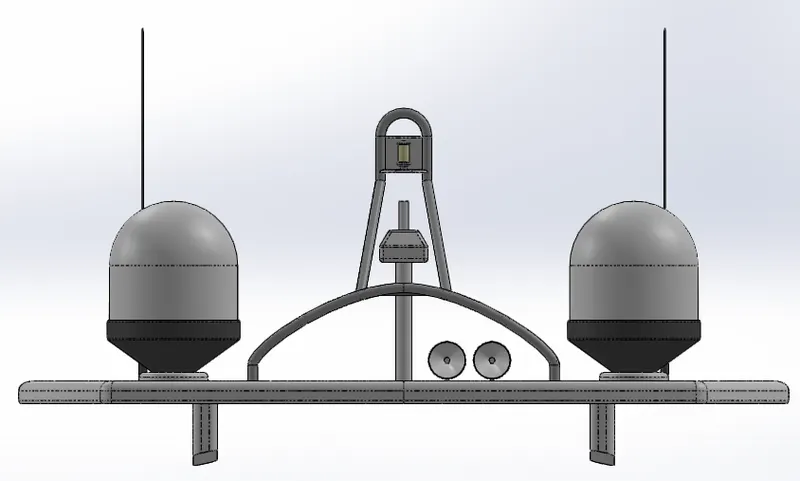
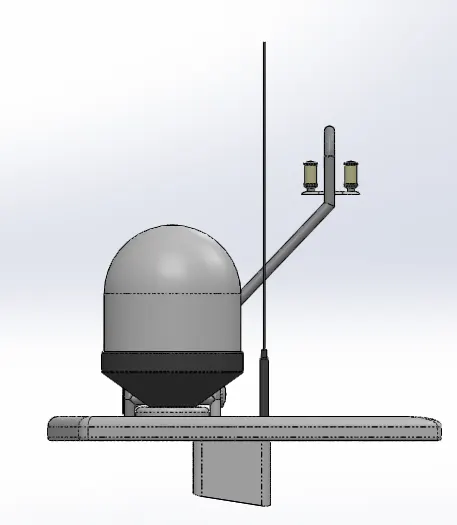
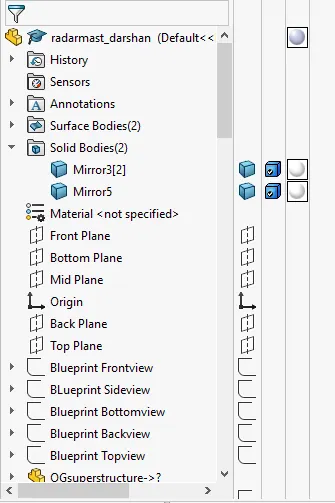
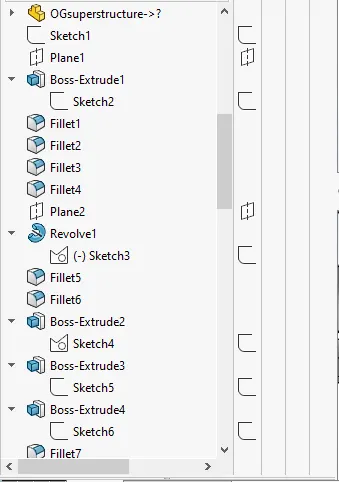
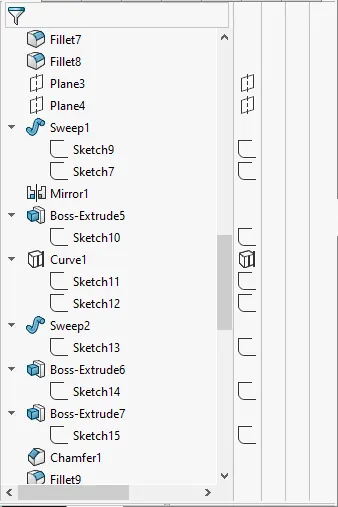
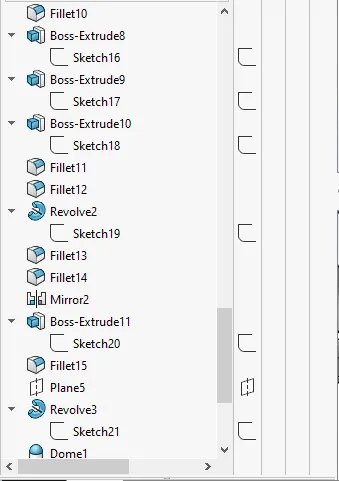
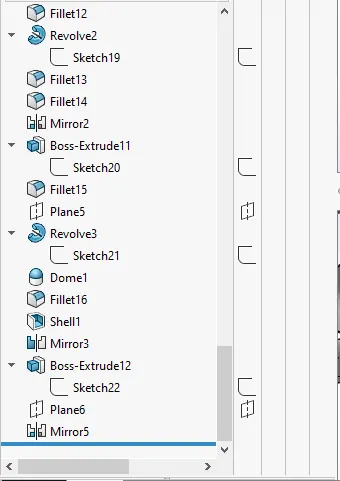
- The final part was the Radarmast , with the help of the blueprints and reference surface on the superstructure this part was modelled easily. One side of the radarmast was modelled and then mirrored with respect to middle plane. Later the horn of the yacht was modelled on the surface and mirrored with a new plane with an offset.
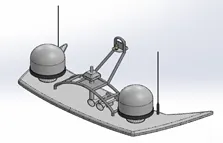
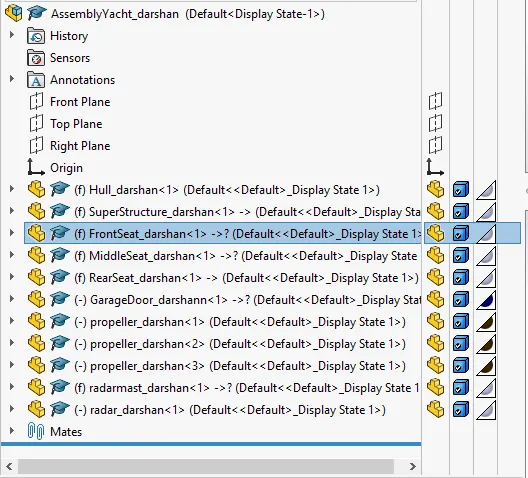
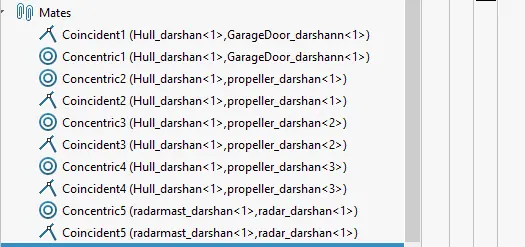
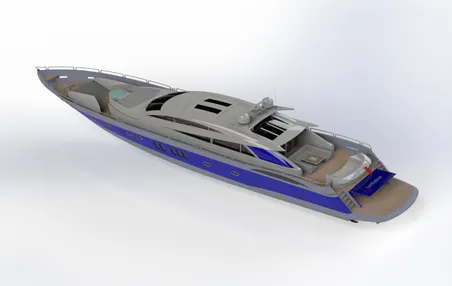
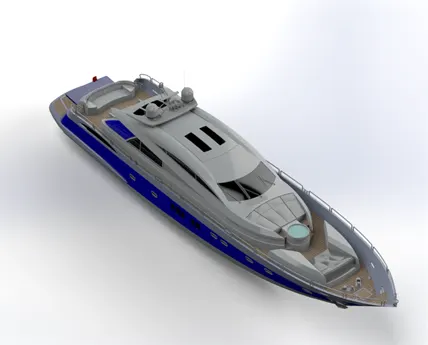
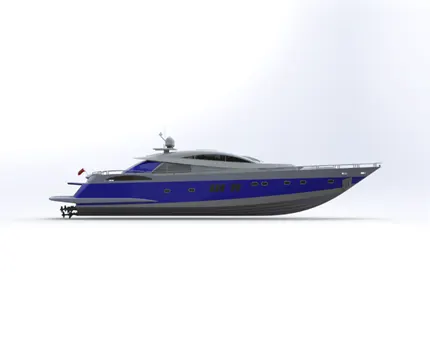
- Final part was the Assembly of the predator yacht which was super easy. Firstly I imported the hull and respectively the superstructure , frontseats , rearseats , middleseats and radarmast. All these parts were fixed directly to the hull without any mates. Finally the propeller was attached to the propeller shaft with appropriate mates and finally the radar was placed on the radarmast.
This completes the whole modelling the assembly of the Sunseeker Predator
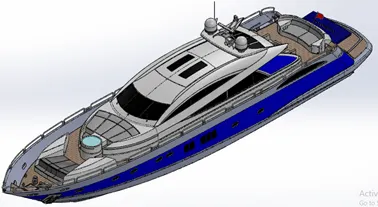
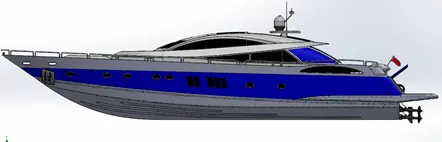
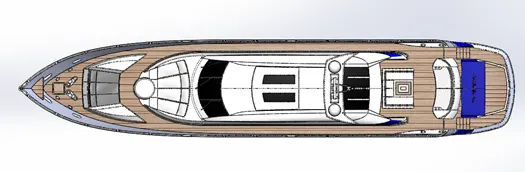
- Later in Photoview 360 , I adjusted the camera and scene lights and did a pre render. Once that was setup then I imported the model in solidworks visualize and did a final proper render.
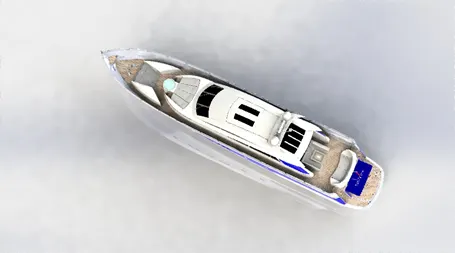
-
Conclusion:-
- By this project my confidence in using solidworks has increased a lot.
- Easy to make prototypes of model.
- Realistic Renders using solidworks visualize gives a wide idea how the product looks in real life.
- I have developed a habit of trying other features/options to overcome the errors.