Radar Mast & Final Assembly of Yacht
Design, Assembly and Photo-Realistic Rendering of an American Predator Yacht
OBJECTIVE
The objective of the project is to design and model all the parts of an American Predator Yacht
and assembling in it to create the Photo Realistic Rendering of an American Predator Yacht.
INTRODUCTION
In this project we will look how to model American yacht by using solid works and solid works
visualization.
These are the component of the yatch.
1. Propeller
2. Radar
3. Blue-print
4. Hull
5. Garage door
6. Front-seat
7. Middle-seat
8. Rear-seat
9. Superstructure
10. Radar-mast
After design of these models we will look at the Assembly and Rendering.
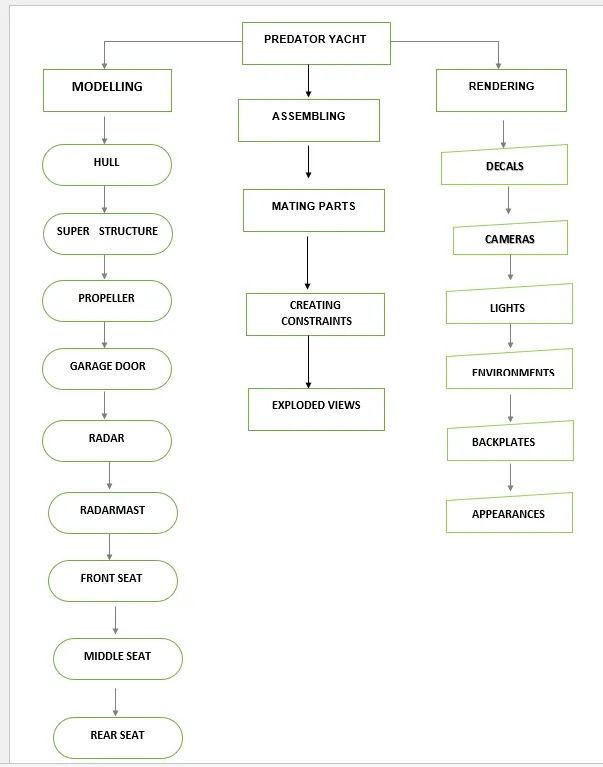
Design Methodology
Design methodology will tells about the modelling,assambling,rendering
of the yatch.we will see step by step procrdure given below.
TYPES OF COMMANDS AND ITS EXPLANATIONS
Sketch:
Create the sketches and decide how to dimension and where to apply relations.
Features:
Select the appropriate features, such as extrudes and fillets, determine the best features to apply,
and in what order to apply those features must be decided.
Surfaces:
Surfaces are a type of geometry that can be used to create solid features.
3-D SKETCH:
When sketching in 3D, we can snap to the major directions, X, Y, or Z, and constraints are applied
Along X, Y, Z respectively. These are constraints to the global coordinate system.
SKETCH COMMANDS:
Smart Dimension - Creates a dimension for a selected sketch entity.
Line - Line is one of the first sketching tools in Solidworks Sketch Command Managerwhich can
be drawn horizontally,vertically or at any angle. It plays very important role to complete the
2D drawingof the product or part and very easy to utilize its features.
Circle - The circle is another important sketching tool which enables to create the circular drawing
on the graphics area.There are two circle tools are available and they are "Center circle".
Rectangle - Sketches rectangles or square with a center point at a selected angle. Parallelogram
sketches a standard parallelogram.
Spline - A two or three dimensional curve defined by a set of control points.with a spine can be
added or delated
Sketch Fillet - A tangent arc in between two sketch entities can be created.
Point - Inserts a point or vertex into a sketch entity. This cannot be deleted if it is part of sketch
endpoint or center point.
Text - It can be used to write the text necessary wherever required either it's a plane or face.
Offset Entities - Copy a sketch entity to a specified distance from the original entity. Must have
a sketch entity already drawn and selected to use this tool.
Convert Entities - Convert Entities enables you to copy model edges into your active sketch.
These sketch elements are automatically
fully defined and constrained with an On Edge relation. Convert Entities is like Offset Entities
except that the offset distance is always zero
FEATURE COMMANDS
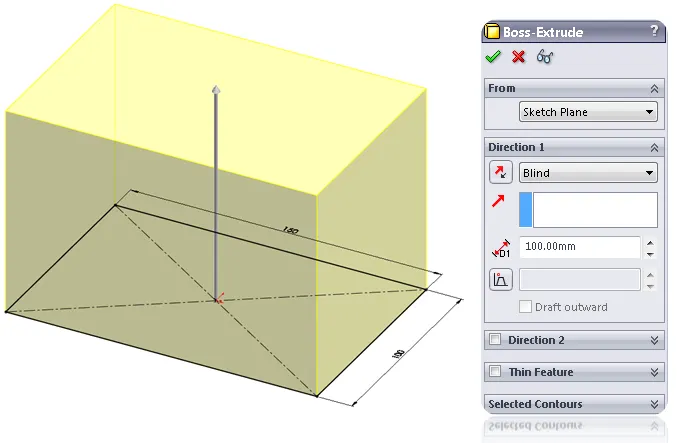
Extrude boss: Its extrude a sketch to add material. It is most basic command of solid works. As
shown in the figure.
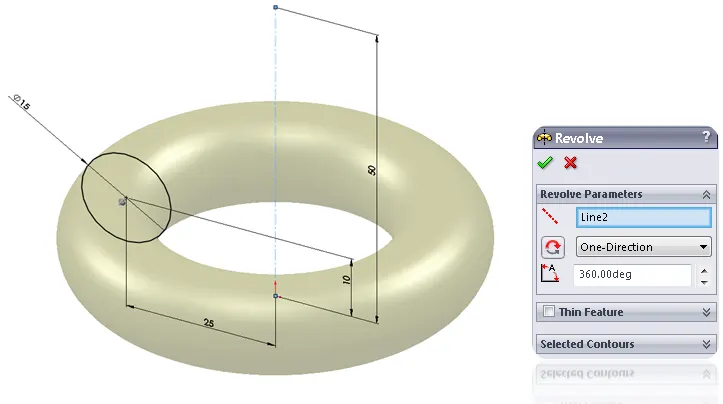
Revolved Boss Feature: It adds material by revolving a sketch an axis. It is very important to
draw an axis the sketch which need to be revolve.
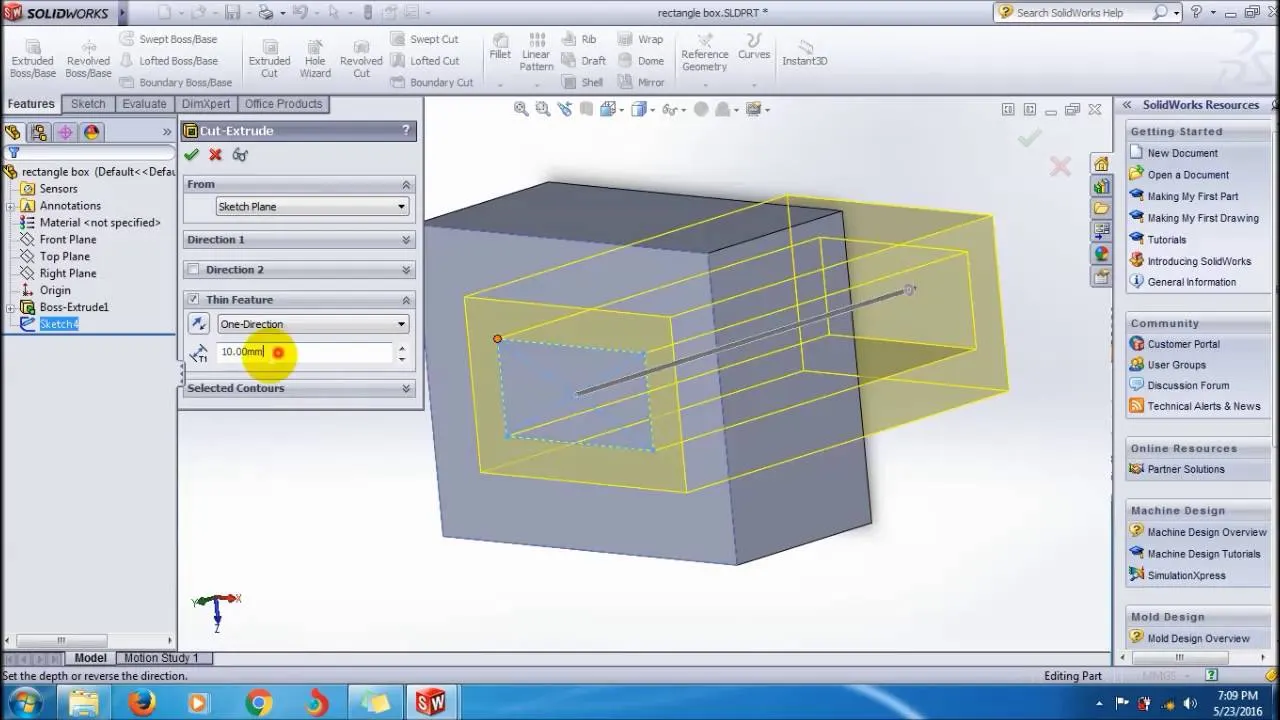
Extrude Cut: It helps to remove the material from the solid body. It needs the sketch on solid
body which need to be cut and will provide desire shape.
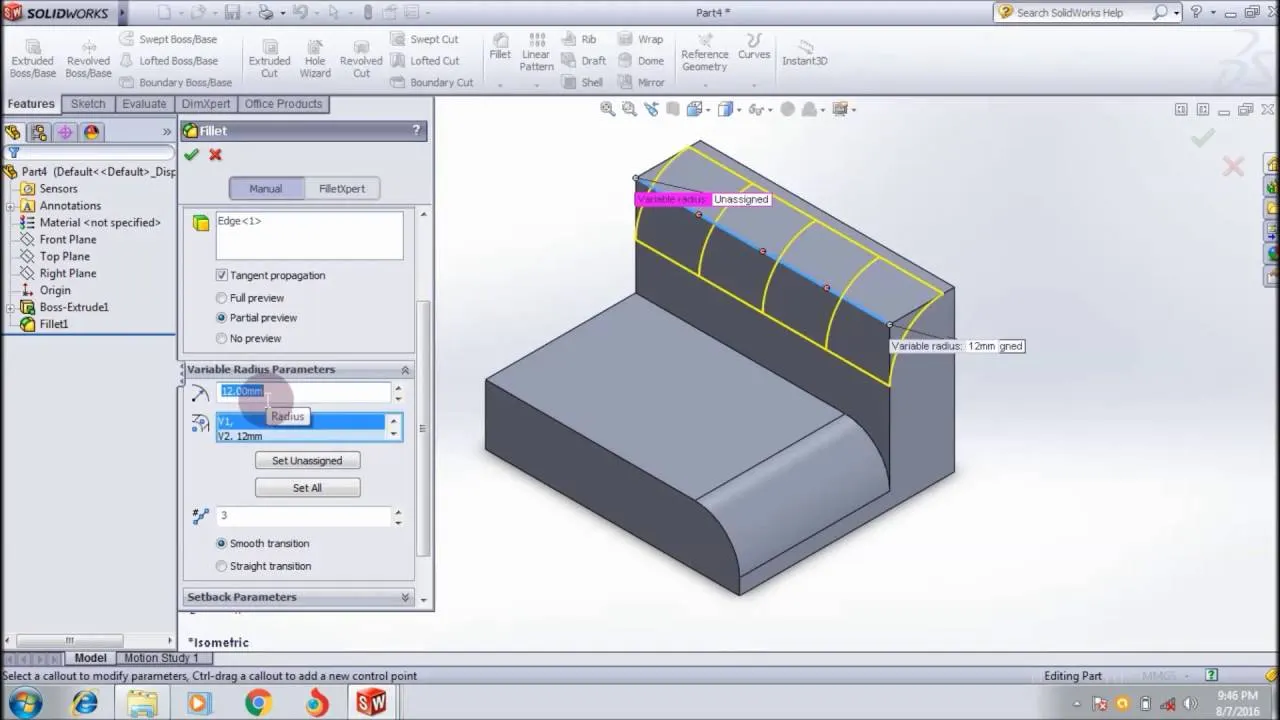
Fillet: This feature is classified as applied feature and it does not required he sketch It helps to
round the Edge/corners. As shown in figure
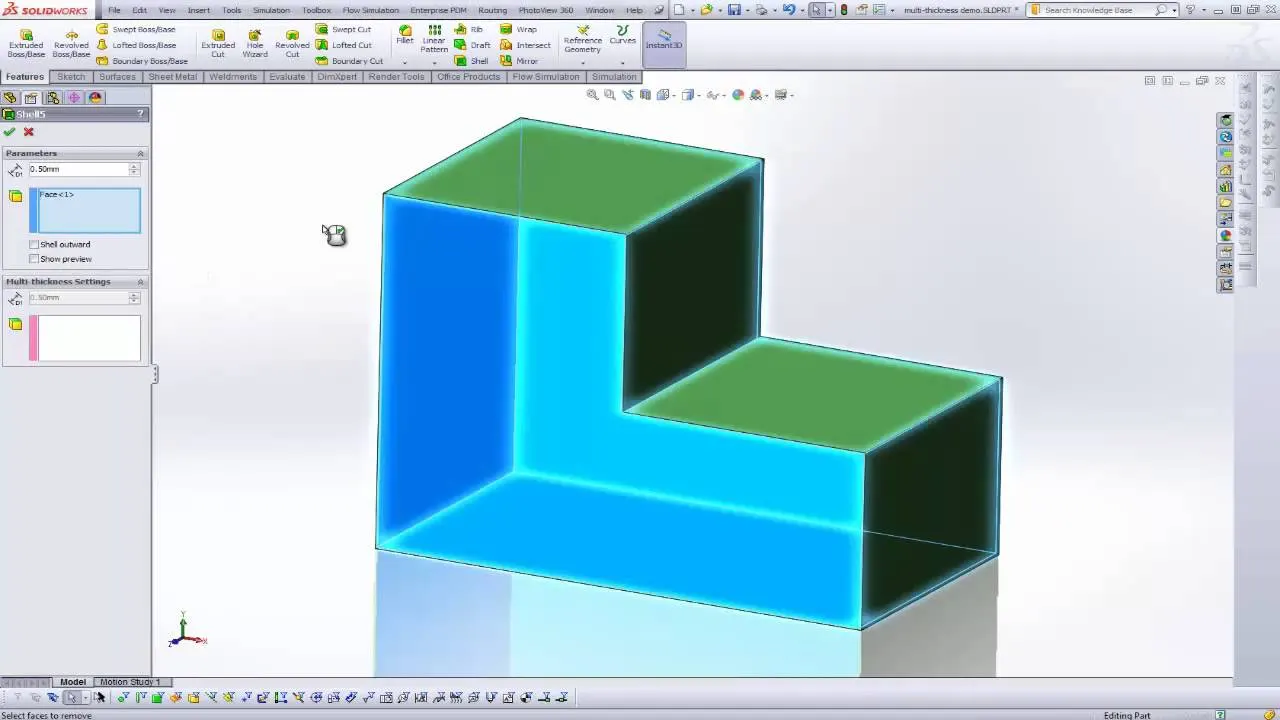
Shell: I helps to remove material inside the solid body and makes as a hollow model using this
feature you can make either completely closed hollow or one face open type model.
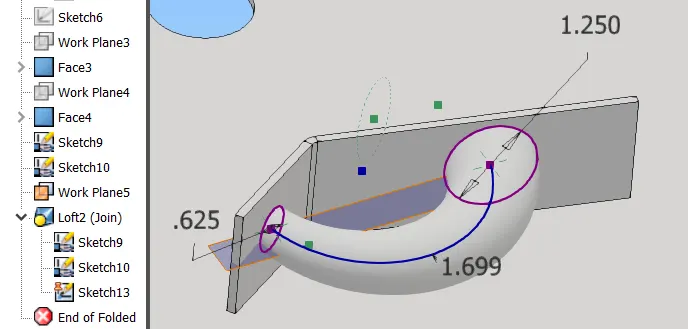
Sweep boss/Sweep cut: A sweep is a tool that creates a solid, a cut and a surface by moving a
profile along a path. To create a solid, use the sweep boss tool to move a profile along a path.
The profile contains one or more closed contours.
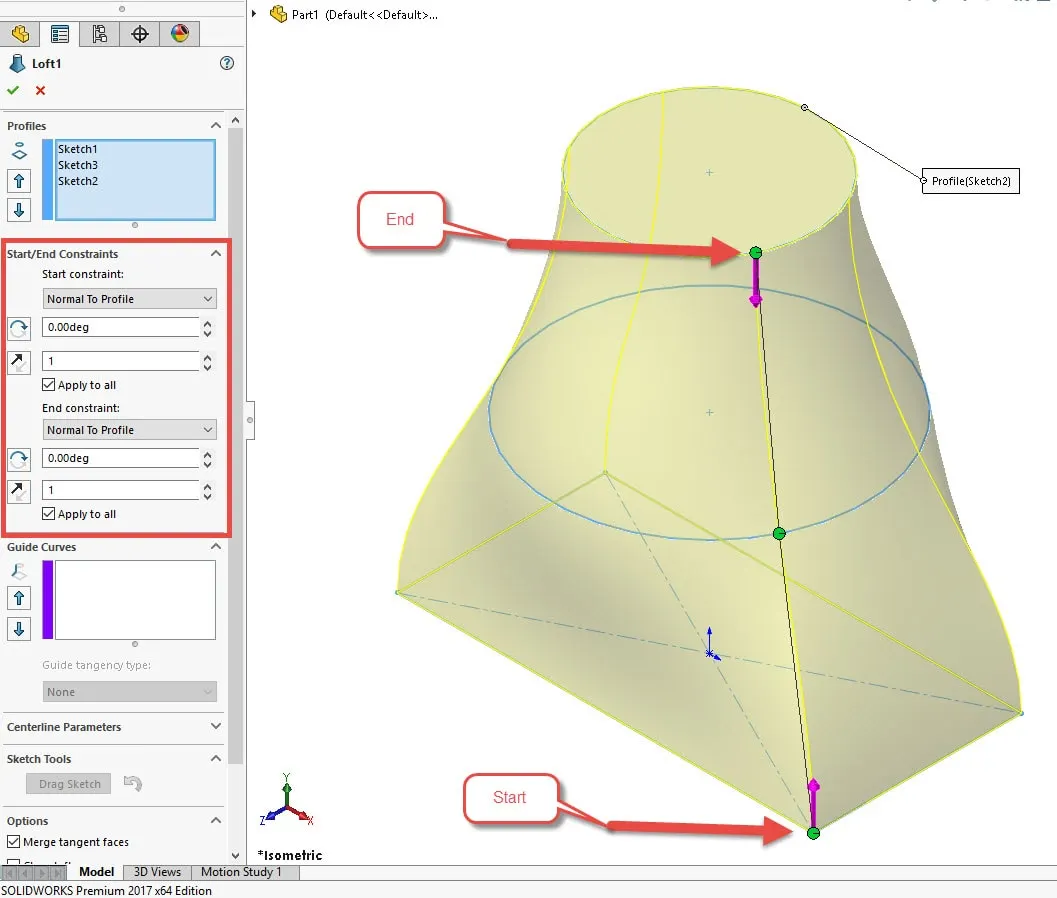
Loft Boss/loft cut: It create a shape by making transitions between multiple profiles and guide
curves.
Projected Curve: you can project a sketched into a model face to create a 3D curve you can
also create a 3D curve that represents the intersection of the two extrude surface generated by
creating sketches on two intersecting planes.
SURFACE CAMMANDS
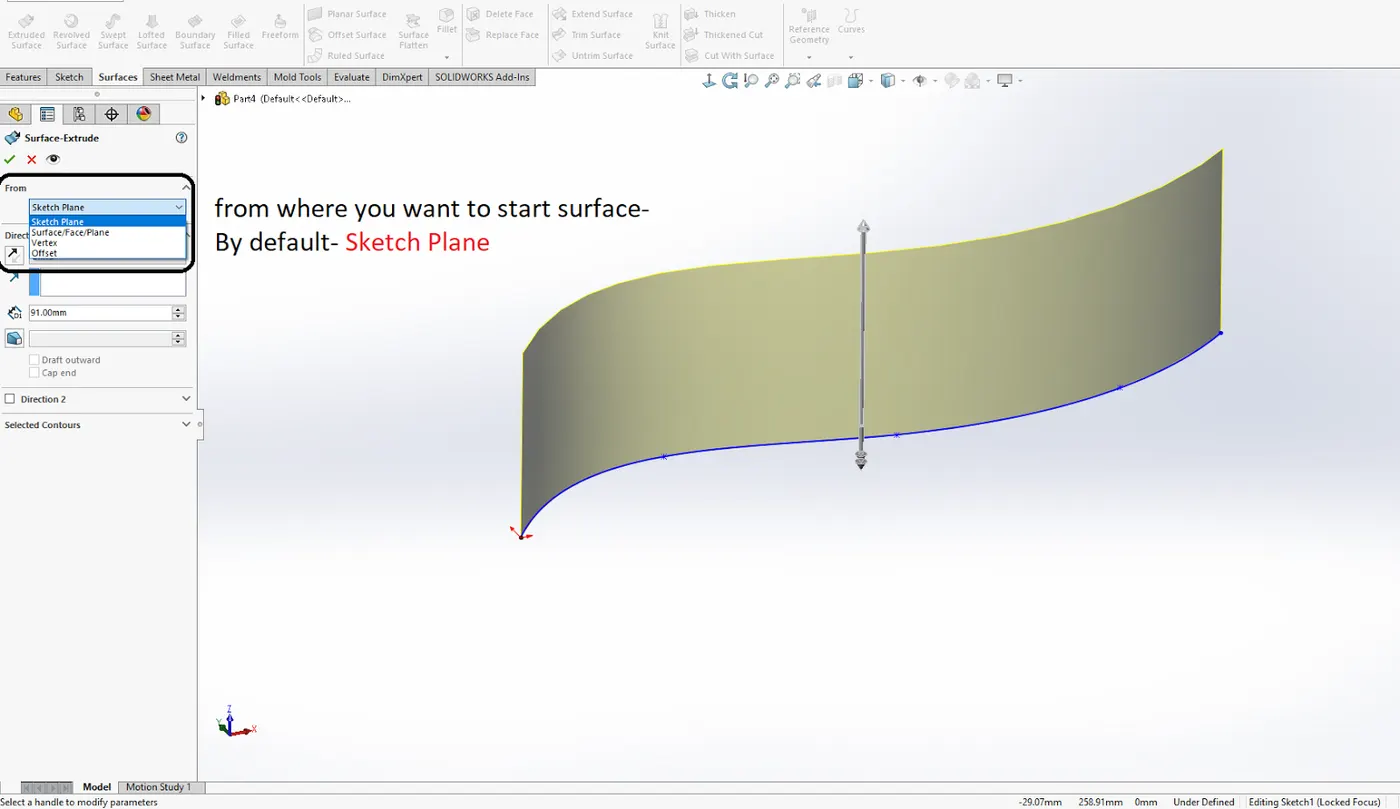
Extrude Surface: It extrude the sketch and make surface it can extrude line into surface its
most common command in surface as shown in figure.
Revolve Surface: This features you can use for revolve the surface in this features we must
have axis for revolve the sketch as shown in below.
Swept Surface: This feature we can use to extrude with the help of guide sketch as shown in below
Loft Boss/loft cut: It create a shape by making transitions between multiple profiles and guide curves
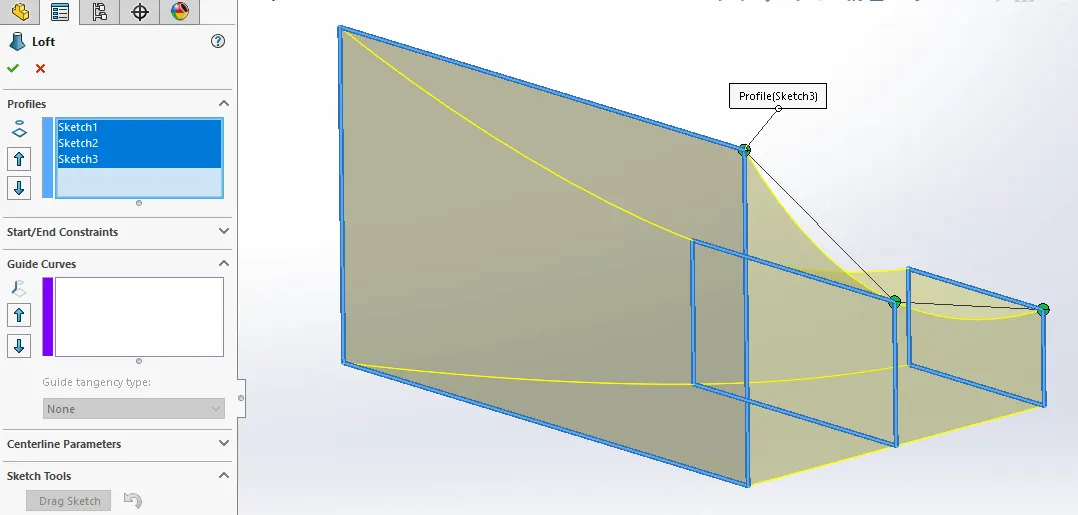
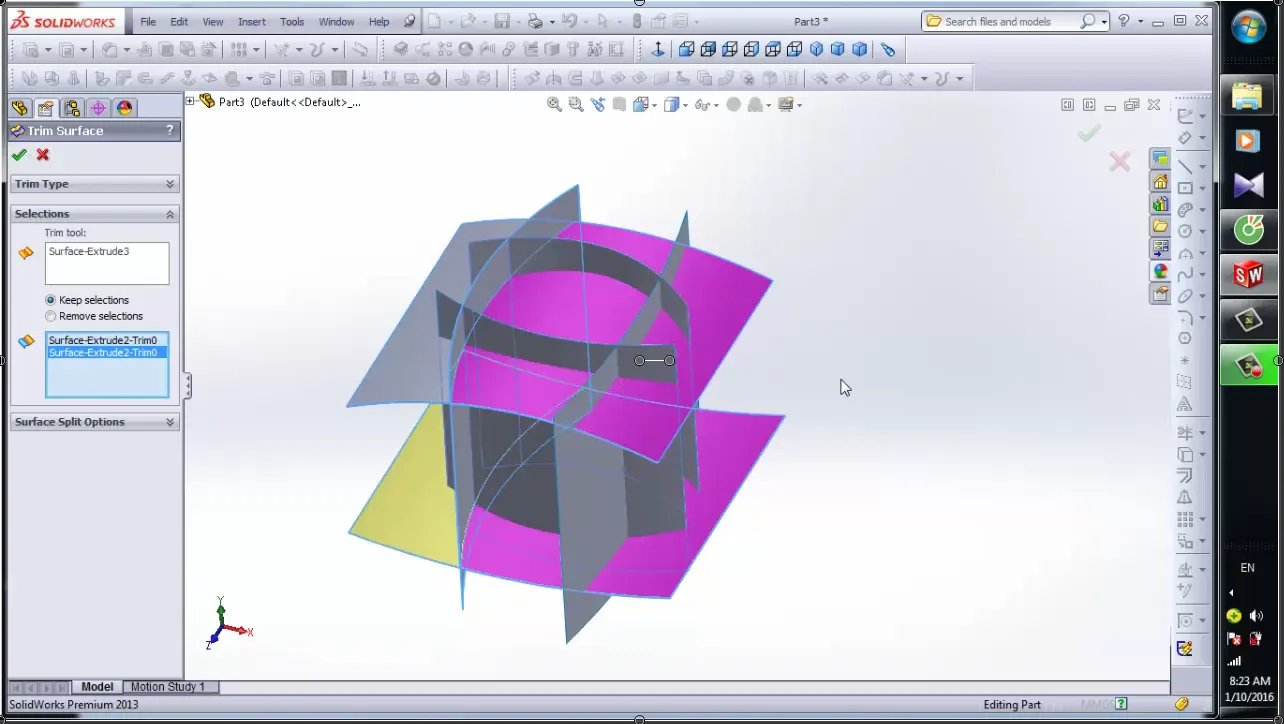
Trim surface: Which is used to cut the extraportion of the surface. In this feature
we can trim the extra surface of the model as shown in figure.
Knit surface: this feature is very useful for combine the two different surface into one surface
its also make solid body and we can fill the extra gaps in the model
Now we can discuss about the components of the american predator yatch
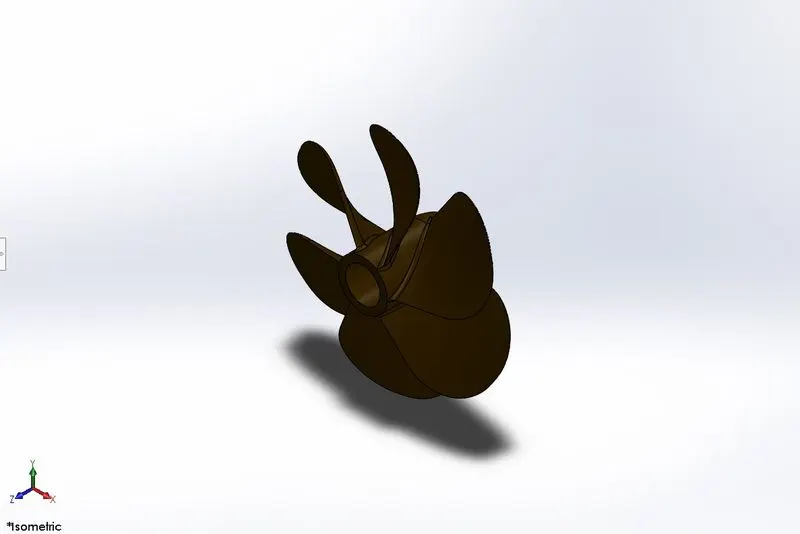
Propeller: In this design we will see how to design propeller first we sketch the circle and
revolve it then we take plane to draw some sketch and use loft command to make wing of the
propeller and give some fillet.
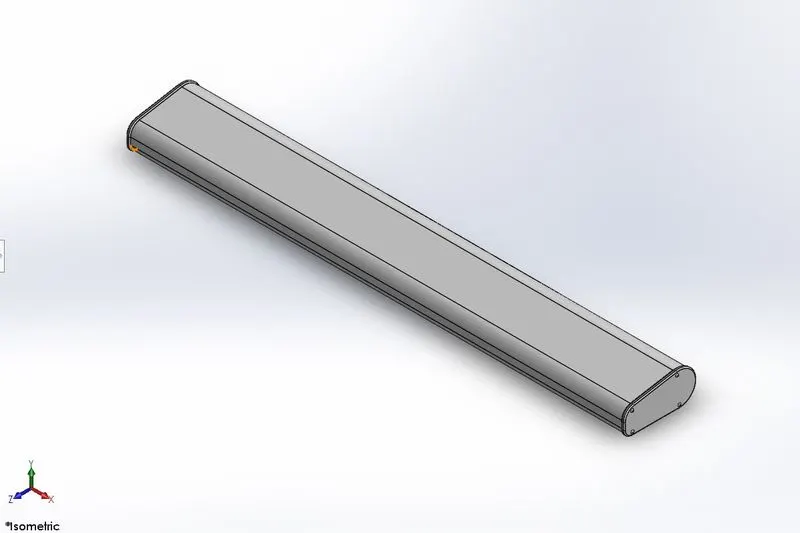
Radar: this design is very handy to make take simple sketch and extrude it and then give some
fillet to round the corner as shown in figure.
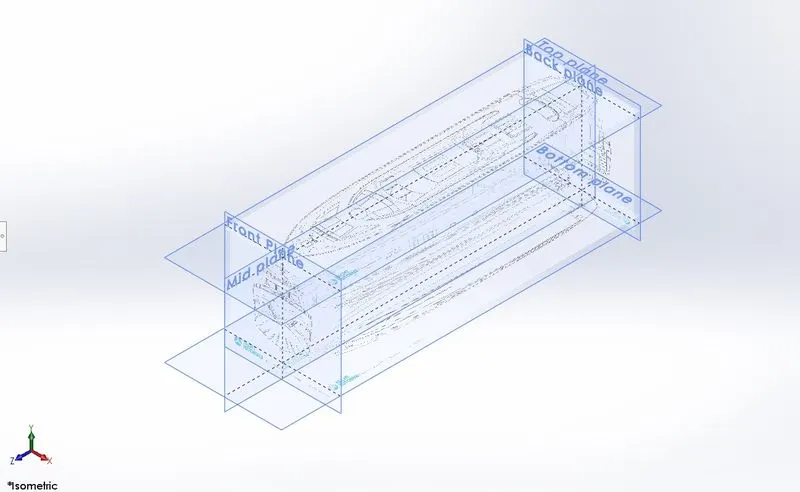
Blue-Print: this is very important for us because we will use it after all the model so we must
arrange in proper manner as shown in the figure.
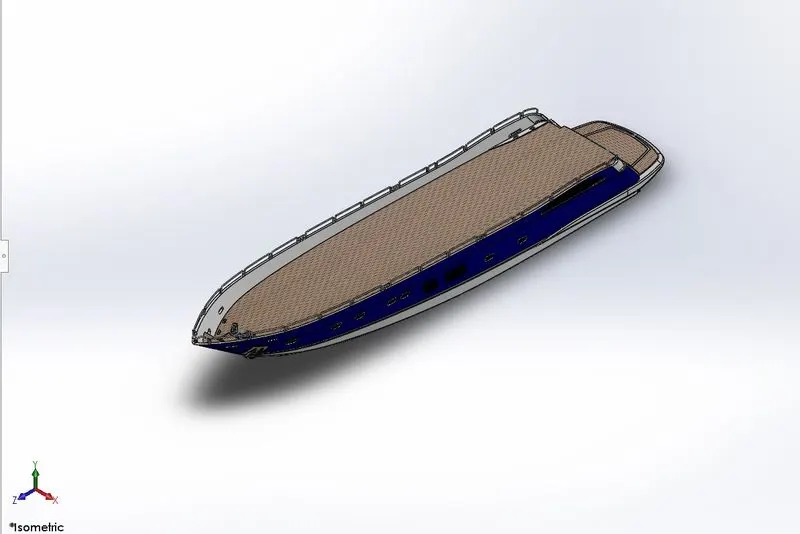
Hull: Now we are going to discuss about hull it is very important part of the yacht in this model
we used surface modeling first we drew some curve the we join this curve to make surface with
the help of loft surface command when make lots of surface we used lots of command like trim
surface, knit surface, ruled surface, extend surface and filled surface as we told about it in the
above then we use some appearance and use also photo view 360 to decal the surface of the
hull as shown in figure.
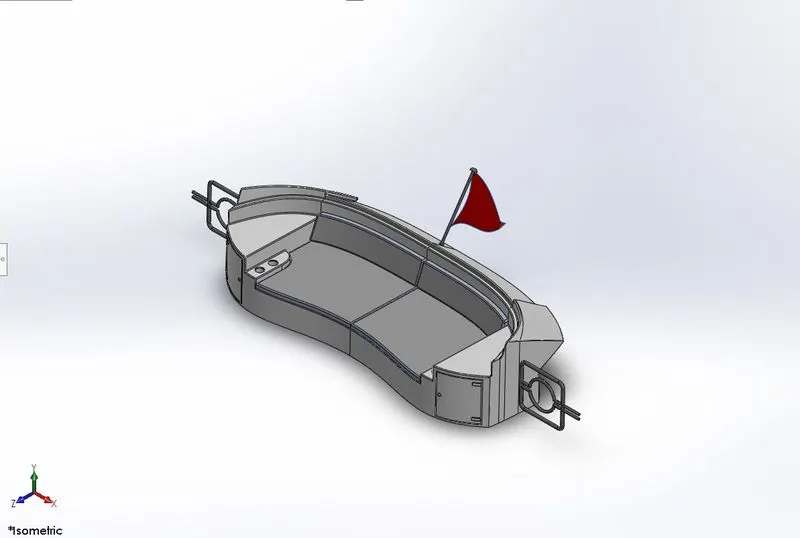
Front, Middle and Rear Seat: First we took the blue print and also we took the hull surface then
we sketch and use some command to make our front seat. Then we used fillet command to
round it then we knit the surface whose we made and make one surface and also we used
revolve command and make half part of the seat then we mirrored and complete the seat then
we again applied some fillet. After we used all feature of the surface accordingly then we
applied some appearance on it.
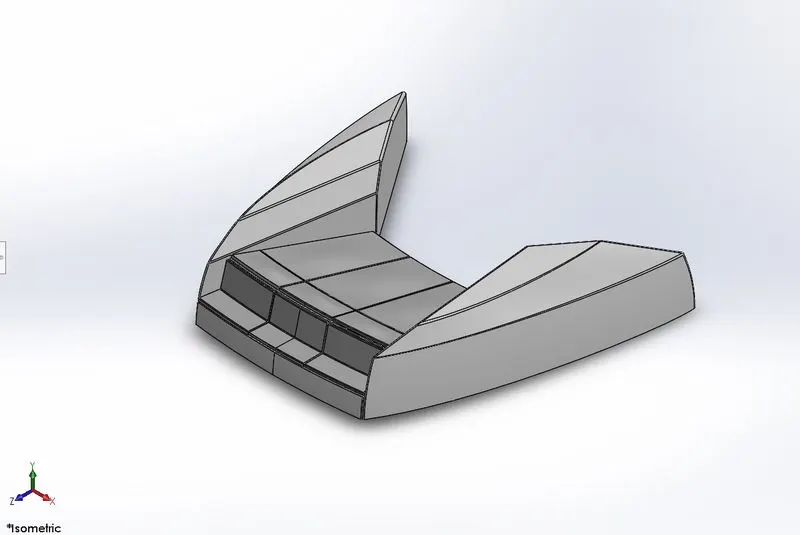
FRONT SEAT
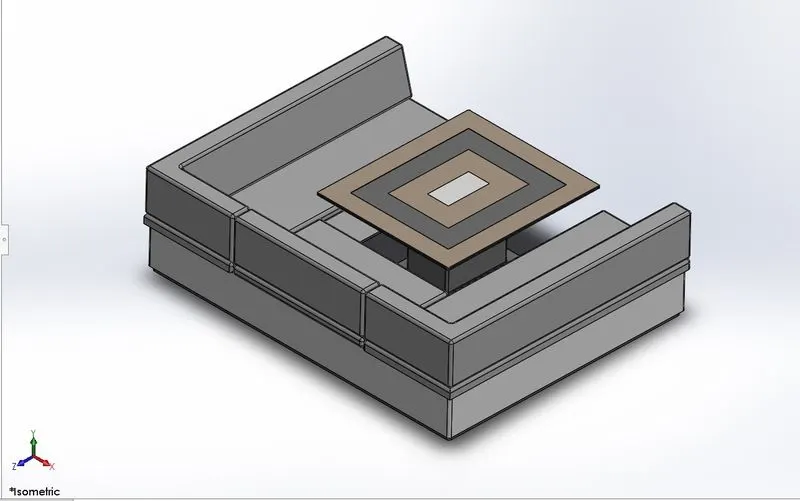
MIDDLE SEAT
REAR SEAT
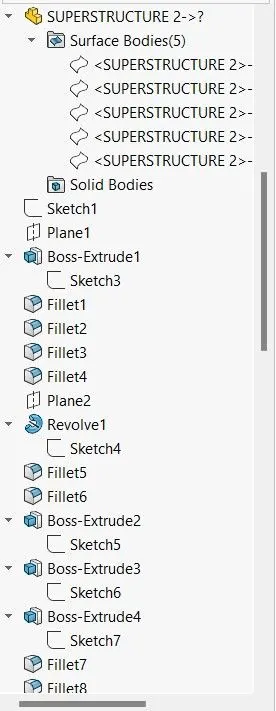
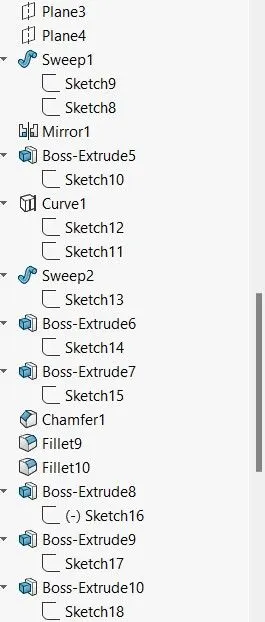
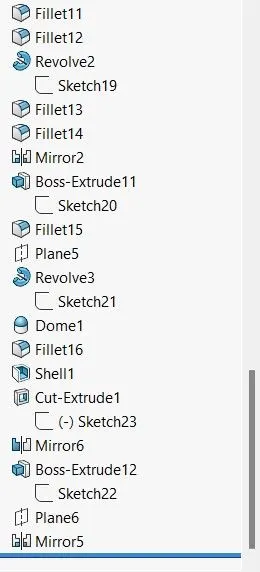
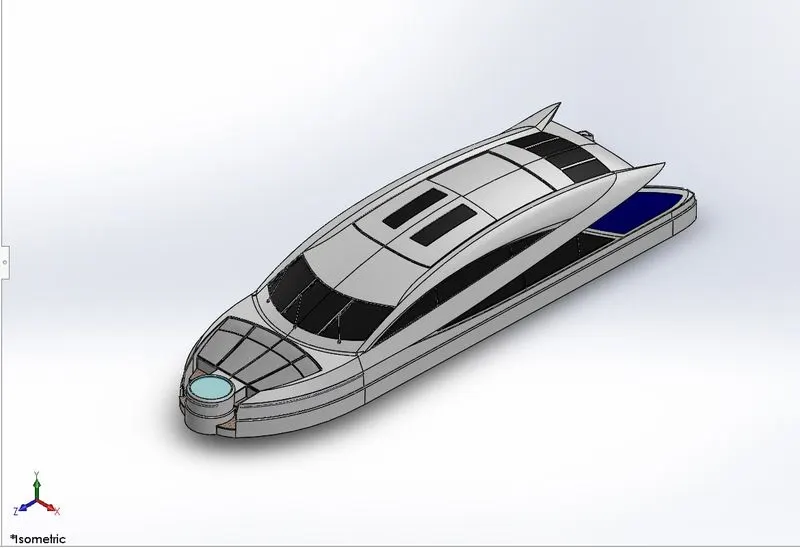
Superstructure: Now we discuss about the super structure it compete surface model we will
use lots of surface command. First we use blueprint with hull surface and the draw some curve
with the help of curve projected command the we used surface loft command and made the
surface then we repeat again these step to made another surface the we used trim surface to
remove extra surface and then we knitted all the surface in one surface then we use dome
command for it to look realistic after all the surface we completed then we make super structure
in solid body and the mirror it after that we applied some appearance and fillet as shown in the
figure.
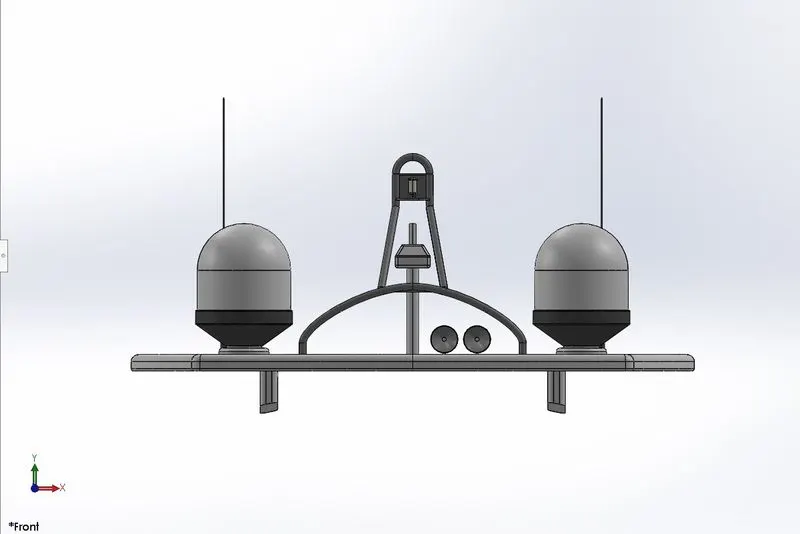
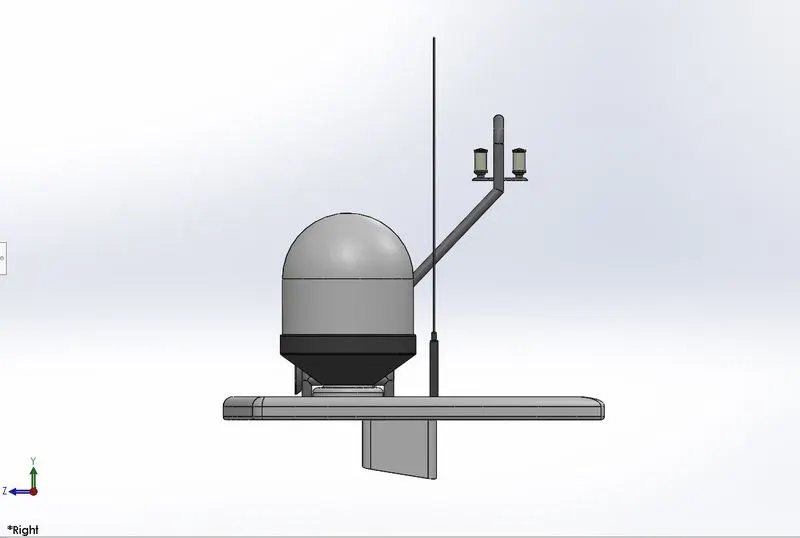
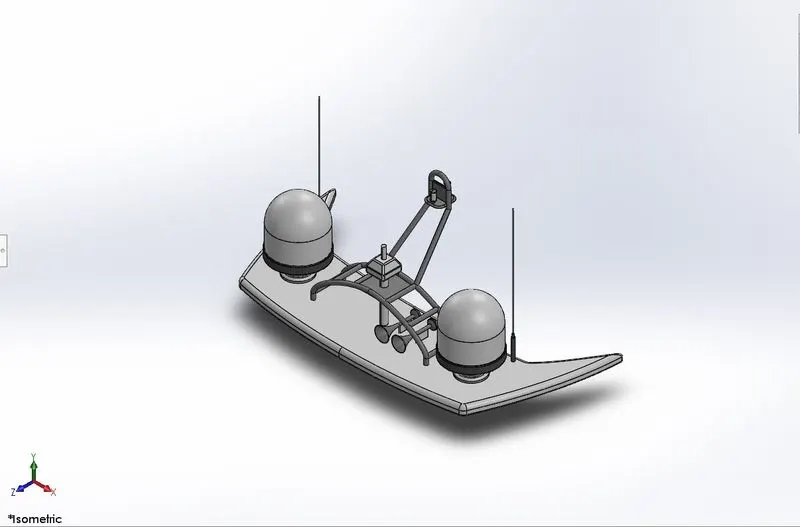
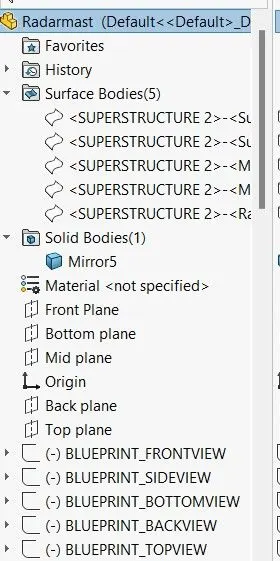
Radar Mast: Now we discuss about the radar mast first we took the blue print with hull surface
the we sketch accordingly and use some command to make our model in proper manner as
shown in figure.
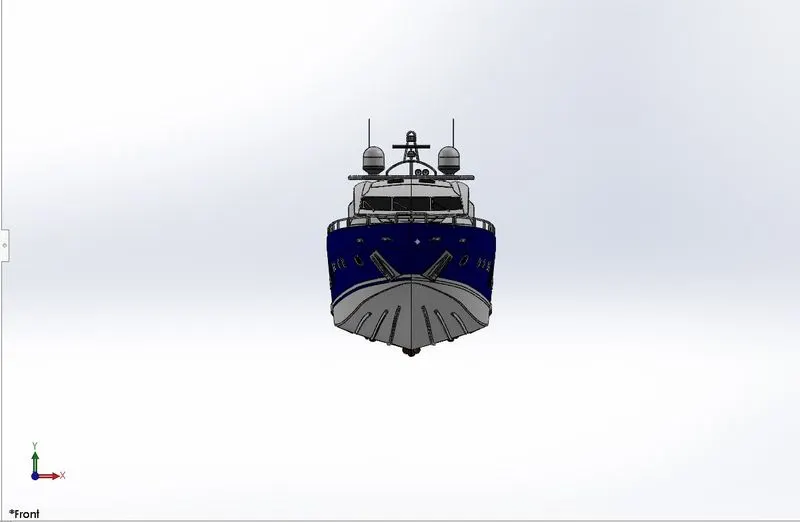
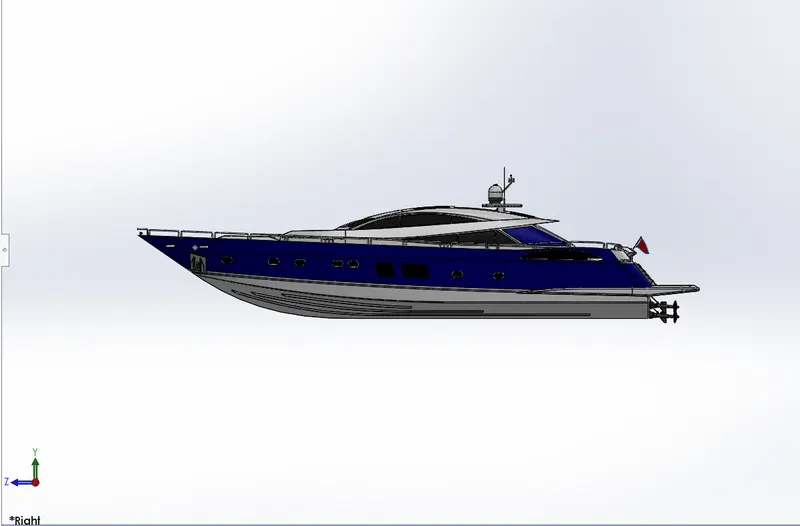
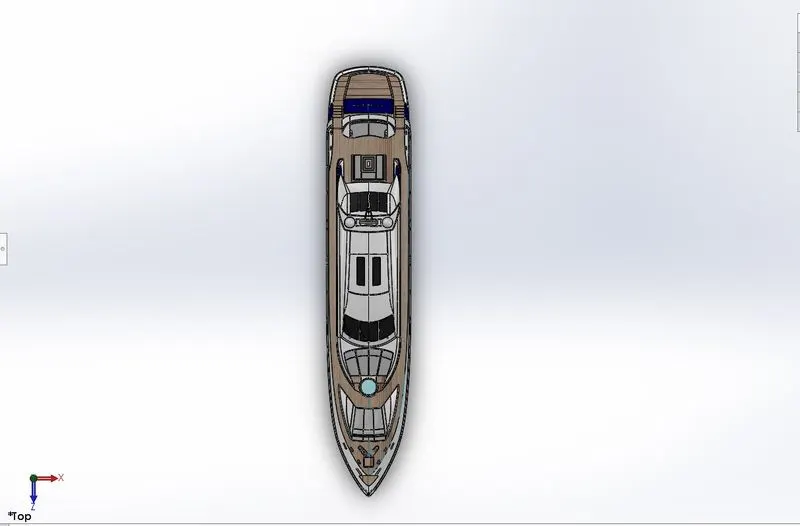
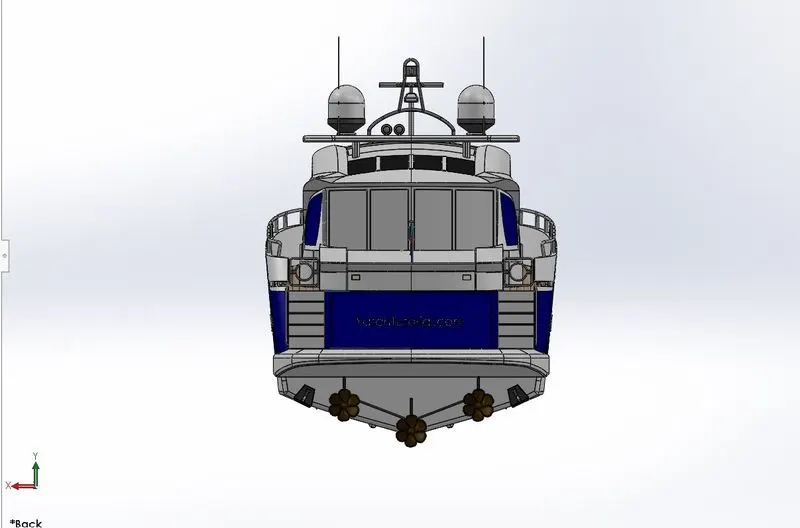
Assembly: after making all the parts the most important part of the assembling the entire Yacht
to a single file begins. To start by begin by bringing in the hull first and using its plane and
geometry as a base for the entire solid assembly, the second part we bring in the hull the base
stand of the superstructure are mates so it is fixed. After that we bring the superstructure and
mate with the hull then we bring the seat mate with hull with concentric mate applied on it after
that we bring the propeller and mate with hull. Now we come in the garage door the plane of the
hull mated accordingly then radar mast also mated. Now radar is brought on to start a width
mate with respect to radar mast. Then mated accordingly with upper part of hull after the all part
mated accordingly and complete the assembly as shown in isometric view.
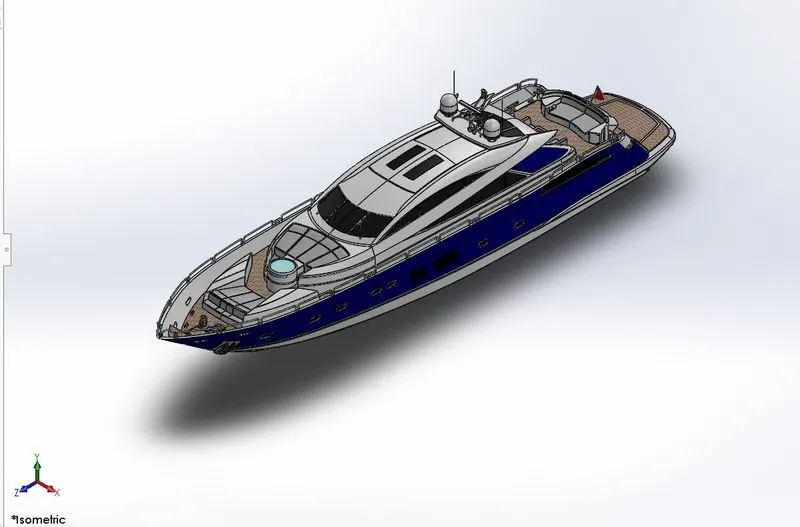
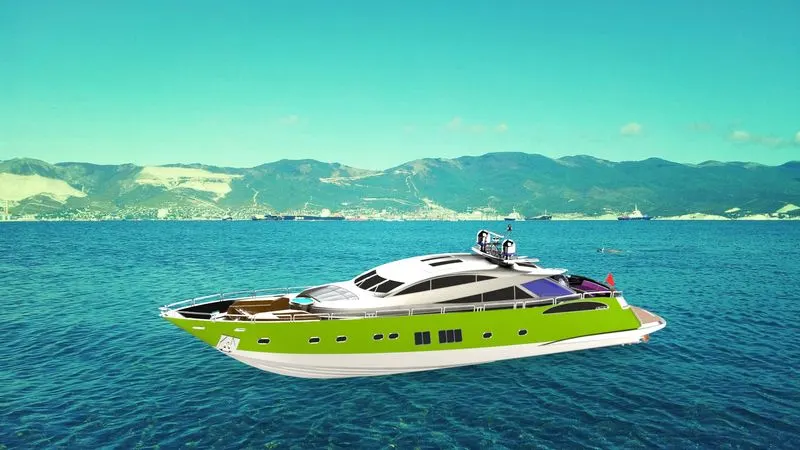
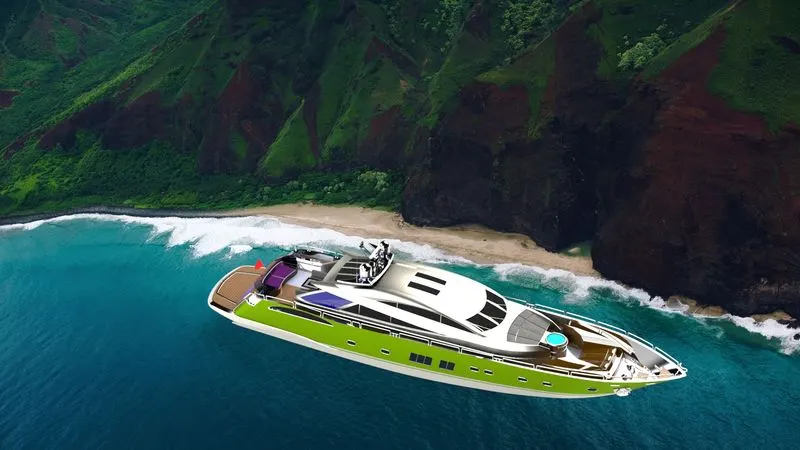
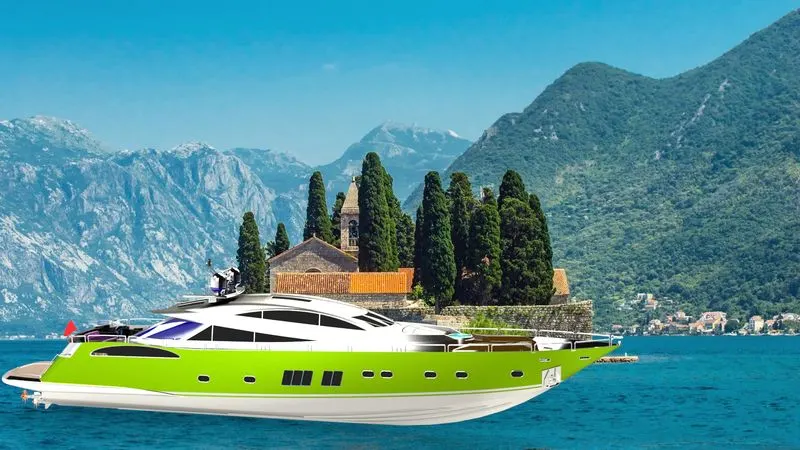
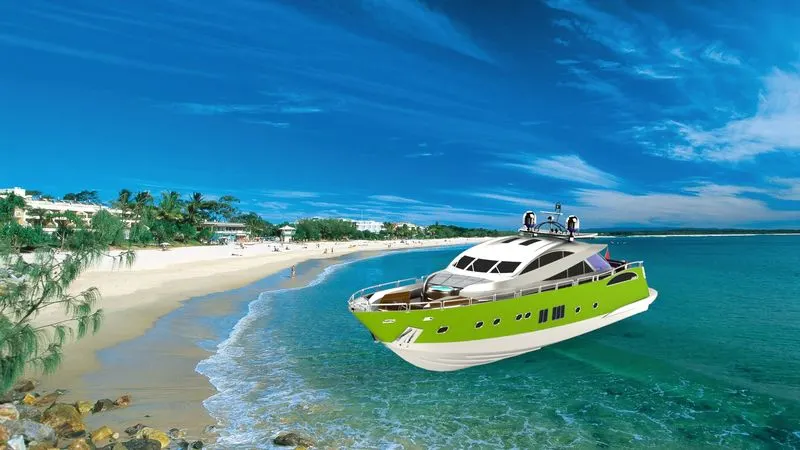
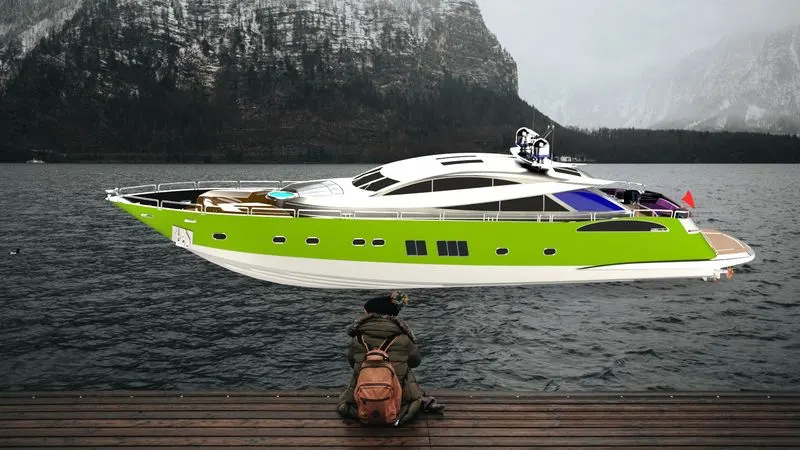
Rendering: The final step of this project to make the project realistic with the help of rendering.
Now we discuss the use of rendering. First we add some decals on the hull and superstructure
now make more realistic to add camera view setting on it. Now we take our assembly file into
solid works visualize where we start the rendering then we apply some realistic background and
color to this chopper make it realistic as shown in figure.
CONCLUSSION:
The project of the american predator yatch was modelled and assambled and photo realistic rendering
adding decals,lights,scence by using photoview 360 and solidworks visualisation has been done successfully.