Radar Mast & Final Assembly of Yacht
PHOTO-REALISTIC RENDERING OF A SUNSEEKER PREDATOR YACHT
OBJECTIVE:
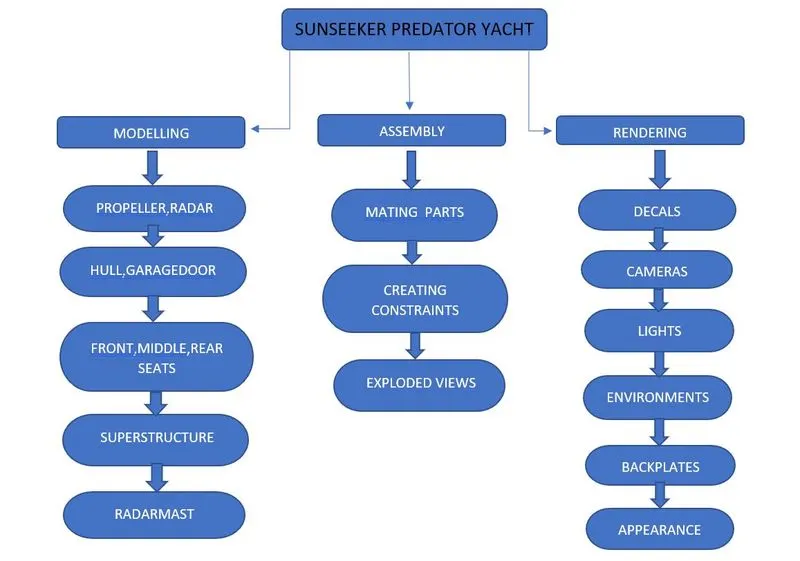
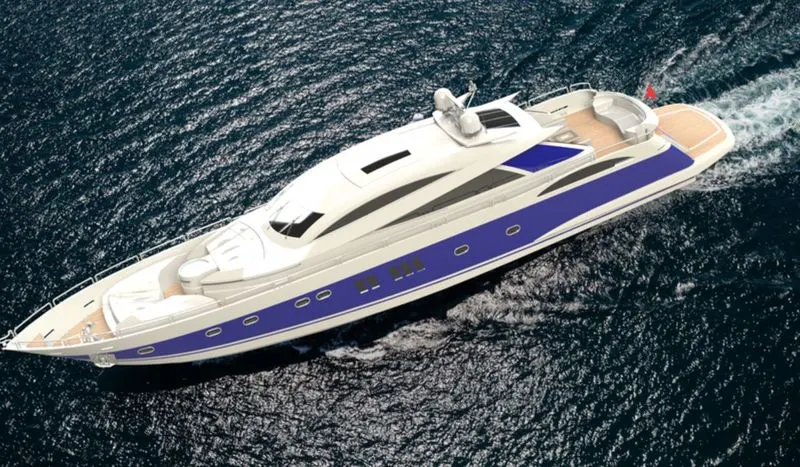
The main objective of the project is to learn the surface modelling.And to design and model all the parts of an Sunseeker Predator Yacht and assemble it to create the Photo Realistic renders.
INTRODUCTION:
The following steps were undertaken while designing the Yacht:
- Design of the individual components.
- Assembly of the yacht.
- Application of decals setting up the scene,lights and cameras.
- Rendering of the Predator Yacht using SolidWorks Photo view 360 and SolidWorks Visualize.
DESIGN METHODOLOGY:
TYPES OF COMMANDS USED AND ITS DESCRIPTION:
SKETCH
Creating a model usually begins with a sketch. From the sketch, we can create features. We can combine one or more features to make a part. Then, we can combine and mate the appropriate parts to create an assembly. From the parts or assemblies, we can then create drawings.
3-D SKETCH
When sketching in 3D, we can snap to the major directions, X, Y, or Z, and constraints are applied Along X, Y, Z respectively. These are constraints to the global coordinate system.
SKETCH COMMANDS
- Smart Dimension - Creates a dimension for a selected sketch entity.
- Line - Line is one of the first sketching tools in Solidworks Sketch Command Manager which can be drawn horizontally, vertically or at any angle. It plays very important role to complete the 2D drawing of the product or part and very easy to utilize its features.
- Circle - The circle is another important sketching tool which enables to create the circular drawing on the graphics area. There are two circle tools are available and they are "Center circle" and "Perimeter circle".
- Rectangle Sketches rectangles or square with a center point at a selected angle. Parallelogram sketches a standard parallelogram.
- Spline - A two or three dimensional curve defined by a set of control points. Points within a spline can be added or deleted. Sketch Fillet - A tangent arc in between two sketch entities can be created.
- Point - Inserts a point or vertex into a sketch entity. This cannot be deleted if it is part of sketch endpoint or center point.
- Text-It can be used to write the text necessary wherever required either it's a plane or face.
- Offset Entities - Copy a sketch entity to a specified distance from the original entity. Must have a sketch entity already drawn and selected to use this tool.
- Sketch Picture - Insert an image file into the background of a sketch. This allows the user to 2D sketches based off of the image. Use the sketch picture property manager to alter the inserted image.
- Convert Entities - Convert Entities enables you to copy model edges into your active sketch. These sketch elements are automatically fully defined and constrained with an On Edge relation. Convert Entities is like Offset Entities except that the offset distance is always zero.
FEATURE COMMANDS
- Extruded Boss/Base - One of the oldest commands in the SOLIDWORKS software is the boss/base extrude command. An Extruded Boss/Base feature will allow us to take a 2D sketch and add thickness to it in the third dimension.
- Extruded Cut - It's a tool to remove material by projecting a sketched section normal to the sketching plane.
- Split - Lines are used to divide model faces into two. Split lines are created like any other sketched feature. They can be one or more connected sketch entities. They must be oriented so that they will pass through model faces when projected normal to the sketch plane.
- Dome - It can add one or more domes to the selected planar or non-planar faces. The software calculates the distance using the radius of the arc as a basis for the dome.
- Pierce Relationships - The Pierce relationship is used in sweeps. It can be thought of as a 3D Coincident relationship. In our spring, the circle will follow the helix. Think of the helix as a thin piece of wire and the profile sketch as being drawn on a piece of paper. If we stick the wire through the paper at the center of the circle, this would be a pierce relationship. When we perform the sweep, the paper will slide along the wire, held at the pierce point.
- Project Curve - Select Bi-directional to create a projection that extends on both sides of the sketch. The curve can be used as a path for at sweep.
- Composite Curve - We can create composite curves by combining curves, sketch geometry, and model edges into a single curve. Composite curve can be used as a guide curve when creating a loft or a sweep.
- WIRE FRAME-Wireframe is a view mode in which all edges of the part or assembly are displayed.
SURFACE MODELLING:
Surface modelling is a method of creating planar or non-planar complex geometry which has zero thickness. This zero thickness geometry is known as surface. The surfaces are generally used to create models of complex shapes. We can convert surface models in solid models. We can also extract a surface from a solid model using the tools available for surface modeling.
SURFACE COMMANDS:
Lofted Surfaces - Creates a lofted surface between two or more profiles or sketches. Specify start and end constraints and add guide curves to control the path shape.
Boundary Surfaces - The boundary surface feature lets us to create surfaces that can be tangent or curvature continuous in both directions (all sides of the surface). In most cases, this delivers a higher quality result than the loft tool.
Extruded Surfaces - Extrudes a sketch or selected sketch contours in one or two directions two create a surface features
Revolved Surfaces - Revolves a sketch or selected sketch contours around an axis to create a surface features.
Swept Surfaces - It Sweeps a closed profile along an open or closed path to create a surface feature. It uses a tangent plane at the end of the path so that the path is normal to the swept surface.
Filled Surfaces - Patches a surface within a boundary defined by edges, sketches, or curves. We can use constraint curves to fill surfaces and adjust resolution control to improve surface finish.
Ruled Surfaces - Inserts ruled surfaces in a specified direction from edges. Tangent to surface, Normal to surface, tapered to vector,perpendicular to vector or sweep can be selected. We can also trim and knit the surfaces and remove any connecting surfaces.
Trim Surface - It trims the surfaces where a surface intersect with another surface, a plane or a sketch
Knit Surface - It combines two or more adjacent, non-intersecting surfaces into a single surface body. The surfaces must joint at an edge. If the resulting knit surface encloses a volume, we can create a solid body from the Property Manager.
Move/copy surfaces-Moves or copy surfaces about a plane or a sketch.
Offset Surface-Offsets surfaces using one or more contiguous faces. This tool helps us to create an offset surface with gaps. • Extend Surface - Extends one or more edges or faces on a surface, based on end conditions and extension type.
Mirror surfaces - A mirror feature is a copy of a selected feature, mirrored about a plane or planar face. A mirror sketch entity is a copy of a selected sketch entity that is mirrored about a centerline. If the original feature or sketch is modified, the mirrored copy is updated to reflect the change.
Reference plane - We can create planes in part or assembly documents. We can use planes to sketch, to create a section view of a model, for a neutral plane in a draft feature, and so on.
Projected curve- A projected curve is typically used either in sweeps and lofts as path or guide curve. There are two types of projected curves:
Sketch on Sketch: Use two sketches to make a single curve.
Sketch on surface: Use a sketch to project on a surface.
Split line - The Split Line tool projects an entity (sketch, solid, surface, face, plane, or surface spline) to surfaces, or curved or planar faces. It divides a selected face into multiple separate faces. We can split curves on multiple bodies with one command.
Split point-We can split a sketch entity to create two sketch entities. Conversely, we can delete a split point to combine two sketch entities into a single sketch entity.
Fillet - A fillet is an internal rounding of a corner or edge in a sketch, or an edge on a surface.
PART MODELLING:
1.BLUE PRINT:
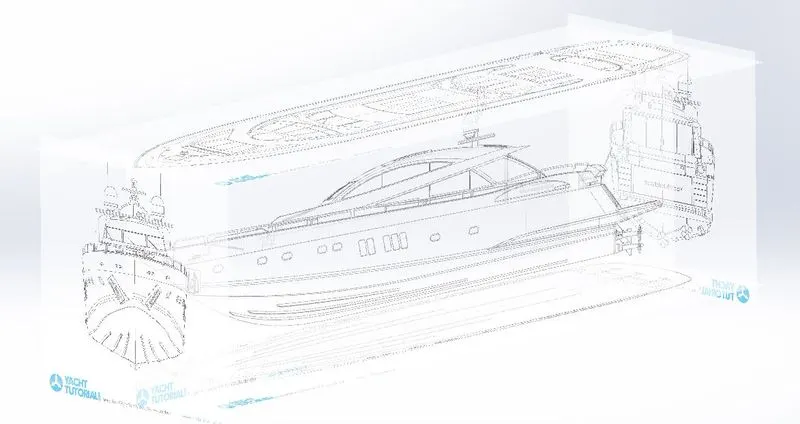
A blueprint is a guide for making something or it's a design or pattern that can be followed by further guidance while designing individual parts of the yacht.Blueprint is a combination of multiple images of the yacht, such as front view, top view, side view, bottom view and back view.
2.PROPELLER
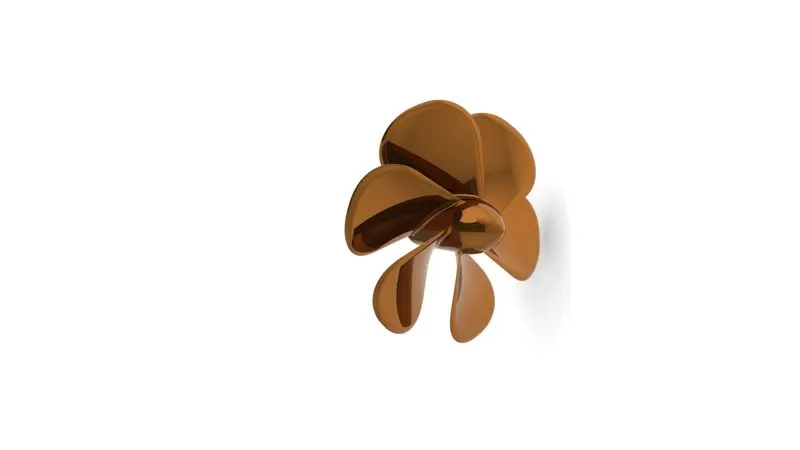
A propeller is a type of fan that transmits power by converting rotational motion into thrust.A pressure difference is produced between the forward and rear surfaces of the airfoil-shaped blades, and a fluid (such as air or water) is accelerated by the pressure difference.
Features used:
Sketch
Revolve
Loft
Cut Extrude
Circular Pattern
Fillet
3.RADAR
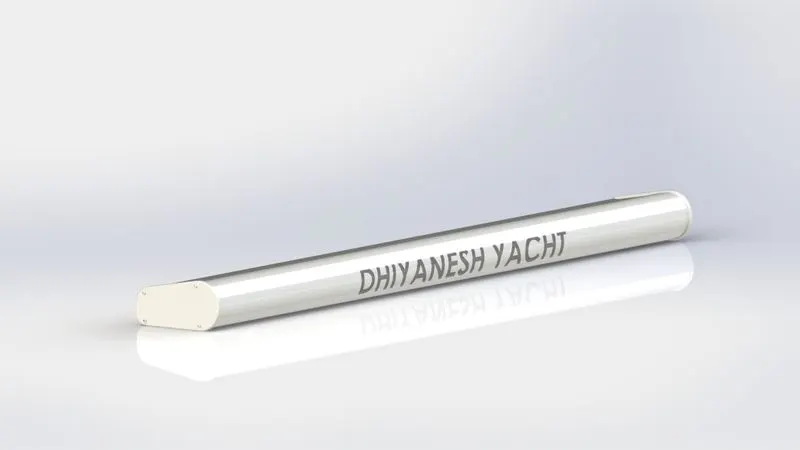
Radar is a detection system that uses radio waves to determine the range, angle, or velocity of objects. • The transmitter transmits a signal to the surroundings which are reflected back if there are any obstacles in its path.
Features used:
Boss Extrude
Cut Extrude
Sketch Pattern
Split Line
Mirror
Fillet
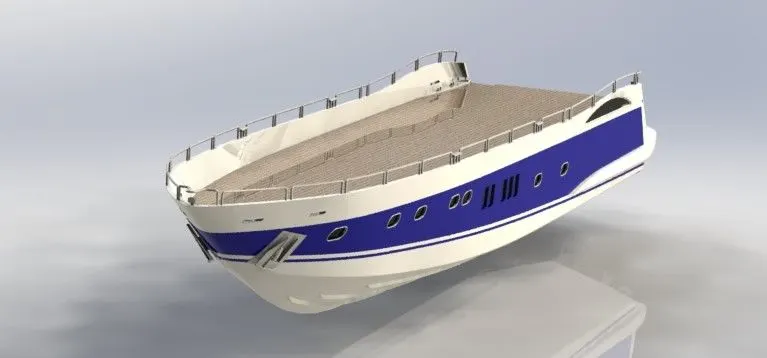
4.HULL
A hull is the major part of a ship or boat or yacht which is watertight in nature.It may be open at the top or may be fully or partially covered.Over the hull, there be deckhouse, front seat, middle seat, back seat, radar mast, etc.
Features used:
Sketch
Project Curve
Surface Loft
Surface Trim
Surface Extrude
Surface Knit
Surface Fill
Shell
Cut Extrude
Fillet
Chamfer
Sweep
Boss Extrude
Revolve
Dome
Helix/Spiral
Linear Pattern
Add/Delete Face
Thin Extrude
Thin cut Extrude
Split
Split Line
Offset Surface
Mirror
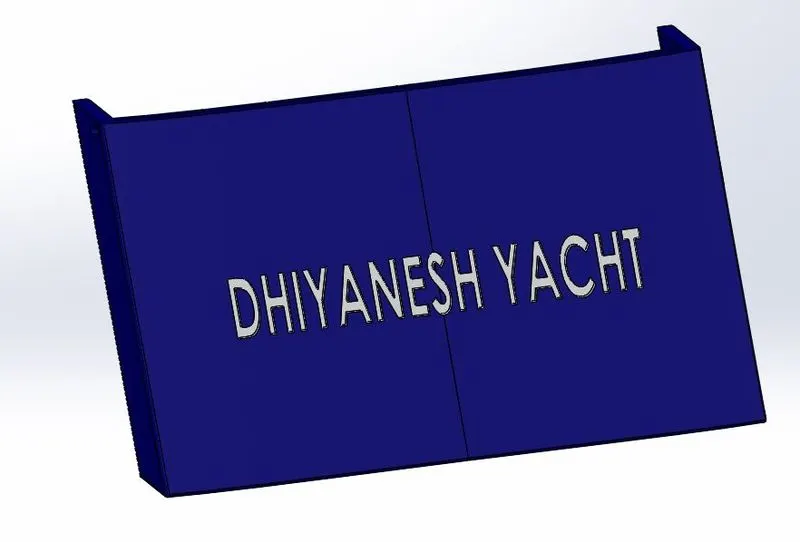
5.GARAGE DOOR:
A garage is the storage space provided in the yacht for parking personal vehicles such as car, motorcycles etc.
Features used:
Cut Extrude
Shell
Mirror
Fillet
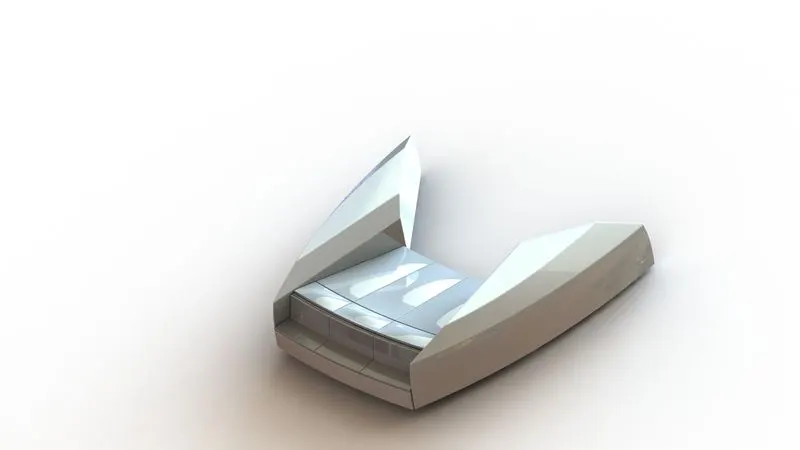
6.FRONT SEAT:
Front seat was placed in front of the Superstructure on the hull. It was designed after importing the deck surface of the Hull as interface surface.
Features used:
Surface Sweep
Surface Extrude
Surface Fill
Surface trim
Surface Loft
Surface Knit
Revolve
Cut Extrude
Cut Thin Extrude
Chamfer
Fillet
Mirror
Dome
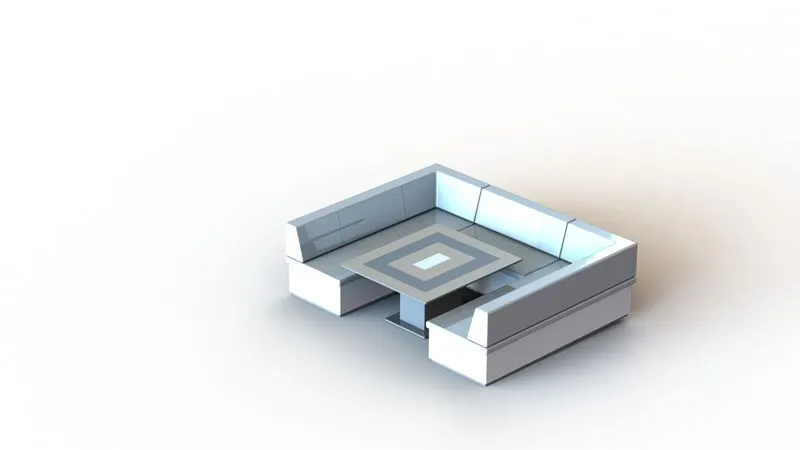
7.MIDDLE SEAT:
The middle seat is kept just behind superstructure. The middle seat consists of a table and chairs.
Features used:
Boss Extrude
Mirror
Cut Extrude
Chamfer
Fillet
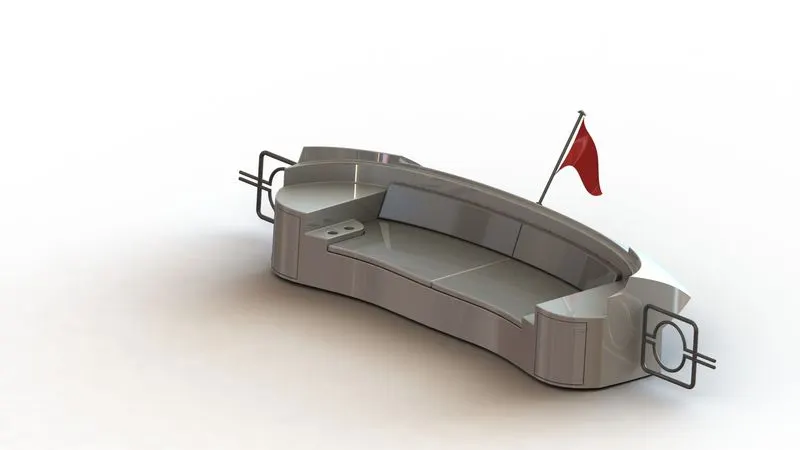
8.REAR SEAT:
The rear seat is kept at the rear end of the hull.The rear seat has a wooden cupboard and teacup holder as an additional feature.
Features used:
Surface Sweep
Surface Offset
Surface Trim
Ruled Surface
Surface Knit
Surface Extend
Surface Extrude
Surface Loft
Boss Extrude
Cut extrude
Chamfer
Boss Sweep
Mirror
Revolve
Fillet
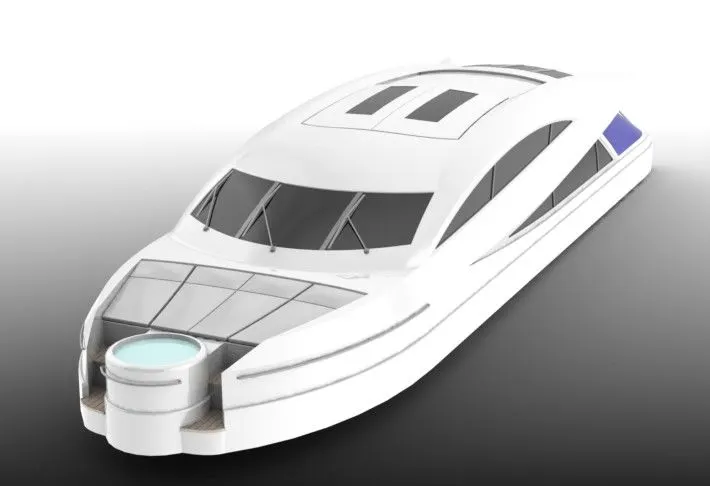
9.SUPERSTRUCTURE:
A superstructure is an upward extension of an existing structure above a baseline.The superstructure is a yacht is the part that emerges from the deck.Space for living accommodation, meeting room etc.
Features used:
Surface Sweep
Surface Knit
Project Curve
Surface loft
Surface Fill
Surface Extrude
Surface Trim
Ruled Surface
Surface Extend
Fillet
Cut-Extrude
Face Delete
Boss Extrude
Surface Offset
Thickness
Dome
Boss Sweep
Extrude Thin
Split Line
Mirror
Chamfer
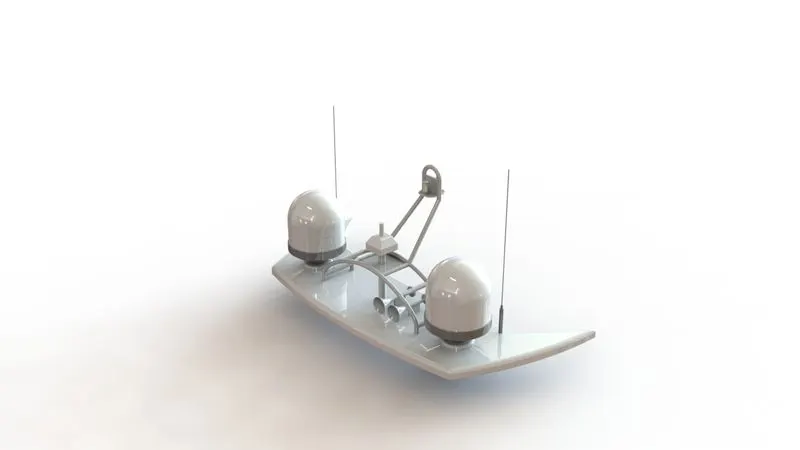
10.RADAR MAST
Radar mast is the mounting device of the radar in the ship.It has an appropriate position for keeping all the radar related equipment such as a transmitter, receiver, processor etc.
Features used:
Boss Extrude
Revolve
Fillet
Boss Sweep
Mirror
Project Curve
Chamfer
Mirror
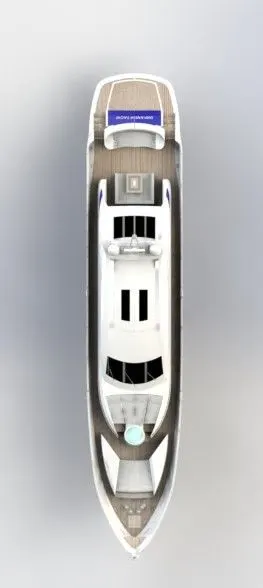
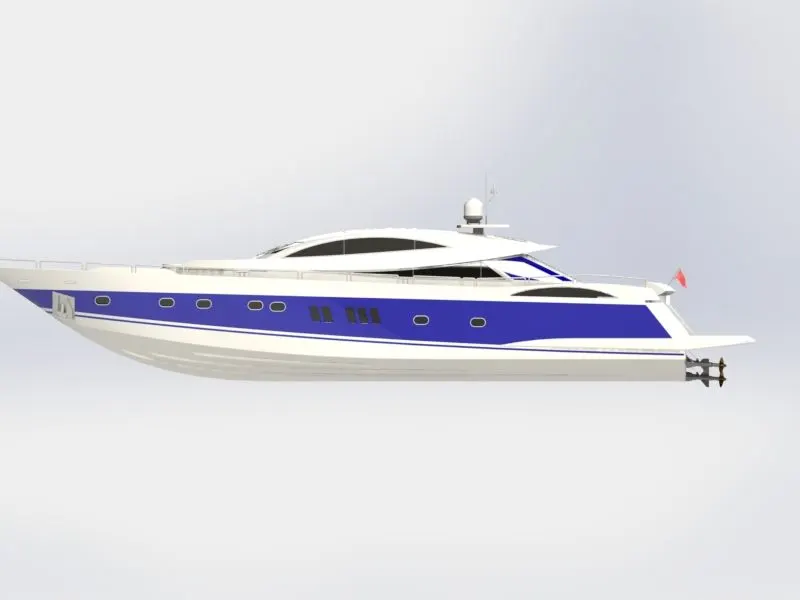
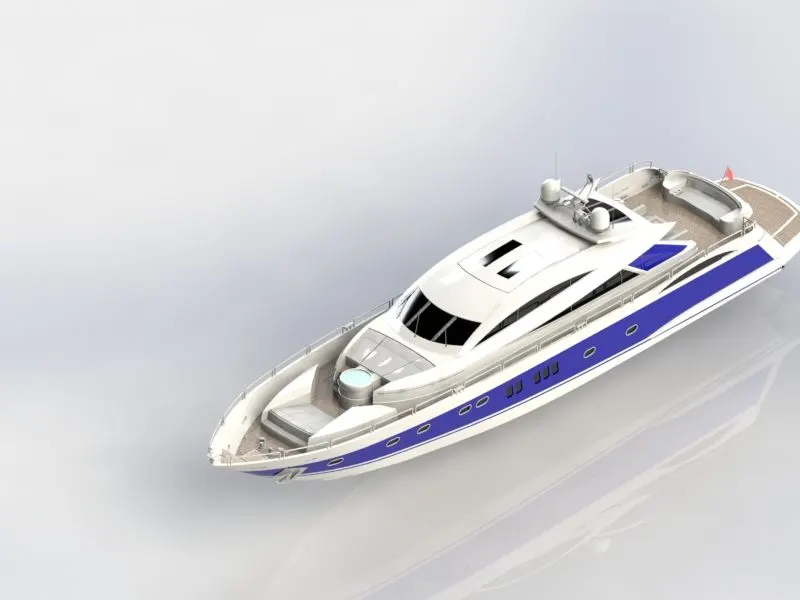
ASSEMBLY:
An assembly is a document in which parts, features, and other assemblies (sub-assemblies) are mated together. The parts and subassemblies exist in documents separate from the assembly.
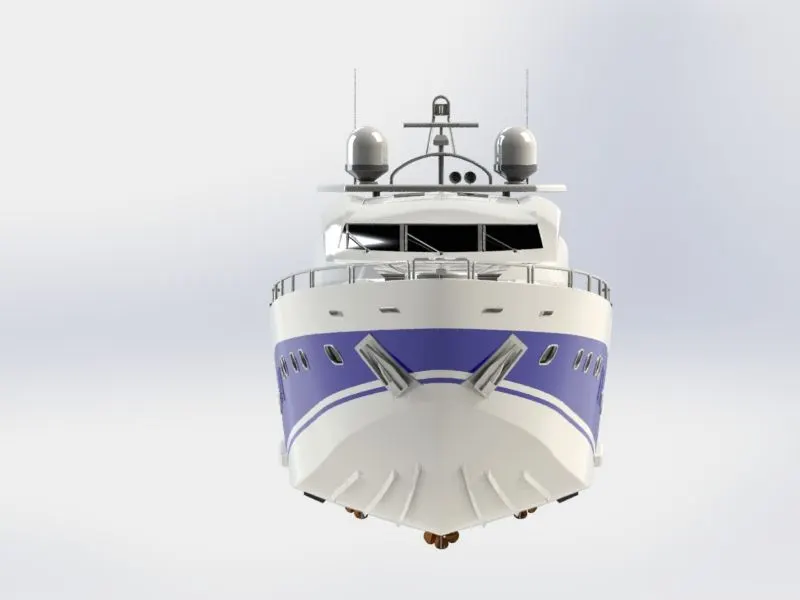
FRONT VIEW:
TOP VIEW:
SIDE VIEW:
ISOMETRIC VIEW:
Features used:
Mates
Insert part
Mates:
Mates create geometric relationships between assembly components. As we add mates, we define the allowable directions of linear or rotational motion of the components, we can move a component within its degrees of freedom, visualizing the assembly's behaviour.
Insert Parts:
We can insert the other components which need to be mated with the prime fixed component.
RENDERING:
Rendering is the process of creating realistic images of the Photorealistic model with the environment. The rendered image incorporates the appearances, lighting, scene, and decals included with the model.
Rendering has been done in the following two ways in SolidWorks
- Photoview 360
- Solidworks Visualize
Rendered Images in Solidworks:
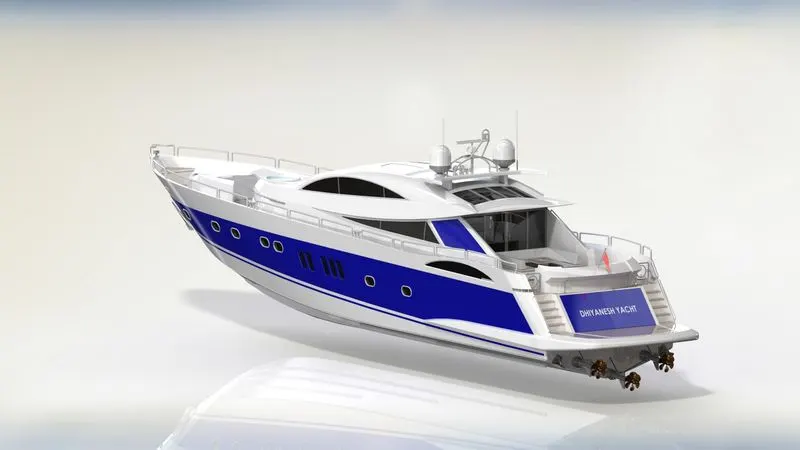
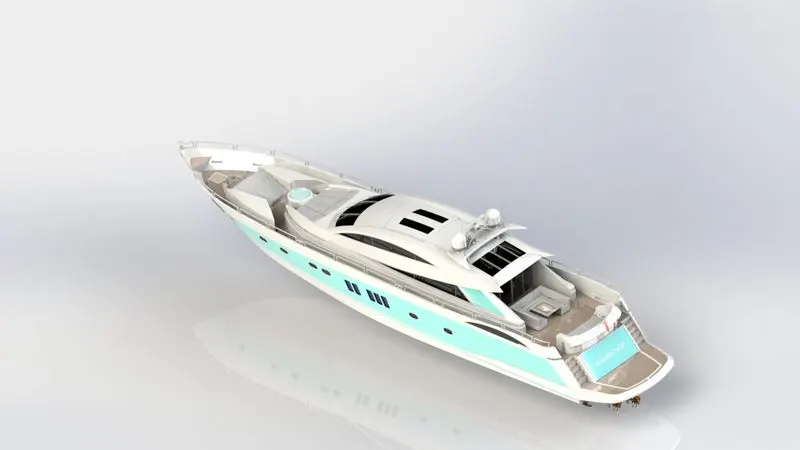
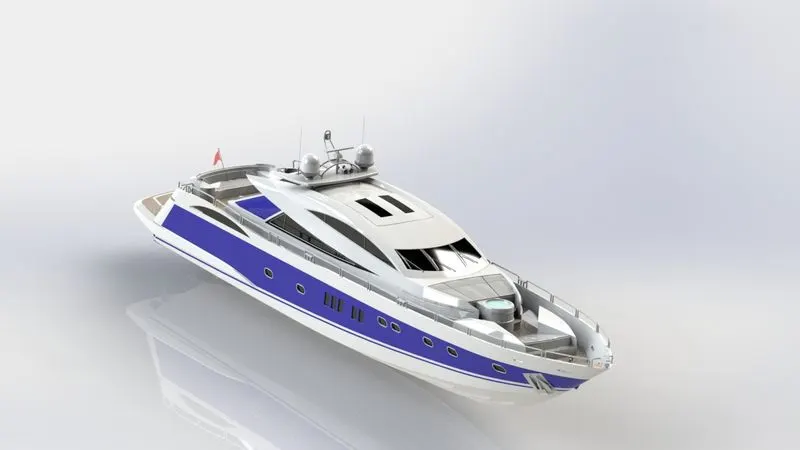
Rendered image in SolidWorks Visualize:
CONCLUSION:
- The parts of the Predator Yacht are sketched and modelled.
- The parts are inserted into the assembly environment and the yacht is assembled.
- The photo-realistic image was rendered with Photo-view 360 and Solidworks Visualise.
Here I like to thank my mentor Mr.Soundar Rajan for guiding me to complete this project successfully.
Link to view the model:
https://drive.google.com/drive/folders/1DzIGrd5XqFA_HOGYOB0NGLsKFSSEieSd?usp=sharing