Radar Mast & Final Assembly of Yacht
- Sumit_Yadav_Radar_Mast
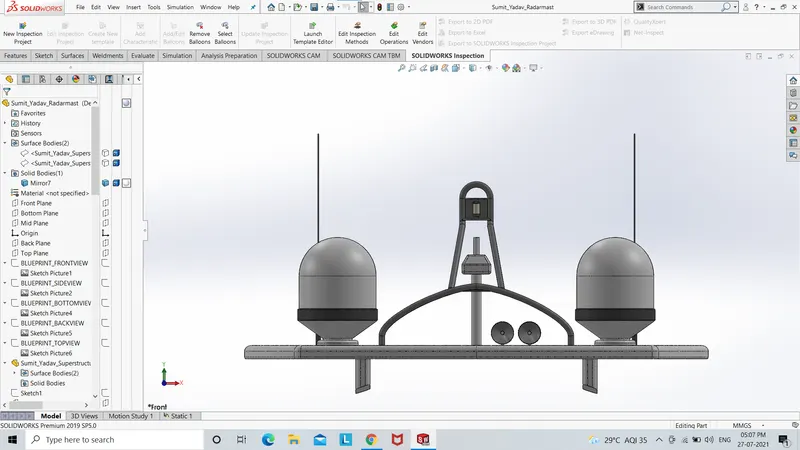
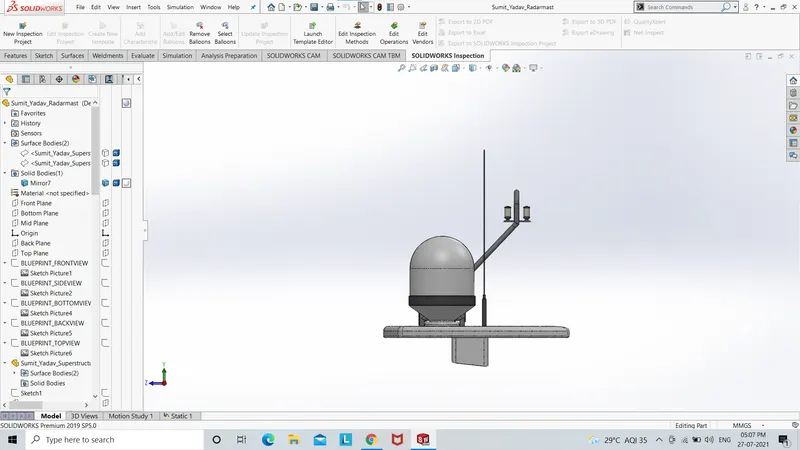
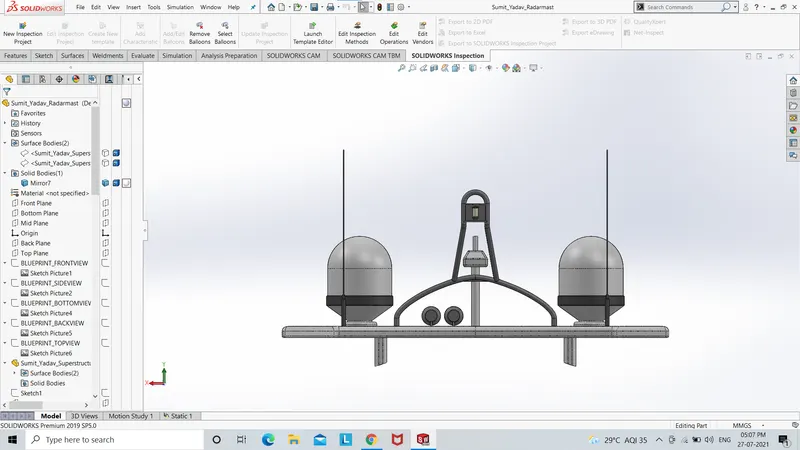
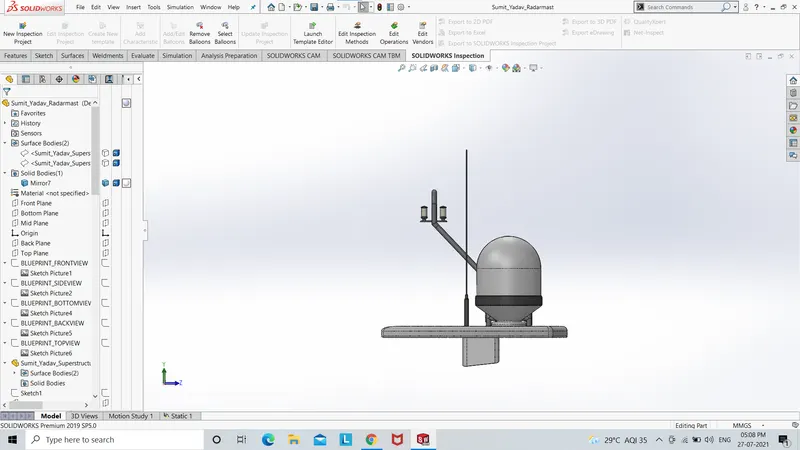
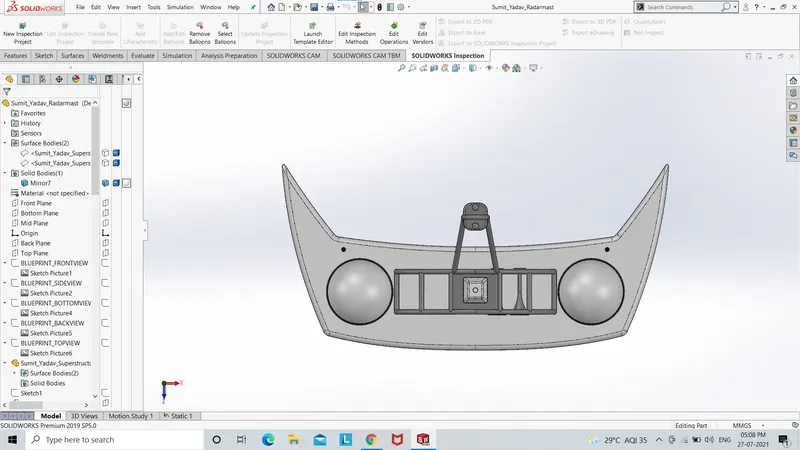
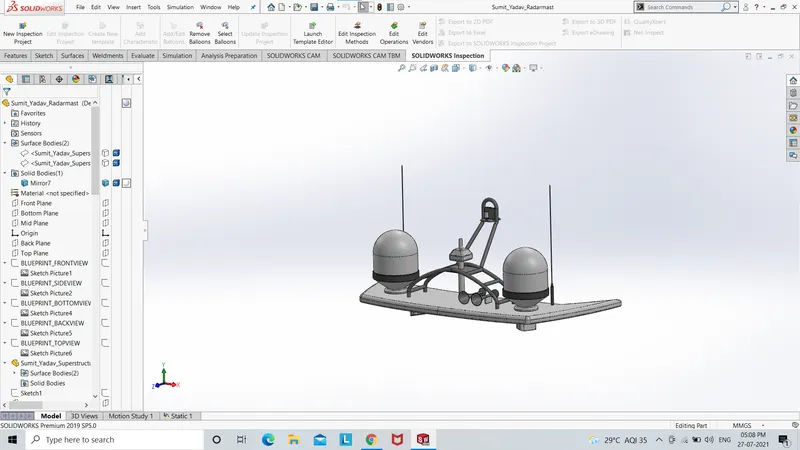
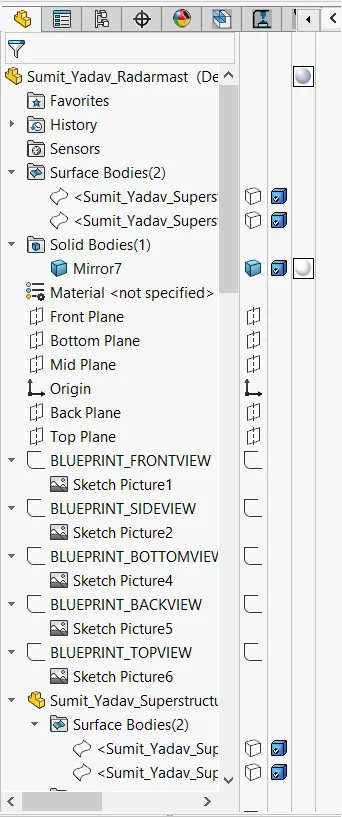
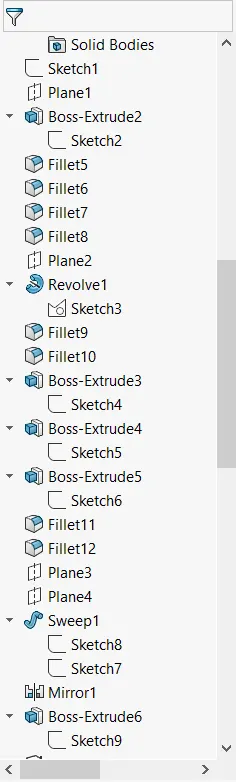
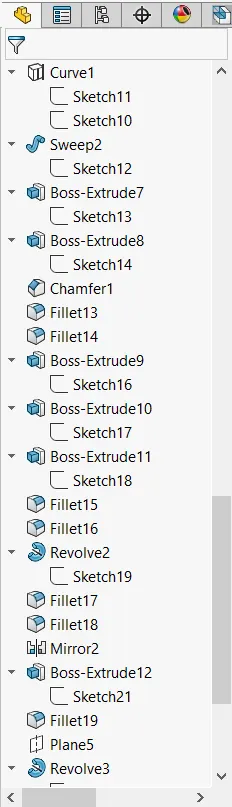
- Sumit_Yadav_Radar_Mast_Feature_Tree
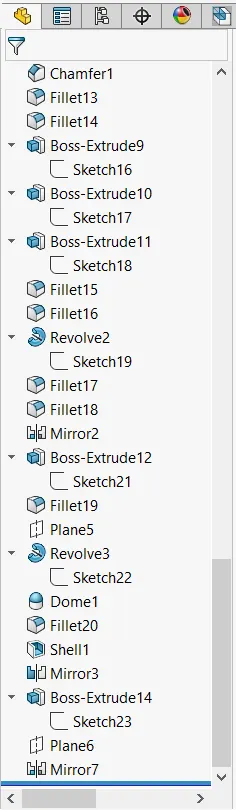
- Sumit_Yadav_Assembly_Of_Yacht
1. Title: Assembly of Yacht in Solidworks.
The different components of the Yacht model were modelled and they were assembled together in Solidworks. The assembled model was rendered using Photoview and Visualize.
2. Objective:
- To understand the interface of the Solidworks software.
- To understand the 2D sketching process in the solidworks and different options to convert them into 3D bodies.
- To understand the special sketching features available in the Solidworks like projected curves, converting entities, offset entities etc.
- To understand the surface modelling in Solidworks.
- To understand the assembly of components inside Solidworks and editing of assembled components according to need inside the assembly.
- Rendering of models in Solidworks, introduction to photoview 360 and Solidworks Visualize.
3. Introduction:
In this module the modelling of different components of Yacht and their assembly were carried out using SolidWorks software. After the modelling and the assembly of the Yacht were done it
was rendered using Photoview 360 and SolidWorks Visualise.
4. Design Methodology/ Approach:
Flow Chart of the modelling:
| Step | Snapshot |
| 1. Modelling Sunseeker Predator Yacht - Propeller |
|
| 2. Modelling Sunseeker Predator Yacht - Radar | 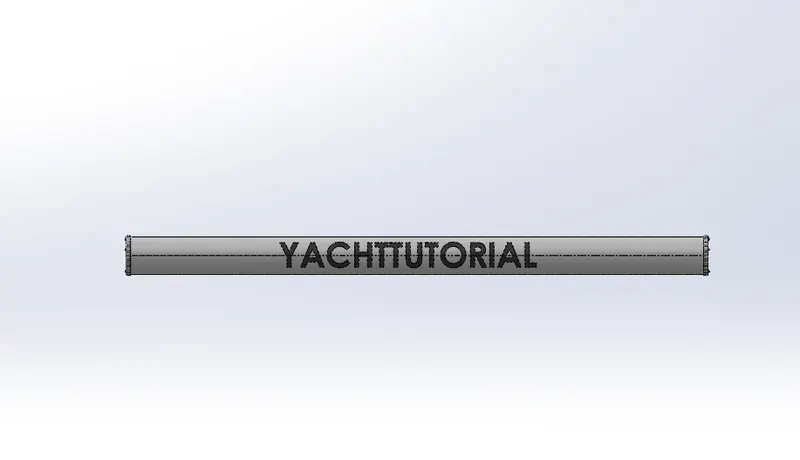 |
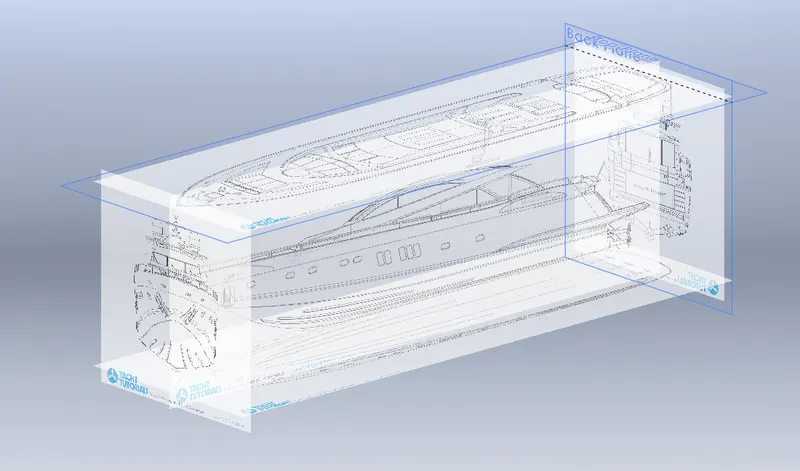
| 3. Modelling Sunseeker Predator Yacht - Blueprints |
|
| 4. Modelling Sunseeker Predator Yacht - Hull | 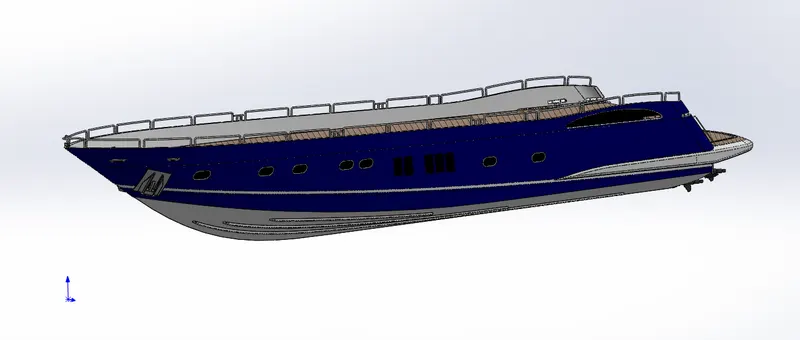 |
| 5. Modelling Sunseeker Predator Yacht - Garage Door | 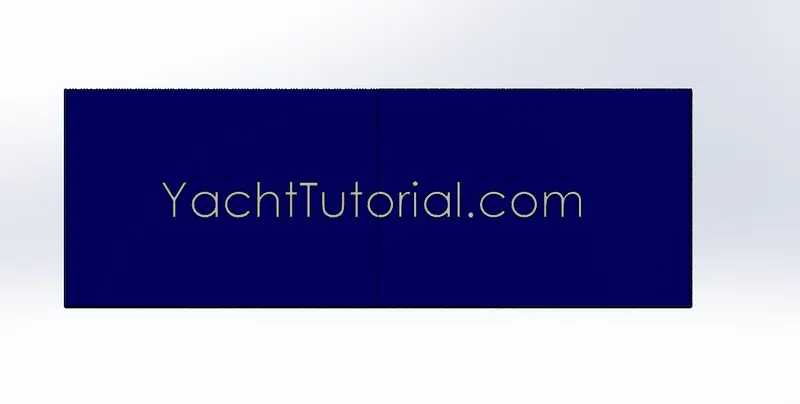 |
| 6. Modelling Sunseeker Predator Yacht - Front Seat | 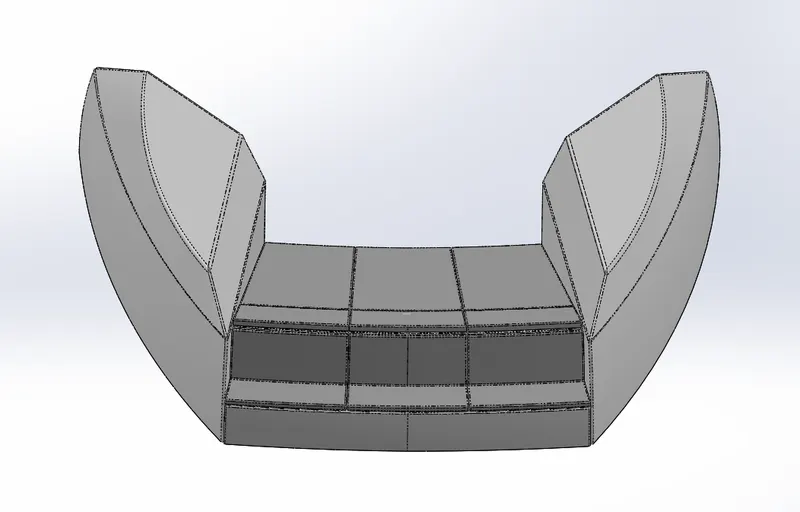 |
| 7. Modelling Sunseeker Predator Yacht - Middle Seat | 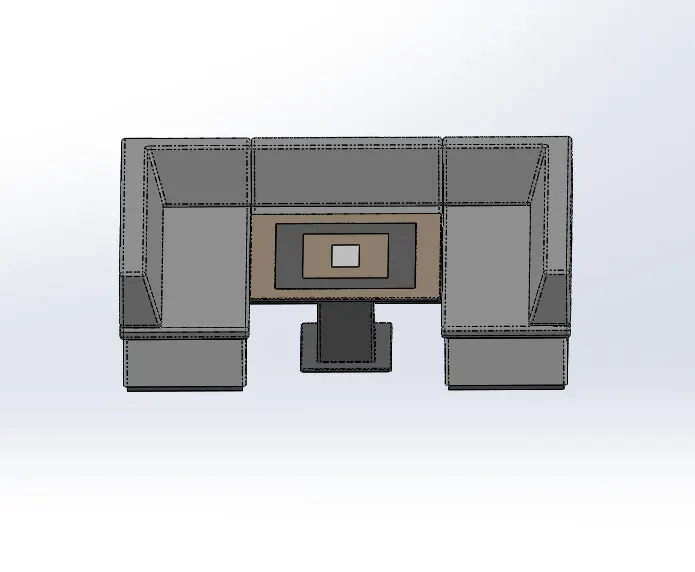 |
| 8. Modelling Sunseeker Predator Yacht - Rear Seat |
|
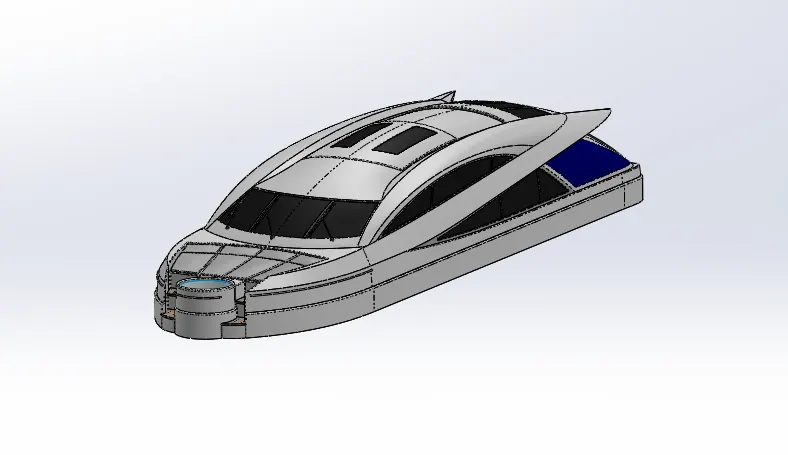
| 9. Modelling Sunseeker Predator Yacht - Superstructure |
 |
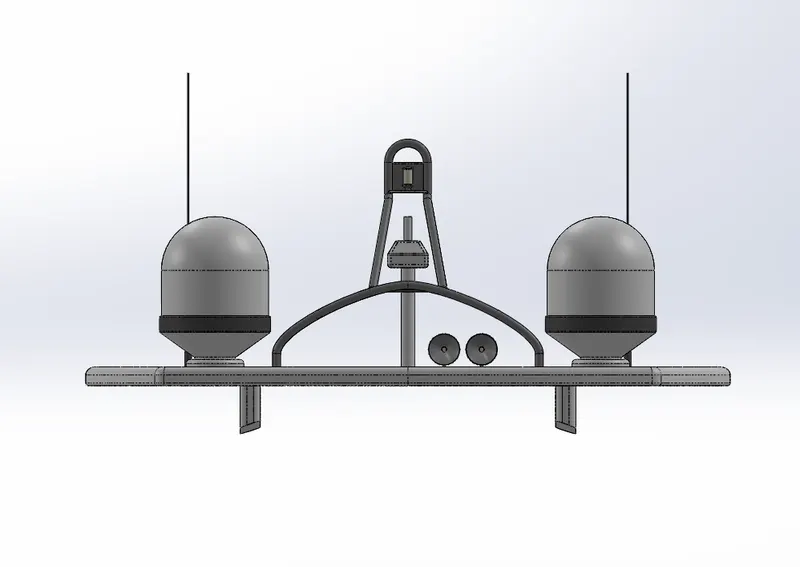
| 10. Modelling Sunseeker Predator Yacht -RadarMast |
 |
| 11. Modelling Sunseeker Predator Yacht - Final Assembly | 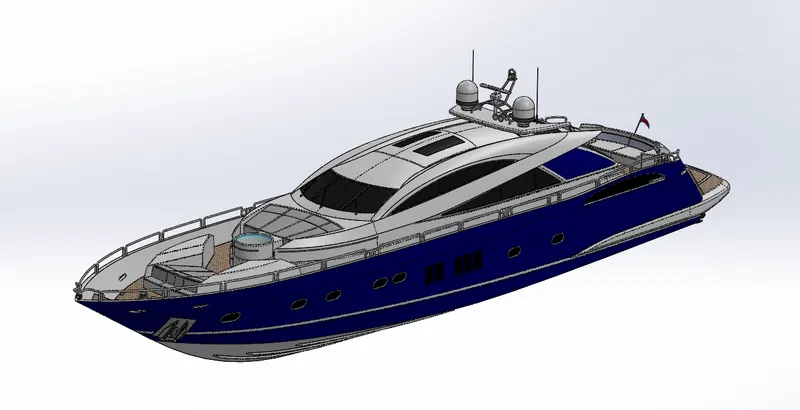 |
5. Description
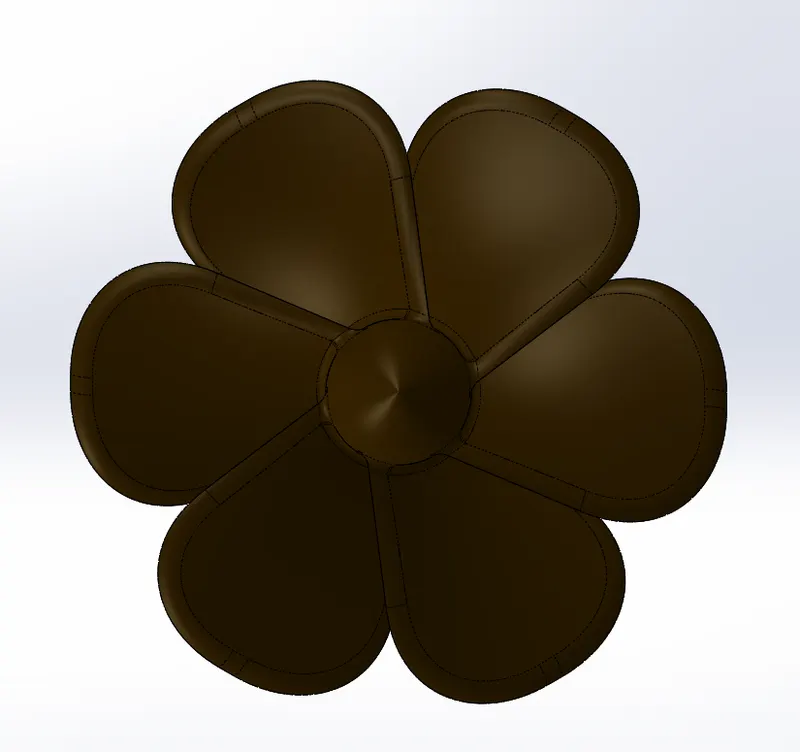
- Propellor
- Sketched base on centre diagram of the propeller and extruded it as per the dimensions.
- By using different planes completed other parts of the propeller.
- Used circular pattern for making multiple wings in propeller.
Features used to create Propeller
- Sketch
- Fillet
- Extrude boss/base
- Revolve
- Loft
- Circular pattern
- Appereance
- Radar
- As like before made base diagram of the radar with given dimensions.
- Using some features options built the radar.
- Used text command for creating texts on the model.
Features used to create Radar
- Sketch
- Extrude boss/base
- Fillet
- Text
- Appearence
- Hull
- Started the sketch with the help of Blueprint Setup.
- Traced the sketch with the help of Blueprint.
- Different types of sketch tools & planes are used to create sketches.
- By using Different Features & Surfaces to complete the hull.
- Finally added some decals on hull for outer look.
Features used to create Hull
- Sketch
- Plane
- Extrude boss
- Extrude Surface
- Surface loft
- Trim
- Surface trim
- Sweep
- Split
- Cut extrude
- Fill
- Fillet
- Dynamic mirror
- Appearence
- Garage Door
- Selected a proper plane to start the sketch.
- Started to sketch as per the given dimensions.
- Used few features to create the garage door.
Features used to create Garage Door
- Sketch
- Extrude boss/base
- Extrude cut
- Fillet
- Text
- Appearence
- Front seat
- With the help of blueprints started sketching for Front seat.
- Mostly used surface options to build the Front seat of the yacht.
Features used to create Front seat
- Sketch
- Plane
- Extrude boss
- Extrude Surface
- Surface loft
- Surface trim
- Cut extrude
- Fillet
- Dome
- Appearence
- Middle seat
- Top view of the blue print is used to place the Middle seat of the yacht.
- As like Front seat, Middle seat also created with the help of surface options.
Features used to create Middle seat
- Sketch
- Plane
- Extrude boss
- Cut extrude
- Fillet
- Appearence
- Rear seat
- Followed the same steps as follewed in Front seat & Middle seat.
- This gave more interesting factors to create models (eg: flag).
- Learned new methods for sketching & modelling.
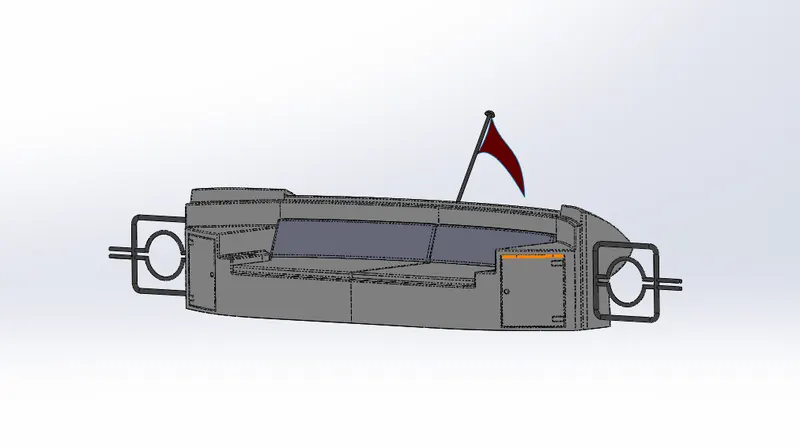
Features used to create Rear seat
- Sketch
- Plane
- Extrude boss
- Extrude Surface
- Surface loft
- Surface trim
- Cut extrude
- Fillet
- Appearence
- Super Structure
- Started the sketch with the help of Hull surface & Blueprint.
- Traced few areas for reference from Blue print.
- Sketched all Sketches by using Different Sketch tools & planes.
- Modelled whole structure by using different features & surfaces.
Features used to create Superstructure
- Sketch
- Plane
- Extrude boss
- Extrude Surface
- Surface loft
- Trim
- Surface trim
- Sweep
- Split
- Cut extrude
- Fill
- Fillet
- Dynamic mirror
- Appearence
- Radar mast
- Started the sketch with help of Super structure surface & Blueprint.
- Used various Sketch tools & Feature tools to create the radar mast.
Features used to create Superstructure
- Sketch
- Plane
- Extrude boss
- Cut extrude
- Fillet
- Revolve
- Dynamic mirror
- Appearence
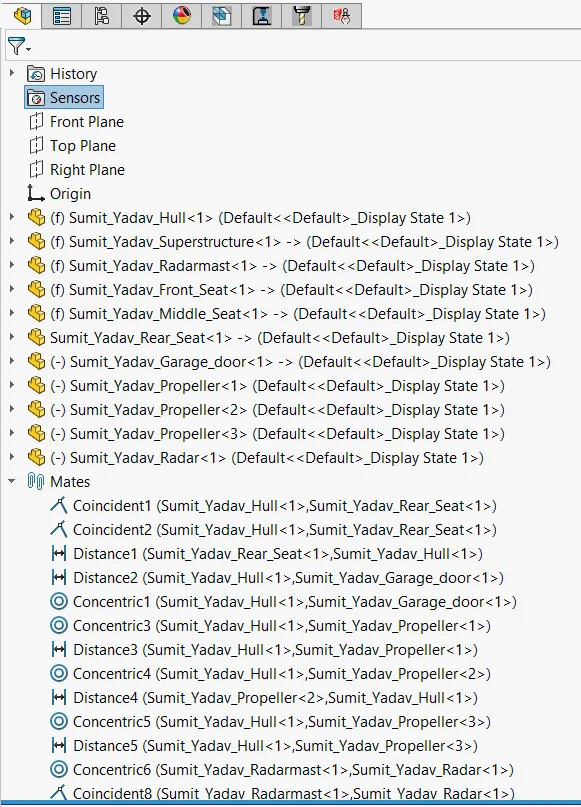
6. Assembly of the Yacht
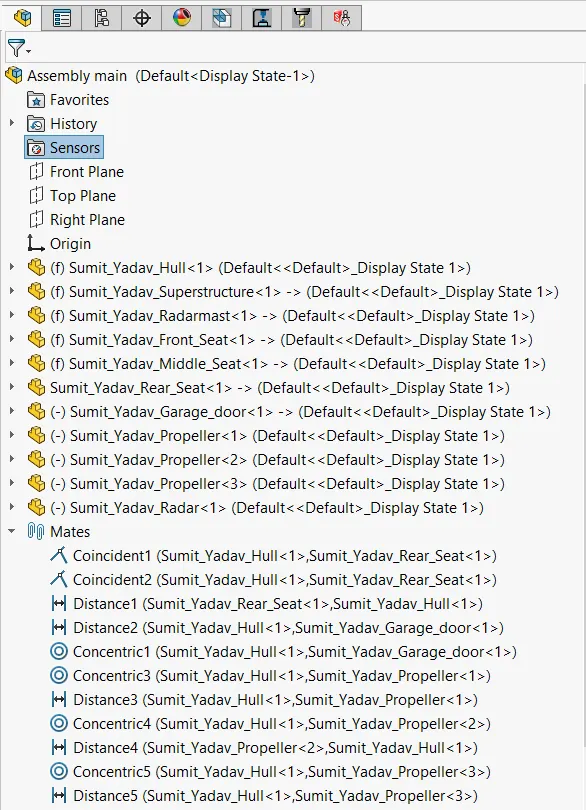
- After Designing all the parts, started assembling them one by one.
- Gave suitable relations by using mate options in assembly.
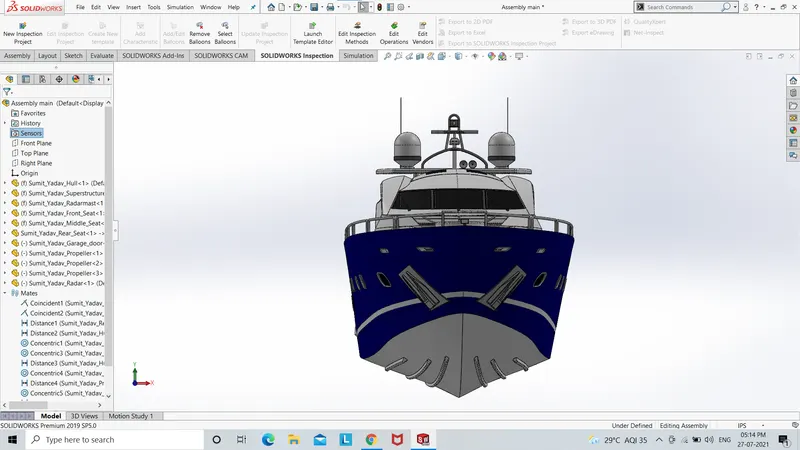
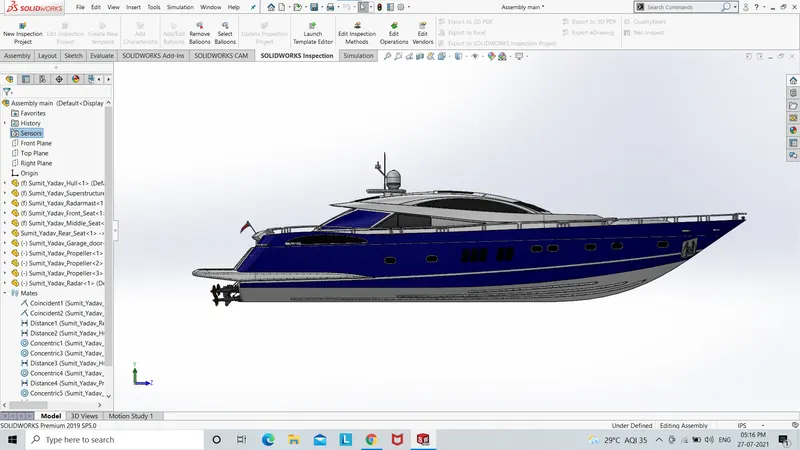
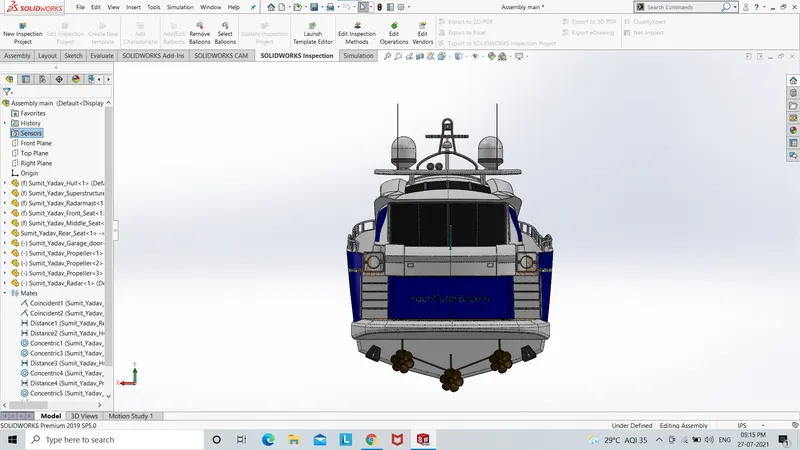
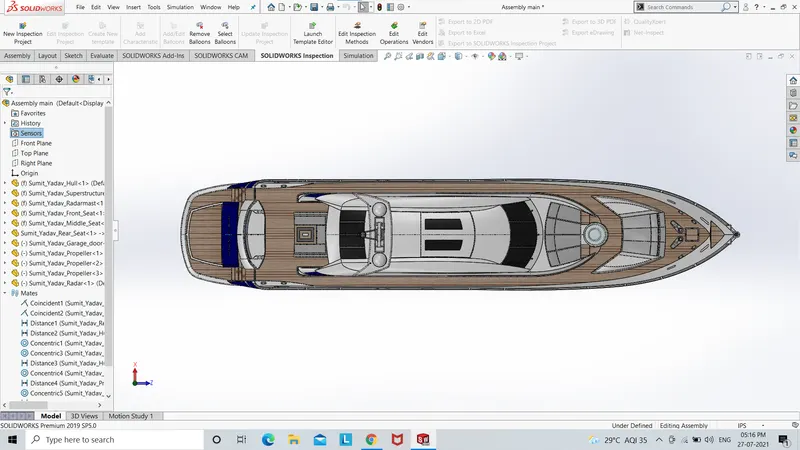
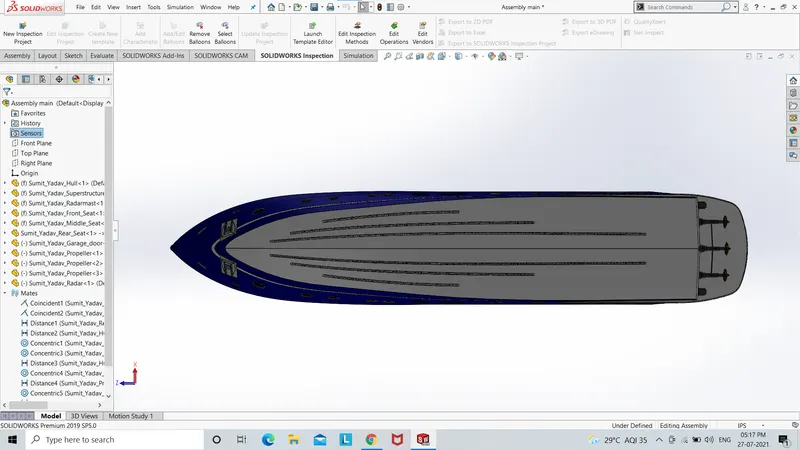
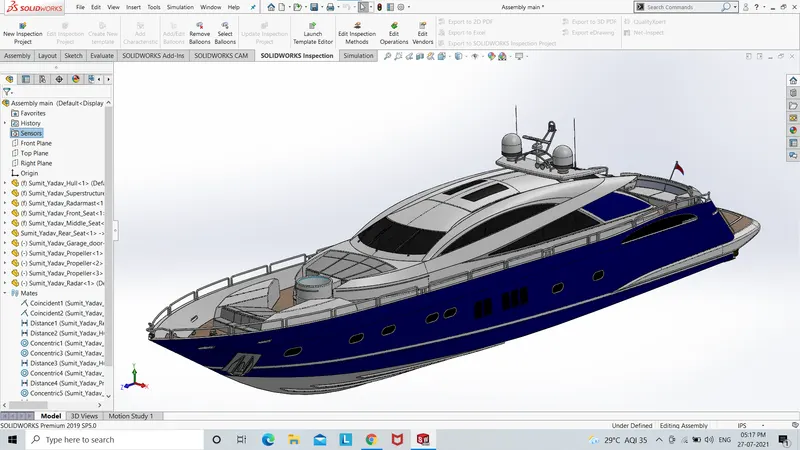
- Sumit_Yadav_Assembly_Of_Yacht_Feature_Tree
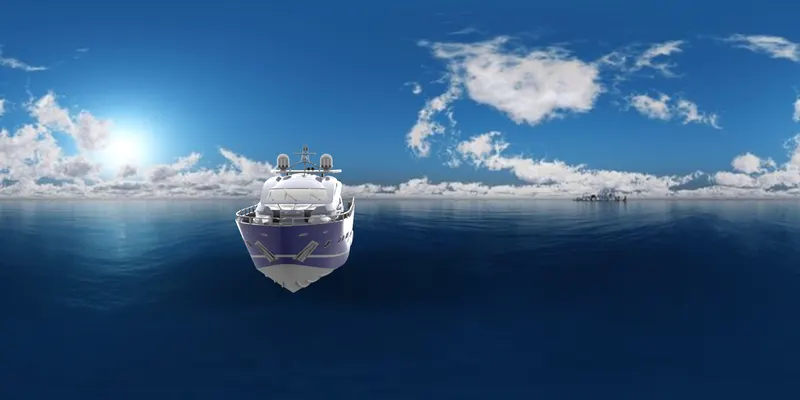
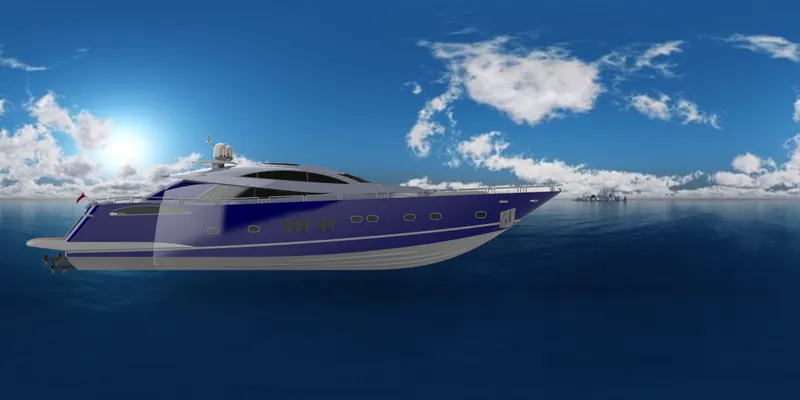
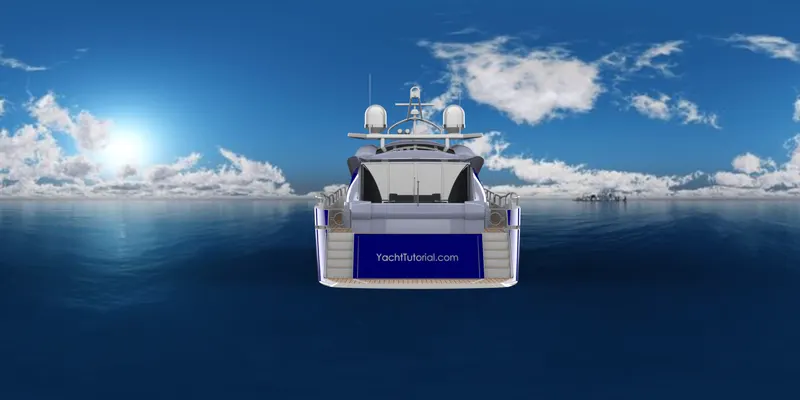
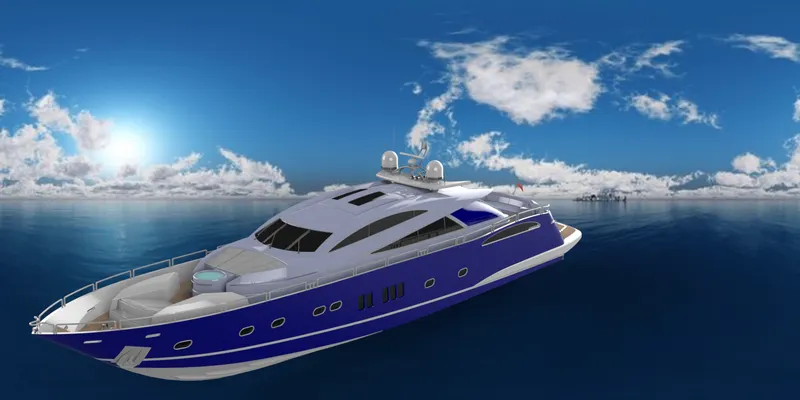
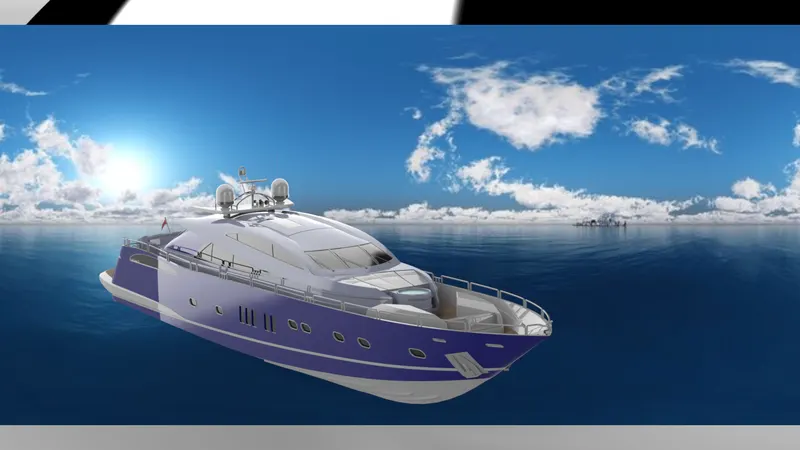
7. Rendering of the Yacht
- By using Solidworks Visualize I have rendered my Yacht.
- Downloaded Backplate from internet so that my model will get nice effect.
8. Conclusion
Working on this project was a wonderful tour to the resources available in the Solidworks software. This project enabled me to explore the variours designing options, methodologies and difference between varoius methods of solid and surface modelling. A good amount of exposure was made to the rendering part of modelling. Making projected curves was one of the interesting things that one can get hands on experience while working on this project. It enables the designer to get intended shape of a sweep path during modelling.