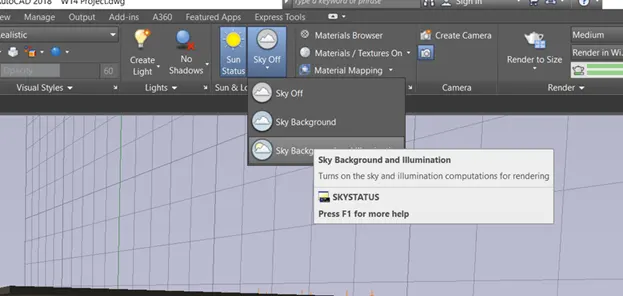
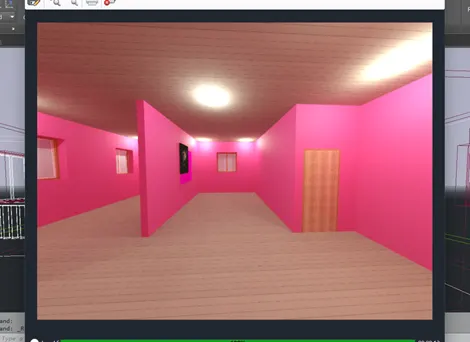
Project 2_Creating a 3D rendered model for a Residential Building in AutoCad
PROJECT 2
Aim- Creating a 3D rendered model for a 2 BHK Residential Building in AutoCad 3D.
Introduction- Viewing the 3D mode, we click the Home icon in the view cube. and using various commands, we create the desired residential plan in 2D.
Later, place them in the 3D view and use command EXTRUDE. We then place the 3D extruded structural components and place them accordingly.
Here, in the final project of AutoCAD, we have been asked to render the model drafted. Rendering is a visual reperesentation of the model provided by lighting and desired materials. For rendering, commands like "RMAT" is used for assigning materials to the desired component and command "RR" for rendering the model from respective view/camera.

Rendering requires camera view. command for setting up the camera is "CAMERA".
For actual representation of the lights, the model is provided with different types of lights using the following commands.
1. Pointlight- Bulb Effect
2. Spotlight- Torch effect.
3. Weblight- Chandelier effect.
4. Distant light- Sun effect.
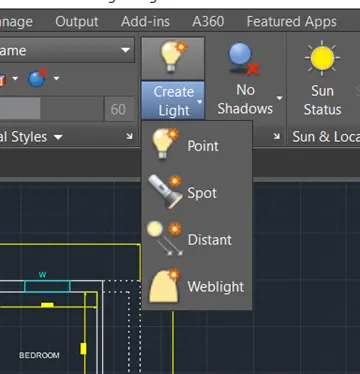
Procedure- Commands used-
- Line
- Rectangle
- Circle
- Offset
- Trim
- Move
- Copy
- Rotate
- Rotate 3D
- Box
- Cylinder
- Extrude
- Loft
- Subtract
- UCS
- Camera
- Pointlight
- Weblight
- RENDERING (RR)
- Rendering Marerials (RMAT)
- Material Mapping
etc.
Firstly, we draw the 2D plan and extrude them accordingly. To place the doors and windows, the command Subtract was used for developing the openinng and then placing the 3D window with frame.
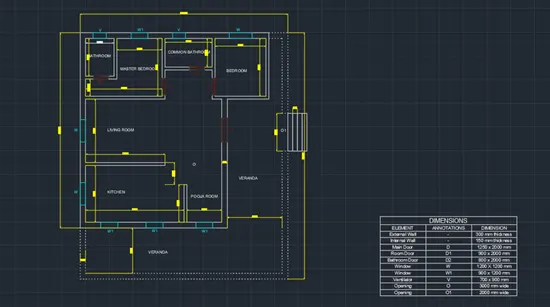
Once the 3D model is ready, we place the camera at required location. Here we have set 3 camera outside of the house for different angular view of the house, 1 camera in the verandah and 4 camera inside to diplay the area.Later, we place the lights. Here, pointlight and weblights are used in various corners of the house.
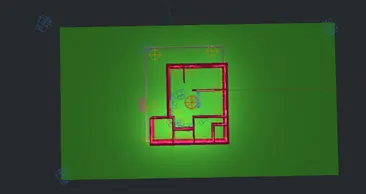
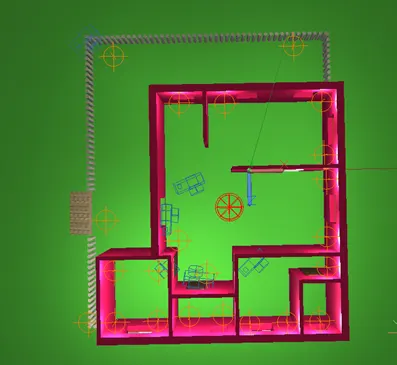
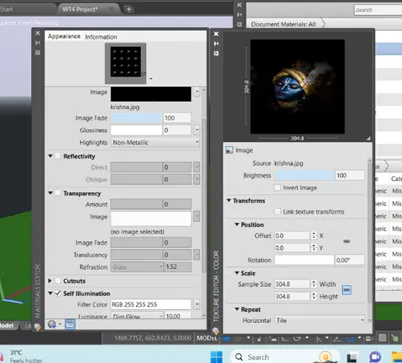
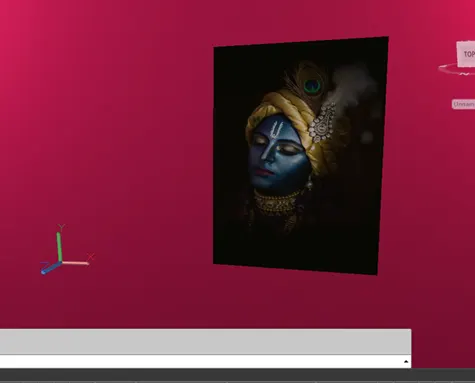
Before final rendering, the materials were assigned. Concrete type material to the slabs, wall paint type to the walls, wooden type to the window frame, door frame and doors, glass type to the window glass and the miscellaneous type to add the Lord Krishna and a lotus painting on the walls.
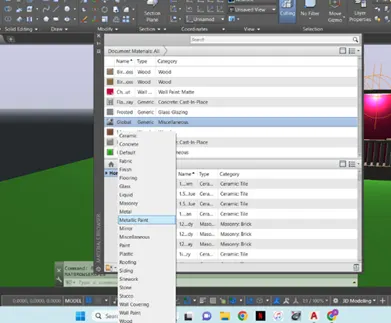
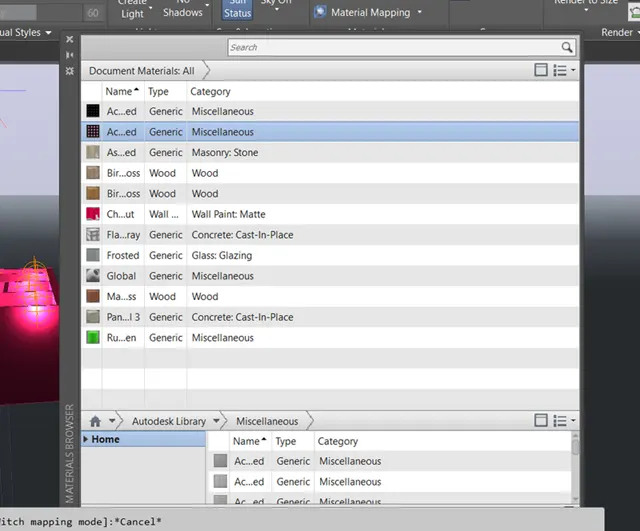
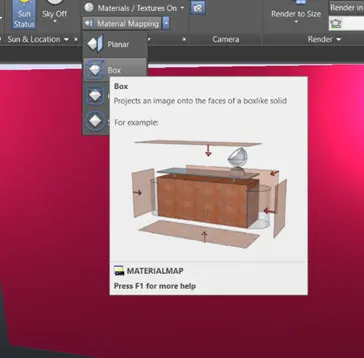
To edit the image for the wall paintings, we edit the material by double clicking it and adjusting the image on the desired box. to adjust the image as per the box, we use the command Material Mapping in the Visualise tab.
For rendering, the "RR" command is used and redering from different camera views can be performed.
Result- We have successfully created Rendered 3D Residential building in AutoCAD.
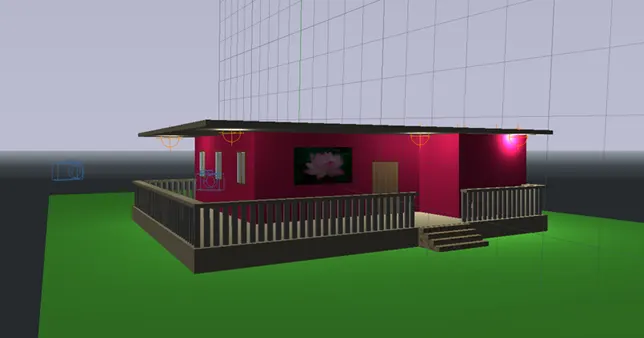
Cam 1 view
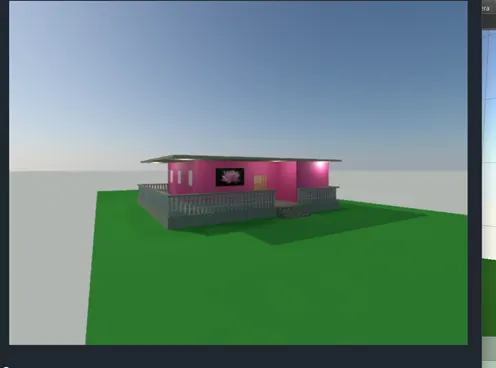
Cam 1 rendered view after adding Sunlight and illumination.