Project - 2 - Meshing on the suspension Assembly
AIM - Meshing on the suspension assembly
proedure - In this assembly system we perform two type of meshing that ive learnt in this course
a. 2-D surface meshing b.volume meshing
1.After downloading the downloading the component i first started meshing the tyre and the rim
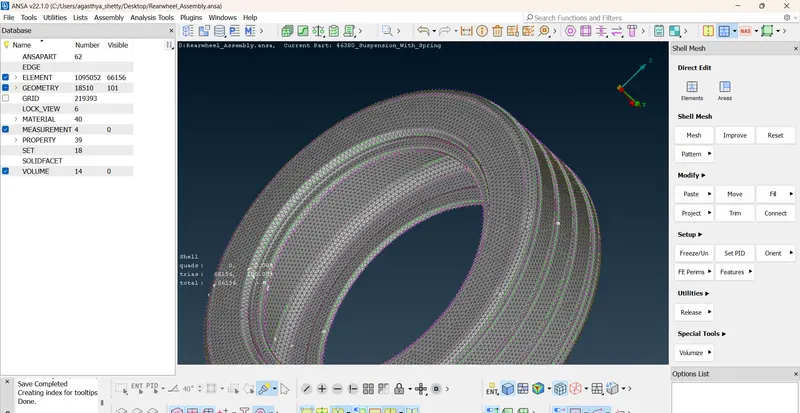
1 a.i started with the tyre performed the geo check and completing and reifying the error i started
with the mesh targth length - 6.5 min length -5 max length - 10 the mesh type is a tria mesh
----after surface mesh i started with the volume mesh i defined the volume and continued with the tetra
mesh later then i achived a proper mesh and completed the model
b.i started with the rim performed the geo check and completing and reifying the error i started
with the mesh targth length - 6.5 min length -5 max length - 10 the mesh type is a tria mesh
after the surface mesh i started with the volume mesh i defined the volume and continued with the tetra
mesh later then i achived a proper mesh and completed the model
2.later n i worked on the suspension asembly cpmponent i did a 2d midsurface in one of the component with varying
thickness using offset method
.I then did the faces extend and later went on with the meshing
3 most of the suspension assembly was later completed with volume mesh and i performed a tetra rapid to complete the
volume mesh
4 i later did get a component with the same thikness and performed a 2d offset method and later did a surface meshing
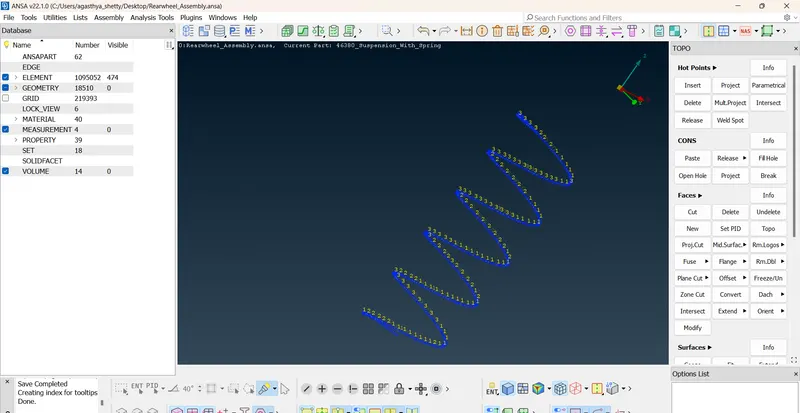
5. Later on i cheaked up on the article on how to model a suspension spring and completed the component
conclusion - all the meshing was under following the quality
Most of the meshing was done using 2d surface mesh and 3-d volume mesh
this project has helped me understand all the mesh generation available in ansa and has helped me understand
them in a better manner in this project