Project-2-Meshing of Door Inner Panel Challenge
Project-2-Meshing of Door Inner Panel Challenge
Aim-Meshing of Door inner Panel
Google drive Link- https://drive.google.com/file/d/1ay0GBTFVnw19gXqWruG-OMrNE4ny6xnG/view?usp=drive_link
Note – Was not able to upload the file as file size is more than 20 MB hence uploaded the google drive link. Please take the model form the google drive link.
Step 1 - Imported the file.
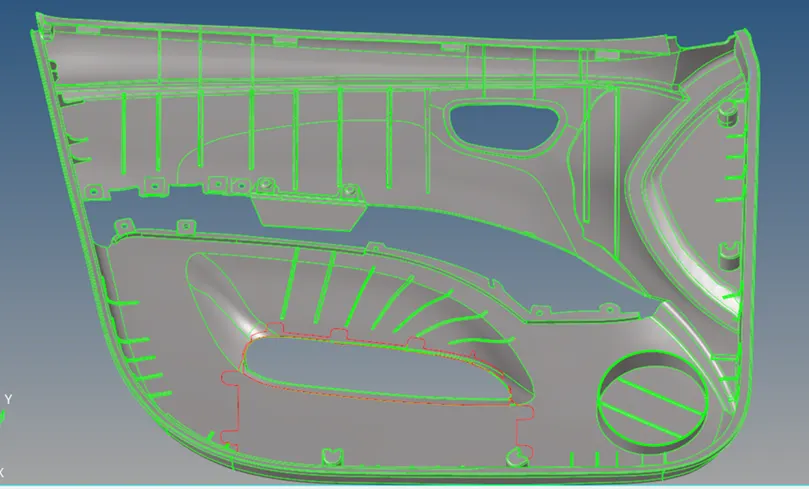
Fig 1- imported file
Step 2 – searching for any missing surface and filling the missing surface from Quick edit (F11).
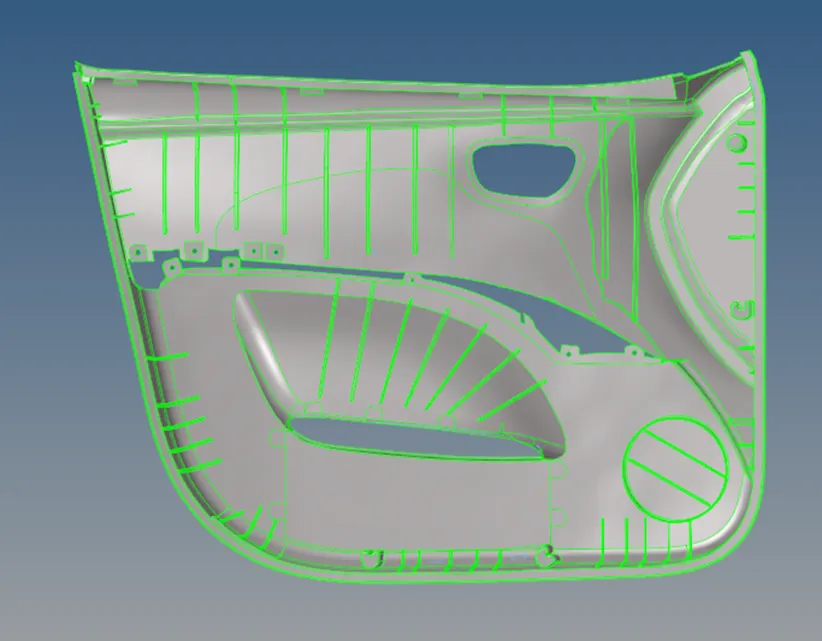
Fig 2 - Geometry cleanup of the component(after filling missing surface)
Step 3- Extracting the mid surface of component. From Geometry -mid surface for this model we used offset +mid surface+ sweep
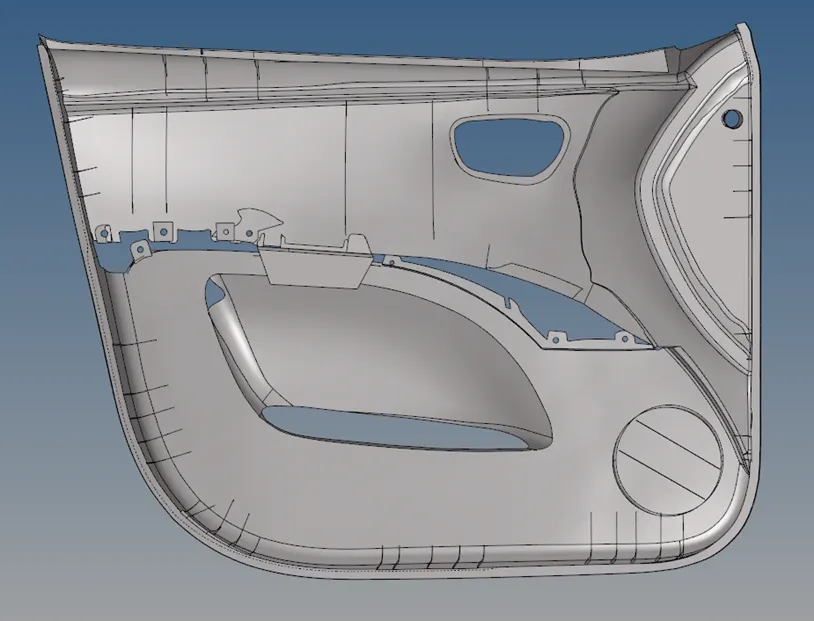
Fig 3 – Mid surface
Step 4- Added the missing mid surface of the feature that was not able to be extracted.
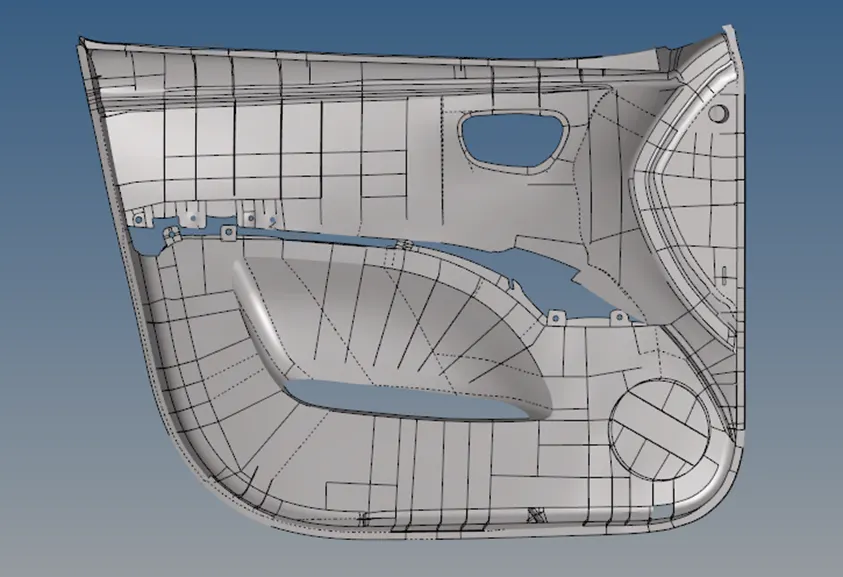
Fig 4 – mid surface of extra features
Step 5 -Suppressing the extra and unwanted lines.
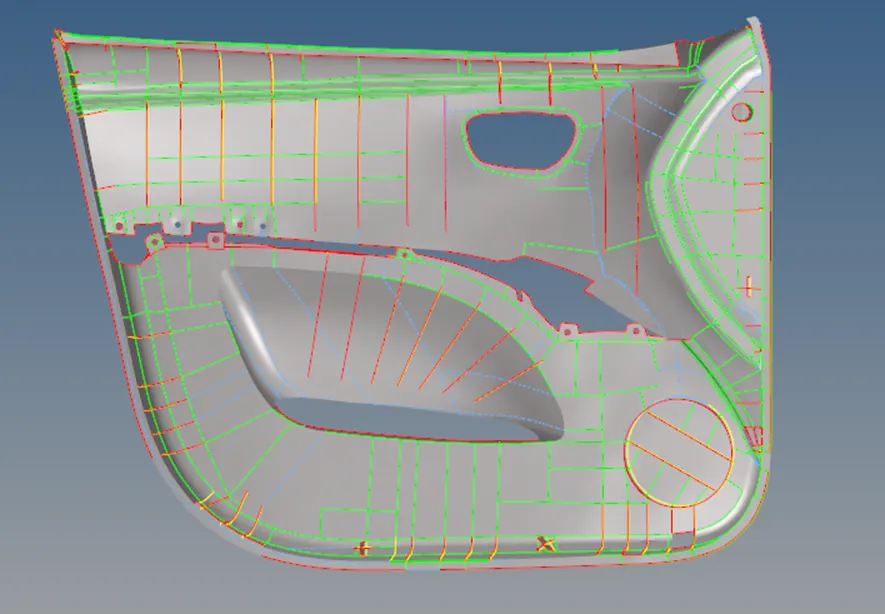
Fig 5- surface are modification
Step 6- Setting the mesh quality criteria from tools-check elements(f10) as per the requirement.
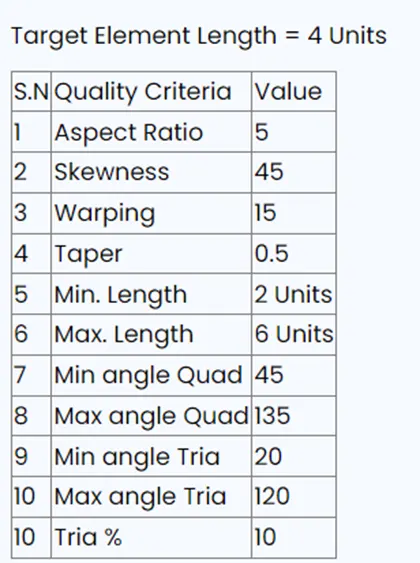
Fig 6- Quality Criteria
Step 7- meshing the surface from 2d- auto mesh (f12) setting mesh size as 4 units.
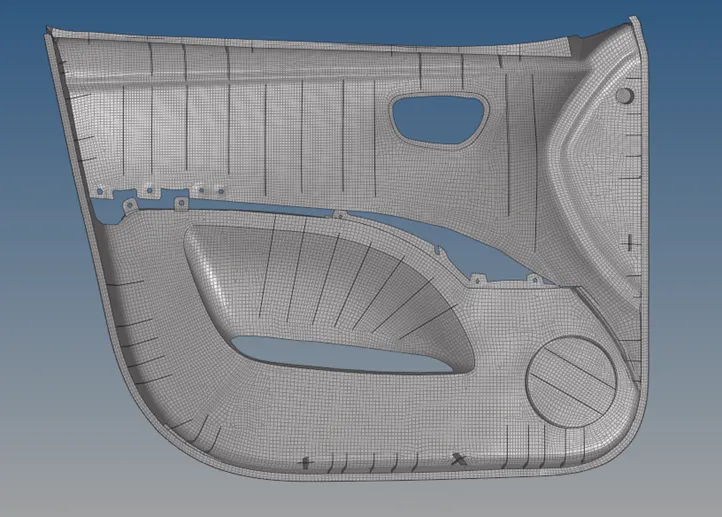
Fig 7 -component after meshing
Step 8 – solving the failed elements from tools- check elements(F10)
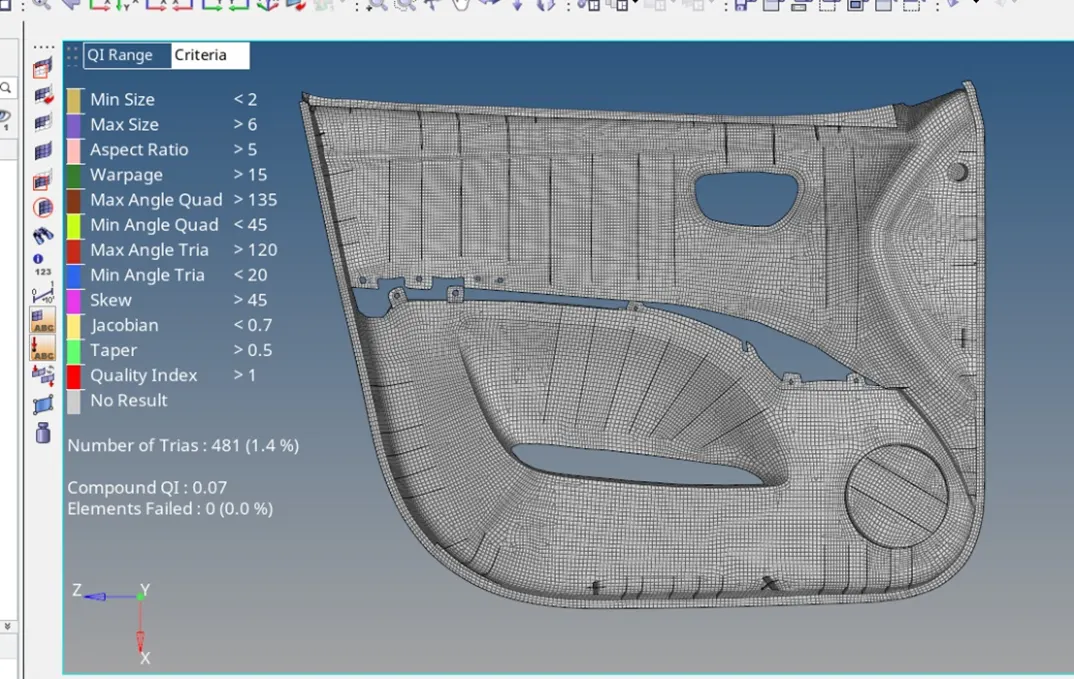
Fig 8 -Component after solving for failed elements
Step 9 -Assigning Finding the thickness at different location using Shit+F4 command and creating the property for each thickness found and assigned them at the respective location.
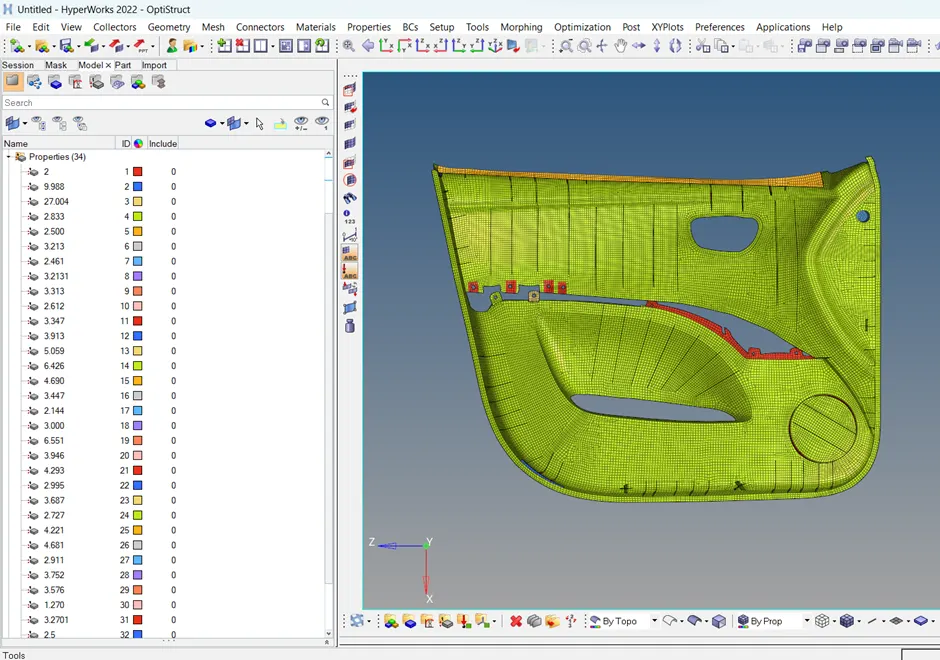
Fig 9 – different properties created
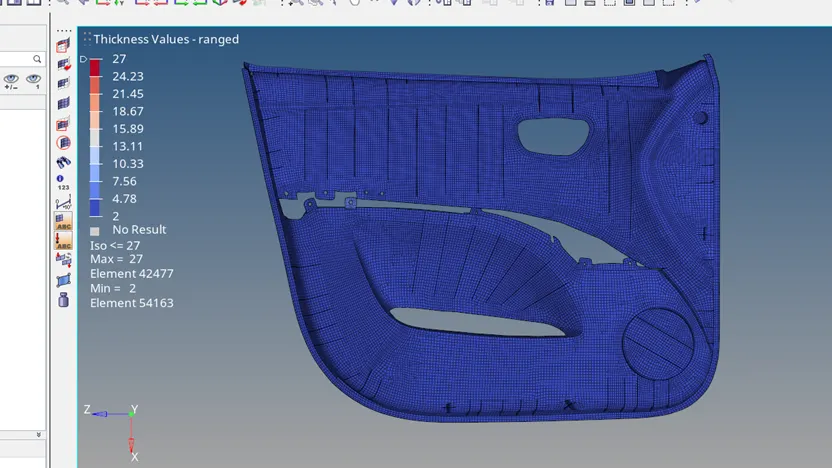
Fig 10- Thickness of the component
Step 10- checking for crack. Tools-edge (Shift+f3) and solving for cracks if found using Replace (F3) option.
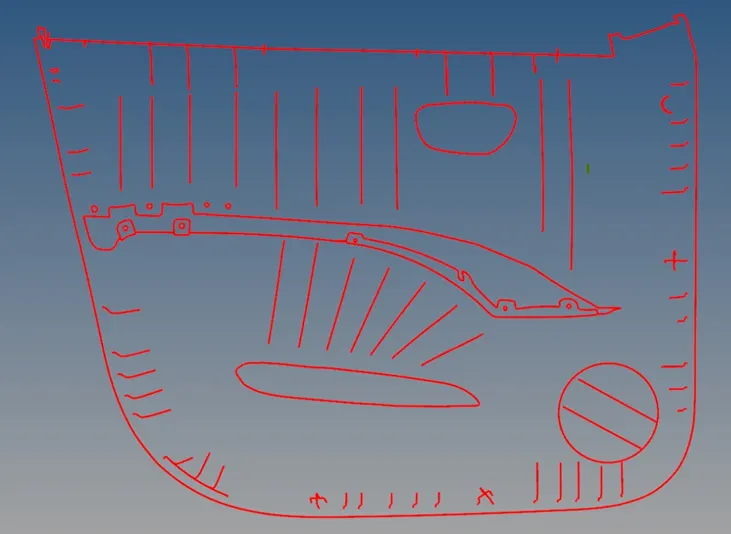
Fig 11- edges
Step 11- checking for normal from Shift +F10 and picking adjust option for any disruptions
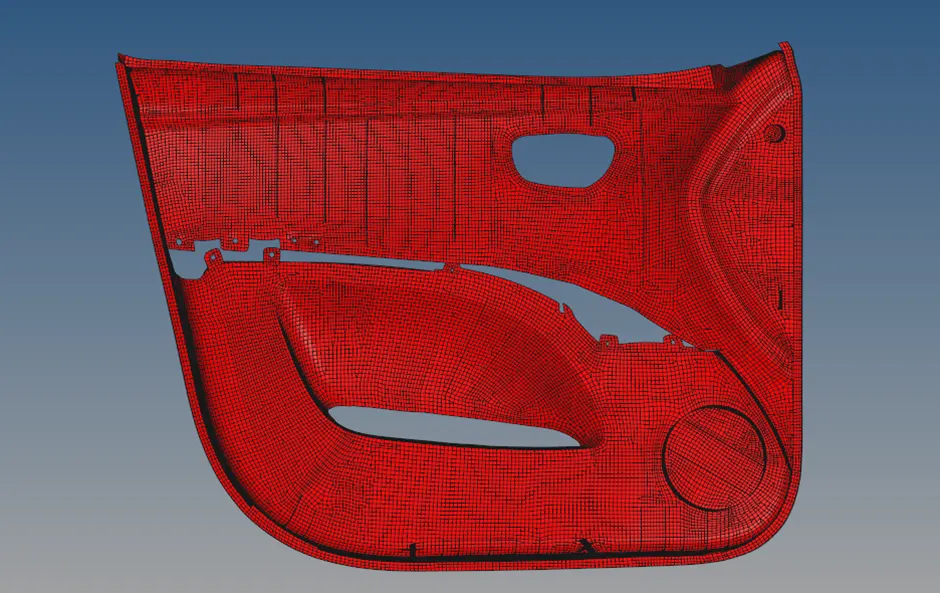
Fig 12- normals
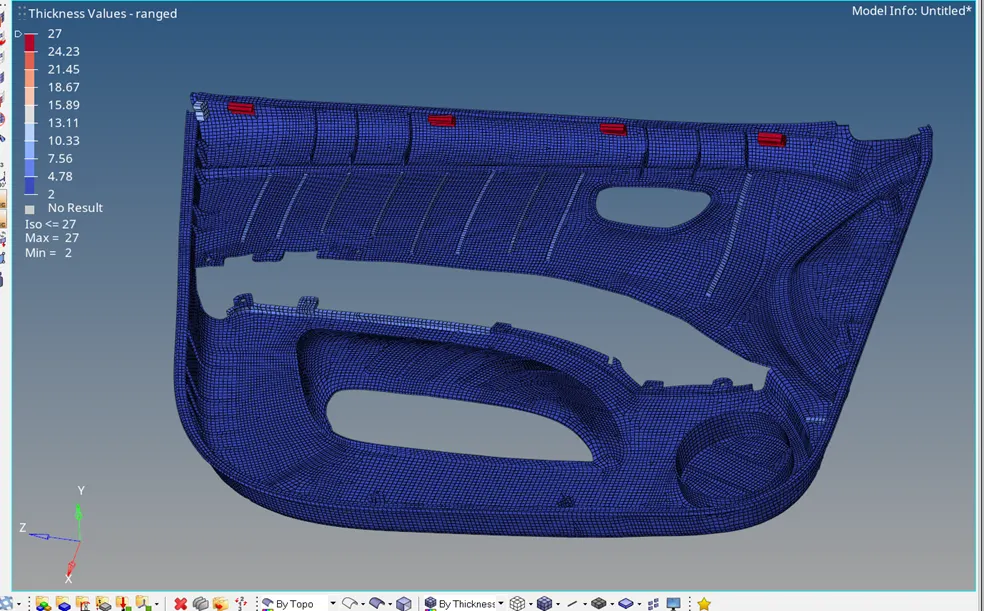
Fig 14 – Final component.
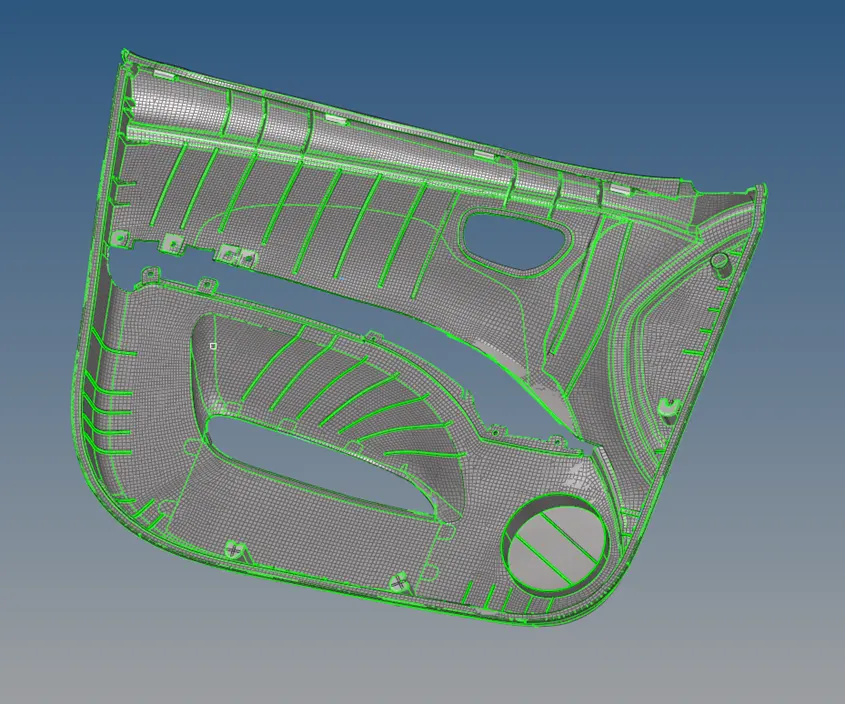
Fig 15 - Component after thickness assignment adn soldis
Conclusion
From this project we learned and explored the different 2D meshing options like auto mesh, ruled meshing, spline.
- Learned more about the auto mid surface feature and its different options.
- We learned about the different options related to surface edit like Extend, offset, Intersect.
- We learned about the thickness assignment to the component.
- We also learned about the different constraints of software.