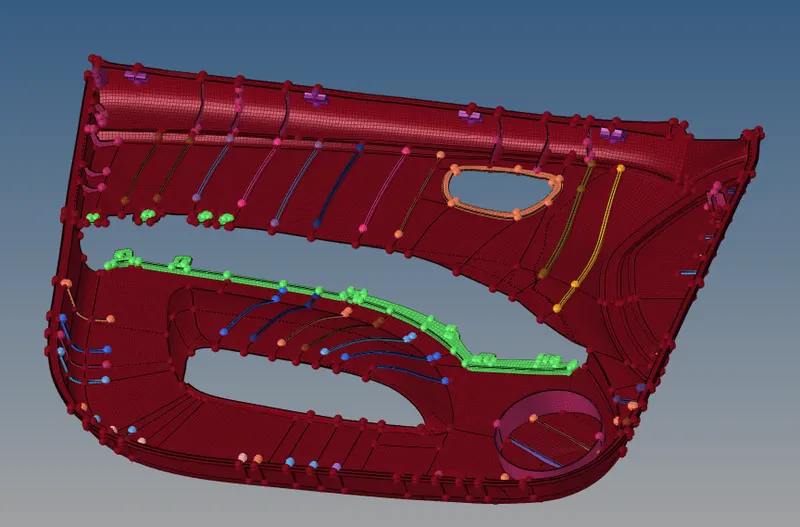
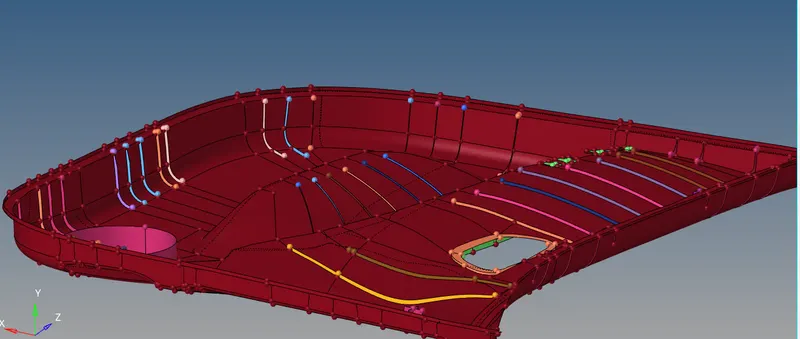
Project-2-Meshing of Door Inner Panel Challenge
AIM : MESH the following given model by following the given quality criteria.
OBJECTIVE :
- Import the geometry file and clean up the geometrical errors.
- Extract the midsurface out from the following model.
- clean the midsurface geometrical errors and mesh the midsurface with given element size.
- cleanup the elements quality errors as per the provided quality criteria.
- create the properties and assign as per the thickness of the model components.
- check for the properties assigned correctly and save the model.
PROEDURE :
- first of all import the geometry file which is provided in for the challenge.
- to import the geometry, we have to go to the "import " option.
- in that we have to select the type of the file and browse the location of the file where it is located, then click import.
- as soon we got the geometry on the screen , we have to check for the geometrical errors in the model.
- NOTE : as the provided model has complex geometry, we divided the whole model into small components which helps to work easily and more accurately.
- after cleaning up the geometrical errors , now we proceed for the midsurface extrcation of the following components.
- clean up the geometrical errors if any found in the midsurface before proceeding for the meshing the midsurface.
- in the below images you can see the followed procedure.
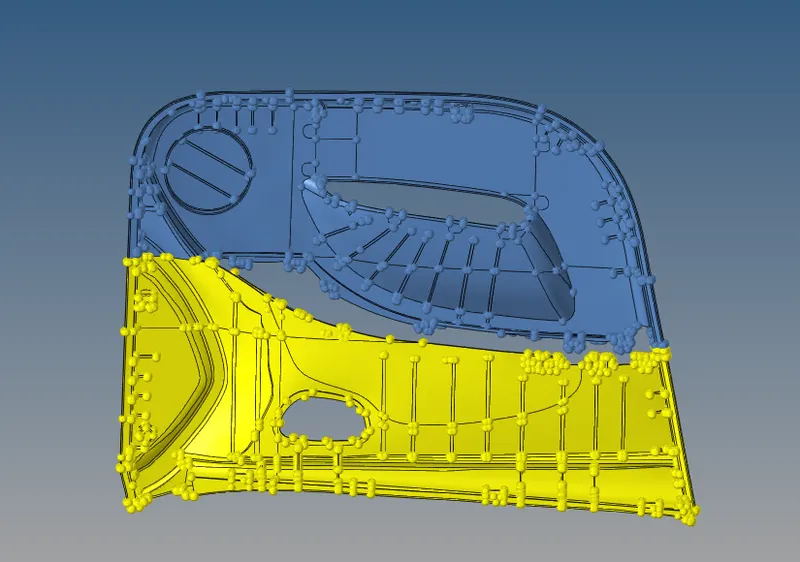
- after clean up the errors in the midsurface , now we are proceeding for the meshing.
- for that we have to go to "2d" then "automesh", here in the options we provide the following "target element size" of the element which is provided as given data to us and select the surface which we need to get meshed.
- as we know the geometry is complex and also we have to assign the thickness to the components, we first divide the midsurface as per the thickness of the parent geometry.
- now we mesh the components individually and clean the quality errors if any present in the meshed elements.
- check for the elements are attached with each other with the help of "edges" tool.
- in the below images you can see the following given data of quality criteria and the procedure we followed for meshing the components.
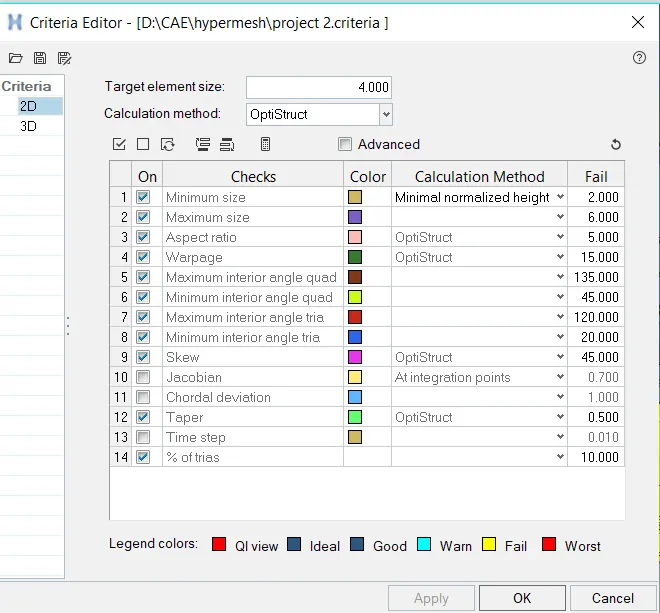
- after cleanup the meshed elements quality error, now we can proceed for the assigning thickness to the elements.
- for that, we have to create the properties individually for the different components which we are already created.
- as per the parent geometry thickness we have to provide the thikness to the properties we created.
- after creating the properties, we have to assign the property card to the components as per the required thickness to the midsurface to makeup with the parent geometry.
- in the below images you can see the created properties card.
- to see the properties are assigned correctly we have to change the view of material "by prop" .
- to see the thickness provided to the property clearly we have to change the view from " 2d traditional" to "2d detailed " representation.
- in the below images you can see the procedure.
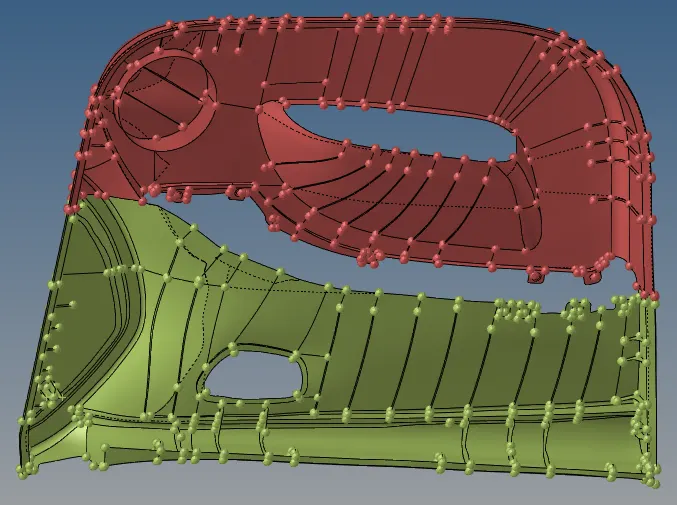
Final mid surface model:
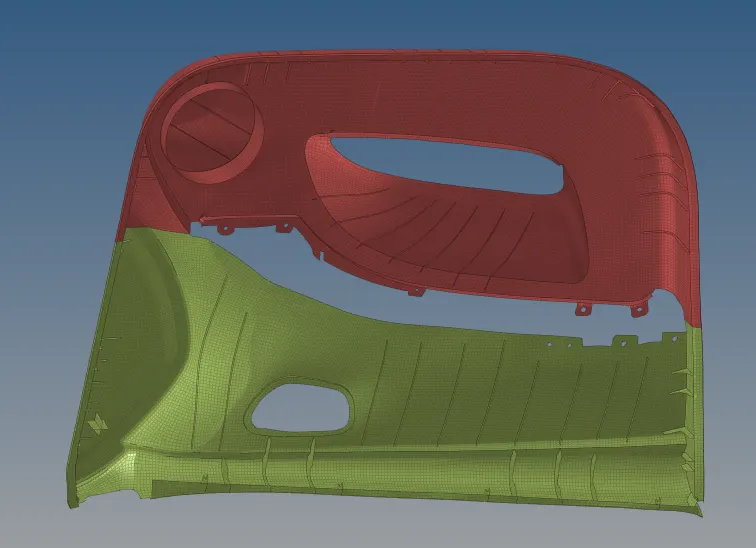
Final mesh model:
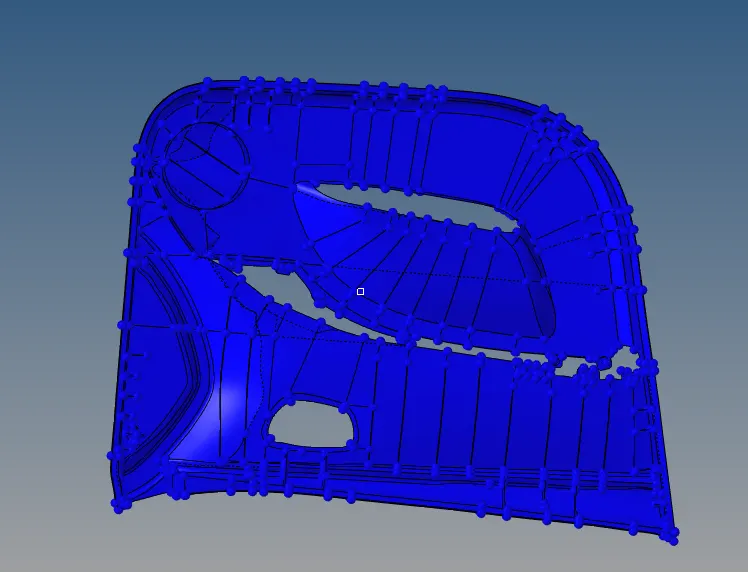
Final mid surface after connecting both component into one component:
Final mesh model of whole component:
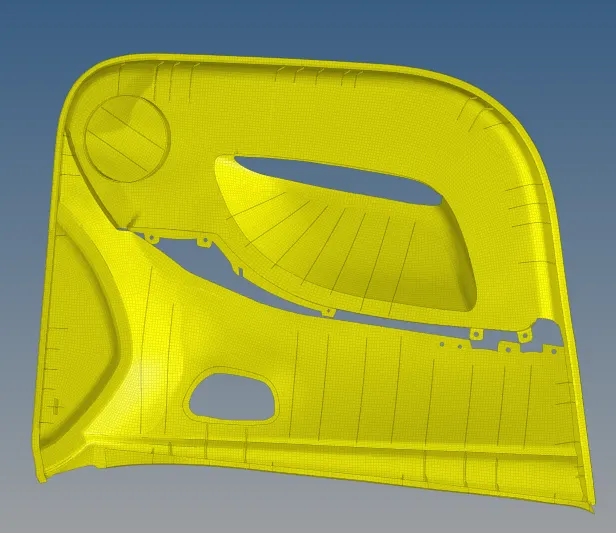
mesh model of whole component after assigning the thickness: