Project 2 - Development of TFT Cluster Speedometer Software Component
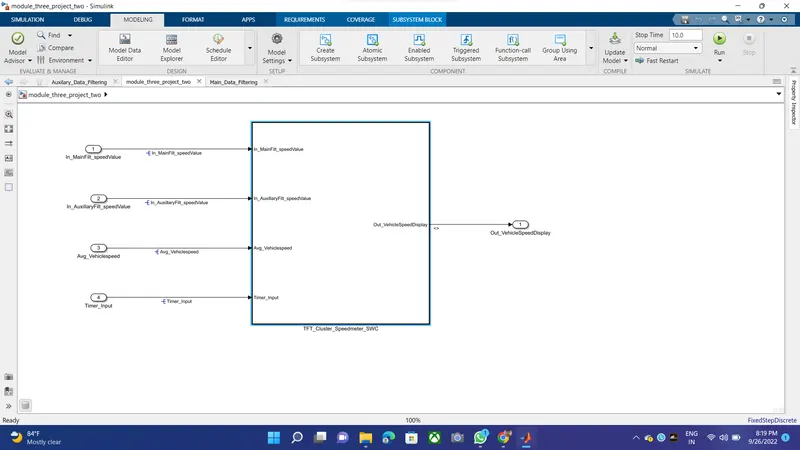
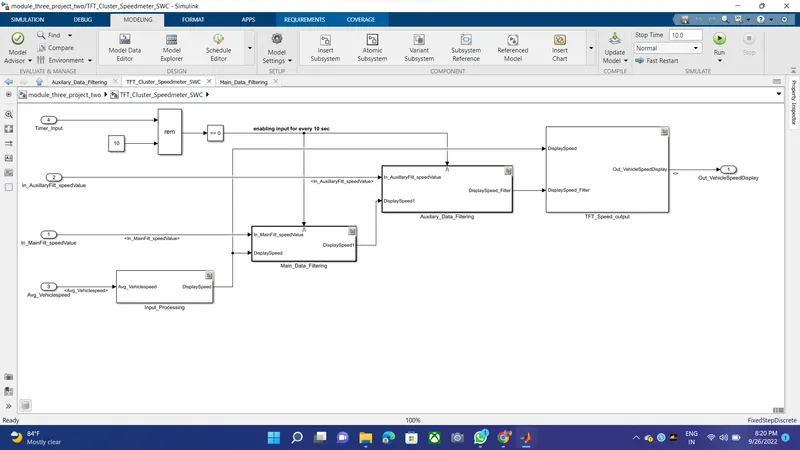
1.Simulink model
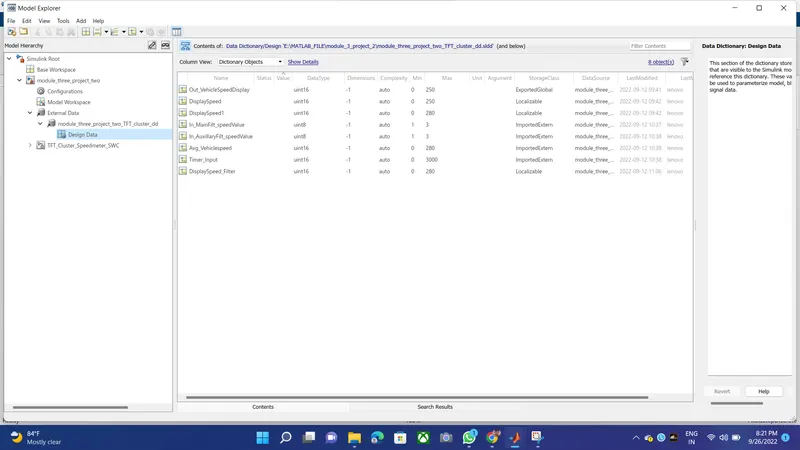
2.SLDD file
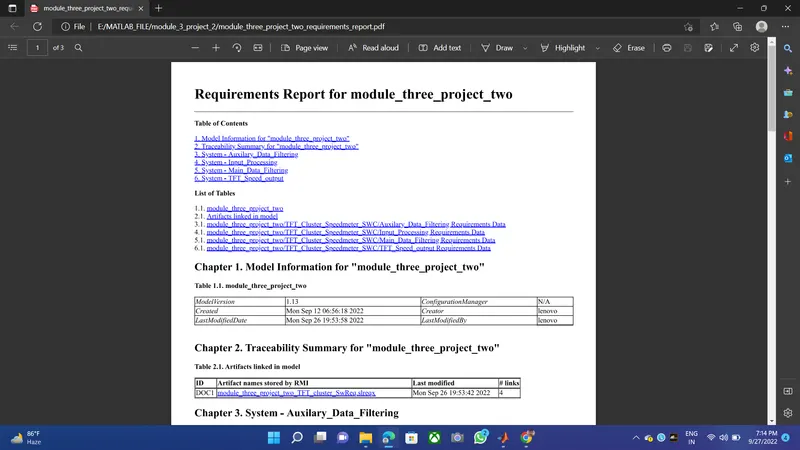
3.Requirement tagging report
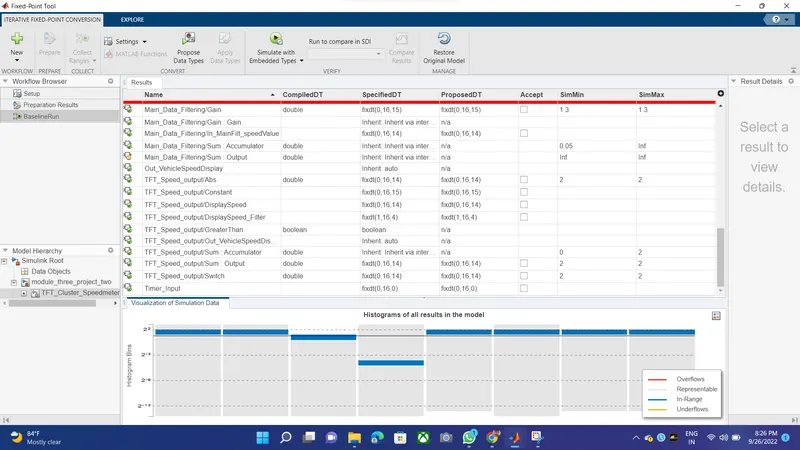
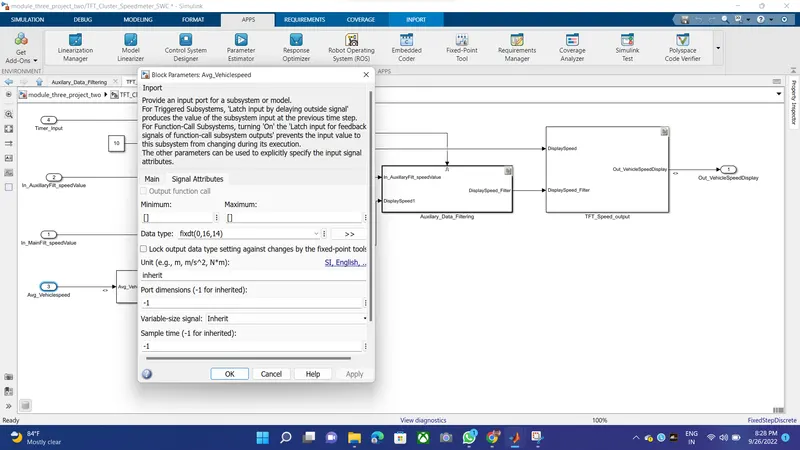
4. fixed-point toolbox
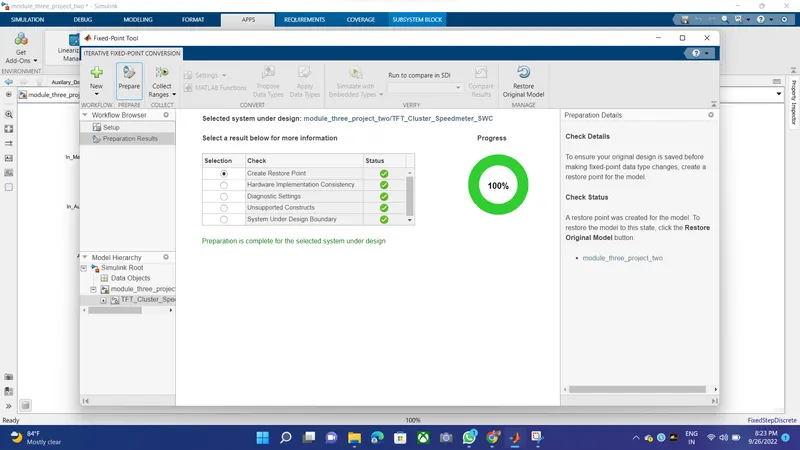
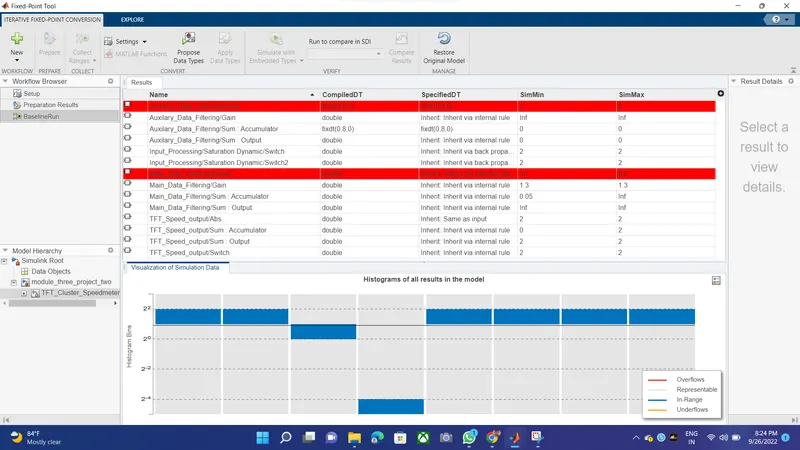
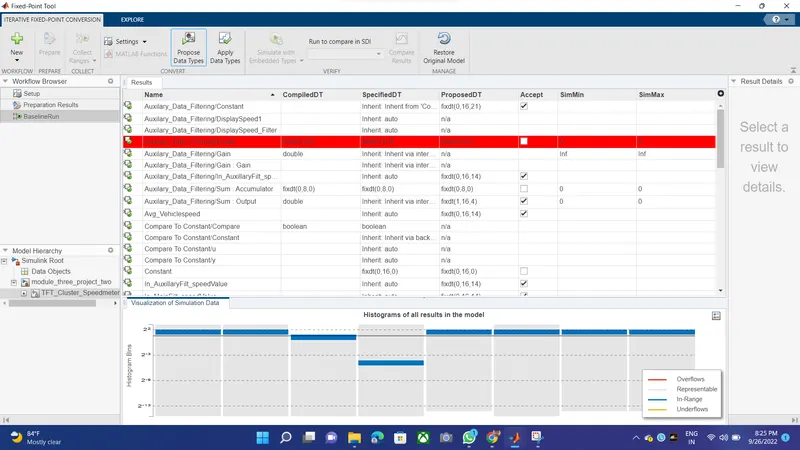
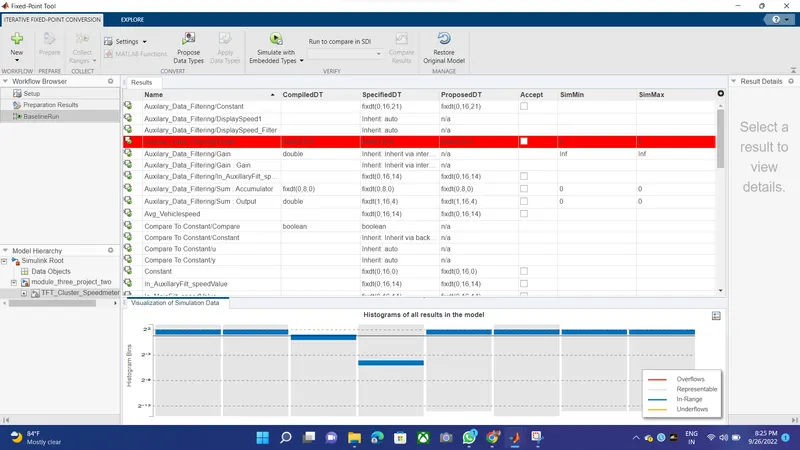
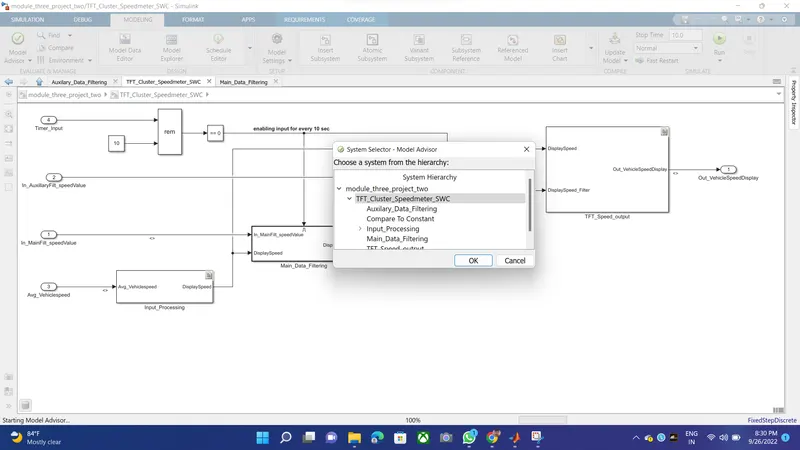
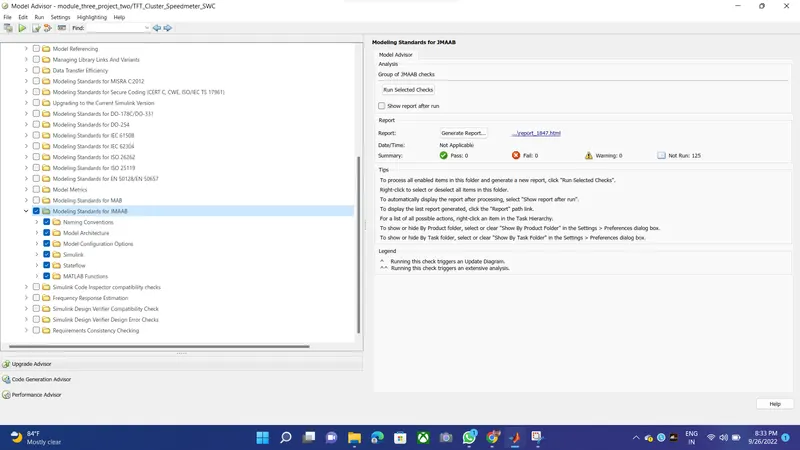
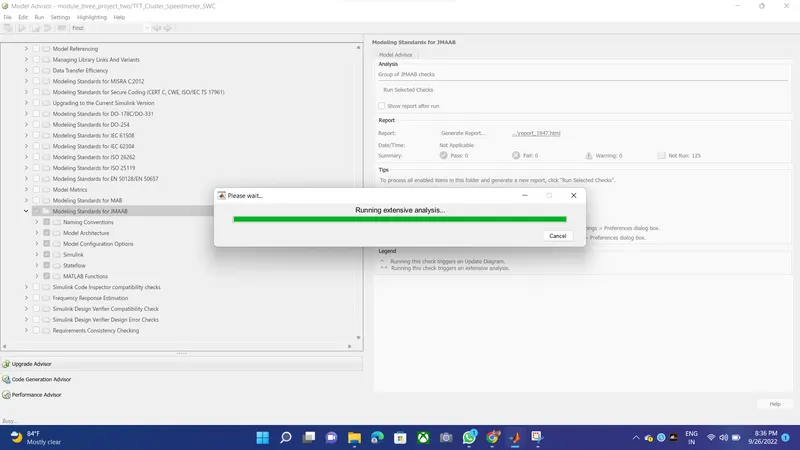
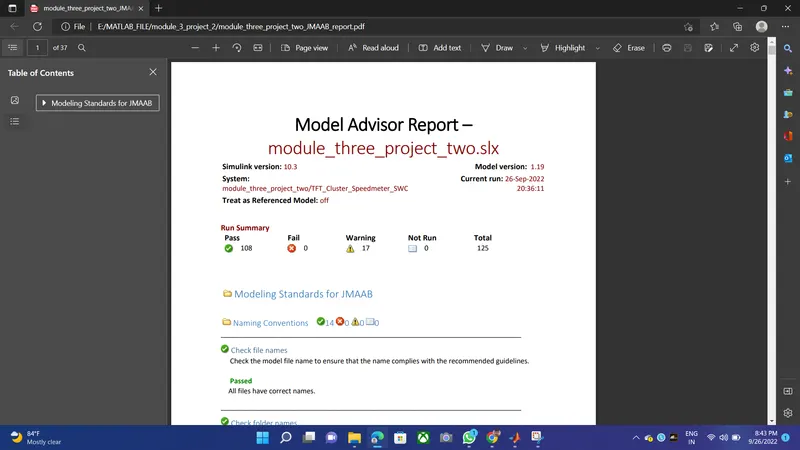
5.Model advisor - JMAAB compliance
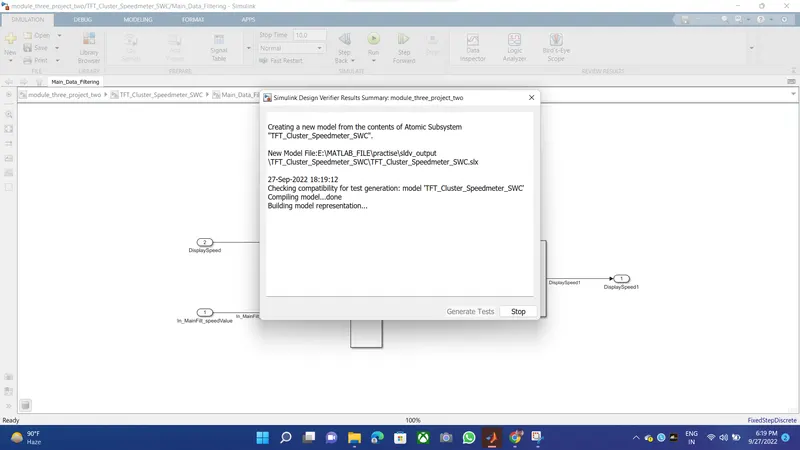
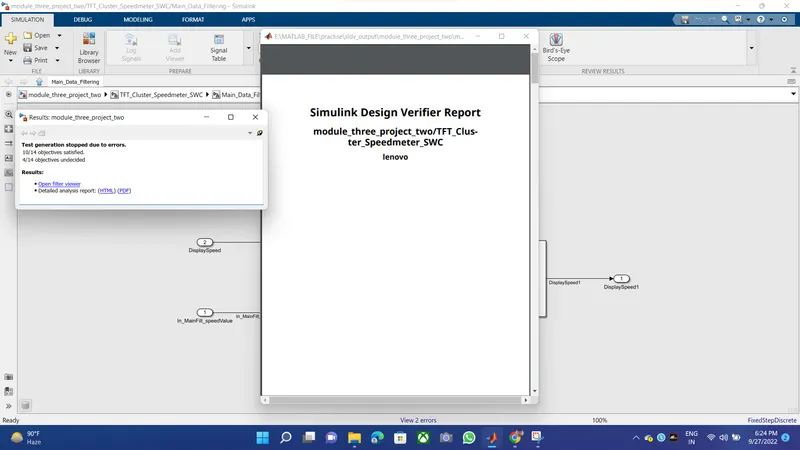
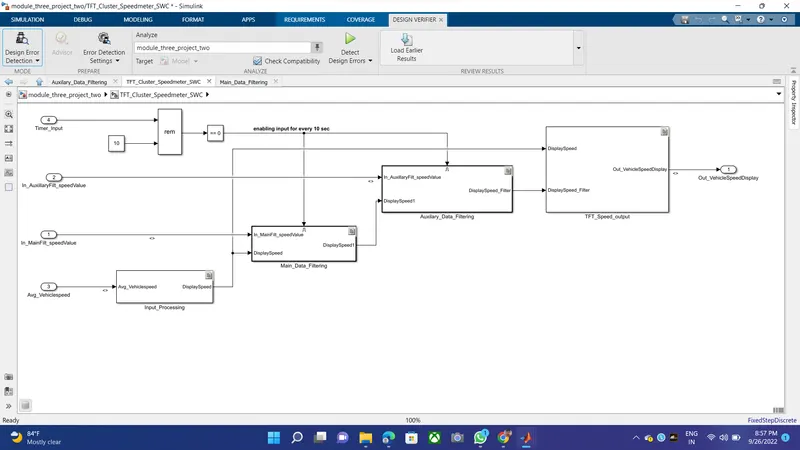
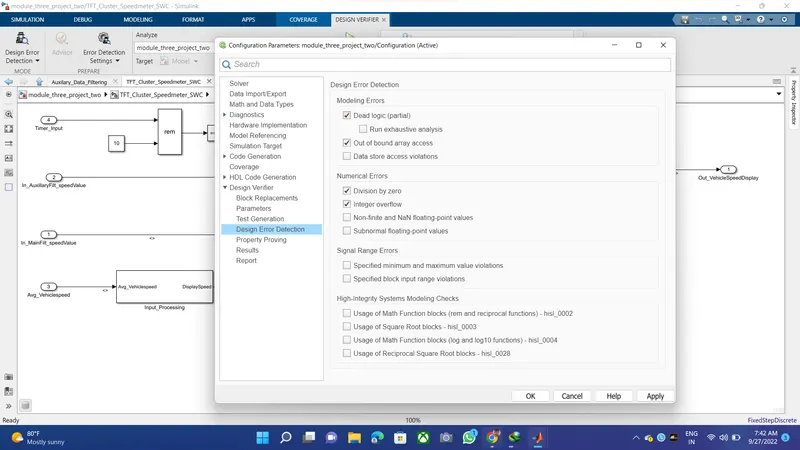
6.SLDV error detection
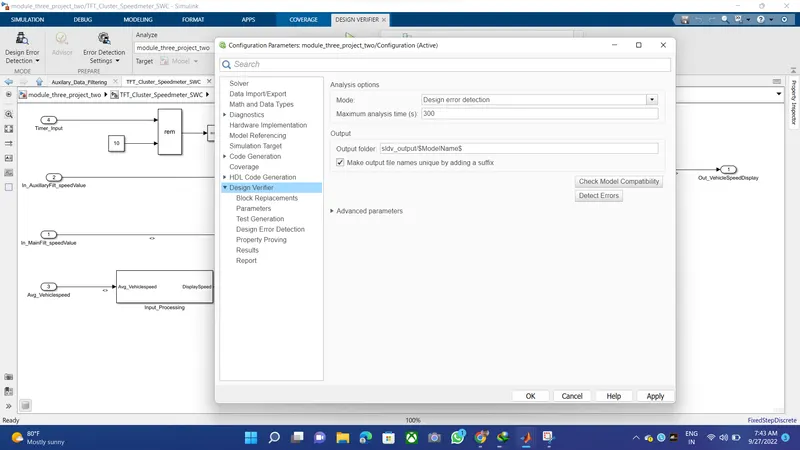
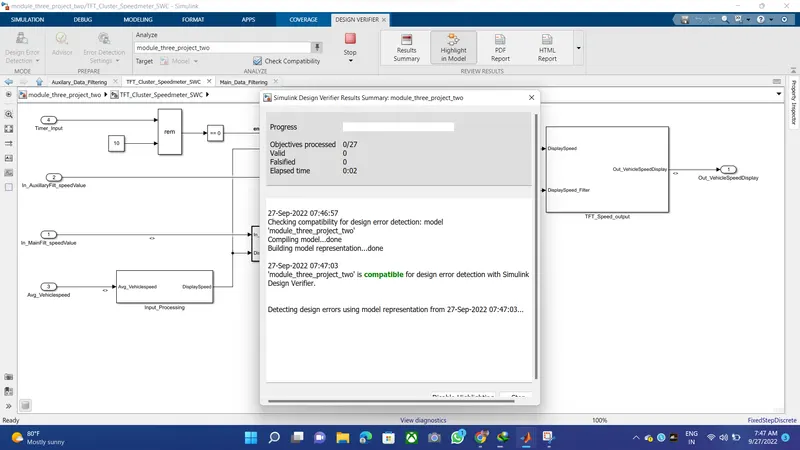
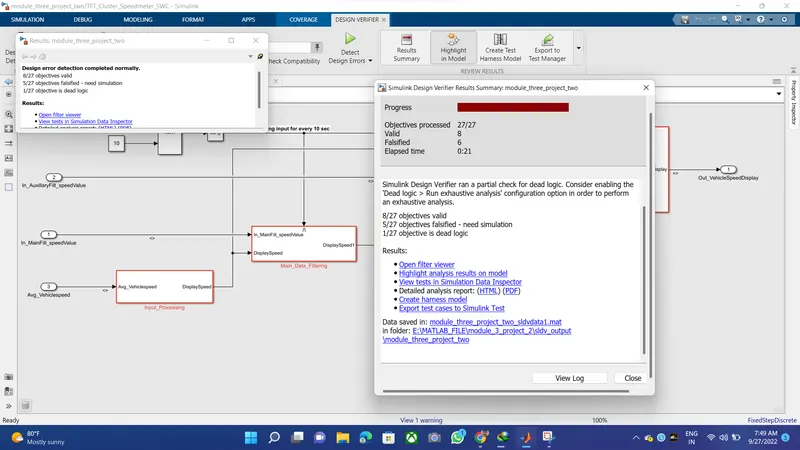
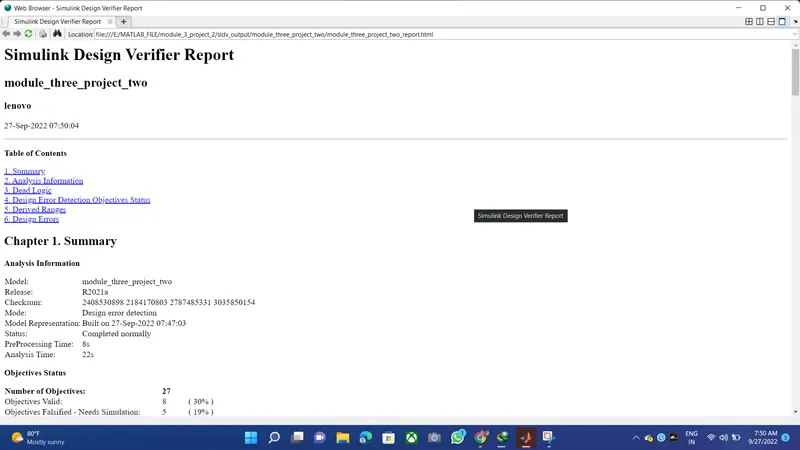
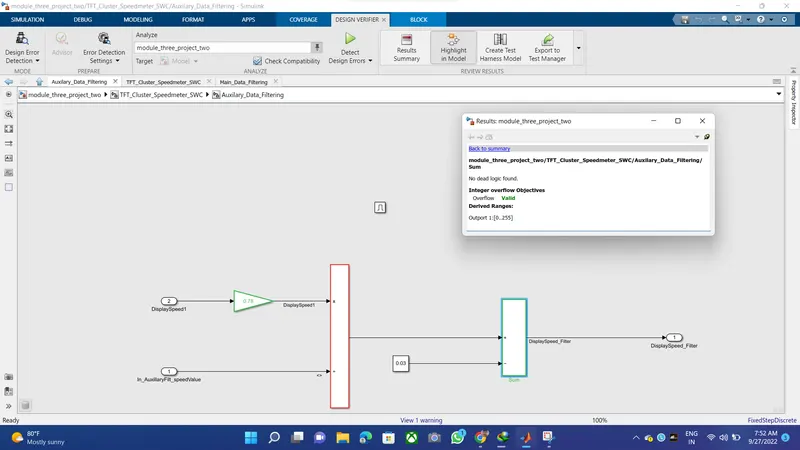
7 Functional test case, MIL, SIL harness, coverage Reports
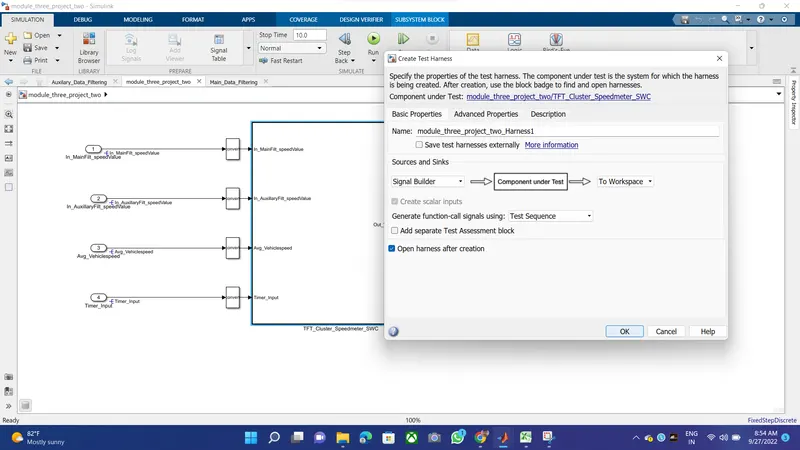
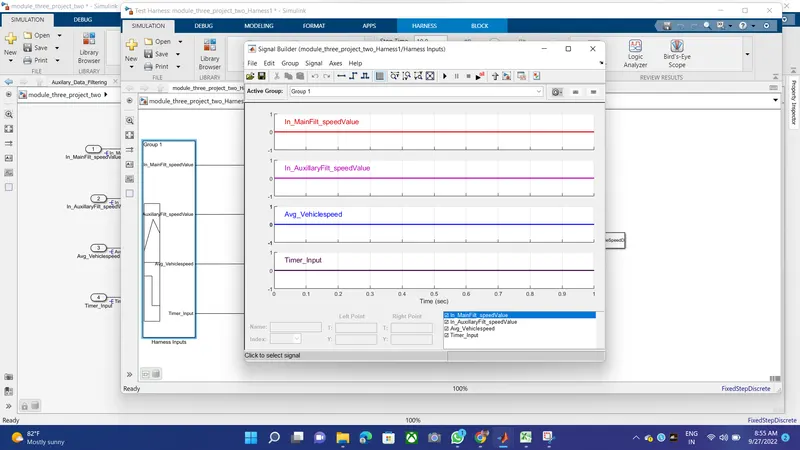
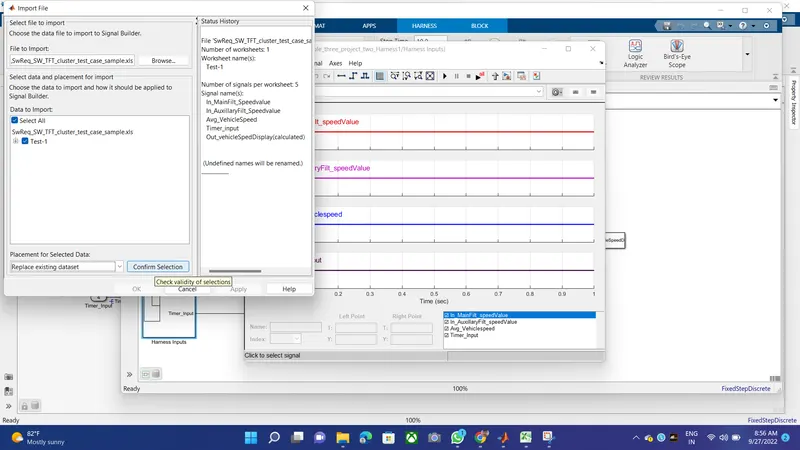
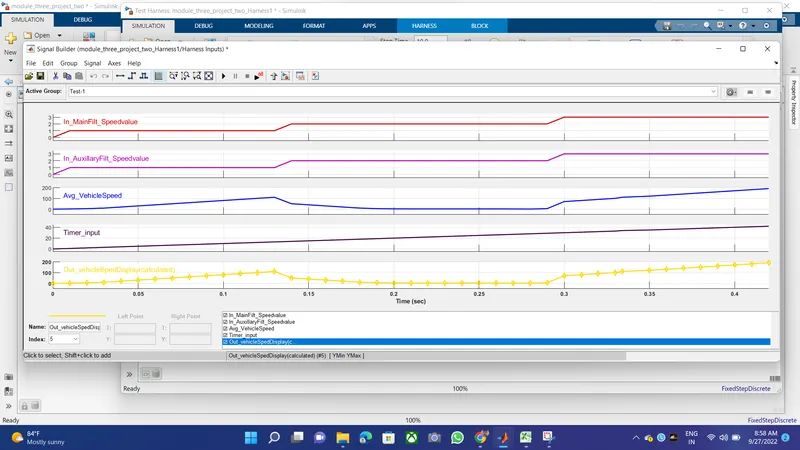
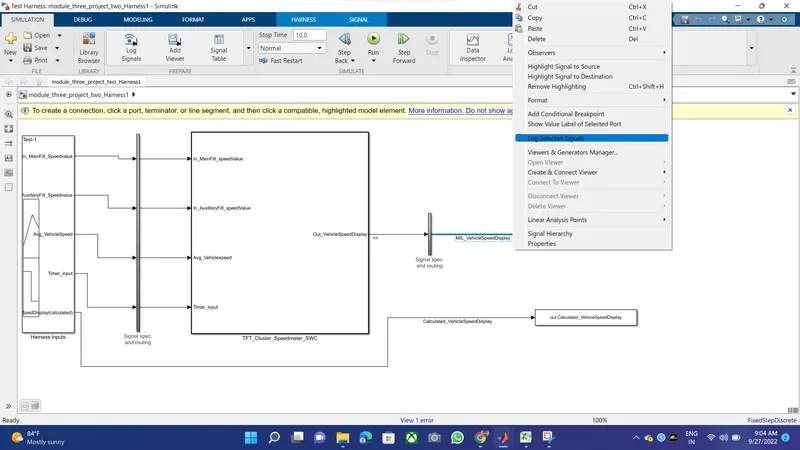
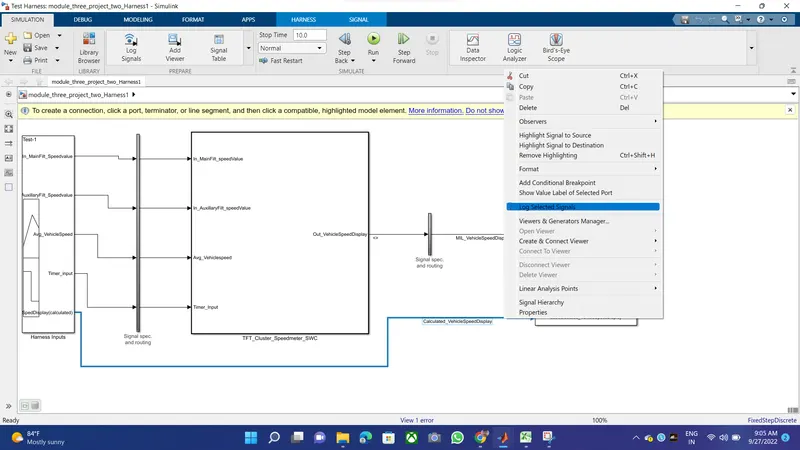
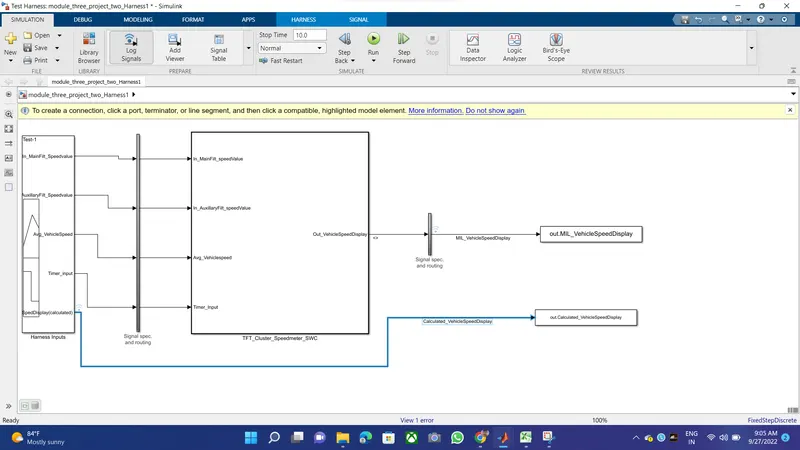
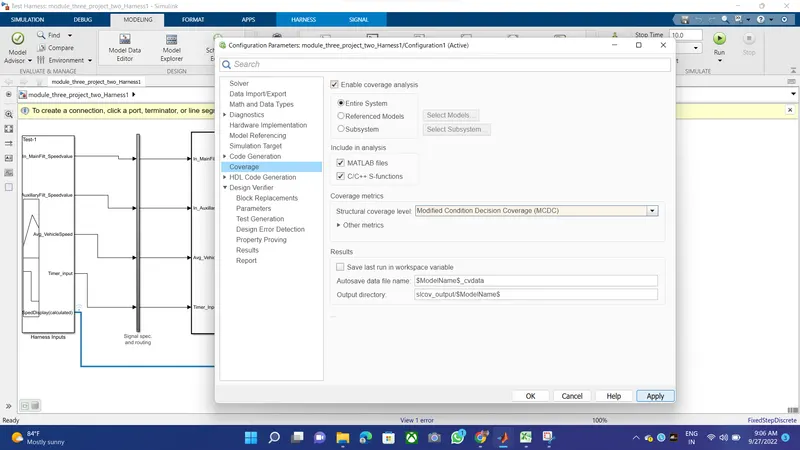
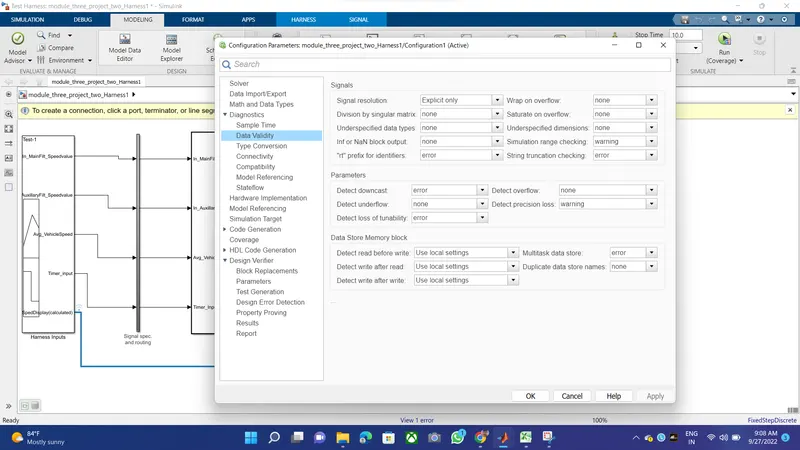
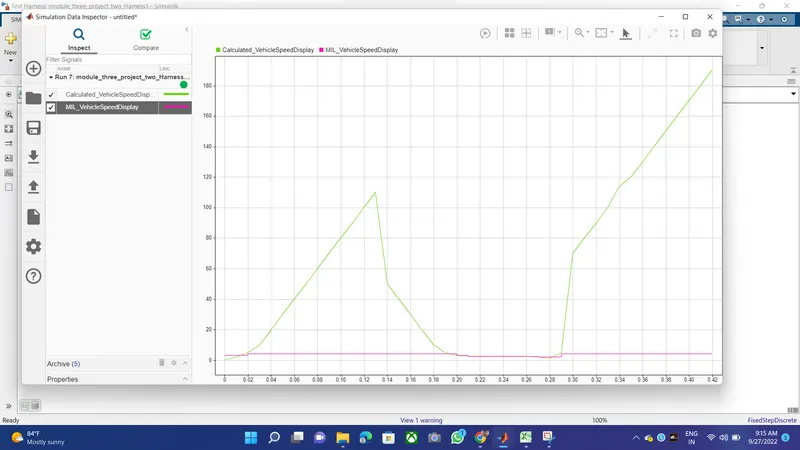
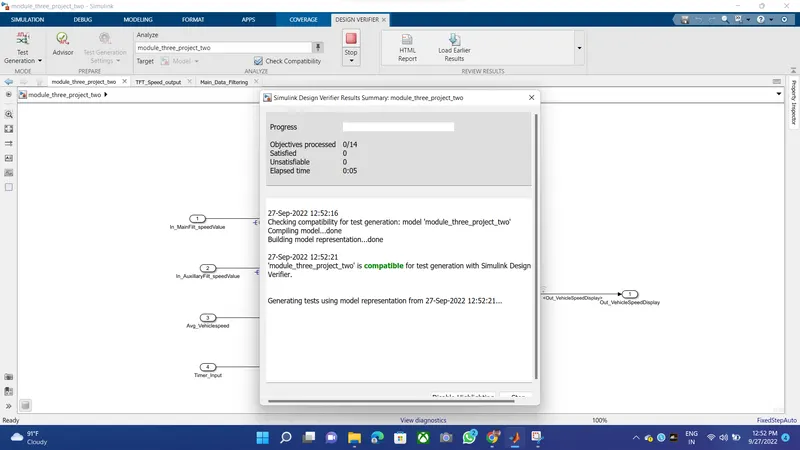
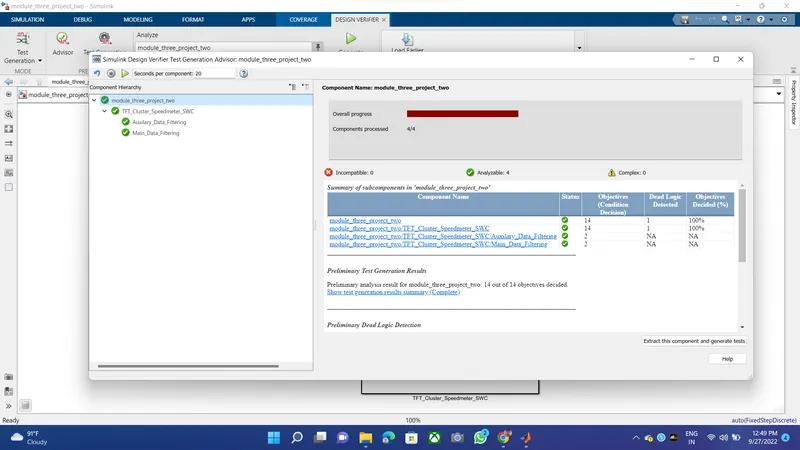
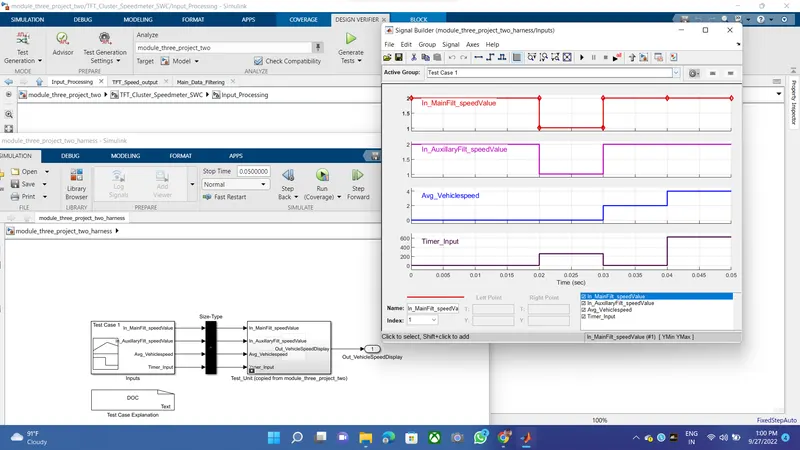
8 Run the analyzer test > confirm the test generation setting > test gen. report > run the harness > Analyze the coverage test result
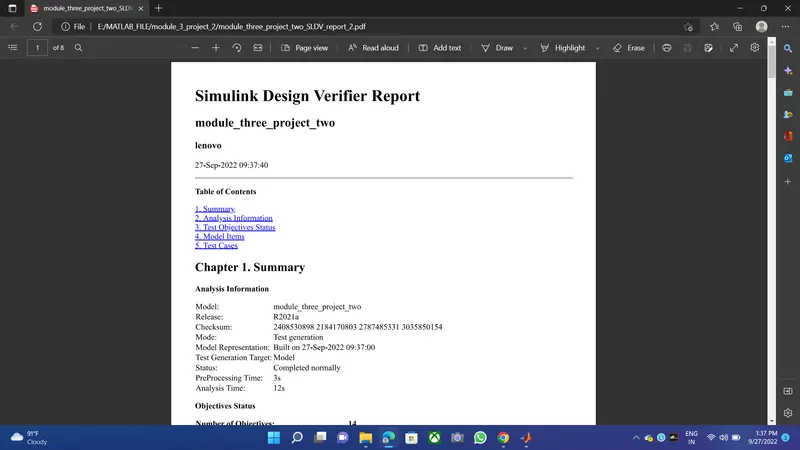
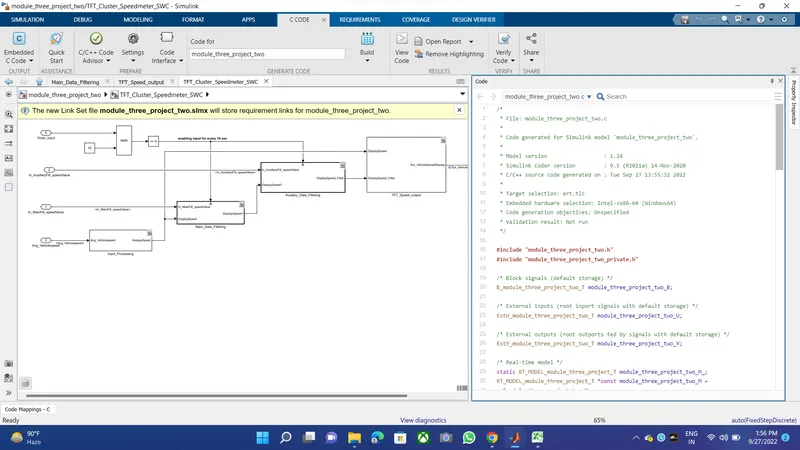
9.Auto-code generation report, .c & .h codes
apps > build code
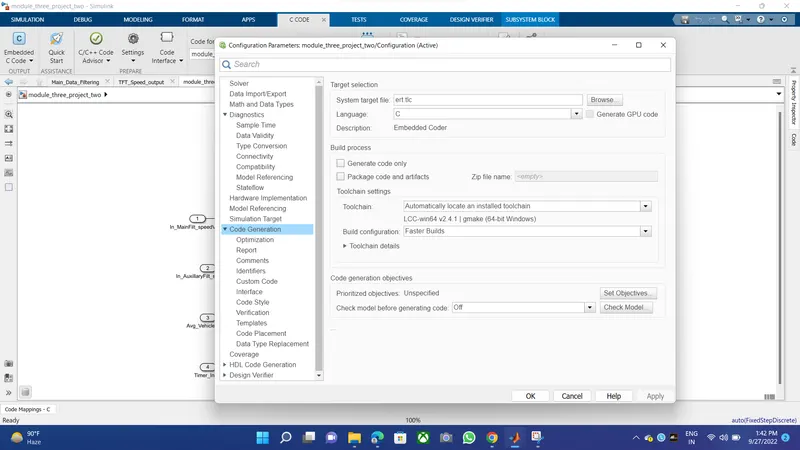
1	/*
2	 * File: ert_main.c
3	 *
4	 * Code generated for Simulink model 'module_three_project_two'.
5	 *
6	 * Model version                  : 1.24
7	 * Simulink Coder version         : 9.5 (R2021a) 14-Nov-2020
8	 * C/C++ source code generated on : Tue Sep 27 13:55:32 2022
9	 *
10	 * Target selection: ert.tlc
11	 * Embedded hardware selection: Intel->x86-64 (Windows64)
12	 * Code generation objectives: Unspecified
13	 * Validation result: Not run
14	 */
15
16	#include
17	#include               /* This ert_main.c example uses printf/fflush */
18	#include "module_three_project_two.h"  /* Model's header file */
19	#include "rtwtypes.h"
20
21	/*
22	 * Associating rt_OneStep with a real-time clock or interrupt service routine
23	 * is what makes the generated code "real-time".  The function rt_OneStep is
24	 * always associated with the base rate of the model.  Subrates are managed
25	 * by the base rate from inside the generated code.  Enabling/disabling
26	 * interrupts and floating point context switches are target specific.  This
27	 * example code indicates where these should take place relative to executing
28	 * the generated code step function.  Overrun behavior should be tailored to
29	 * your application needs.  This example simply sets an error status in the
30	 * real-time model and returns from rt_OneStep.
31	 */
32	void rt_OneStep(void);
33	void rt_OneStep(void)
34	{
35	  static boolean_T OverrunFlag = false;
36
37	  /* Disable interrupts here */
38
39	  /* Check for overrun */
40	  if (OverrunFlag) {
41	    rtmSetErrorStatus(module_three_project_two_M, "Overrun");
42	    return;
43	  }
44
45	  OverrunFlag = true;
46
47	  /* Save FPU context here (if necessary) */
48	  /* Re-enable timer or interrupt here */
49	  /* Set model inputs here */
50
51	  /* Step the model */
52	  module_three_project_two_step();
53
54	  /* Get model outputs here */
55
56	  /* Indicate task complete */
57	  OverrunFlag = false;
58
59	  /* Disable interrupts here */
60	  /* Restore FPU context here (if necessary) */
61	  /* Enable interrupts here */
62	}
63
64	/*
65	 * The example "main" function illustrates what is required by your
66	 * application code to initialize, execute, and terminate the generated code.
67	 * Attaching rt_OneStep to a real-time clock is target specific.  This example
68	 * illustrates how you do this relative to initializing the model.
69	 */
70	int_T main(int_T argc, const char *argv[])
71	{
72	  /* Unused arguments */
73	  (void)(argc);
74	  (void)(argv);
75
76	  /* Initialize model */
77	  module_three_project_two_initialize();
78
79	  /* Attach rt_OneStep to a timer or interrupt service routine with
80	   * period 0.01 seconds (the model's base sample time) here.  The
81	   * call syntax for rt_OneStep is
82	   *
83	   *  rt_OneStep();
84	   */
85	  printf("Warning: The simulation will run forever. "
86	         "Generated ERT main won't simulate model step behavior. "
87	         "To change this behavior select the 'MAT-file logging' option.\n");
88	  fflush((NULL));
89	  while (rtmGetErrorStatus(module_three_project_two_M) == (NULL)) {
90	    /*  Perform other application tasks here */
91	  }
92
93	  /* Disable rt_OneStep() here */
94
95	  /* Terminate model */
96	  module_three_project_two_terminate();
97	  return 0;
98	}
99
100	/*
101	 * File trailer for generated code.
102	 *
103	 * [EOF]
104	 */
105
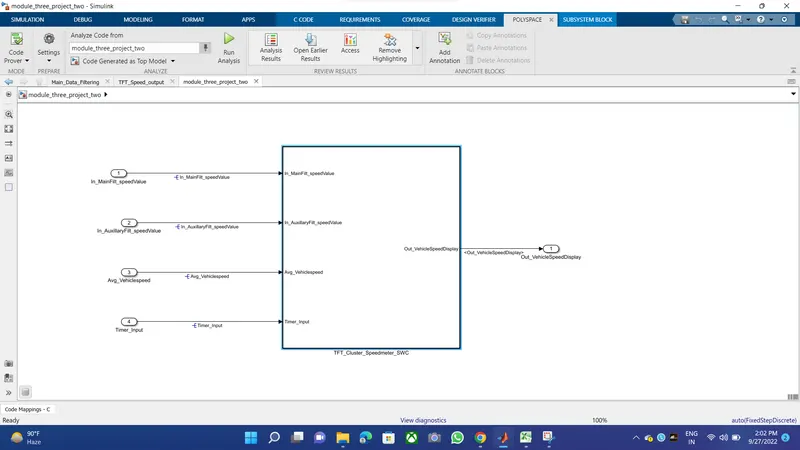
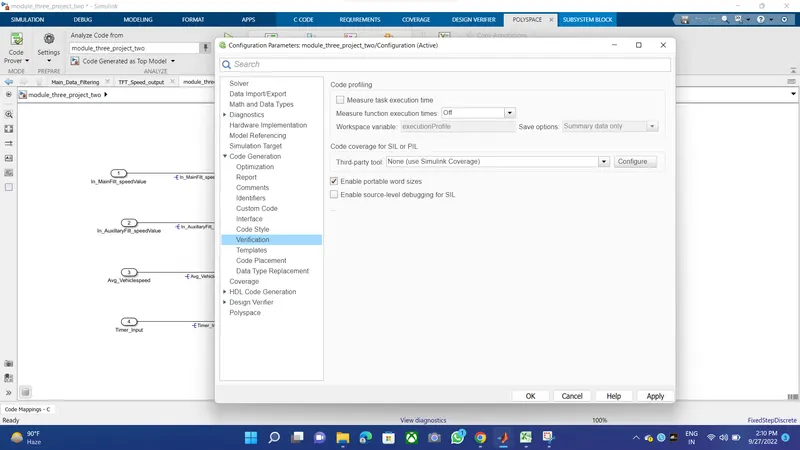
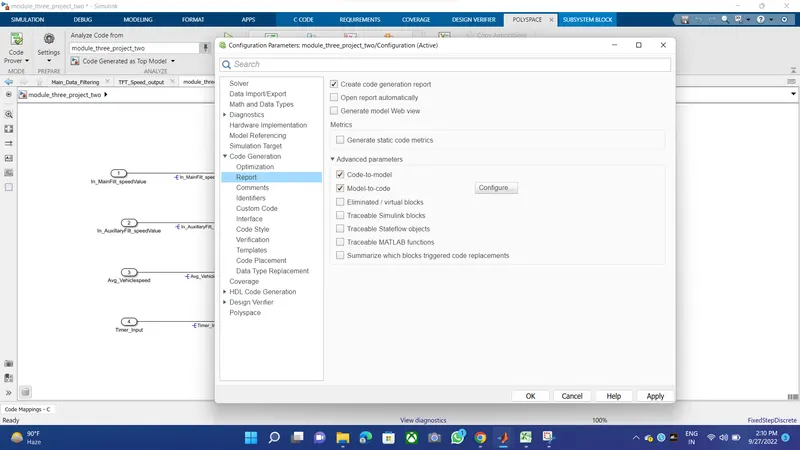
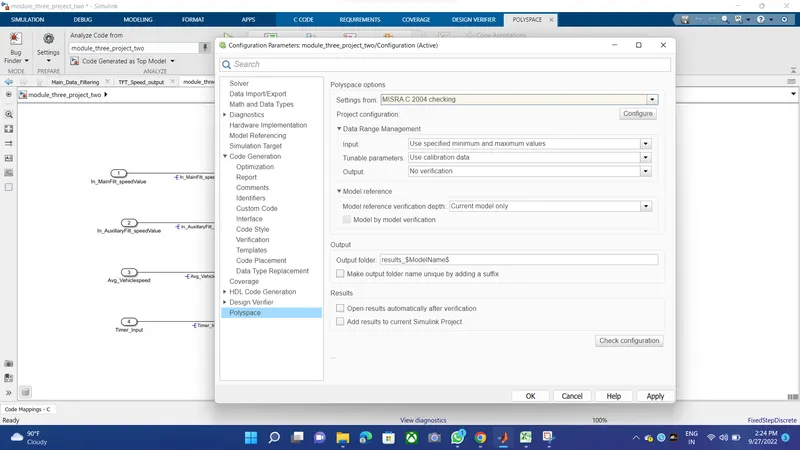
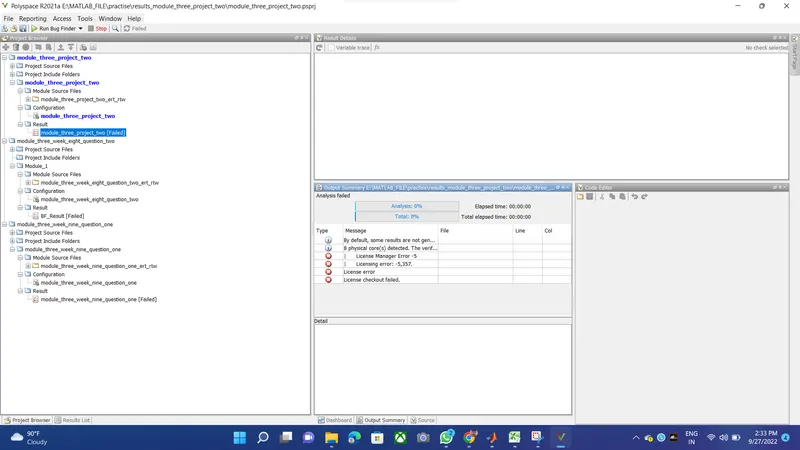
10. Polyspace analysis report / outputs
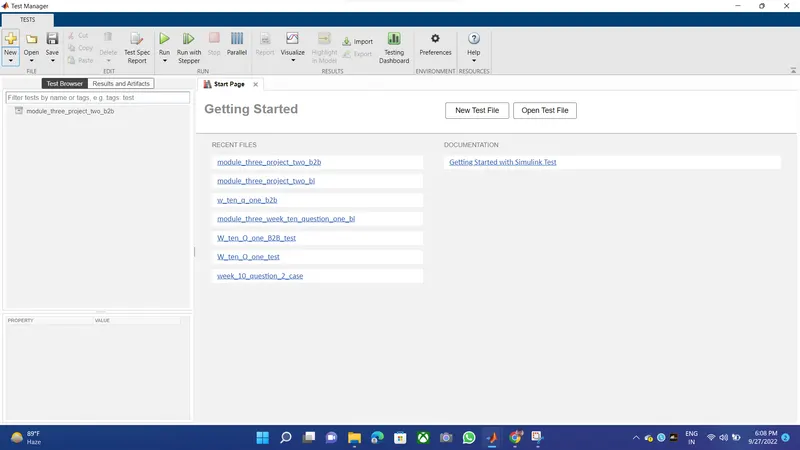
11. Test manager reports – baseline & back-to-back testing
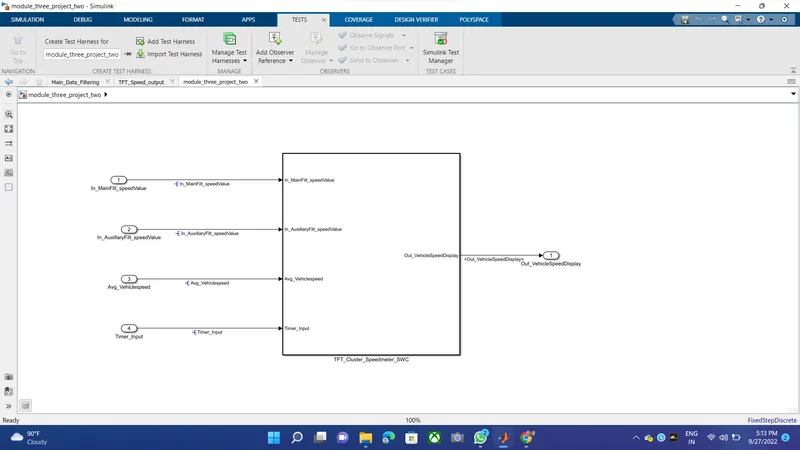
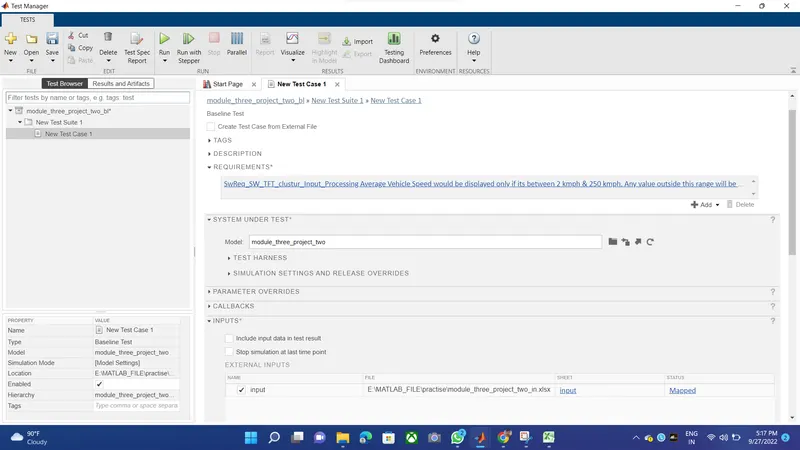
A. Base-line testing
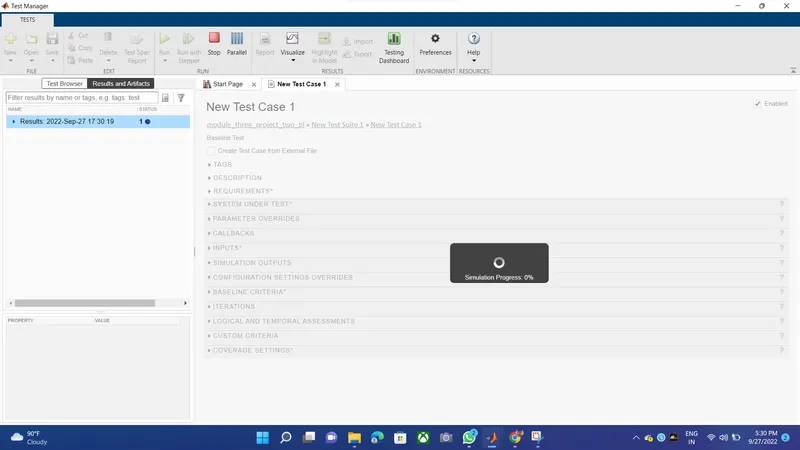
step1: creating a baseline test suite name
adding (Reuirement + .slx file )
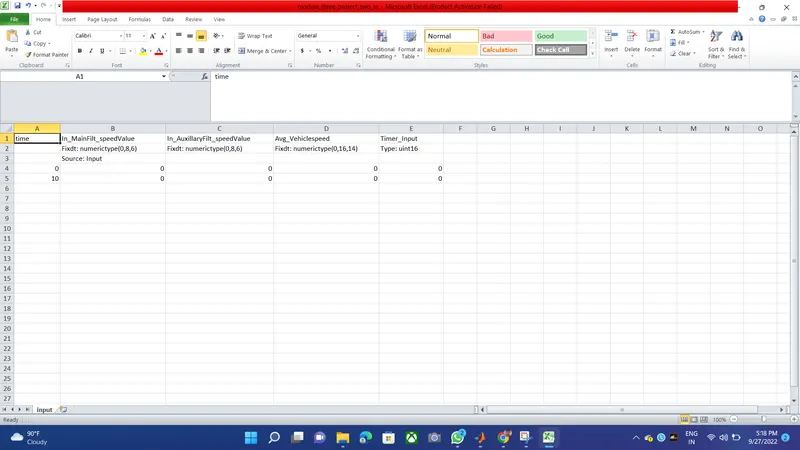
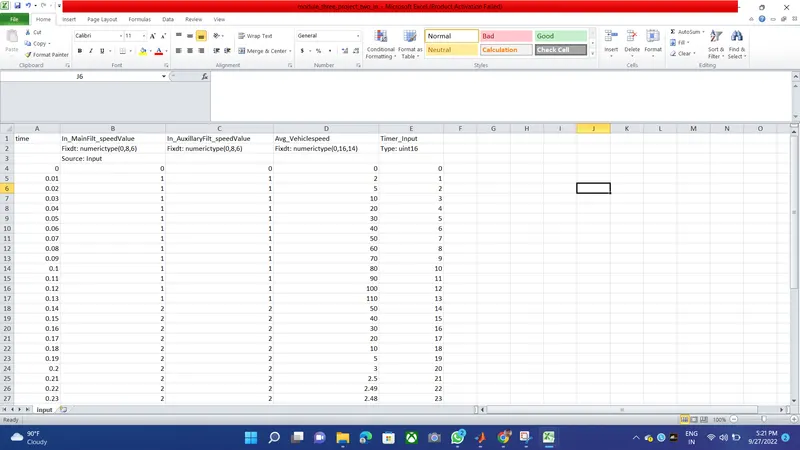
step2: creating input data
step3: copping the data from calculated sheet
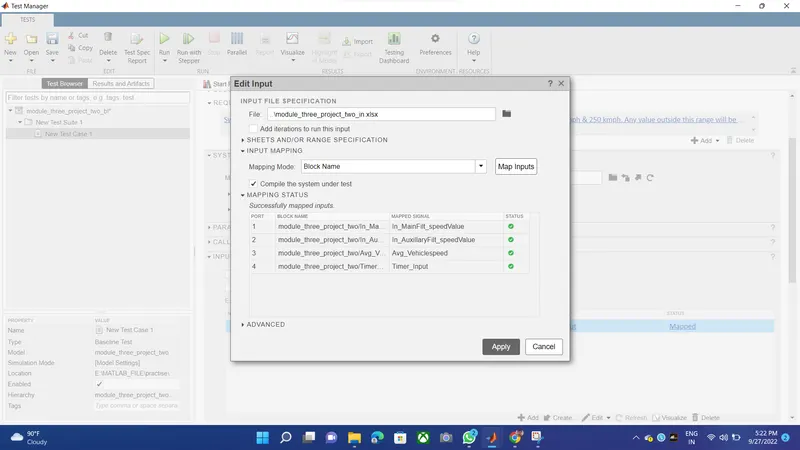
step4: now mapped data
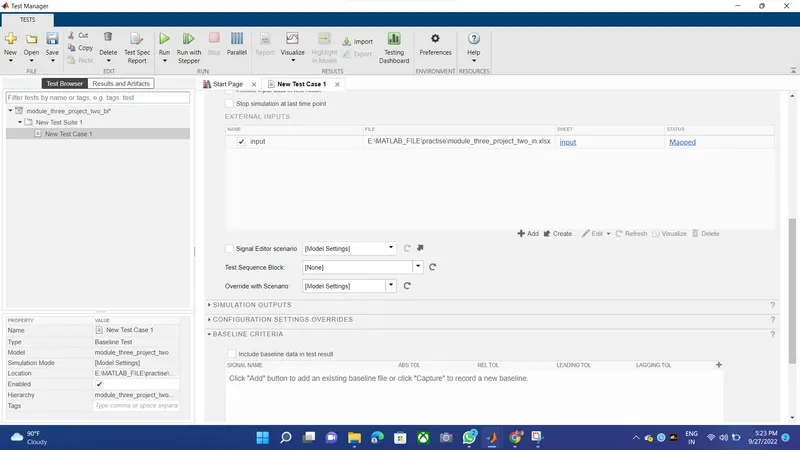
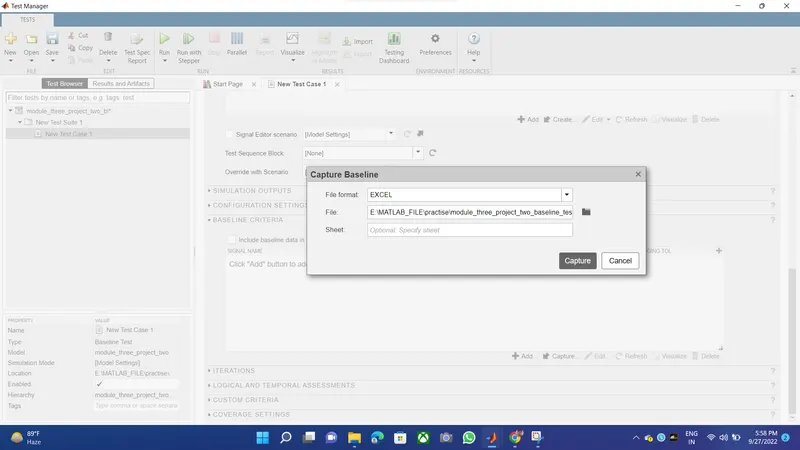
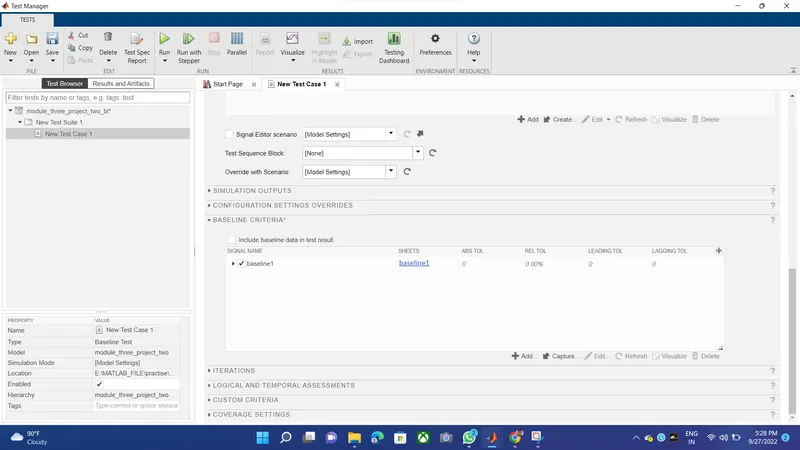
step5: now baseline file name cration
and one more extra option is available (sheet) , if we have some spesific test data then we add here
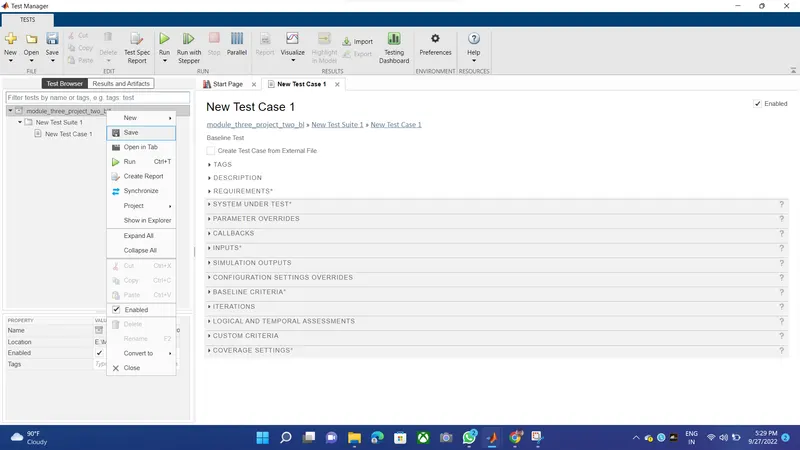
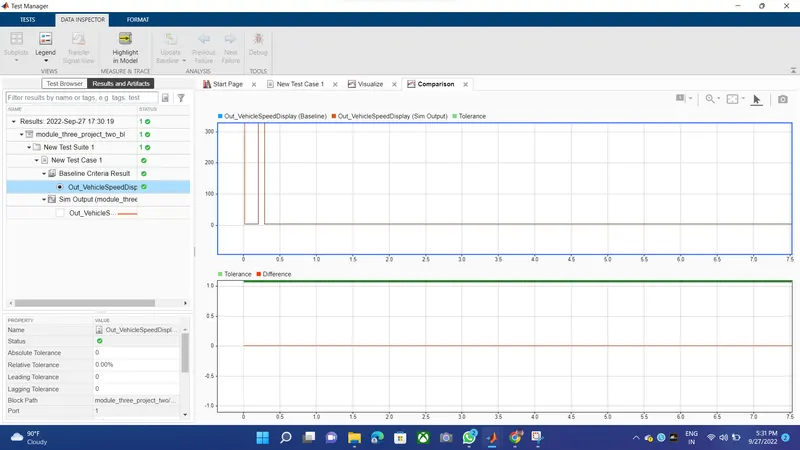
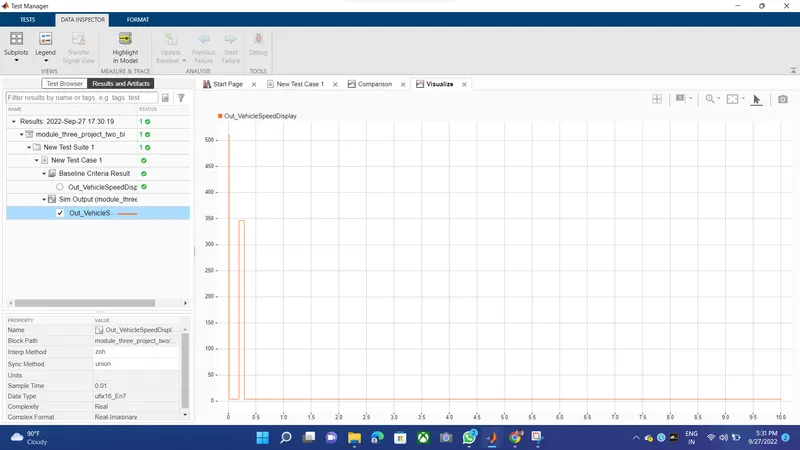
step6: by right click on test file we save it, then run
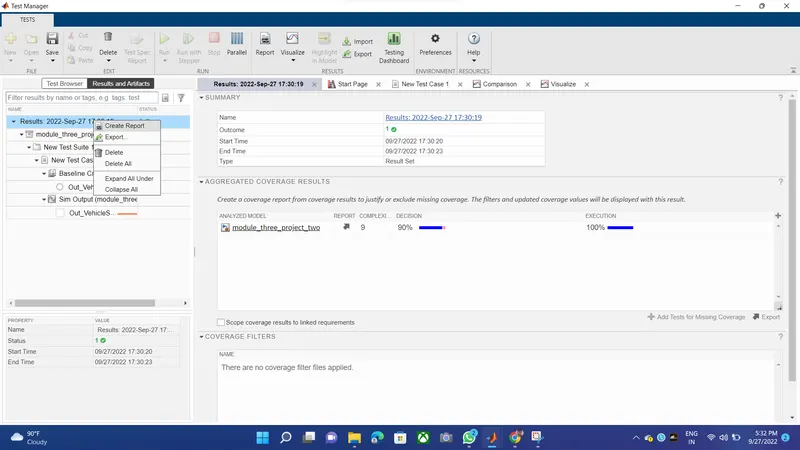
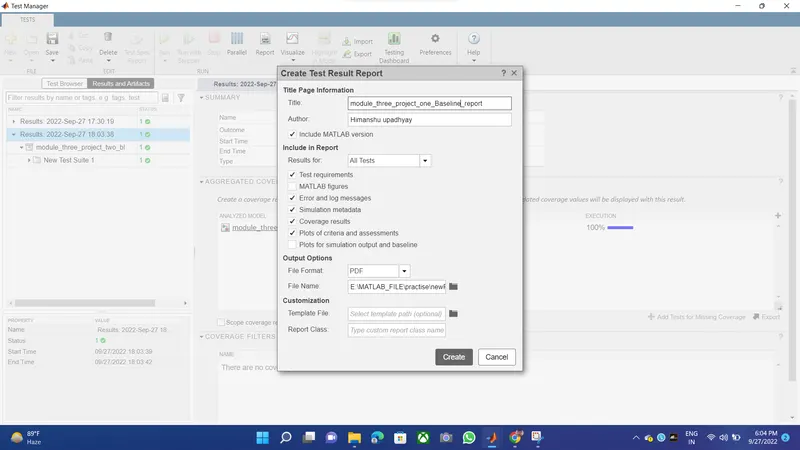
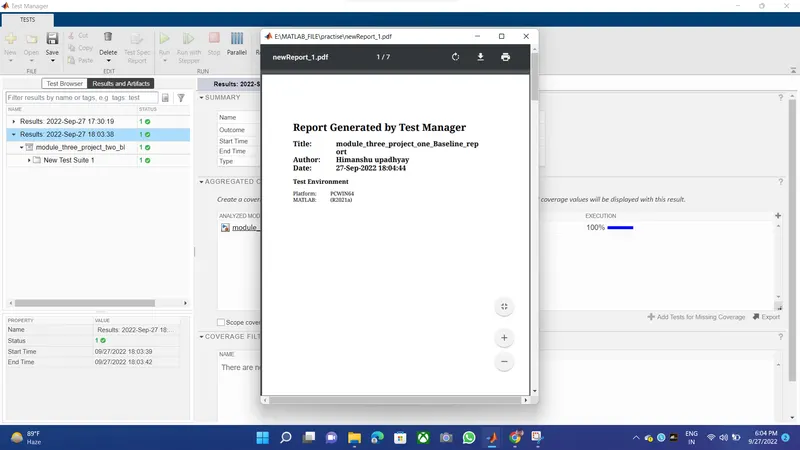
step7: by right click on test file we create report of our baseline-test
B. BACK-2-BACK TESTING
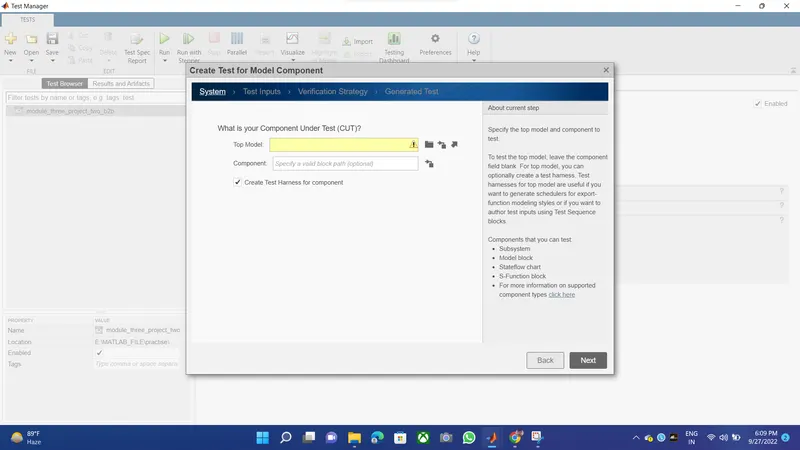
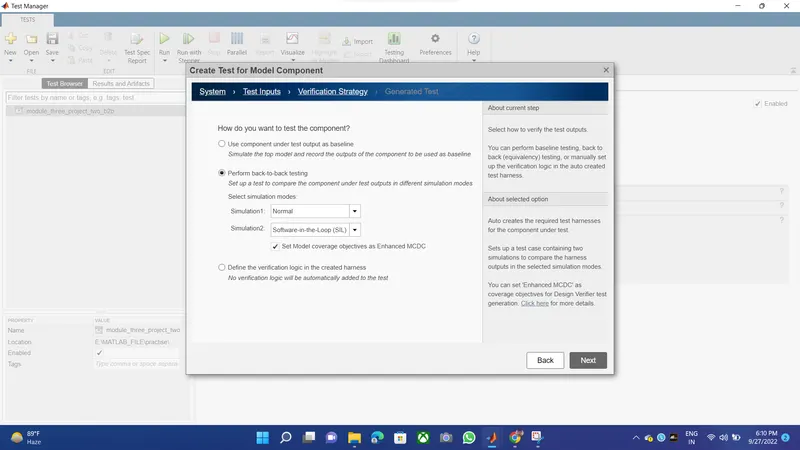
step1: create test file then delete case , save it ,right click on new select TEST FOR MODEL COMPONENT
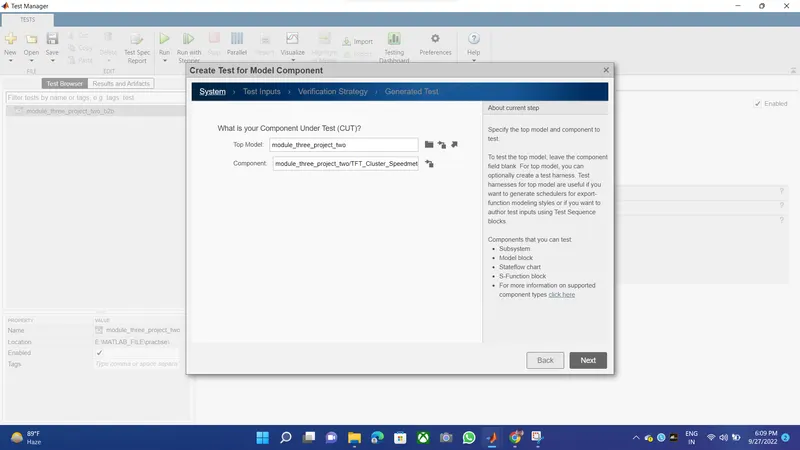
step2: select your top level of your model ,then add it in SYSTEM , in COMPONENT it automatically take 1st subsysytem,then click NEXT
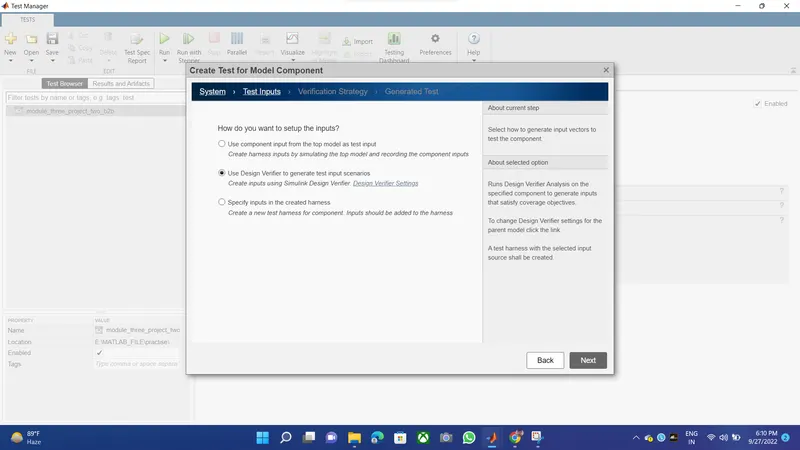
step3: since here we have multiple option for input for test input but we choose "Use Design Verifier to generate test input scenarios .Create inputs using Simulink Design Verifier" because the test here is totally autonnomus , click NEXT
step4: choose B2B testing , in this choose NORMAL>SIL>MCDC enable it ,click NEXT
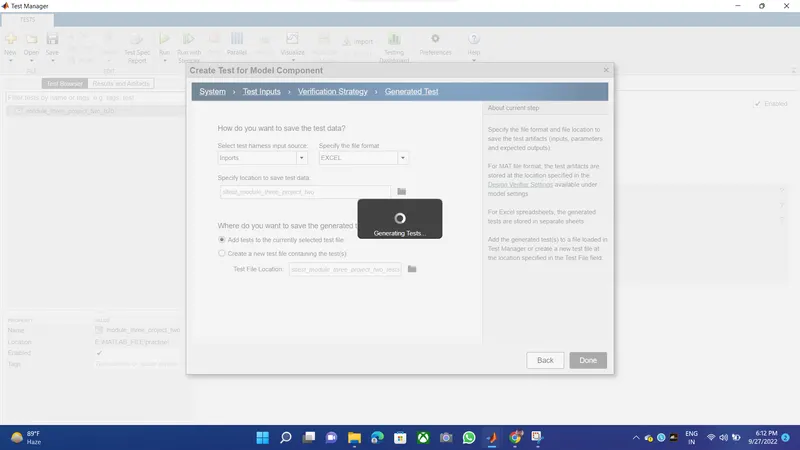
step5: choose INPORTS for test harness and file format is EXCEL , click DONE
step6: automatically Harness is created and embedded in parent model
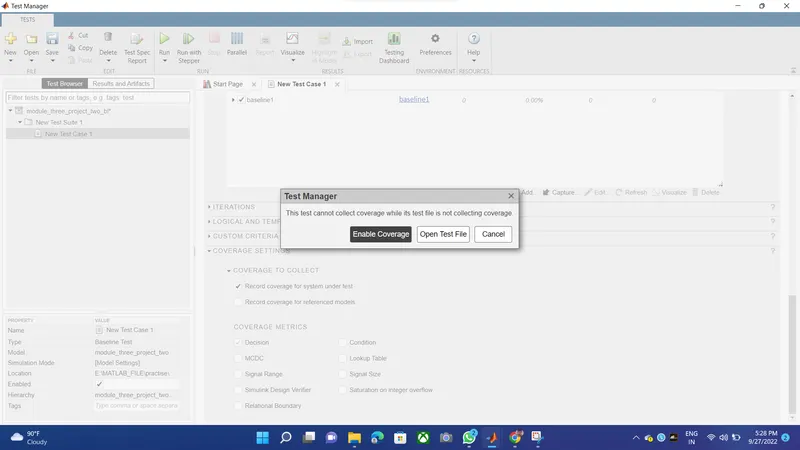
step7: in test manager add requuirement , enable record coverage ,rest every thing default
( we have give MCDC but when run sldv toolbox it choosen what kind of block is define for what objective, so what kind of mode is best suitable either it is MCDC/DECSION ,based on that it choose default DECSION block for particular algoritham )
step8: run the test , then right click on respected file to generate report