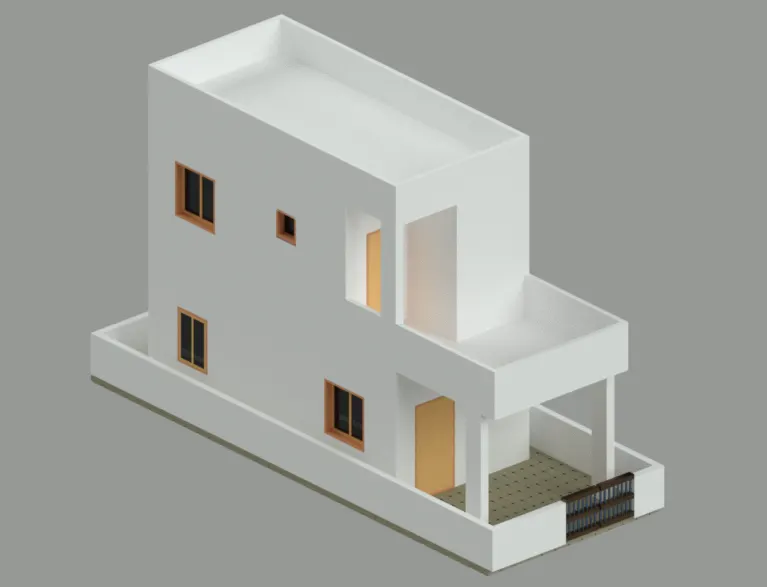
Project 2_Creating a 3D rendered model for a Residential Building in AutoCad
im: To draw
1. Architectural drawing of a residential building:
Plan of a residential building.
Elevation of a residential building.
Section of a residential building.
2. Structural drawing:
Column plan layout of the building.
Footing plan layout of the building.
Beam plan layout of the building.
Commands used:
Line , Offset , Rectangle, Trim , Extend , Block , Block edit , Dimension , Layer , Hatch , Design centre.
Procedure:
1. First set the units in decimel meters and Set the limits and zoom all (Command -Z-a).Set the dimension to decimal units and set the precision.Architectural drawing of residential building
2. Drawing the plot, and giving setback..Mark the direction N, S, E, W. By rectangle, draw the plot giving dimensions
3. Next give setback from the plot, for the sides.The proposed building should come inside the setback drawn.
4. Drawing wallOffset from the boundary after the setback is taken for the wall thickness.
5. As the orientation is given as East, main door should face East.For living room, give offset horizontally from the West side
6. As per Vaastu Shastra, North-East is favourable for living room and the entrance should face North or East.
7. Same the dining room Again offset from the living wall for dining room.
8. Offset horizontally from dinning wall .Trim for the door opening. According to Vaastu Shastra the ideal position for kitchen is South-East ,with cooking place facing East.
9. Drawing Master bedroom and toilet From the South wall offset and width joining the kitchen wall.
10. Create opening by offset and trim commands.
For toilet, draw an offset horizontal from the Dinining wall
11. Staircase is provided as it is a duplex house.
12. Drawing of Bed room with toilet From Living room offset and from dining room offset
13. With multiline text, draw the text box
14. Place the doors and windows in the respective places.
15. Elevation part the Projecting lines to draw the elevation.Project the wall lines to the top.
16. Draw a horizontal line.Offset for the plinth level.Offset for the Lintel level.Offset for the floor level .Offset for the parapet wall .
17. Trim off the extension lines and make shutters and panels for doors and windows.For architectural purpose, create some hatches.
18. Project the lines from the elevation for the height and from the section line of plan for the horizontal members. Drawing windows, doors and stairs in section.
19. Using hatch hatch the walls with the bricks hatch and foundation with the concrete hatch.
20. Project the lines from the elevation for the height and from the section line of plan for the horizontal members.
21. Drawing windows, doors and stairs in section.Draw the window and door which we see after cutting the section line.
22. Using hatch hatch the walls with the bricks hatch and foundation with the concrete hatch.
Place the windows and foundations in the respective layers and give colours.
3d drawing
1.using presspull wall are rised upto level
2. line command used to draw a box and take line towards window openings
3. presspull command to create 3d wall
4. window and door sizesd model created and subract from wall to create openings
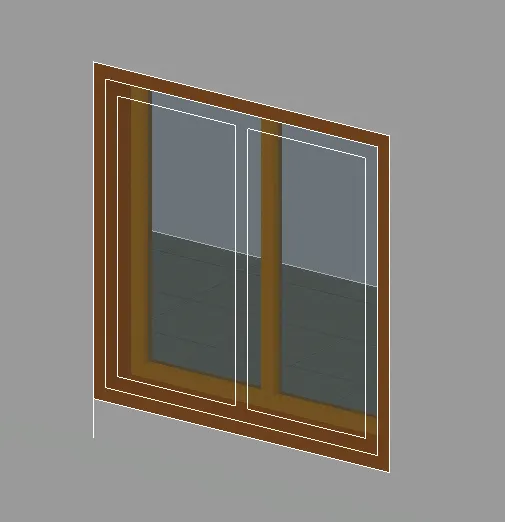
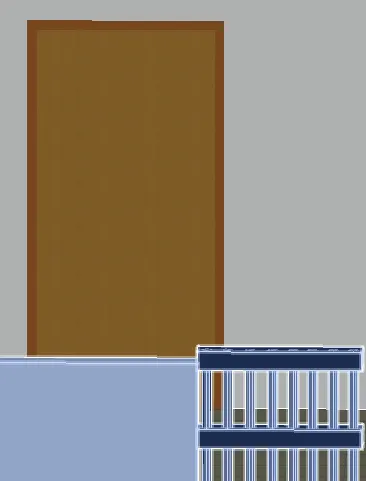
5. window frame is created and usimg material library created a material for door and window
- lick Visualize tab Materials panel Materials Browser. Find
- Select the objects which you want to assign the material.
- In the Materials Browser, right-click the material to assign and choose Assign to Selection.
The material is assigned to the objects.
- Click View tab Palettes panel Tool Palettes. Find
- On the Tool Palettes window, click a tab to set the tool palette current.
- Drag a material tool from the tool palette onto the object.
Click Visualize tab Materials panel (expanded) Attach by Layer. Find
- In the Material Attachment Options dialog box, drag a material from the Materials list onto a layer in the Layers list.
The material is assigned to all objects on the layer whose Material property is set to ByLayer. (ByLayer is the default for the Material property when you create an object.)
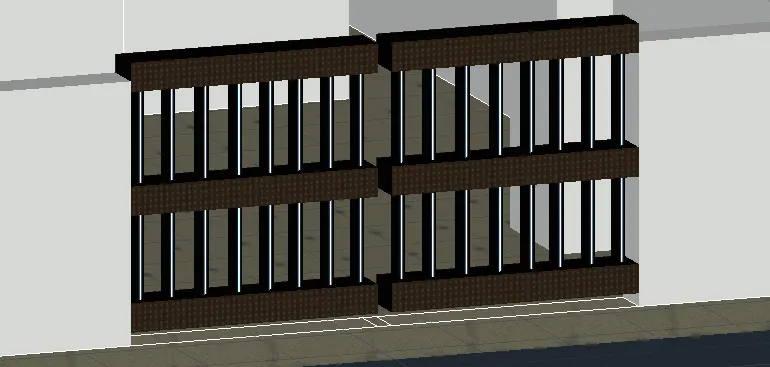
The 3D doors, normal window and glass grill was designed using the tools polyline, sweep, extrude, union, 3D rotate, subtract command etc
gate and compound wall is created using presspull, 3d rotate and ectc
moved the compound wall to its position
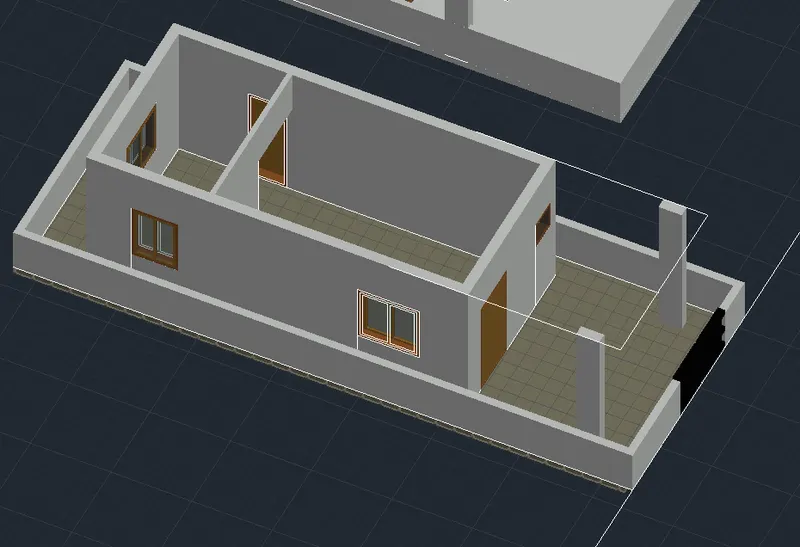
ground floor pic is attaches
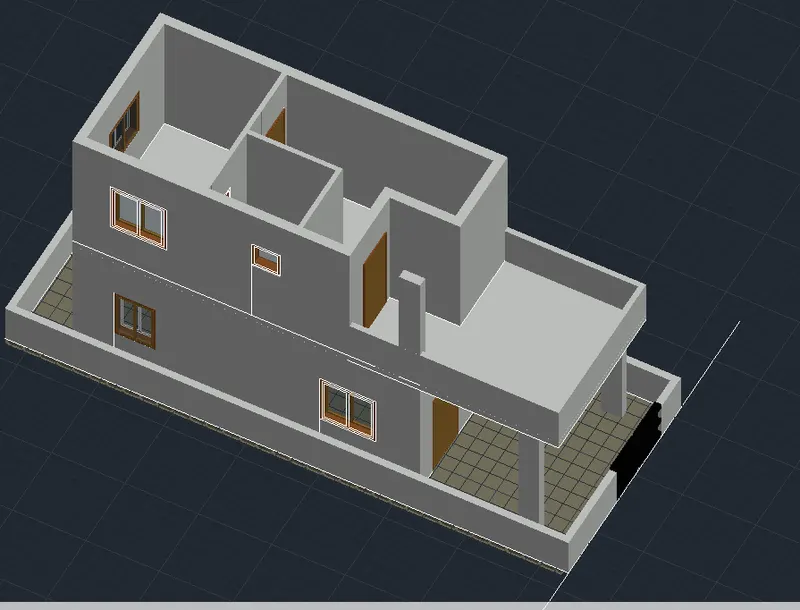
first floor picture attached
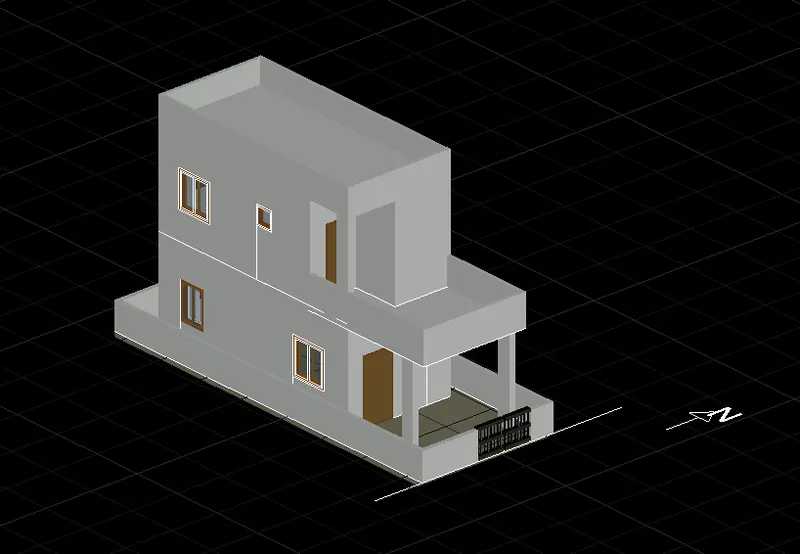
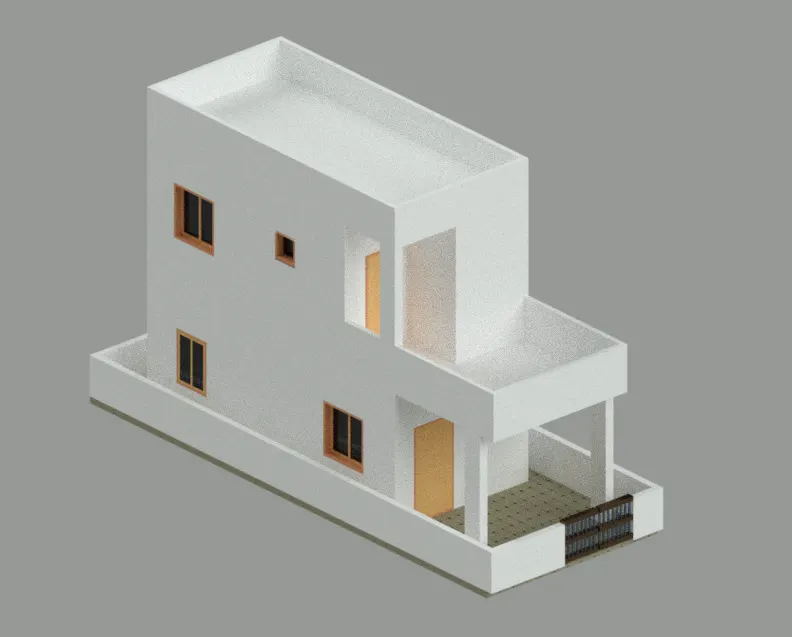
result : the final object is rendred