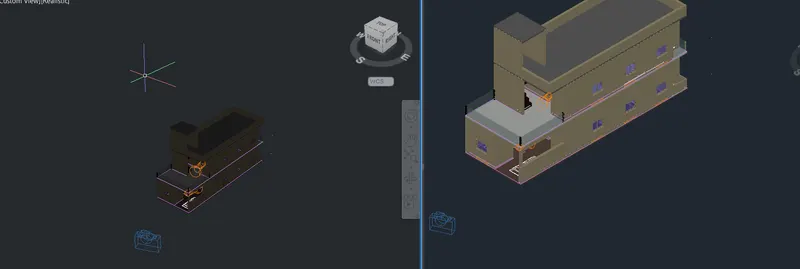
Project 2_Creating a 3D rendered model for a Residential Building in AutoCad
AIM:
• To create a 3 dimensional model of the residential building
• To create a rendered view of the developed model.
• To use materials and light setting.
Procedure:
• Here in the project we are going to create a 3d model of a residential building.This is building after being created, it is rendered.
• The rendering of the model happens after applying materials and light settings.
• First let us see about creating the model.
• To create the model first we need to sketch a architectural 2d drawing of a residential building.
• The created architectural 2d plan of the residential plan is shown below.
• This plan is going to be used for the development of the 3d model of the residential building.
• This architectural plan contains wall, columns, doors, windows.
• The windows and steps are sketched to a standard sizes.
• The walls in the created plan are made as regions.
• Then the layers are set to develop the 3d model.
• First the layer for the 3d walls are set in a colour.
• Then the extrusion option is chose to extrude the 2d lines mades as region to be elevated.
• Thus the region is extruded to a height of 11'. • Thus the outter walls of the buidling is extruded to 3d walls.
• Then the inner walls are extruded to same height.
• The outter skeleton of the building without doors and windows is created.
• Then the 2d sketch is extruded to the required sizes.
• As there are some designs on some step those design are also done with presspull and the extrusion works to required dimensions.
• After creation of the window
• The panels aere differentiated with the materials.
• Such glass windows are also provided with ther corresponding material.
• Like these are copied to the provisions provided in the plan. And the other door is placed as the other internal doors.
• After this the windows are created. • Here the windows are made as pvc paneled winth glasses.
• Thus the windows are sketched as 2d and then extreuded as 3d. Then the required parts are applied with required materials.
• The panels of the windows are applied with PVC material.
• Then the middle part of the window is placed with glass.
• Then the windows of particular sizes are placed at the required places.
• The created windows are shown below. Then the winows are surrounded with the elevation designs such that it also acts as a sunshade.After creating the models and then the railing for the lawn area is created. Then the roof above the walls are created.
Then the parapet wall of 3' is created using extrusion above the roof floor is placed.
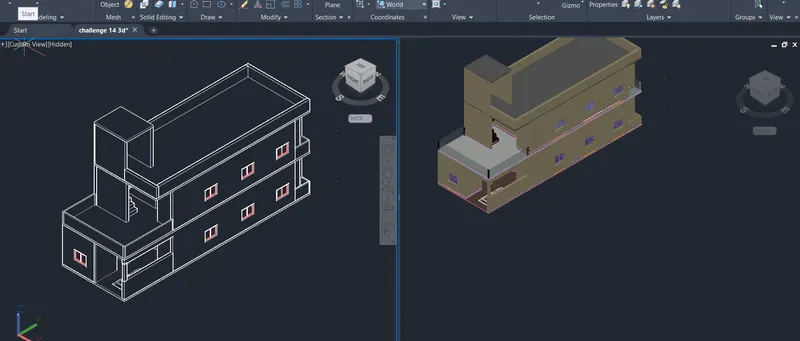
• Then the stairs to the main door from the ground level is created
• Then the materials of respective areas are applied.
• The created model is shown below.
• After the model being created rendering work is started.
• The created rendering is set with lights.
• The distant light is set.
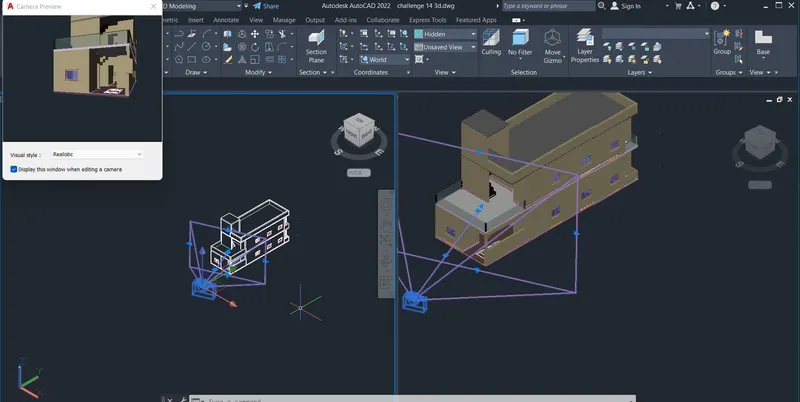
• Then the camera to required position is set.
• The then the rendering is done.
•The rendering is done with a mild light works.
• Thus the required 3 dimensional model of the residential building is created.
• Thus the required 3 dimensional model of the residential building is created.
RESULT:
• Thus the required 3 dimensional model of the residential building is created.
• Suitable material was applied to the building.
• Camera positions were properly set such that a good view of the building is acquired.
• Rendering is done.
• Proper light setting was used.
• The 3d model was created using proper views.