MESH FOR FLOOR PANEL AND ASSIGN THICKNESS
MESH FOR FLOOR PANEL AND ASSIGN THICKNESS
OBJECTIVE:
To create a mesh for a given floor panel with required quality criteria and assign thickness for it.
PROCEDURE:
- IMPORT CAD or (.hm) FILE: Use Import to import file in Hyper mesh.
(Pic:1)
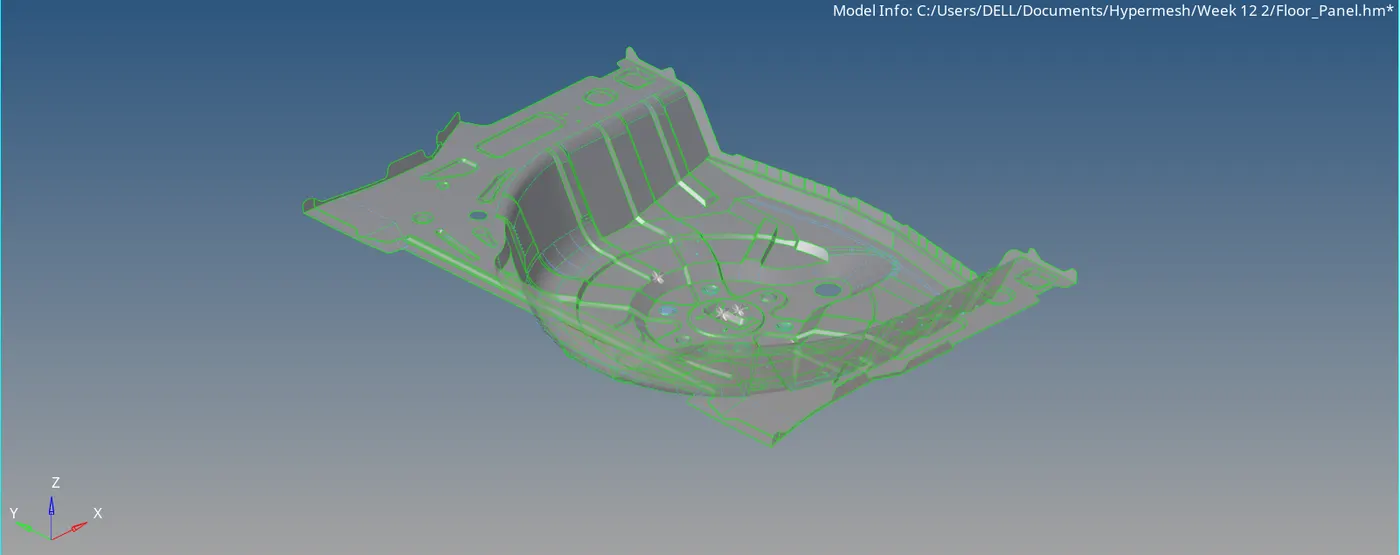
- CREATE AUTO-MID-SURFACE: Auto Mid-surface option used to create a mid surface for a given component.
(Pic:2)

- CLEAN-UP GEOMETRY:
- Unwanted edges toggled from its original position.
(Pic:3)

- Holes or surface with a small diameter a converted into a flat surfaces.
(Pic:4)
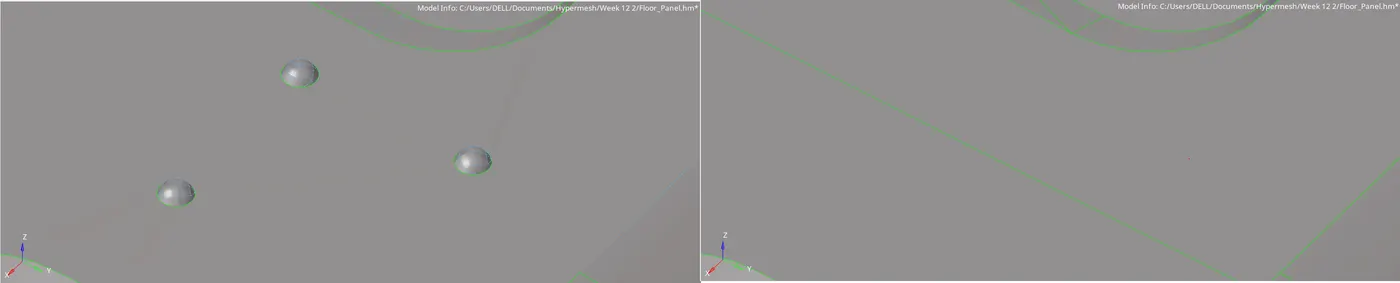
- Delete surface which not created in proper way.
(Pic:5)

- CREATE MESH:
- Auto-Mesh is used for creating a mesh in mid-surface.
- Created mesh is modified for required quality criteria.
- A criteria panel is saved for future use.
- Use Quality Index and Elem cleanup for re-forming mesh.
- Some regions are re-meshed until the required quality achieved.
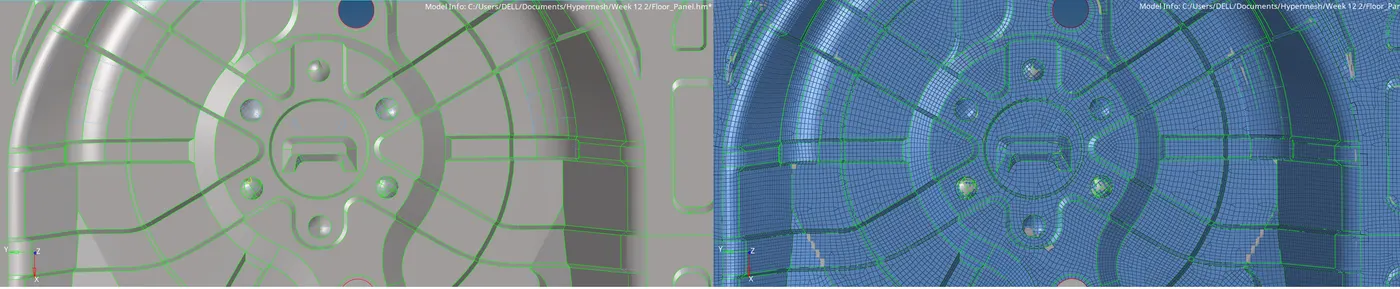
- QUALITY CHECK:
- Check elems are used to check element's quality. Highlighted elements are re-meshed or optimized to achieve quality.
-

- Edge's option is used to the continuity between elements. If any space or unconnected meshes are in mesh it will be highlighted. These elements connections are made using option replace.
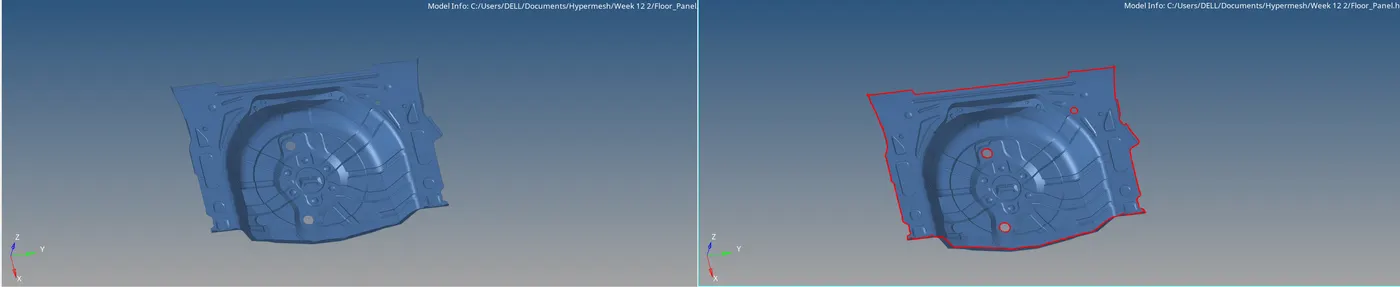
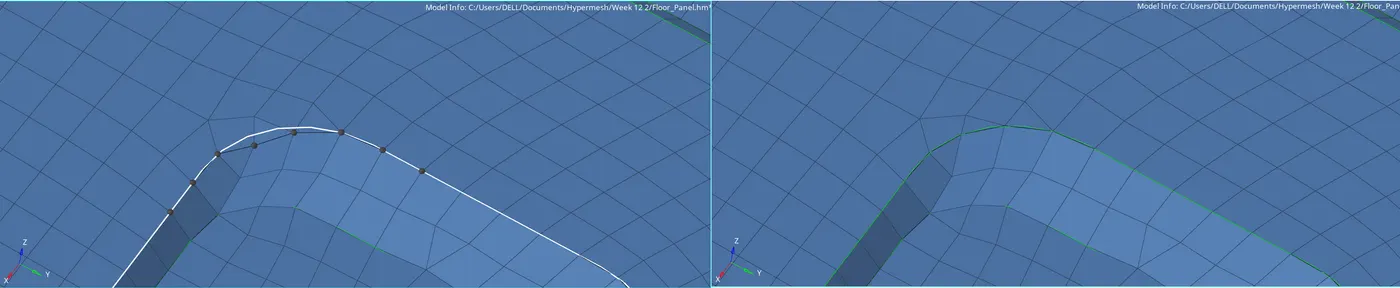
- Project: This option used to align nodes as per feature lines.
- ASSIGN THICKNESS:
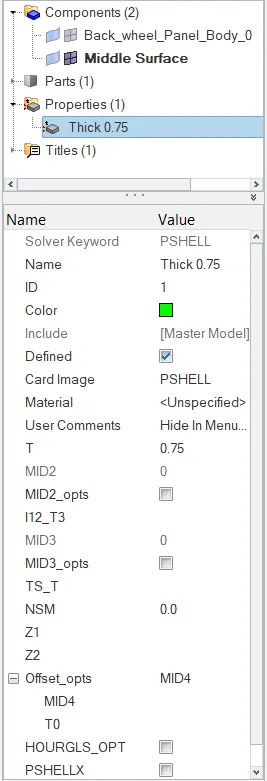
- Create new property in entity editor.
- Entered thickness value 0.75 in the tab.
- Components assign with thickness.

RESULT:
Here Floor panel is meshed with elements and assigned thickness with 40859 elements and 19368 nodes which all satisfy quality criteria.