Project 2 - 2D meshing on the instrumental Panel
OBJECTIVE
To check for the geometrical errors and mesh with the given element Quality criteria and mesh the component using the given quality parameters and assign thicknesses.
QUALITY CRITERIA
|
S.No |
Quality Criteria |
Value |
|
1 |
Target/Average length |
4 |
|
2 |
Minimum Length |
2 |
|
3 |
Maximum Length |
6 |
|
4 |
Aspect |
3 |
|
5 |
Warpage |
15 |
|
6 |
Skewness |
45 |
|
7 |
Jacobian |
0.7 |
|
8 |
Minimum Quad Angle |
45 |
|
9 |
Maximum Quad Angle |
135 |
|
10 |
Minimum Tria Angle |
30 |
|
11 |
Maximum Tria Angle |
120 |
|
10 |
Tria Percentage |
15 |
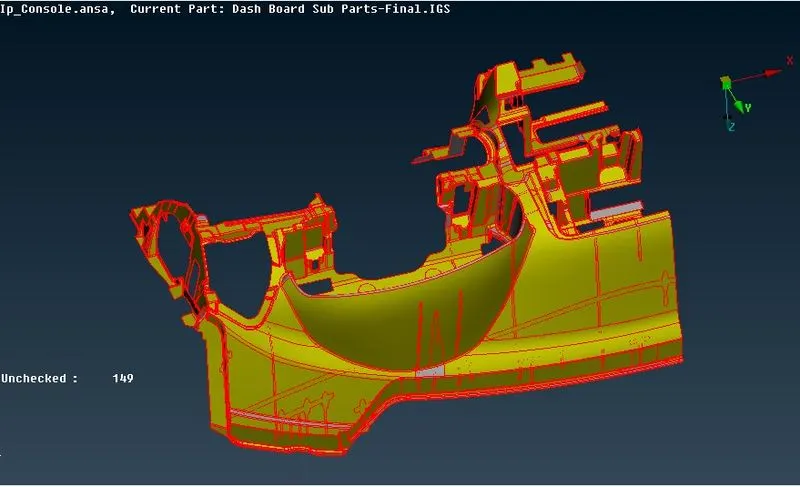
MODEL IMAGE
PROCEDURE
1. Firstly, we need to use the topo tool to take care of all the single cons and to ensure there are no free edges. It can be accessed via Faces > Topo in the topo module. All the cons are selected and the algorithm takes care of all the single cons.
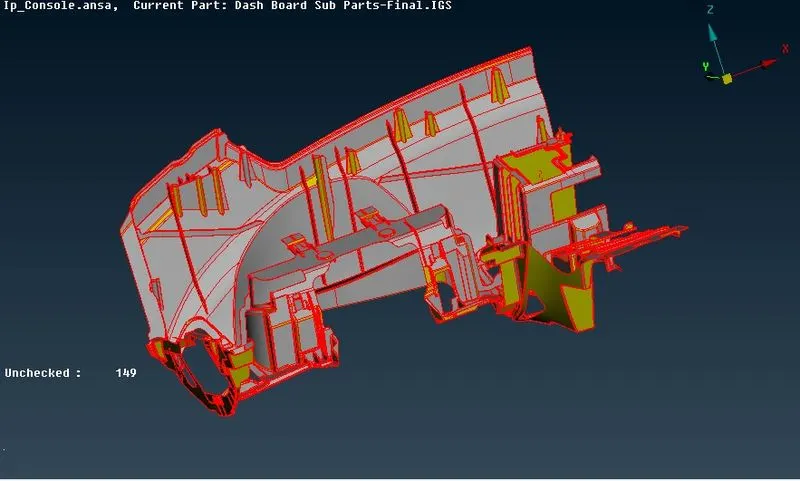
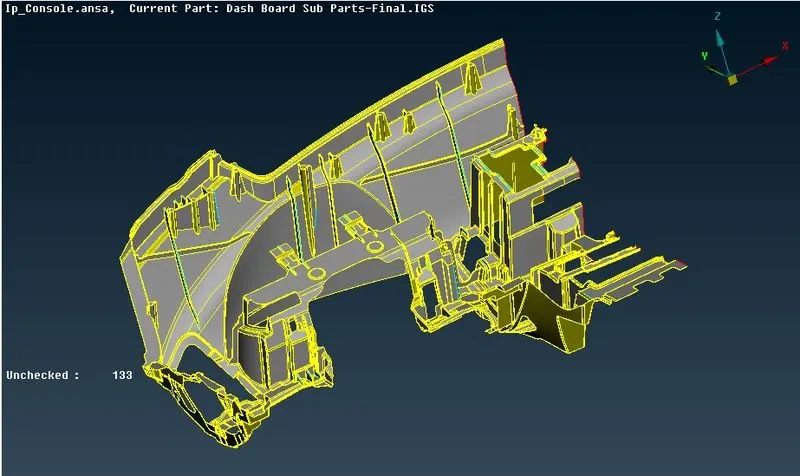
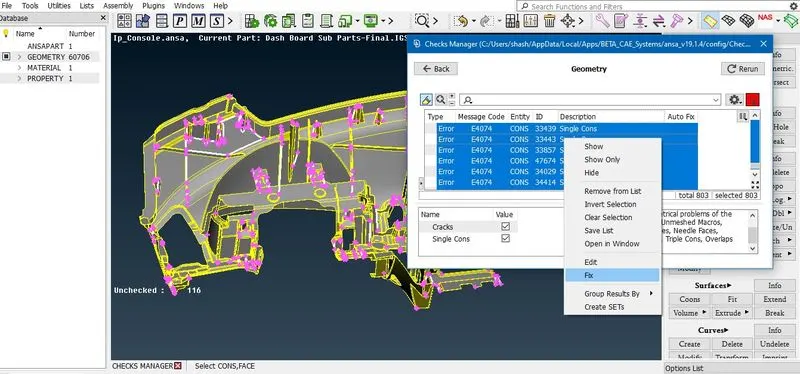
2. After that, as is the norm and before we carry out any other actions, we need to carry out a geometry check and fix all abnormalities. That is done via Checks > Geometry where we can execute checks of certain defects that can be selected from the menu and the algorithm looks for said defects. After detection, we can select all the defects and right-click > fix to fix them.
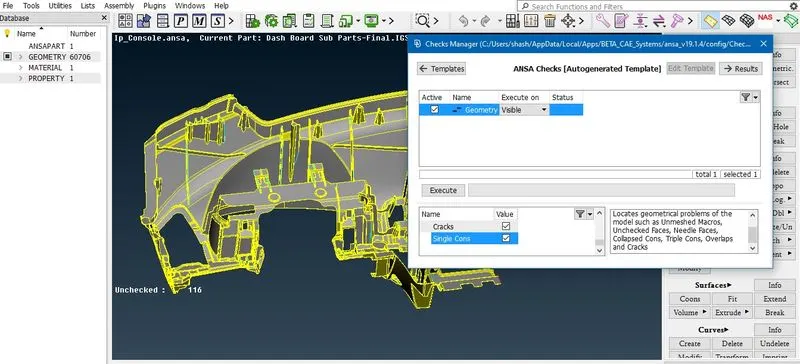
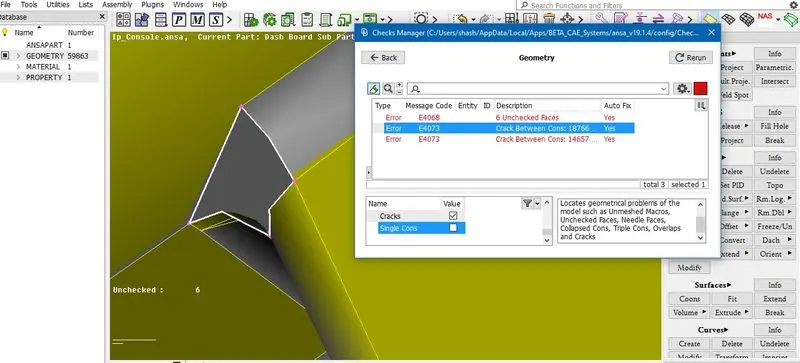
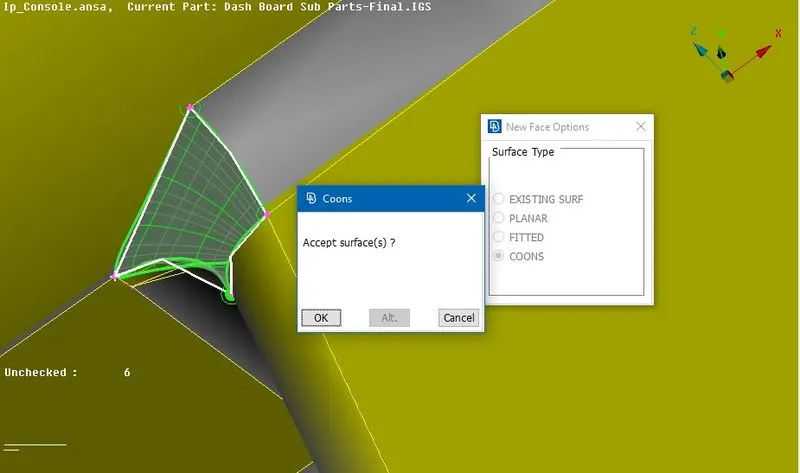
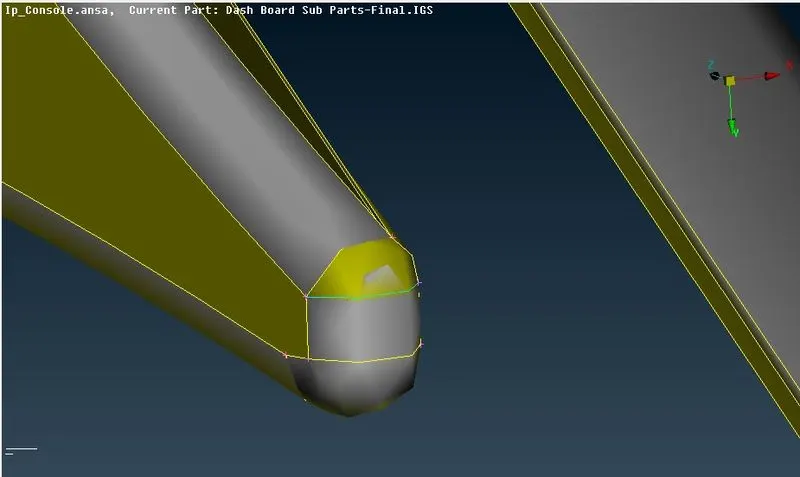
There are some geometrical errors which couldn't be fixed automatically so we have to individually inspect what the errors are and fix them manually.
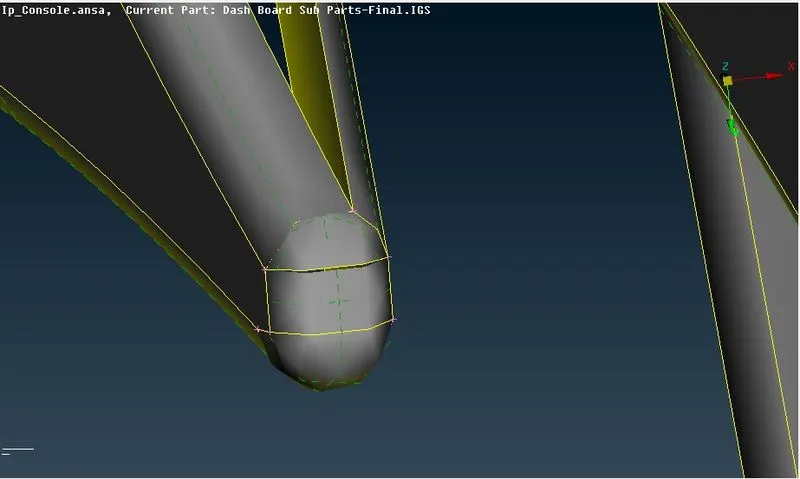
3. After orienting the model, using the Faces > Orient tool, we can go ahead and measure thicknesses of various regions in the component using the Measure tool from the top toolbar.
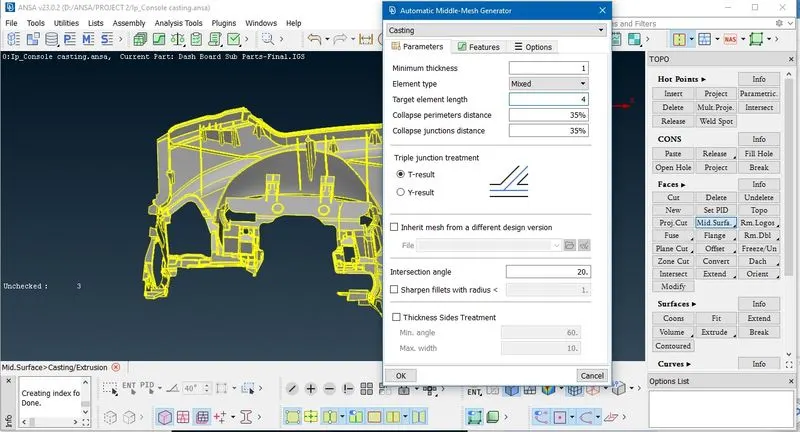
4. Now to generate the mesh we have used the 'casting' option from Mid surface command as the geometry is complicated and it saves a lot of time.
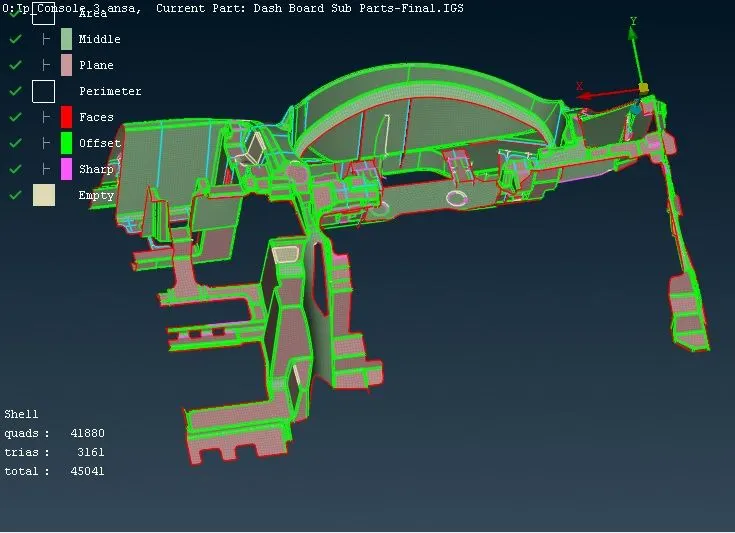
5. Now the mid mesh generated is largely good but there are areas which needs to be worked upon, those area were identified and were improved
using commands such as Macros --> cut/join.
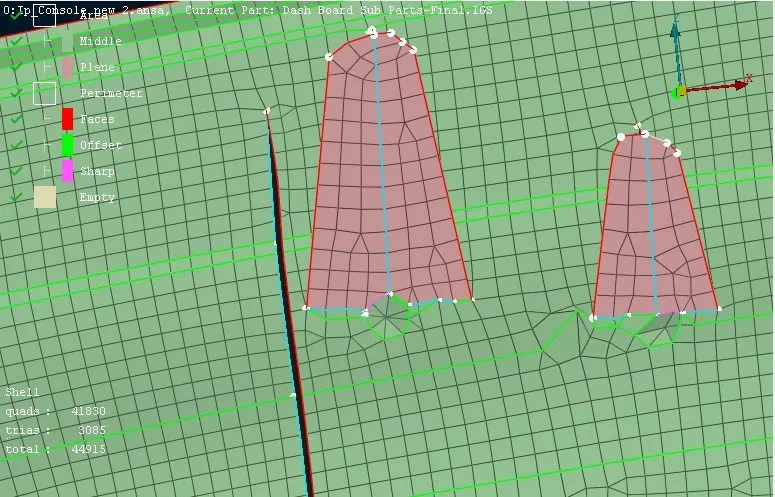
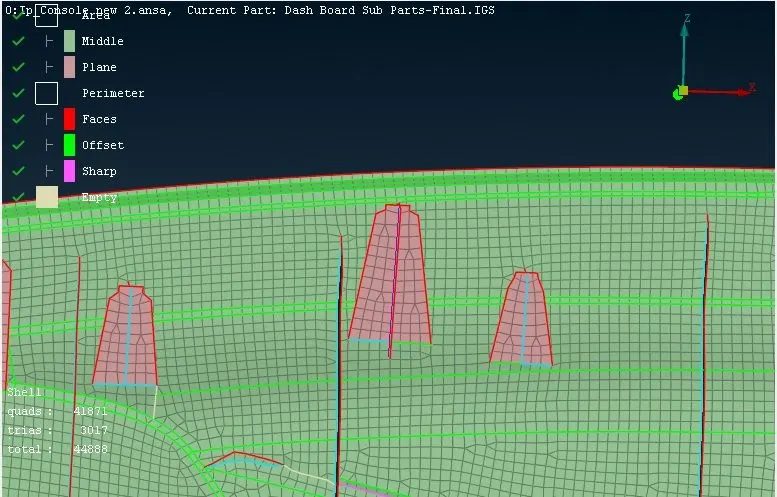
6. After that we check align manager for unasigned areas and perimeters
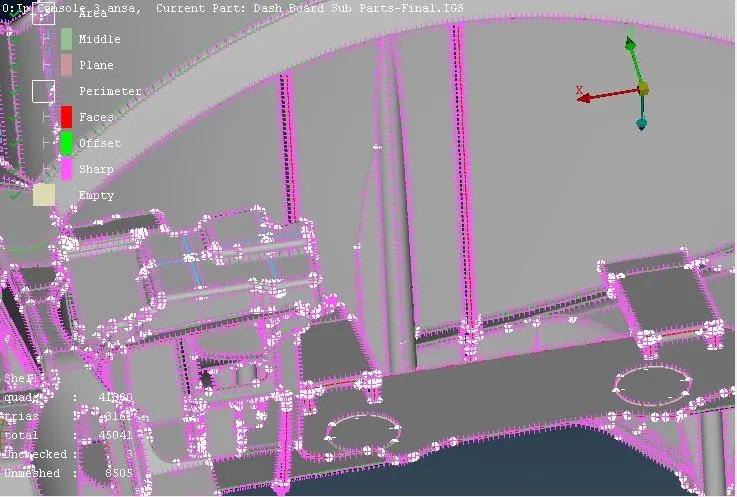
7. As it can be seen ANSA hasn't been able to identify this doghouse correctly, so we manually create mesh for such structures or areas.
First of all it needs to be checked that the base mesh surface is correct so that new mesh can be created upon it. we use Macros --> cut/join option to clear the base surface.
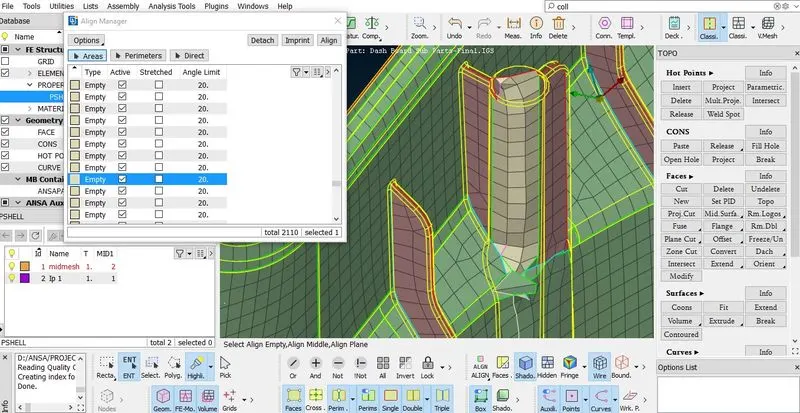
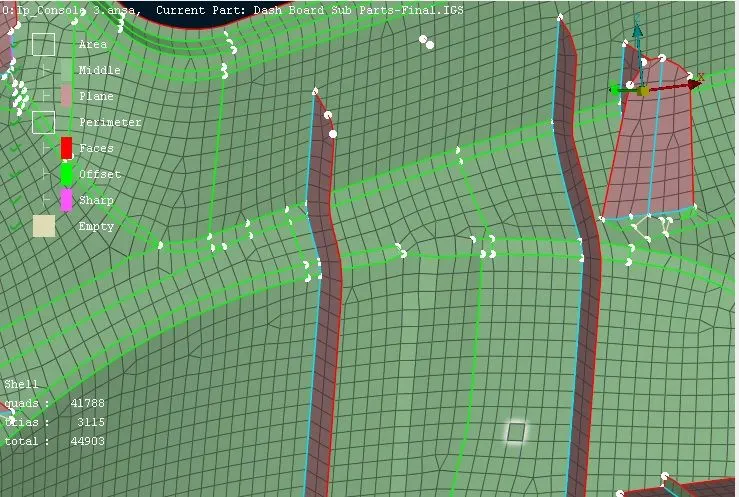
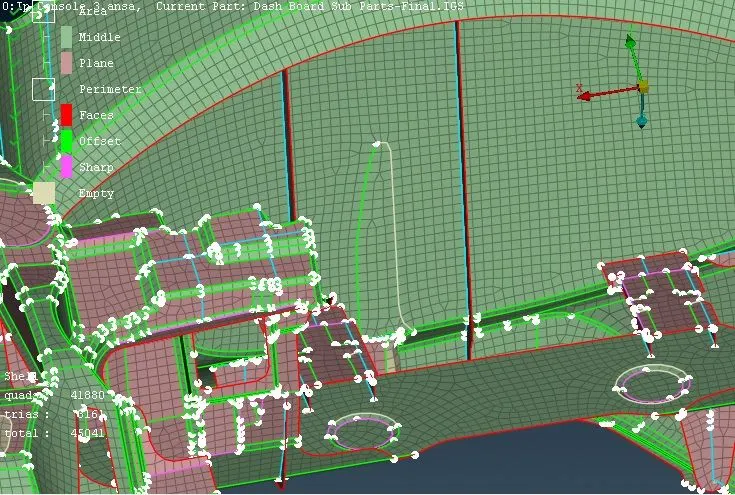
A curve is created using Curve--> Create option with the help of parent geometry
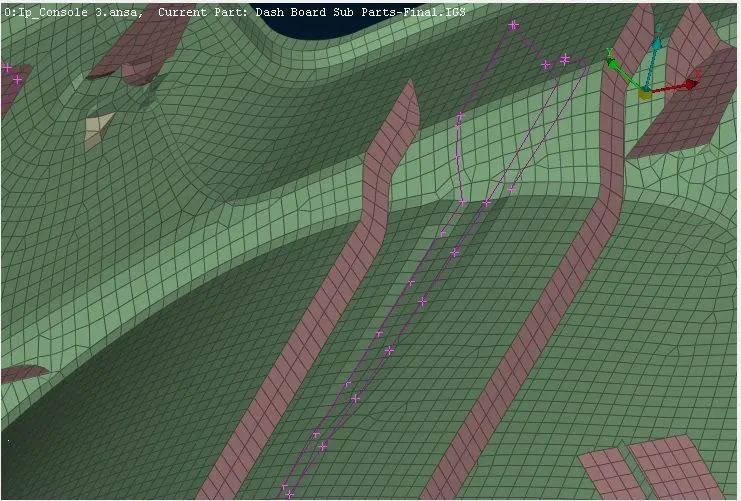
and using Shell Mesh --> Fill option mesh is created for that area
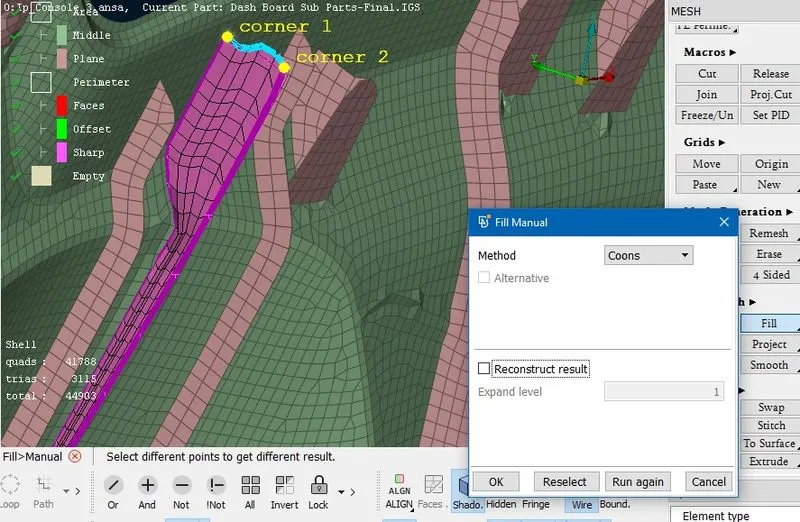
as the structure is a part of the base surface we need to align it to base surface and for that we use Shell Mesh --> Project option to project newly created mesh to the base surface and then use Grids --> Paste option to attach it to base surface
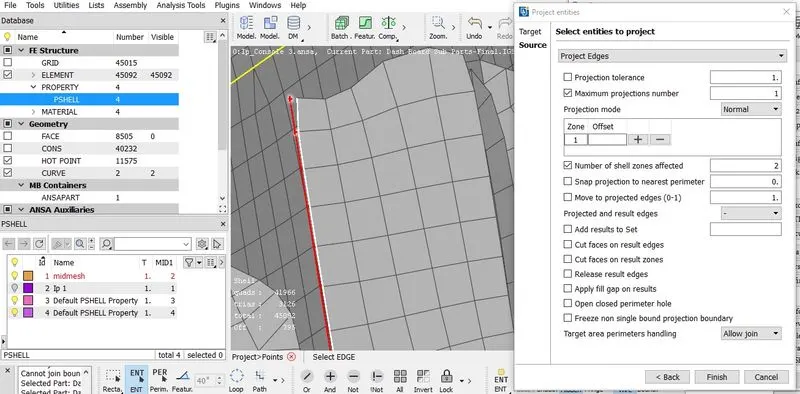
Similarly we check other areas for undefined mesh as they can found in empty section under area tab via Mid Surface --> Align Manager command and asign them their proper definition with respect to parent geometry, It can be either be a plane, middle or an offset.
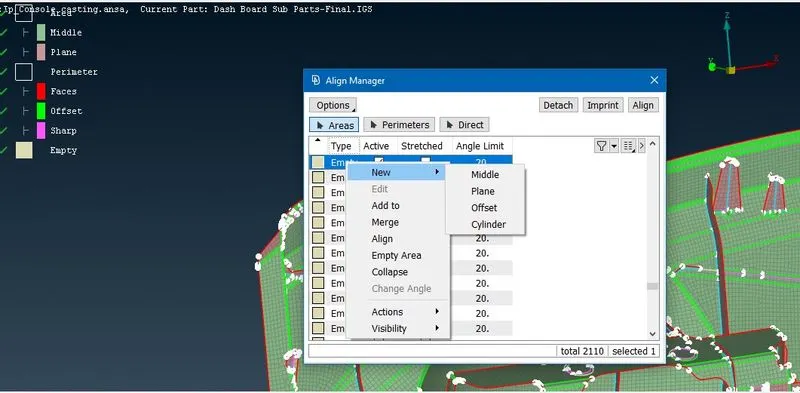
we need to check all the areas under empty section provide a definition as if its not done correctly we'll not be able to asign thickness to it.
After we asign a proper definition to all the areas, we use Grids --> Thickness command to create new property IDs for all the components in the geometry according to their thickness.
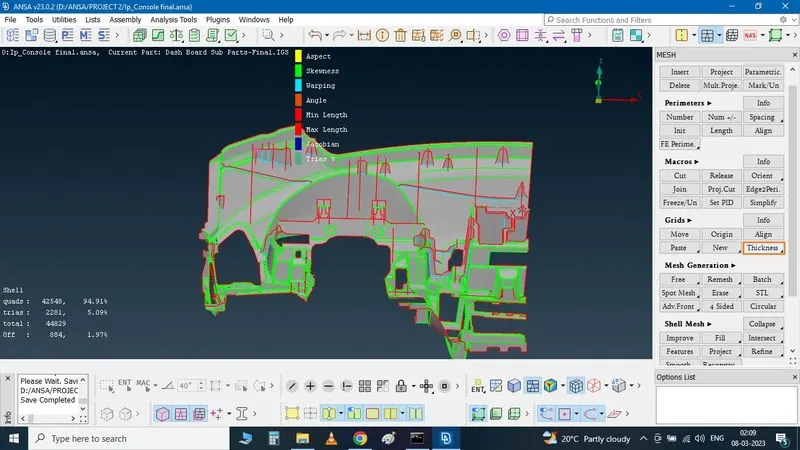
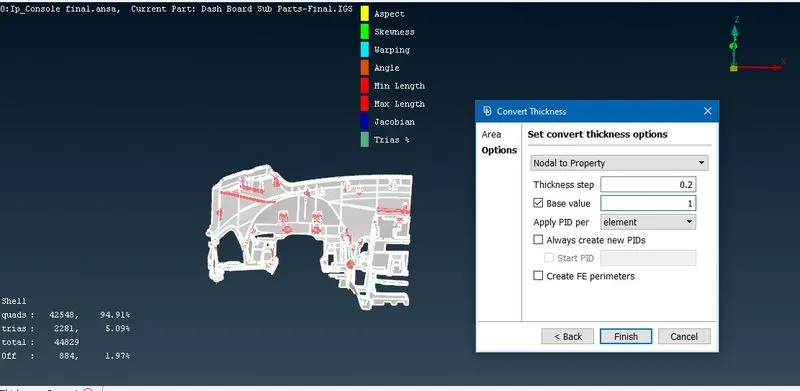
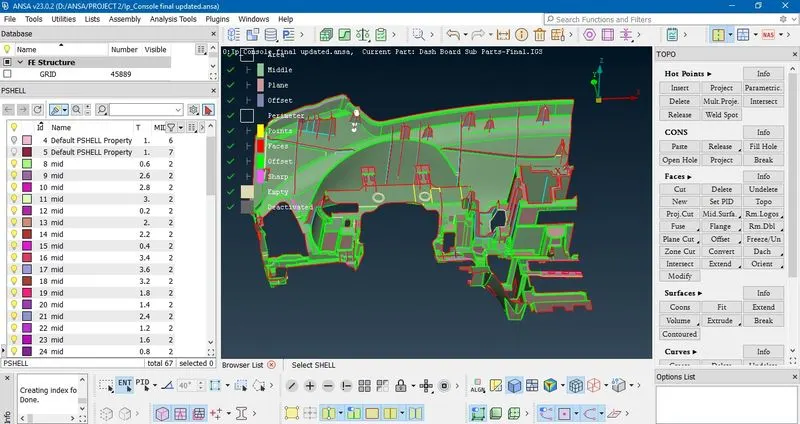
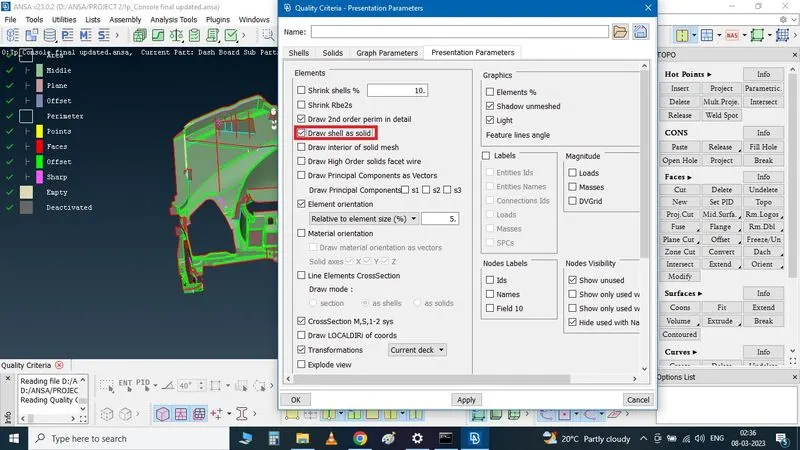
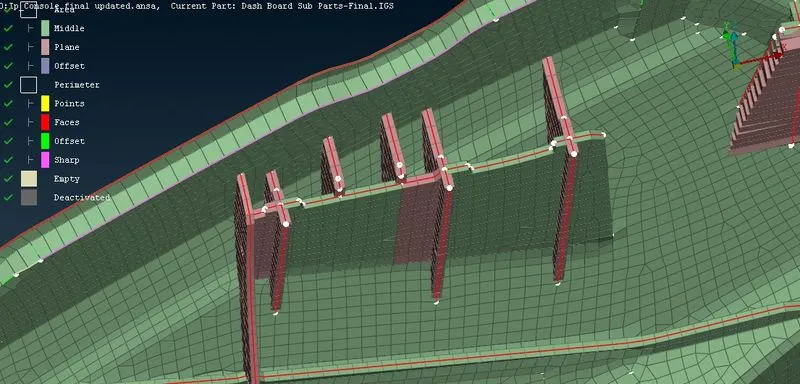
Now, to view the mesh in 3D we can check the "Draw shell as solid" box in Presentation parameter tab under Quality Criteria.
FINAL MESHED COMPONENT IMAGE
LEARNING OUTCOMES
1. Learnt to work on doghouses from a midmeshing aspect.
2. Learning on improving mesh flow since mesh flow is something that cannot be absolutely perfect in components such as this.
3. Was able to make extensive use of Casting and Align manager to create a midmesh for a complex geometry such as this.
CONCLUSION
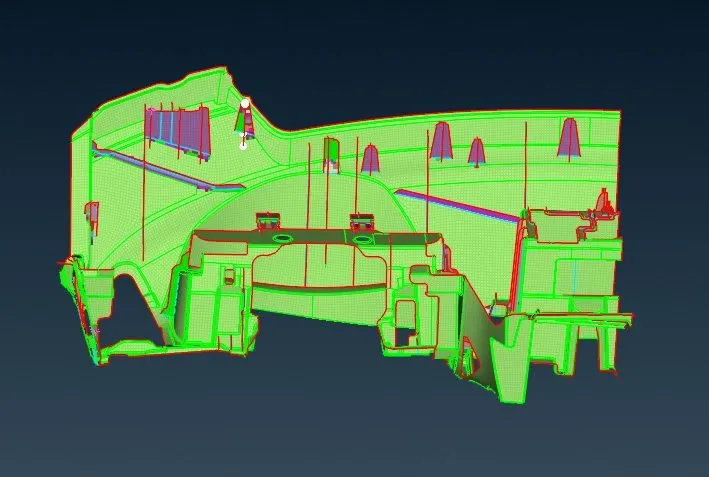
The given Instrument Panel model was meshed as per given requirements using casting command and due to many small regions and boundary restrictions and due to rib placements, there are some unavoidable off elements. Ensured mesh flow was as good as possible