Project 2 - 2D meshing on the instrumental Panel
AIM:
To perform the 2d meshing on the given instrumental panel model by correcting all the present geometrical errors and performing mesh as per the given element Quality criteria.
INTRODUCTION:
Instrument panel is control panel to control vehicle's operation which is located below the wind screen. Contemporary dashboards include the speedometer, tachometer, odometer, engine coolant temperature gauge, and fuel gauge, turn indicators, gearshift position indicator, seat belt warning light, parking-brake warning light, engine-malfunction lights, etc.
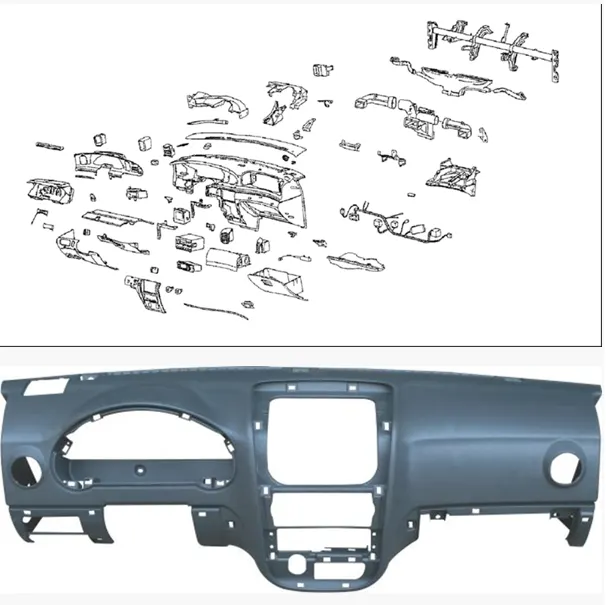
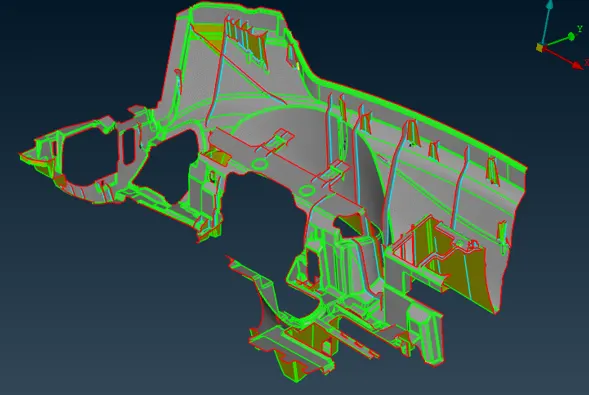
GIVEN MODEL:
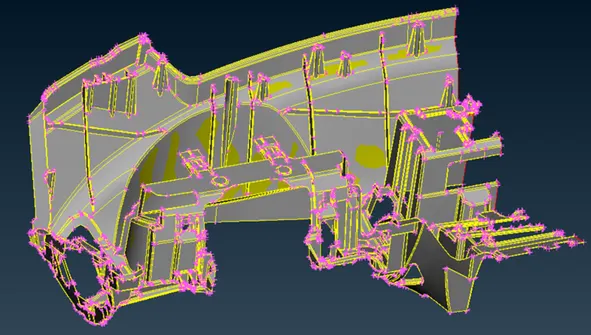
PROCEDURE:
STEP 1: Importing the model to the ANSA software.
To import the model to ANSA we have to have ".ansa or .igs".
First, open ANSA software and go toFILE and open the file and upload the file to ANSA.
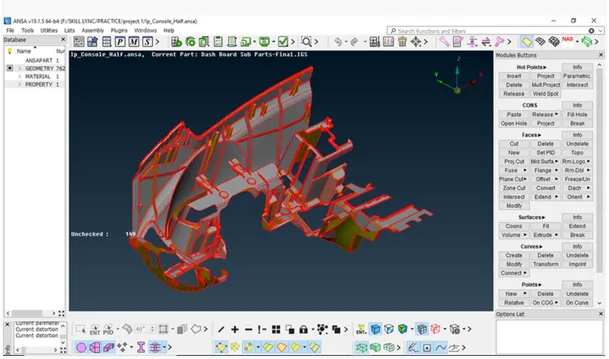
STEP 2: Performing the geometry clean-up on the model (INSTRUMENTAL PANEL)
Geometry clean-up is required before extracting mid surface. Check→→Geometry→→Execute
After the model is opened in the ANSA, we have to change the orientation of the model to grey
After the orientation is done, we have to perform the geometry clean up on the model.
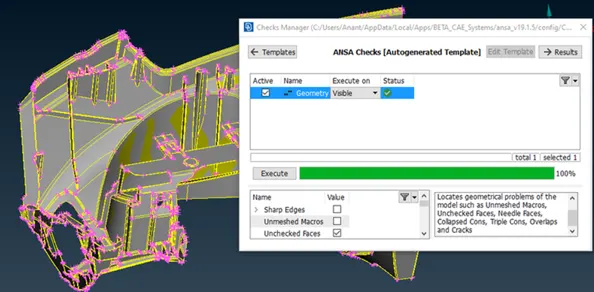
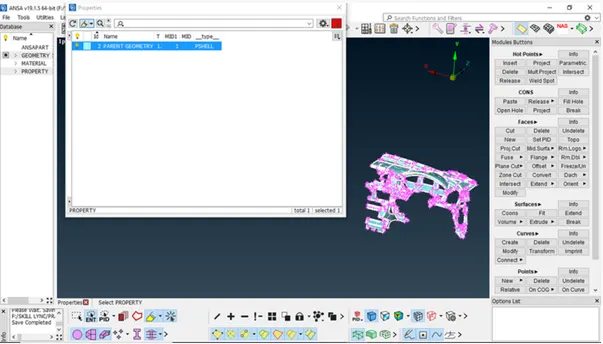
After the geometry clean-up is done, we have to set different PIDs for the models. LIST<properties.< p=""></properties.<>
STEP 3: Obtaining mid surface of the model.
After the geometry check-up is done on the model. We have to obtain the mid surface of the model.
We have different methods to get the mid surface like OFFSET option, MIDDLE option, SKIN option, CASTING option in the FACES command in TOPO modulus.
Thickness of the model varies from part to part. So, OFFSET is used to extract mid-surface.
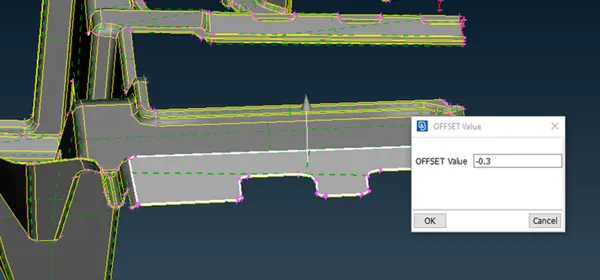
Mid-surface of each part should be connected by using Extend and Intersect.
Dog houses in this model should be captured as a "Cross pattern" in Mid surface since dog houses are solid (Hollow from inside) and are not having any thickness.
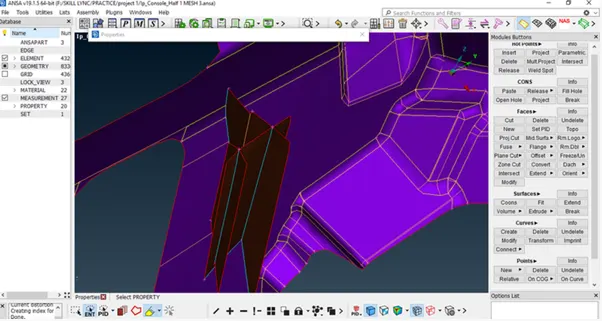
Make sure to measure the thickness of the model before using the offset option because the offset distance should be half the original length. so make sure to measure a few areas which are required and store them.
By using all the options get mid for the model.
STEP 4: Setting the Quality criteria and mesh parameters.
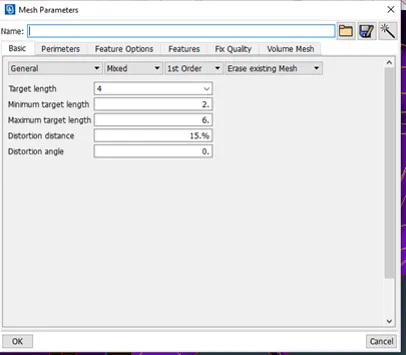
After the mid surface is generated, we have to set the mesh parameters and the quality criteria.
To set the quality and mesh parameters we have to go to UTILITIES modulus.
In the mesh parameters, we have to set the minimum, maximum, average length, and type of mesh.
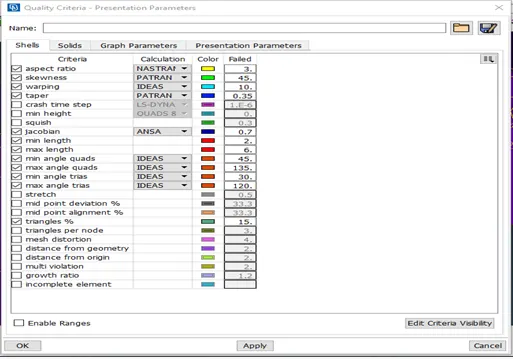
In the Quality criteria, we have to set the quality according to the requirements of the customer.
UTILITIES < QUALITY CRITERIA for setting the quality criteria.
UTILITIES < MESH PARAMETERS for setting the mesg parameters.
STEP 5: Performing the topological clean-up on the mid surface.
After the mid surface is generated we have to do some topological clean-up on the model as we will have unwanted double and triple cons on in the model.
By using the CUT option with a left mouse click, we can remove the double cons. FACES<cut.< p=""></cut.<>
We have to delete some surfaces and create new surfaces on the mid surface.
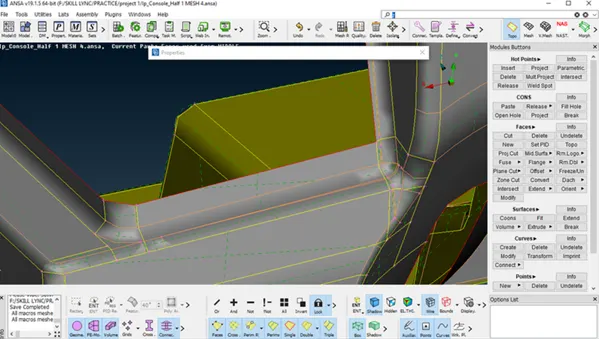
By using the NEW option in FACES we can create new faces. FACES<new<(fillter,coo.ns).< p=""></new<(fillter,coons).<>
After the topological clean-up is done on the model we have to start modeling the mid surface.
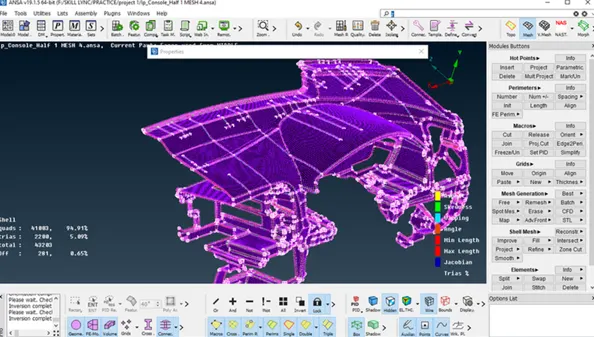
STEP 6: Meshing the mid surface.
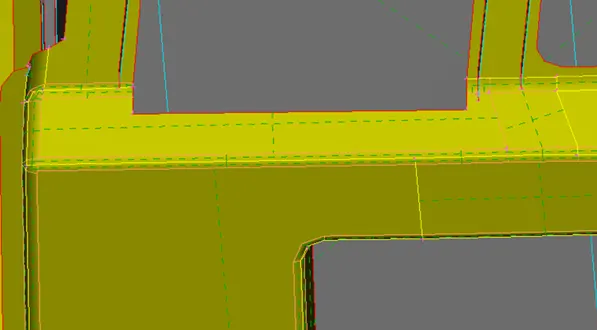
After the topological clean-up is done on the mid surface. We have to mesh the mid surface of the model.
First, we have to set the LENGTH in the PARAMETERS of the model with Average length. MESH MODULES< PARAMETERS<length<="" p=""></length
The Trias in the mesh model has to remove or improve by using SPLIT, SWAP option in ELEMENTS Option In MESH MODULE.
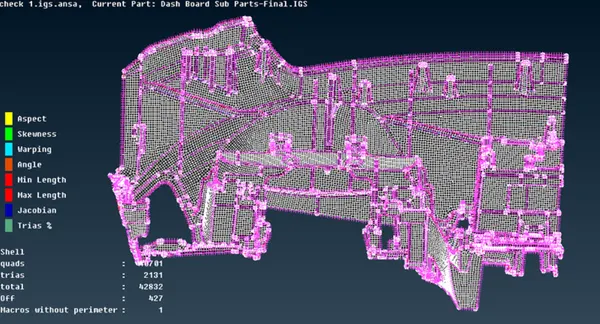
Finally, the mesh needs to have ZERO OFF elements, ZERO UNMESHED SURFACES with minimum TRIA ELEMENTS.
CONCLUSION:
The modeling and the meshing of the Instrument panel model is performed according to the given mesh parameters and quality criteria.
LEARNING OUTCOMES: -
1- Learned to carry out mid-surface of a component using different mid-surface tools options in ANSA software.
2- Learned to do mesh as per quality criteria.
3- learned how to improve the mesh quality.
3- Learned how to apply thickness on the mid-surface elements.
Note- As the model mesh file was to bif and i was not able to upload it so i have only submiteed the half portion.