Project 2
AIM :
*To import given rear suspension model into ansa.
*To check geometrical errors and fix them
*To perform mid surfacing in the required parts and
*To perform connections.
PROCEDURE :
GEOMETRICAL CLEAN UP :
I) Apply topology to fix the parts that are not joined.
II) Go to check manager ,click on geometry , dialog box opens up and select execute. The geometrical errors will be shown after the former operations.
III) Select the geometrical errors and use right click option. A 'fix' option will be visible and by selecting that , it will fix the errors.
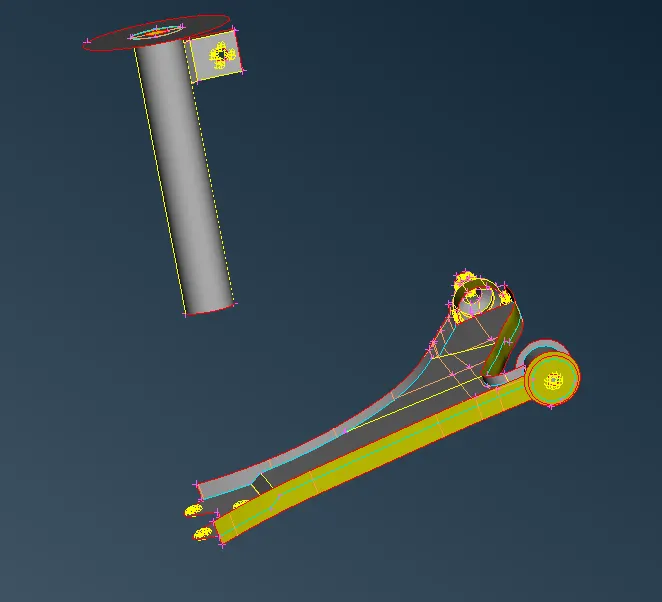
IV) After fixing we will get geometrical clearance.
V) Some triple cons issues cannot be auto fixed. so we need to do it manually by selecting topo module-cons-release. this has to be perfomed on a corresponding triple con to release them and make them as single cons.
VI) After the above process, use topology to make it as double cons. Triple cons can also be fixed by deleting the overlapping surfaces as they tend to form them.

(image 1 - geometry clearance)
MID SURFACING :
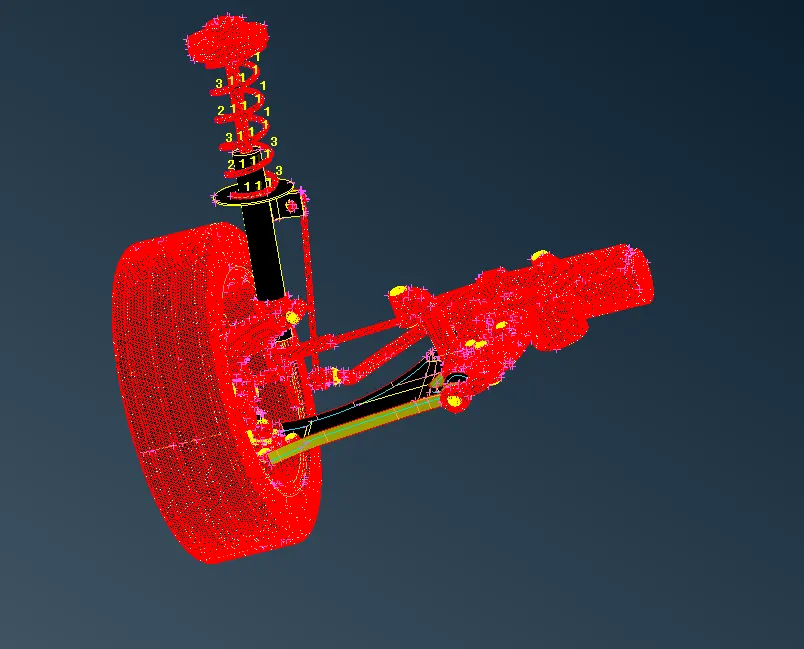
I) As we know there are different processes for generating mid like skin,casting and manual offset. The one we used here is manual offset.
II) Thickness of the parts that has to be offset is measured by measuring the thickness of two nodes or cons.
III) Half the value of thickness is off setted to generate the mid.
(image 2 - absorber and lower arm)
SHELL MESH AND VOLUME MESH :
I) After generation of mid , the component has to be shell meshed.
II) Switch on hidden option so that it makes quality paramteres visible.
III) Go to mesh module. Use mesh generation-spot mesh . The given quality criteria for mid surface ,
Target length
4
Minimum Length
2
Maximum Length
6
Aspect
3
Warpage
15
Skewness
45
Jacobian
0.7
Minimum Quad Angle
45
Maximum Quad Angle
135
Minimum Tria Angle
30
Maximum Tria Angle
120
Set quality parameters before meshing.
I) Volume mesh has to be perfomed on the other areas like tyre,rim,coil spring,struts,disc,brake calipers.
II) Before v mesh , shell mesh has to be perfomed. The quality criteria - min and max lengths : 2&6 , target length - 4 , skewness -45.
III) Go to V mesh module, define volume of corresponding component.
IV) This makes the volume visible in the 'list' option.
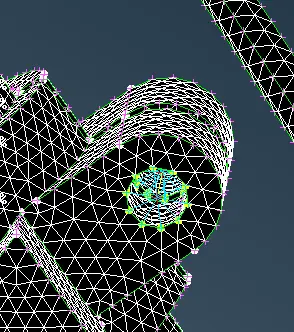
V) Go to list , select the volume and click on right mouse button. Go to remesh option and select 'tetra rapid'. This generates a volume. The generated volume can be checked by switching on 'bounds' on the bottom.
VI) 'Collapse' has to be set as 0.2 to check quality parameters of volume generated. if any failure occurs , collapsed part can be fixed by , fix quality option.
(image 3 - v meshed and mid surfaced component)
CONNECTIONS :
I) After completing above processes , go to nastran module.
II) Connections have to be perfomed on the bolted areas . NASTRAN-ELEMENTS-RBE2 MANY NODES has to be used .
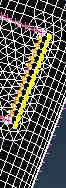
III) Take a bolted part, use the above option. select the mode of connection , like loop or pathor nodes. Select the adjacent bolted area parts, and click ok. Set degrees of freedom as 6 and then click ok. A master node will be generated at the middle and the nodes of each macros will be connected to it.
IV) Use two node option when two sides of master nodes have to be connected.
V) This has to be performed to the areas where connections occur.
(image 4 - two node and rbe2 nodes)
SEAM AND SPOT WELD & CBAR :
I) Seam weld and spot weld are used to perform welding operations.This provides a permanent attachment and greater stiffness.
II) To perform seam, go to topo module, click on cons 2 curve. select the single con of the part that has to be welded. Convert the curve into seam. Now go to connection manager , set P1 and P2. The part on which the weld has to be attached is made as base plate. use overlap shell to perform seam connection and click on realize option.
III) Set weld PID by using shift+? before realizing.
IV) To perform spot weld, go to topo and use on points COG option. Select the macros and use middle click. This generates a center point around the selected macros.
V) Convert the point into spot weld.
VI) Set P1 and P2 similar to seam weld and use rbe3 hexa rbe3 to perform the welding.
(image 5 - seam weld)
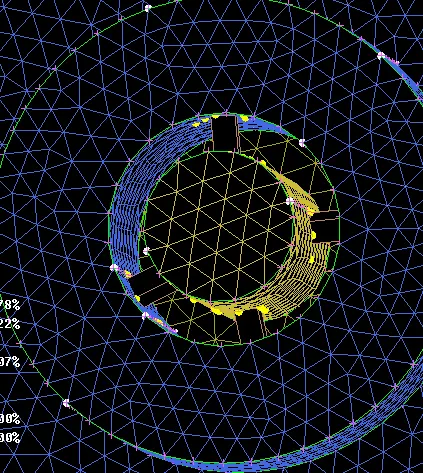
(image 6 - spot weld)
I) Cbar has to be done on the coil spring. To do that , first use middle curve option and select the curve of one side as first group and next side as second group. By middle click option , a curve will be generated along the spring area.
II) Go to NASTRAN-ELEMENTS-CBAR and select the curve that is generated in the previous step. set cross sectional value as element length. Now go to properties and select PBAR. click on 'A' on the prop dialog box and select shift+? . Set radius and click ok.
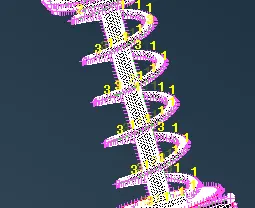
(image 7- cbar)
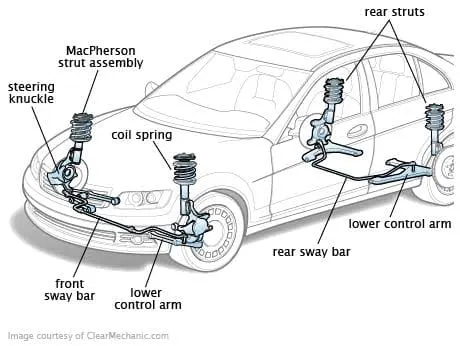
SUSPENSION SYSTEM OF A CAR
LEARNING OUTCOMES :
Learnt to do geometry clean ups,perform mid surfacing, meshing, v mesh and connections.
CONCLUSION : The rear suspension was studied and necessary operations were perfomed.