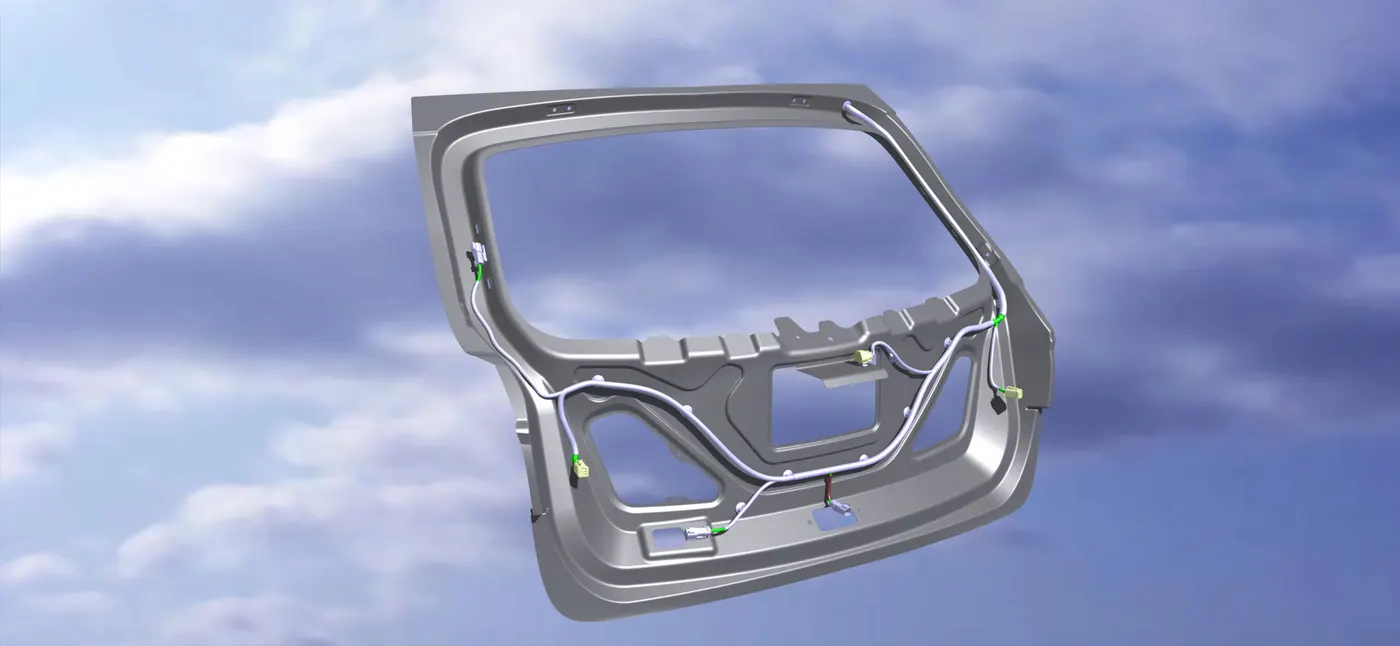
Project 2
Backdoor Wiring Harness Using-CATIA-V5:
Aim:
- To Route the wiring harness on given BackDoor.
- To Prepare the Flattened View of wiring harness.
- To prepare the Drawing sheet.
Given Data:
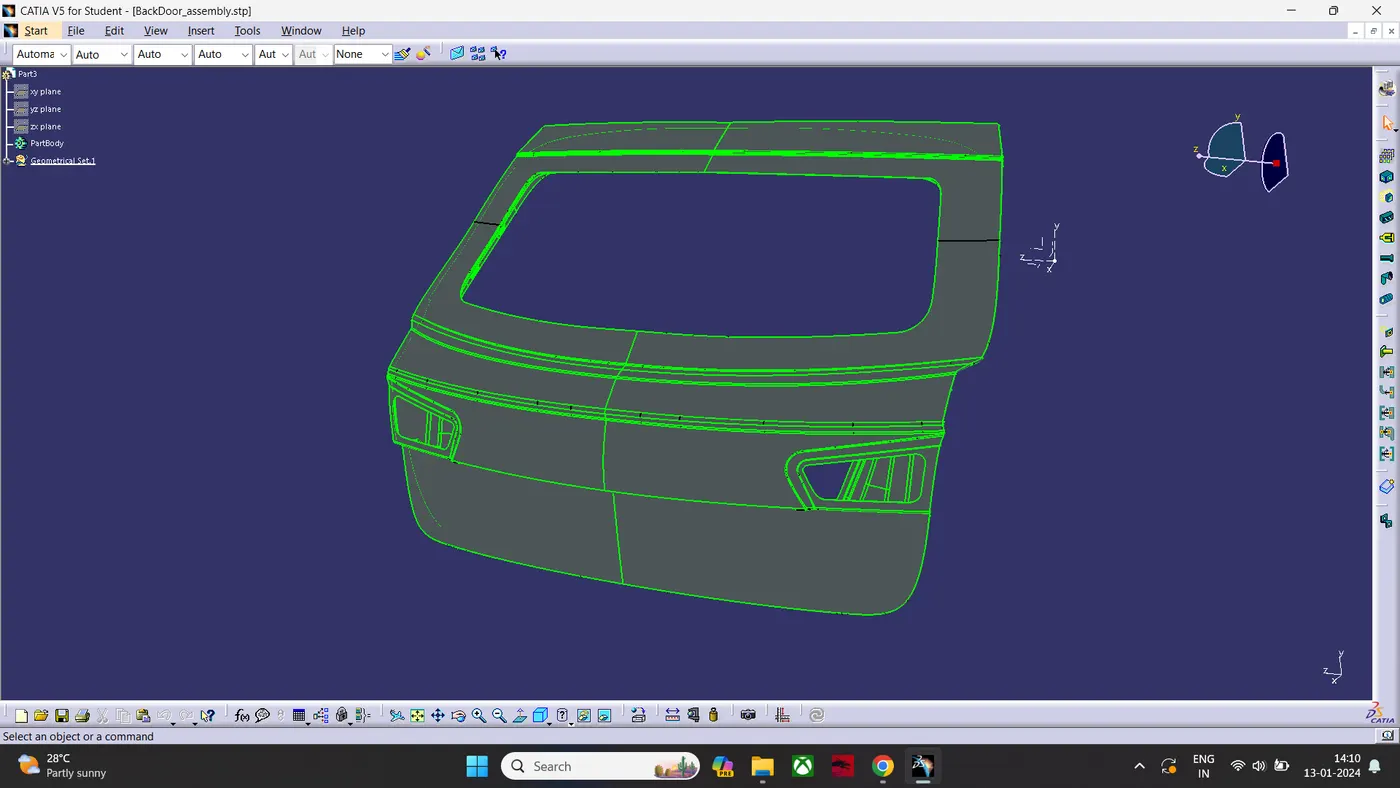
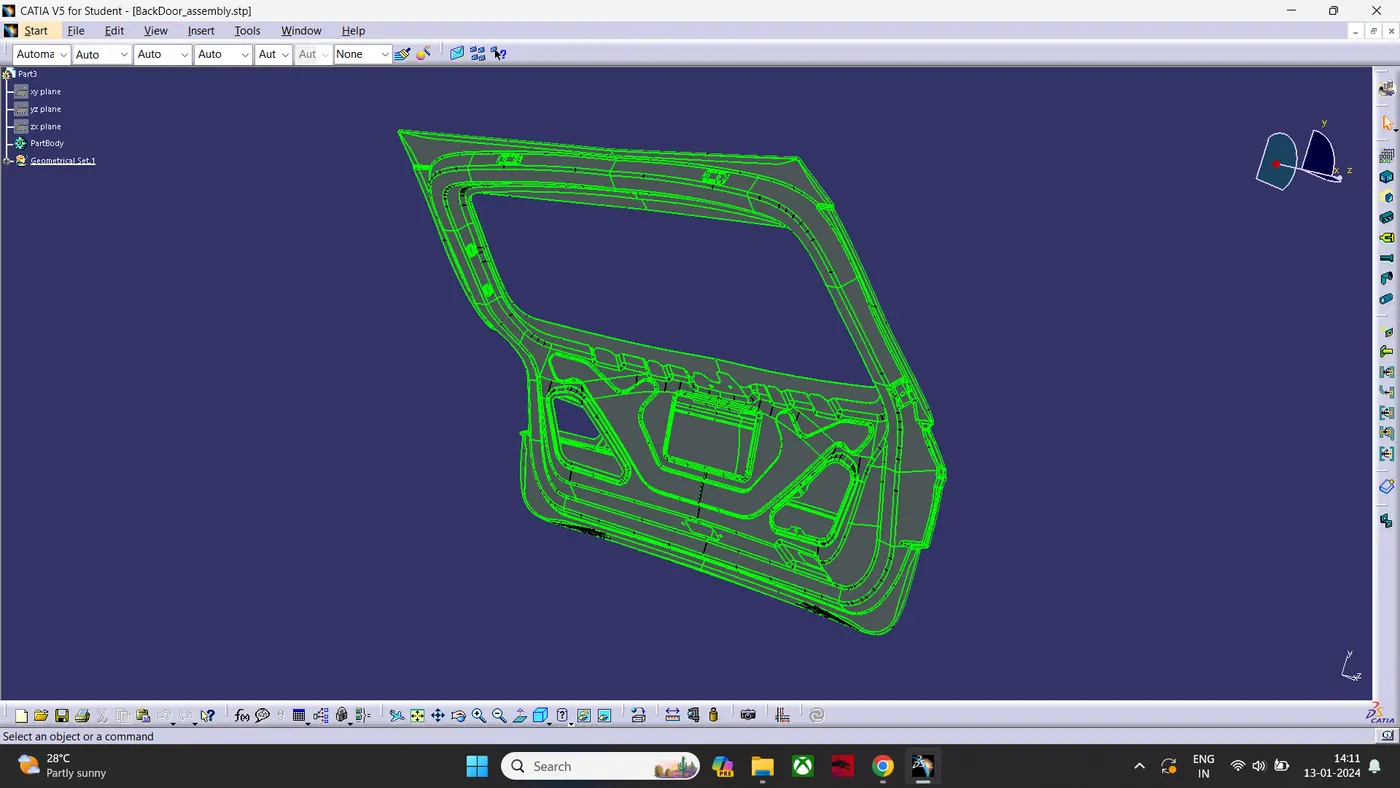
Wiring Harness Routing Methodology:
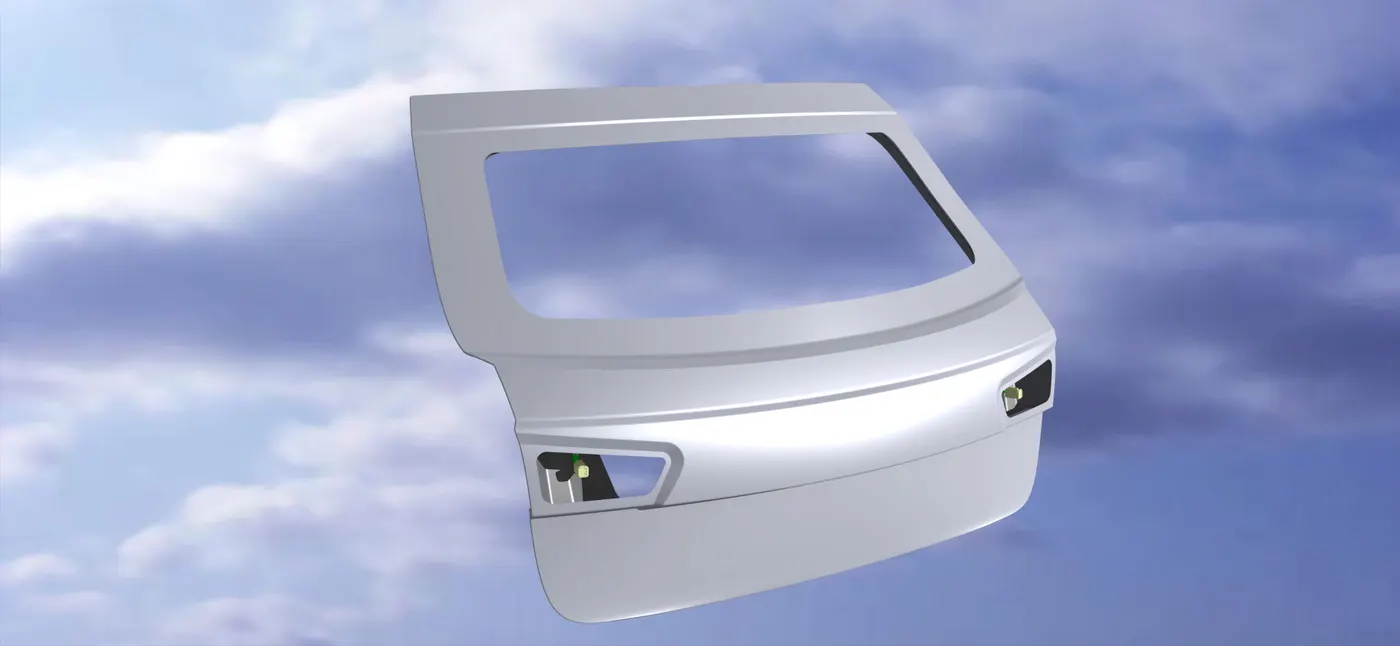
- I have Made an assembly with the given Part.(BackDoor)
- The BackDoor Assembly Consist of
1.Inner Pannel 2.Outer Pannel Upper And 3.Outer Pannel Lower.
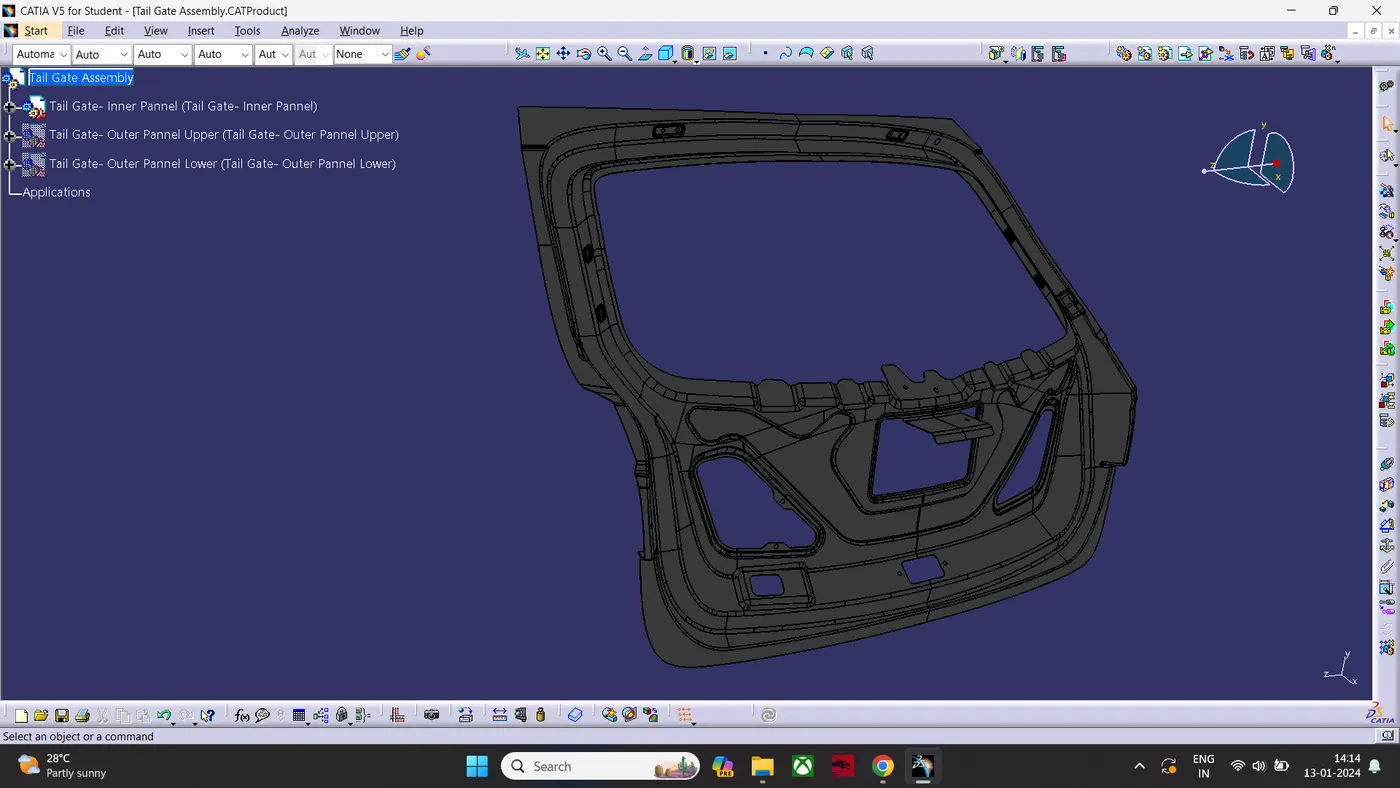
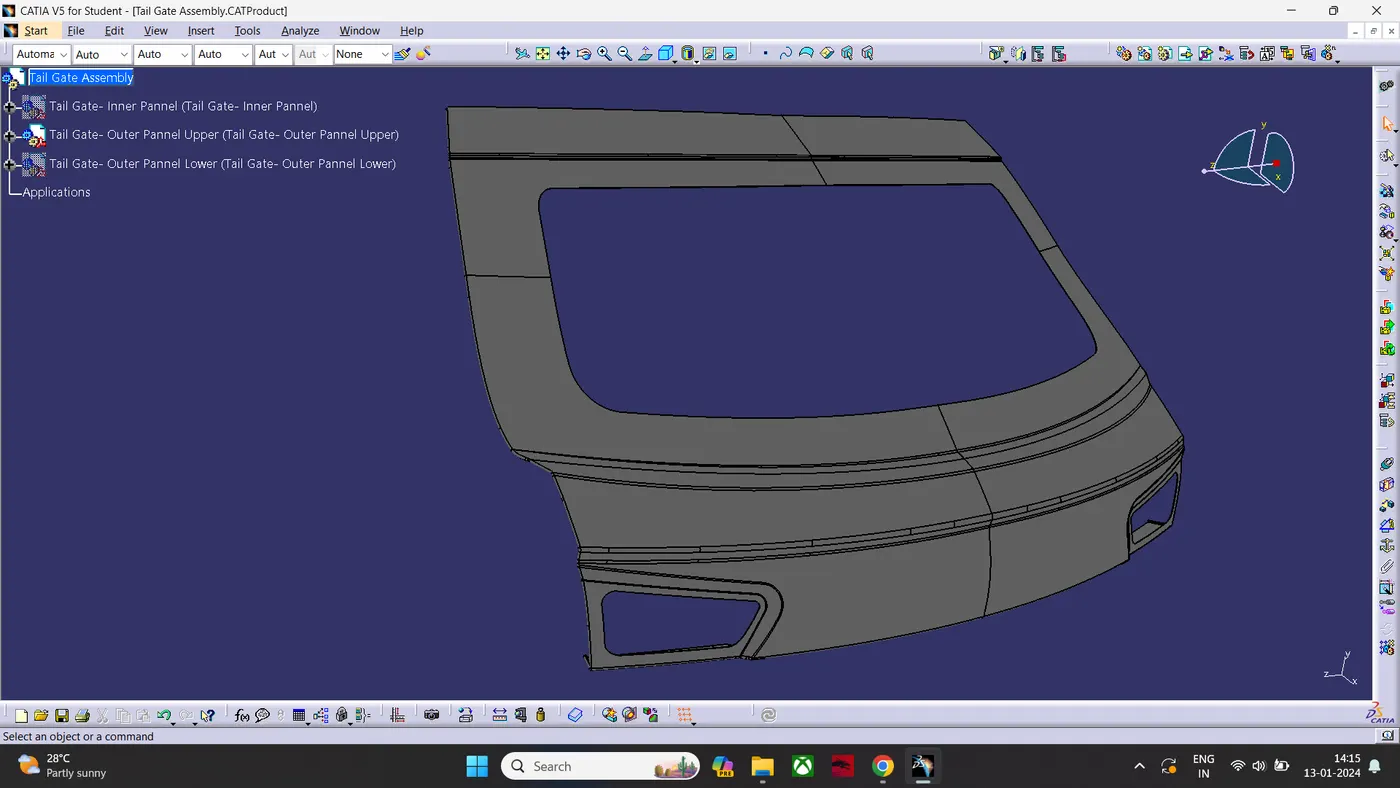
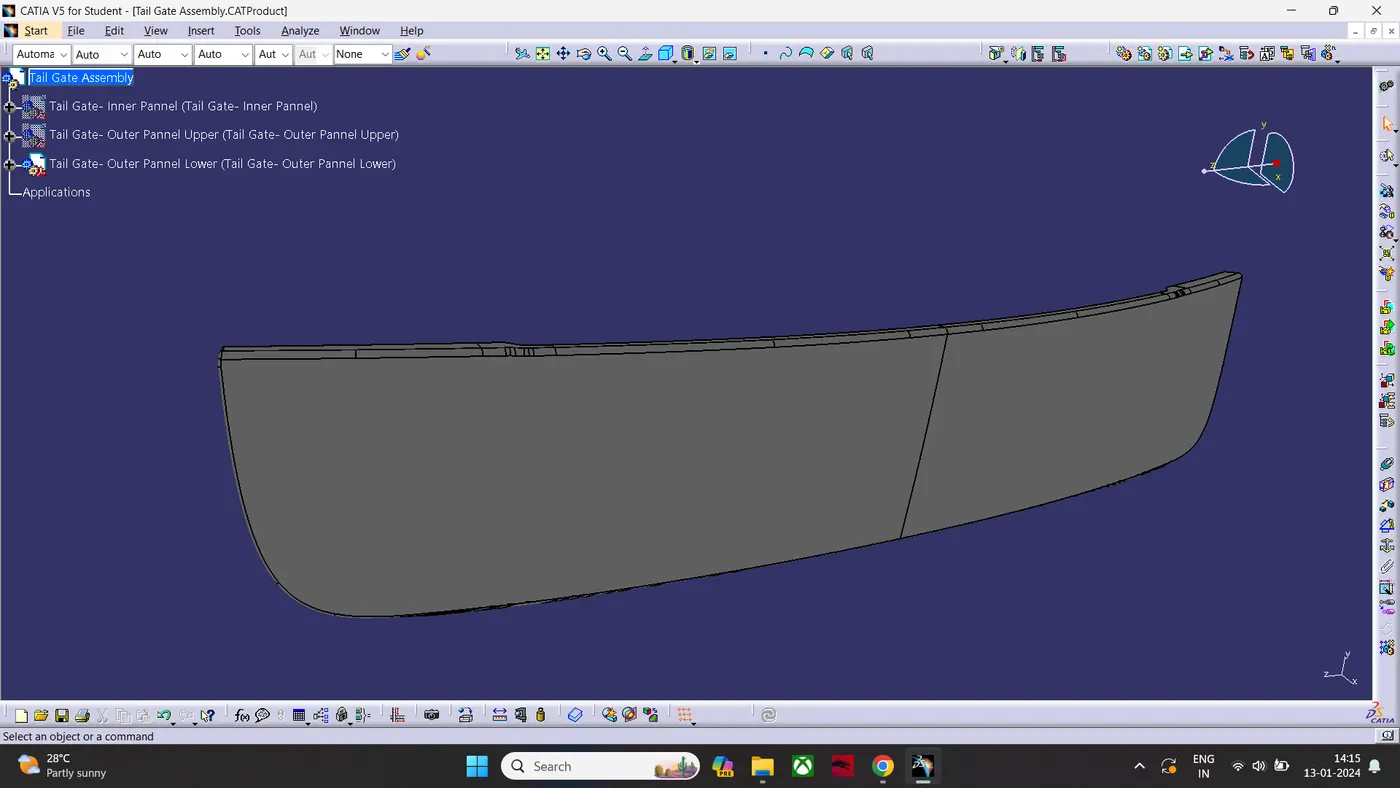
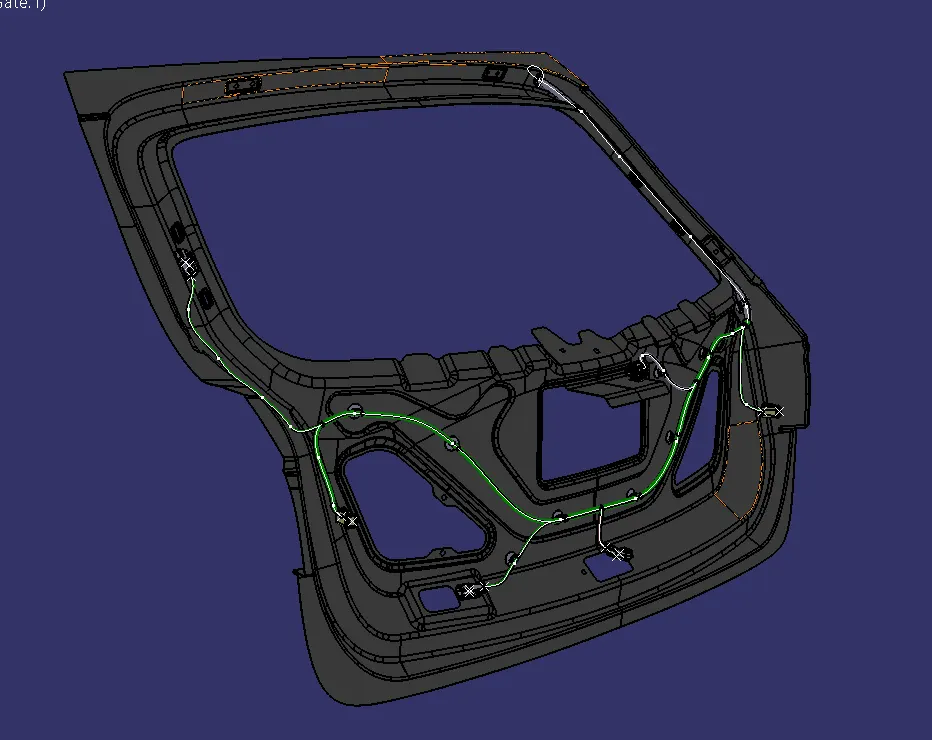
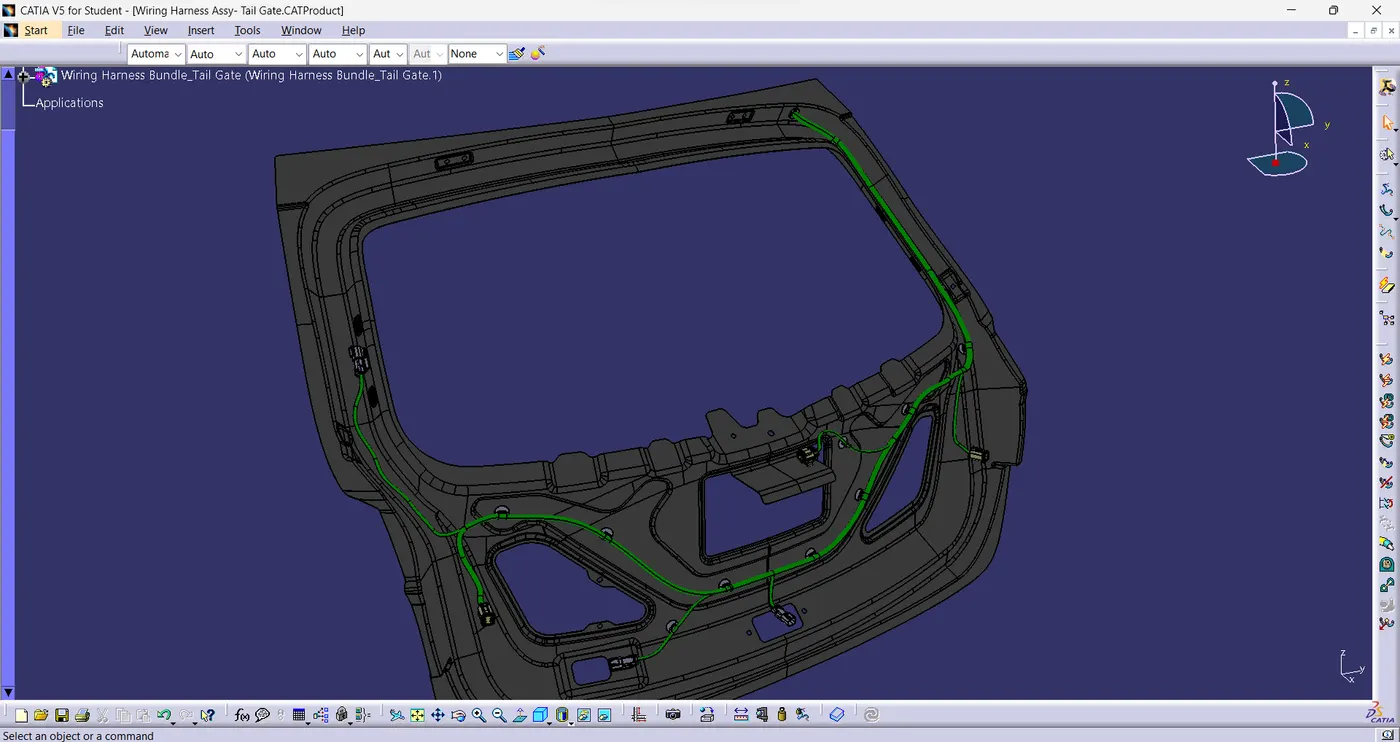
Whole Assembly:
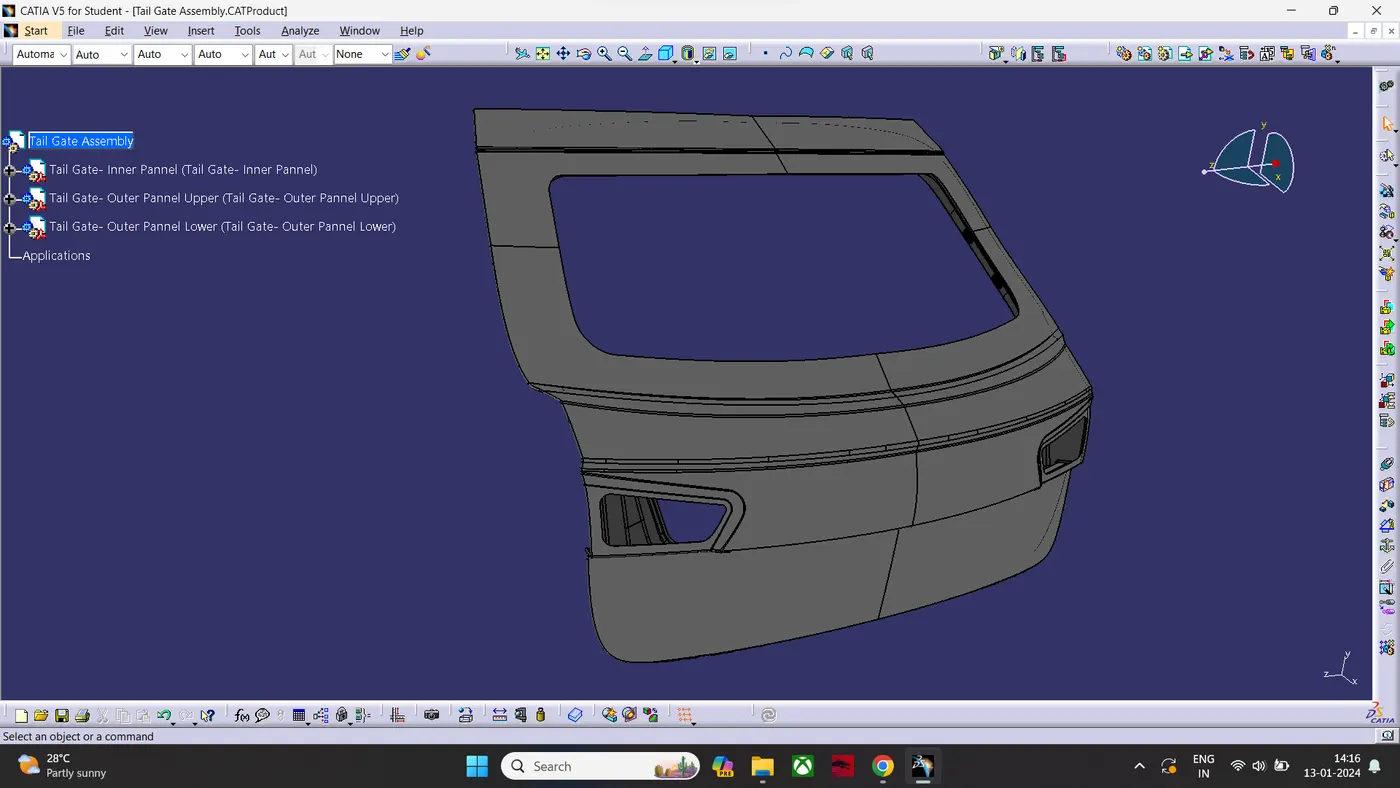
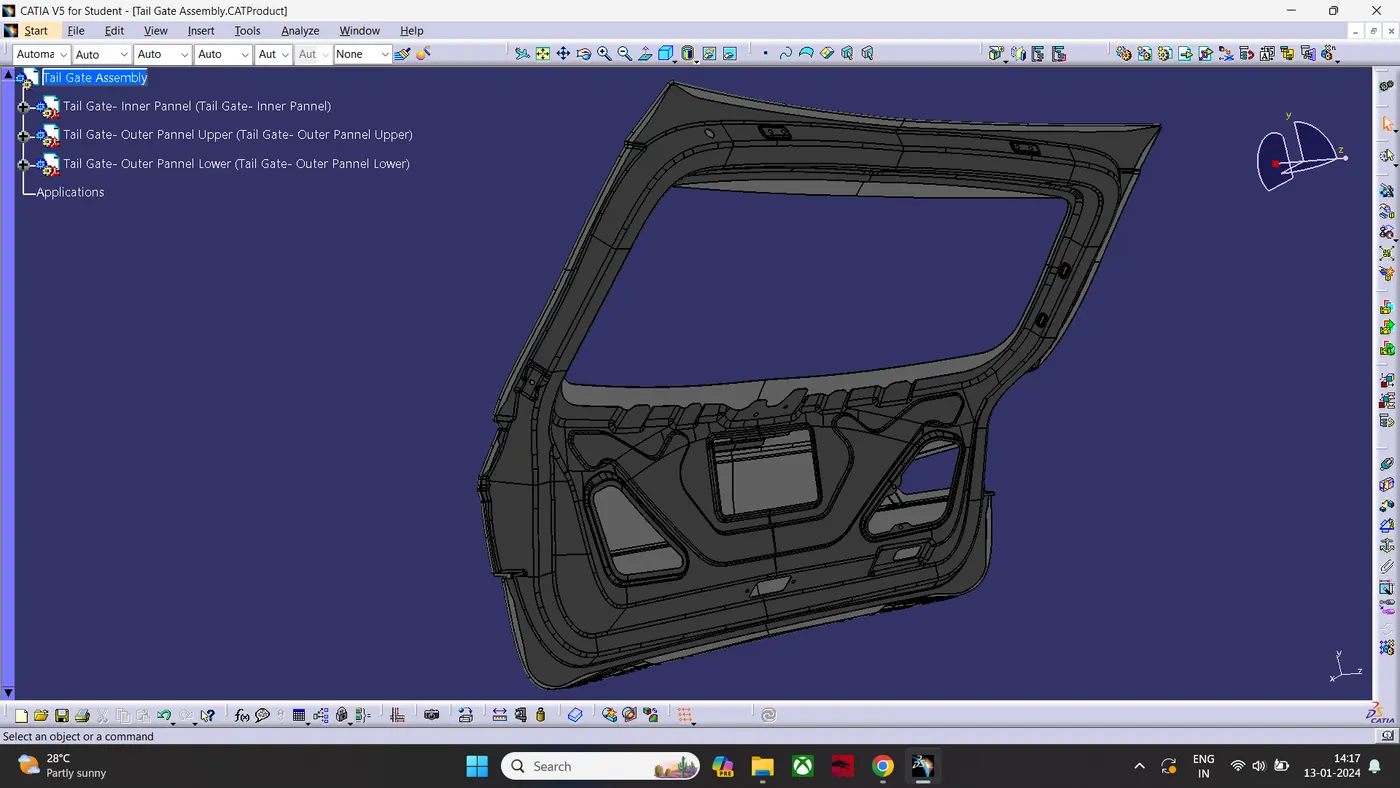
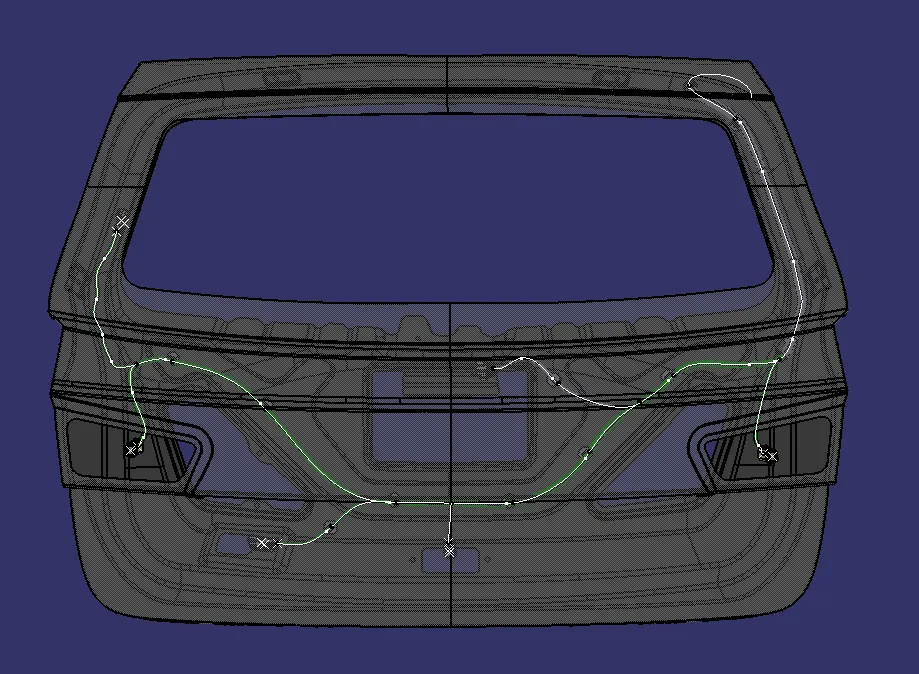
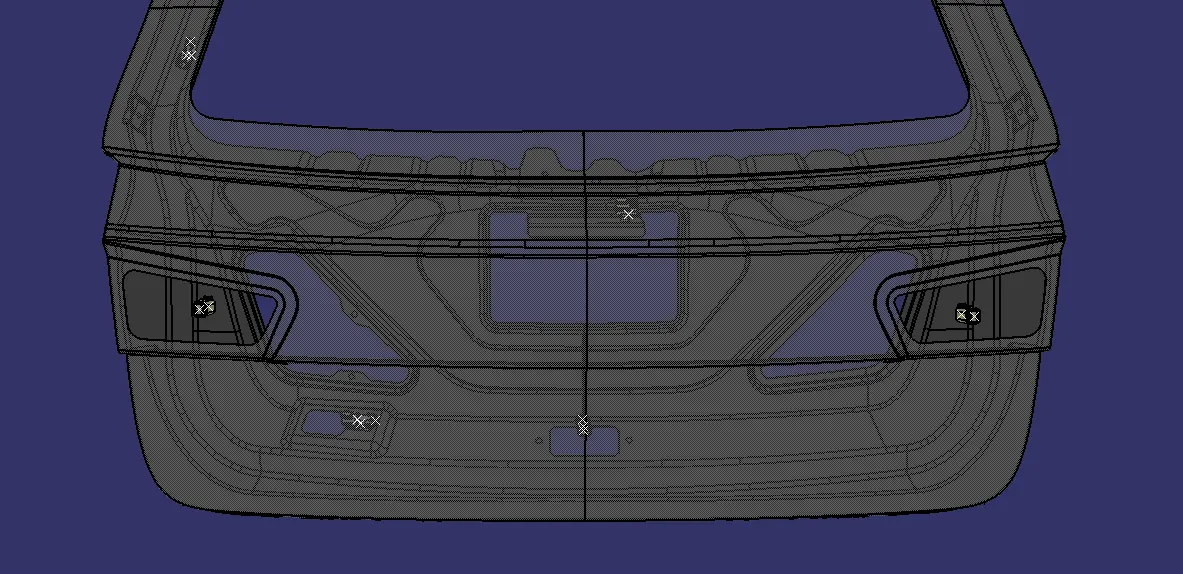
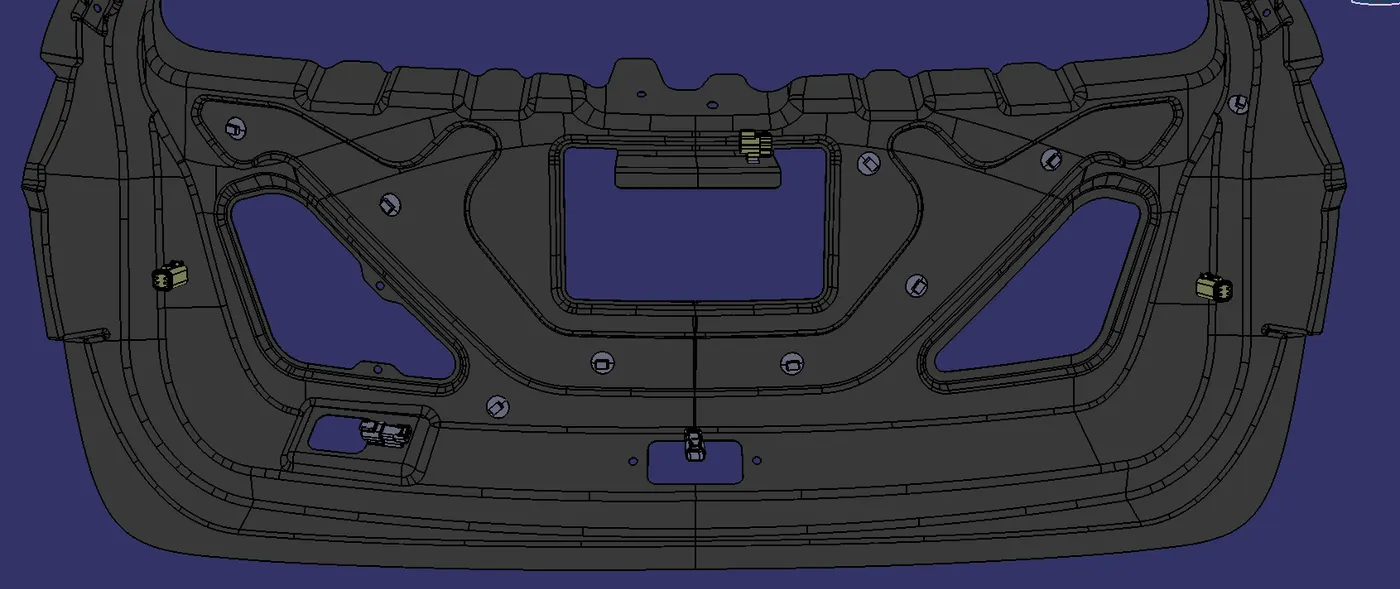
- The backdoor Has different types of electrical harness. they are
- Rear Windshield Wiper Motor.
- Right And Left Tail Lights.
- Number Plate Lights.
- Trunk Lights.(Helps In access of Trunk in Dark Areas)
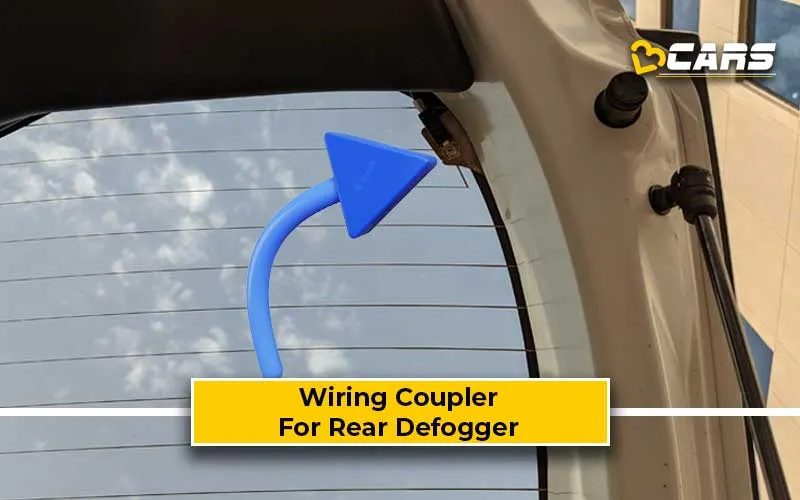
- Rear Windshield Defrosting Heating Coil.(Paralllel Line Present in rear Windshield)
- Rear Windshield Wiper Motor Connector.
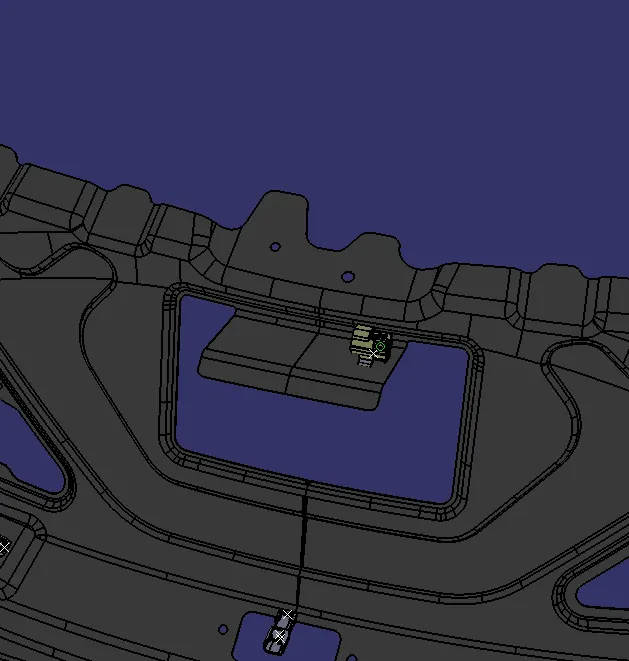
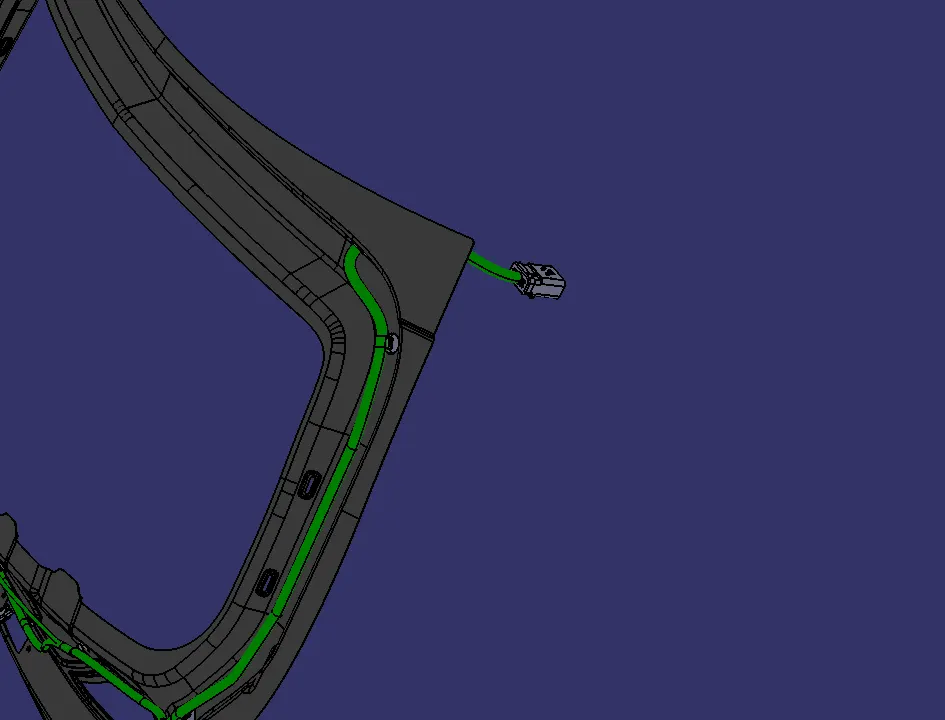
- Right And Left Tail Light Connectors.
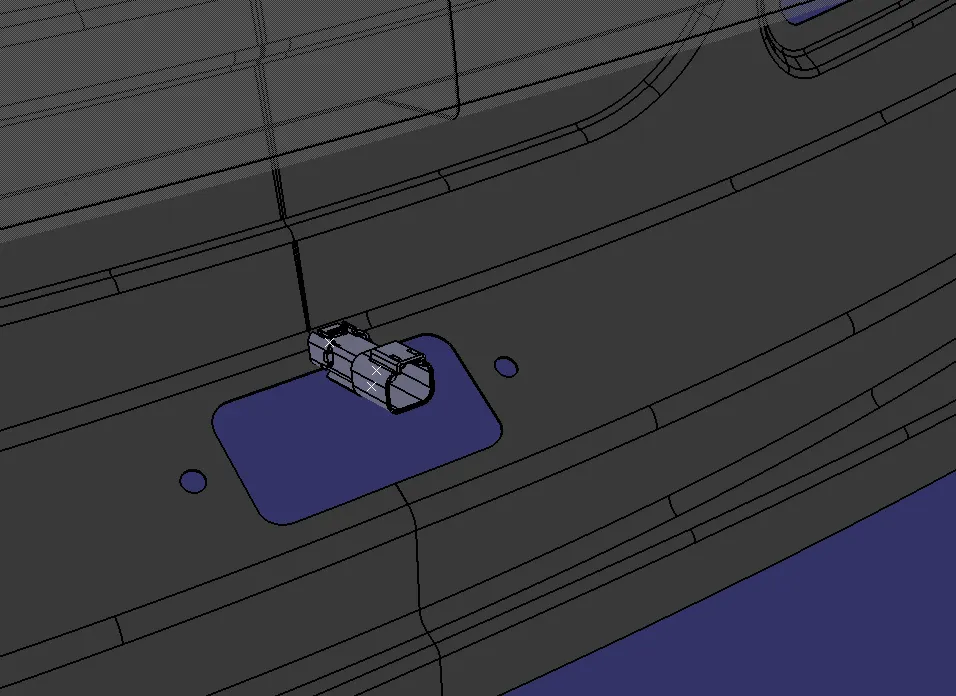
- Number Plate Light Connector.
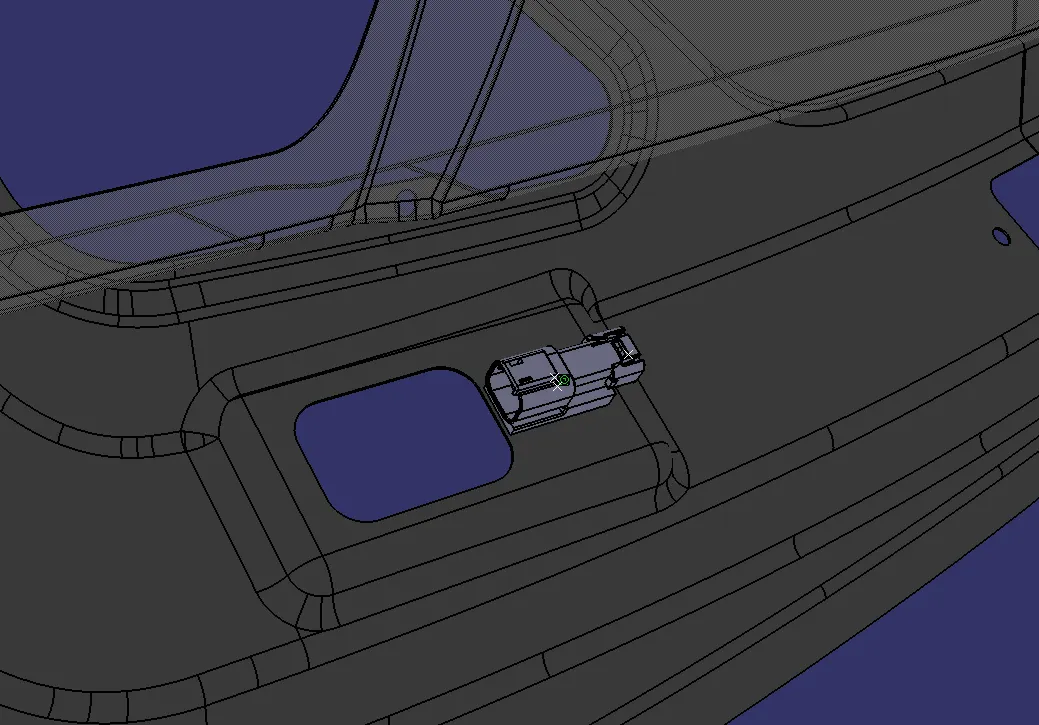
- Trunk Lights.(Helps In access of Trunk in Dark Areas)
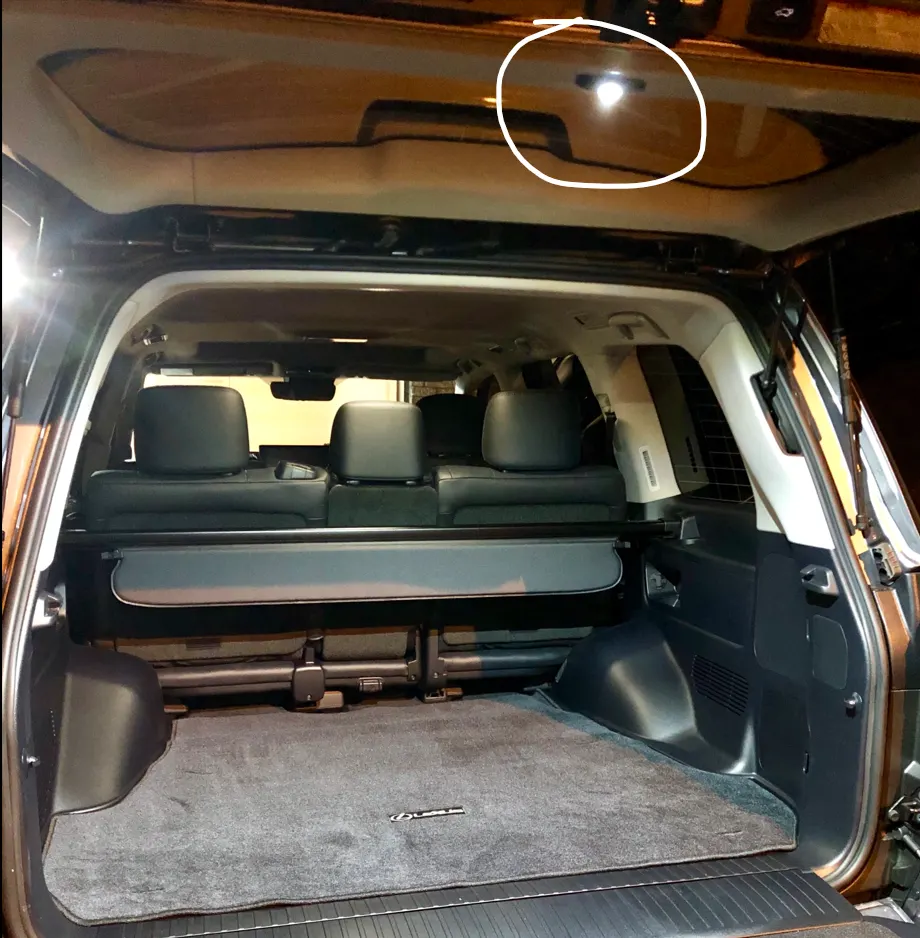
- Rear Windshield Defrosting Heating Coil.(Paralllel Line Present in rear Windshield)
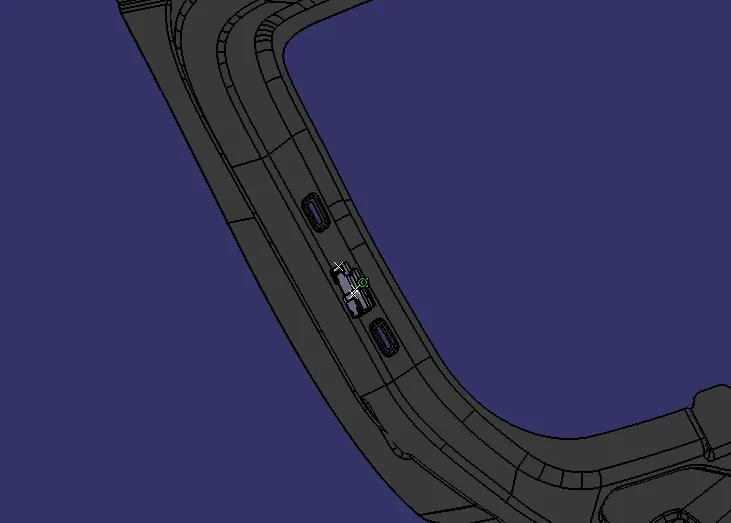
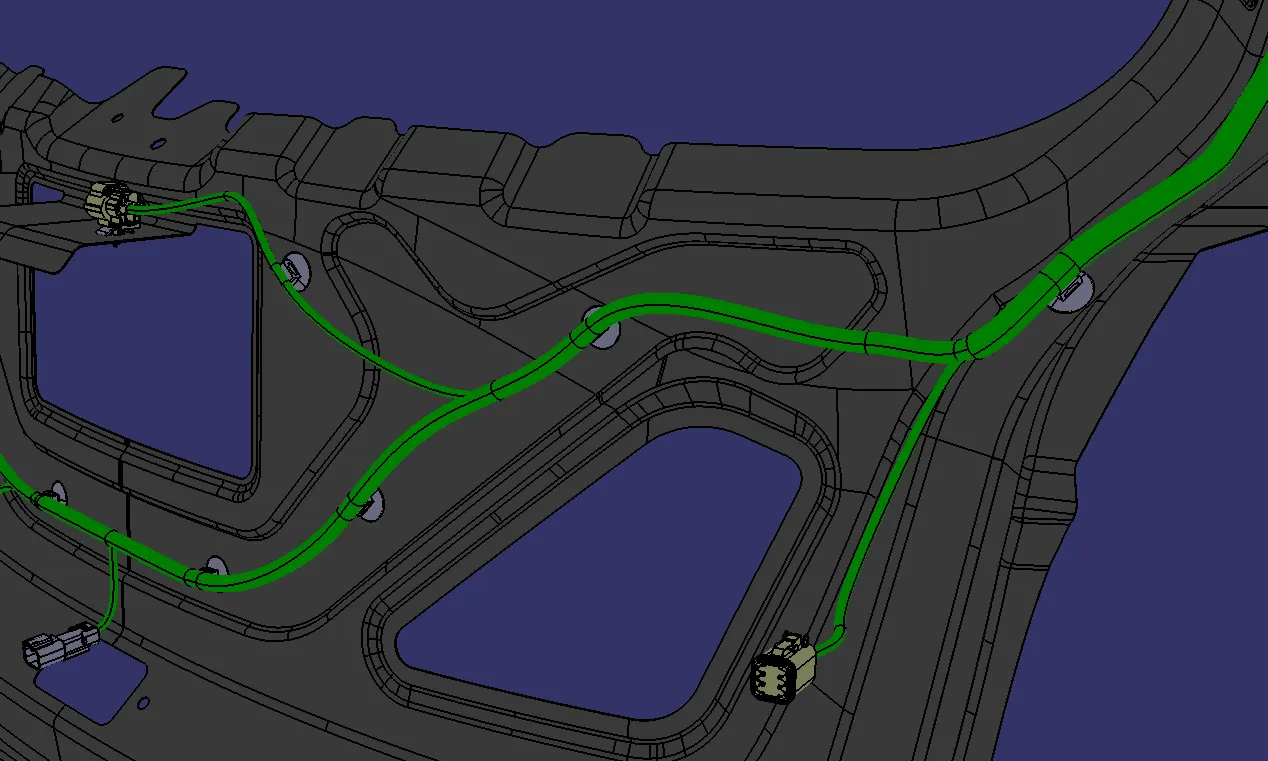
- Inserting and Positioning the Clips and clamps to route the bundle.
- Rubber grommet to route the bundle outside the assembly.
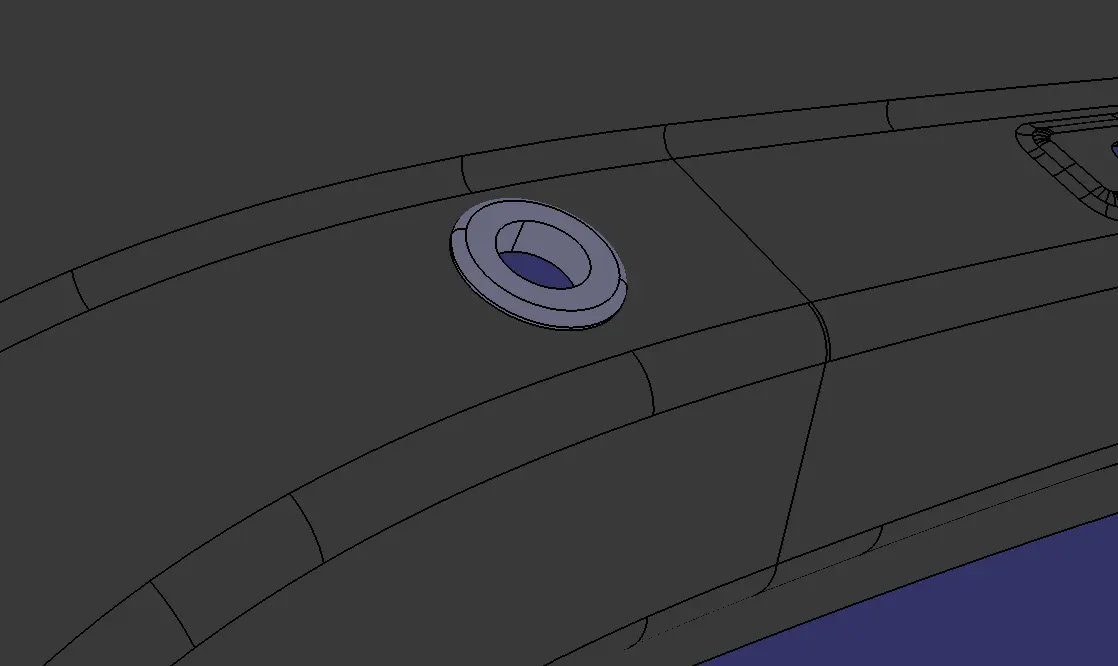
(in actual environment It is Look like)
Creating a Multi-branchable:
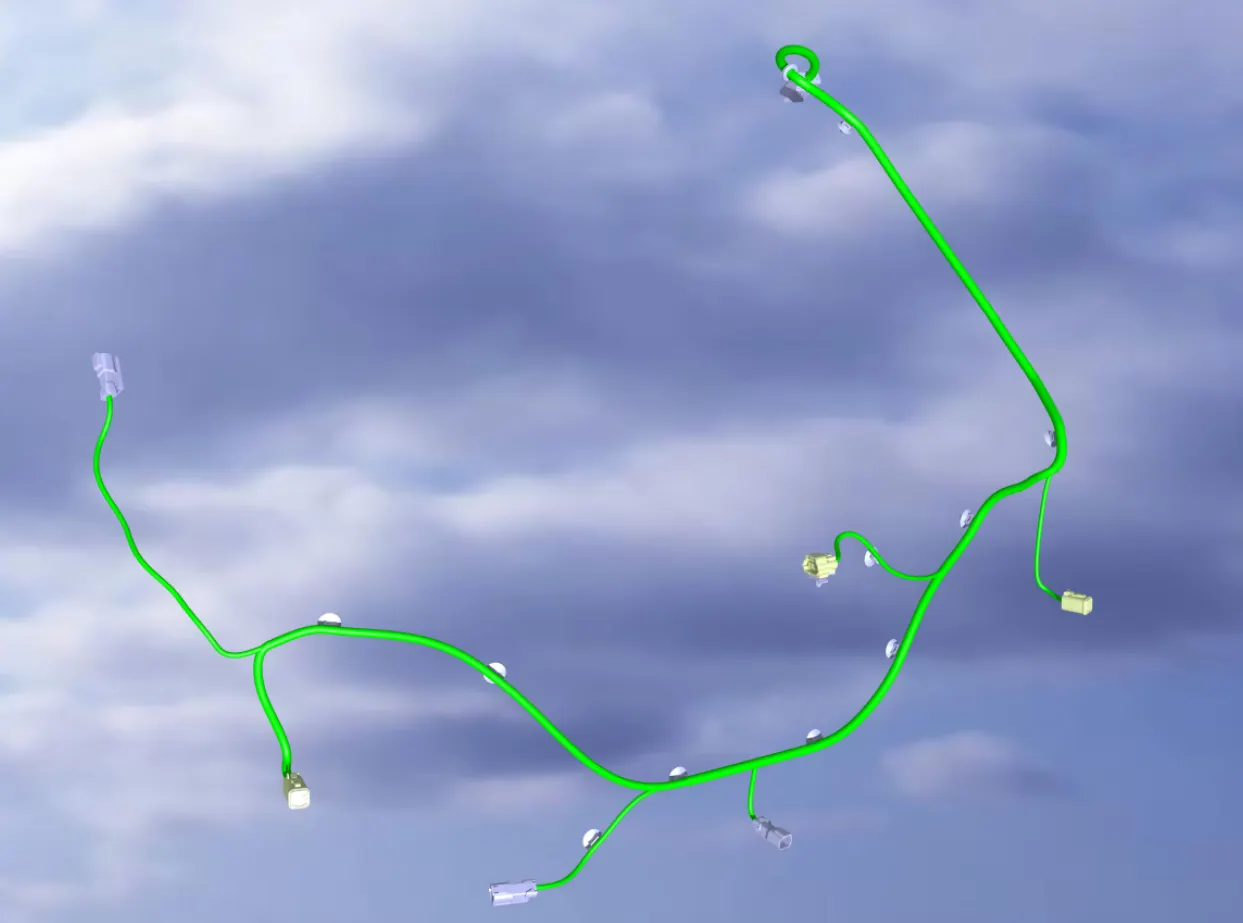
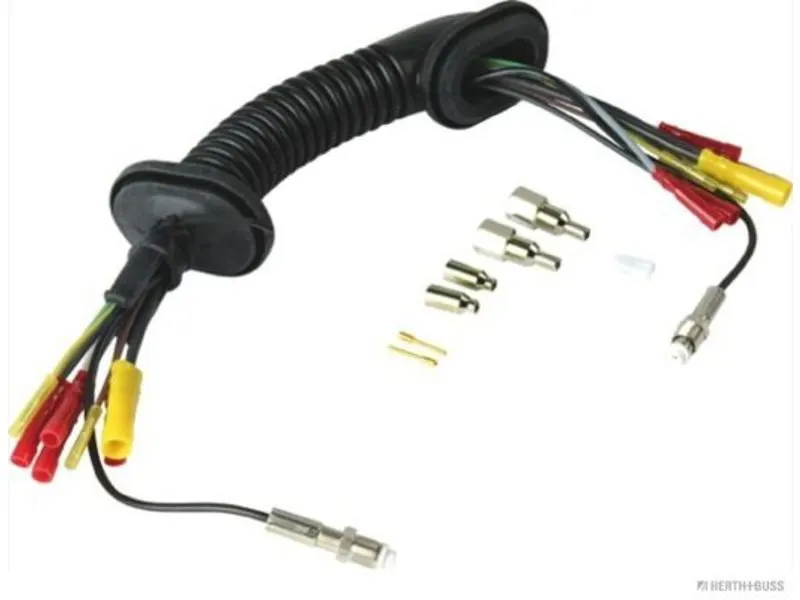
- Inserting Corrugated Tubes and Cotton tapes to Harness Bundle.
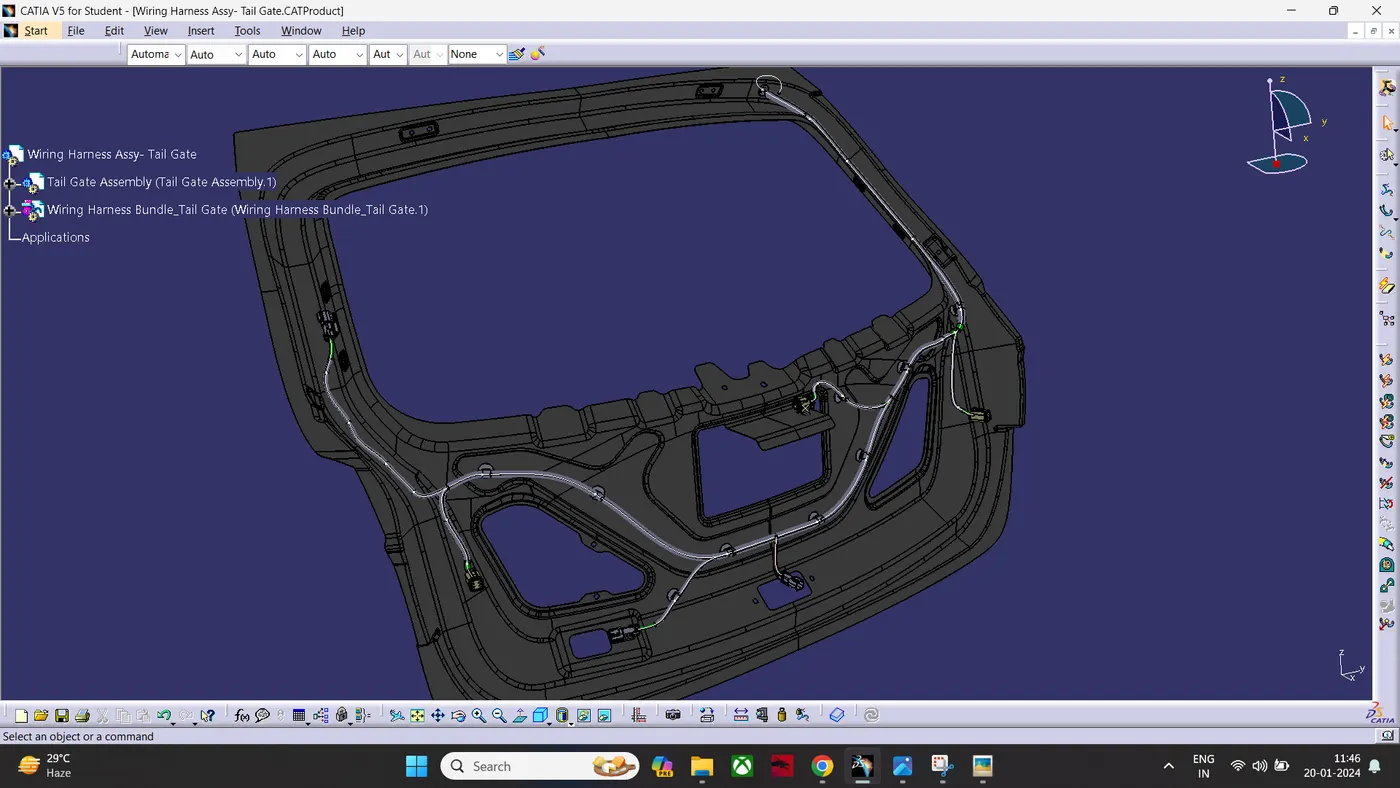
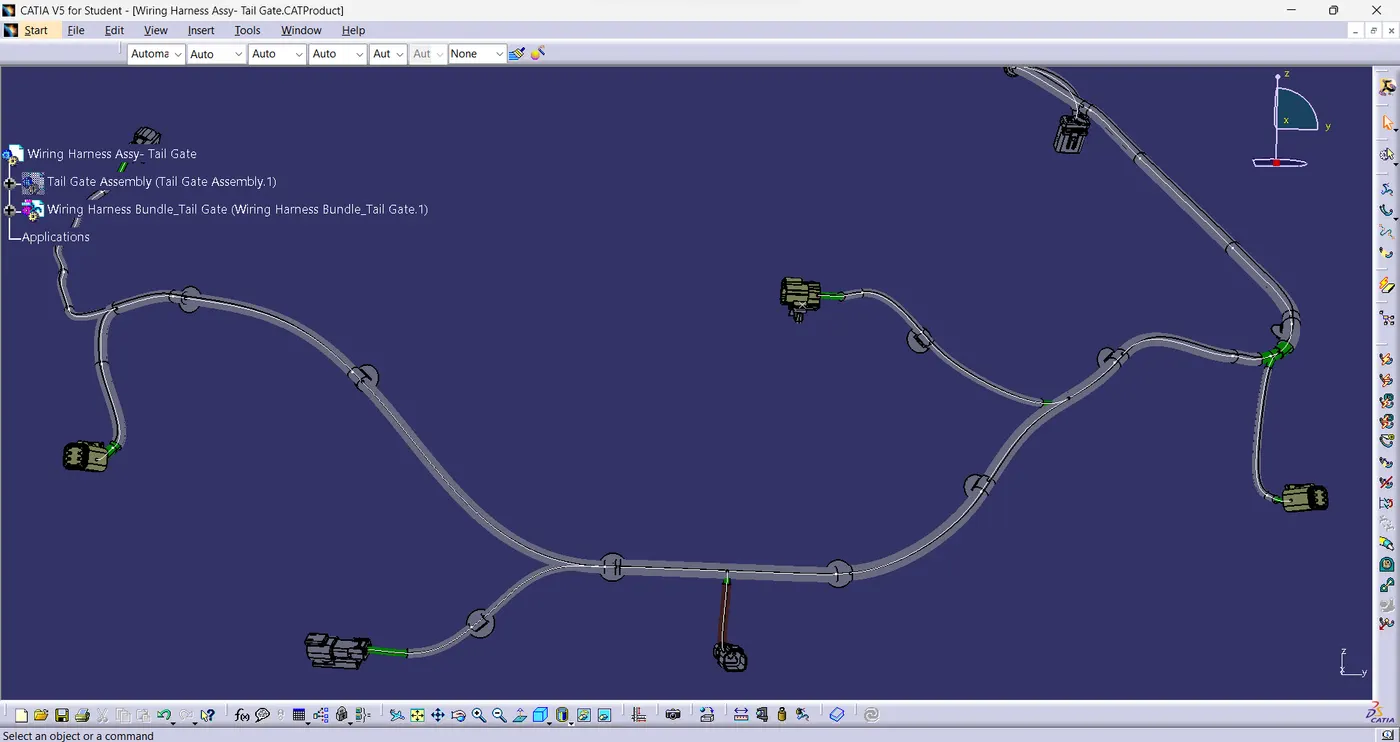
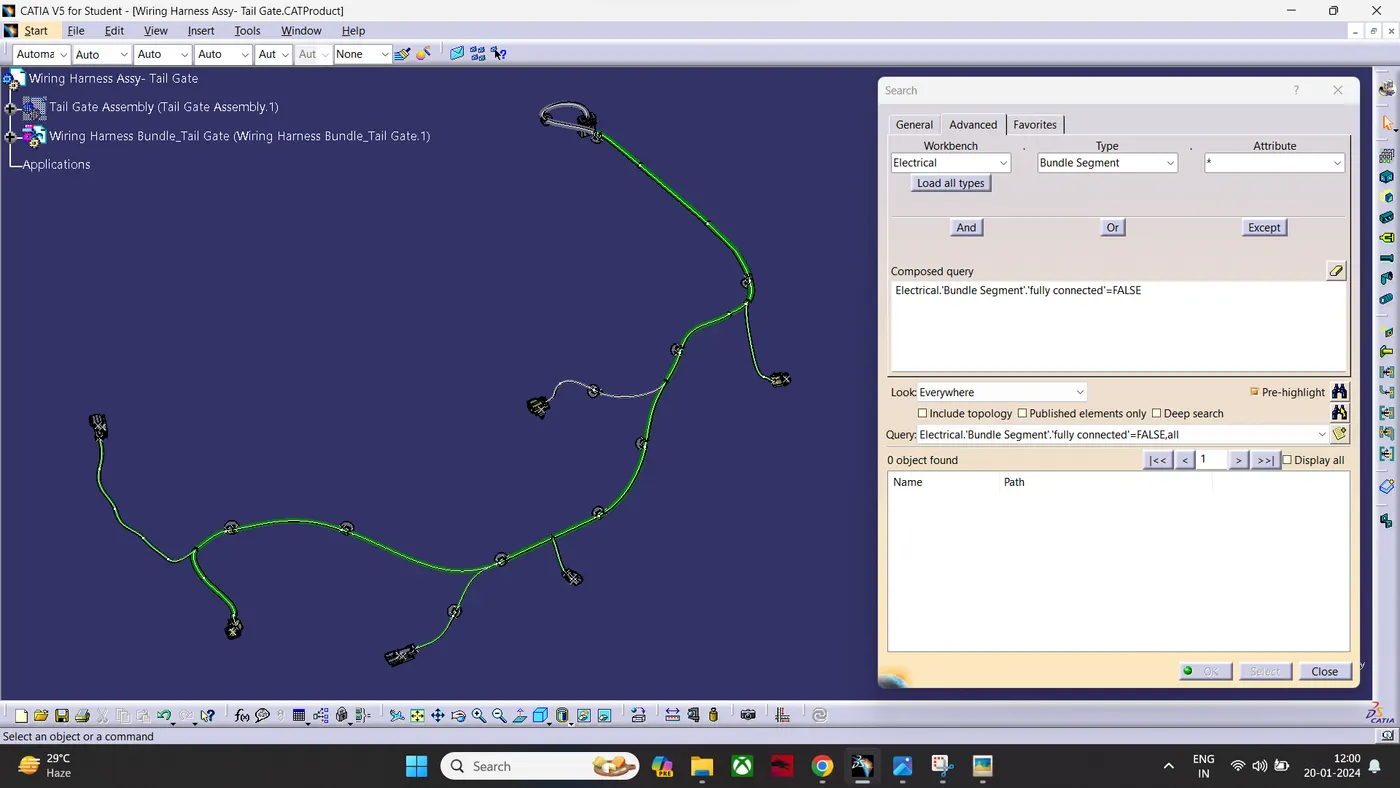
- Checking the Bundle Segment if it is Fully connected=False.
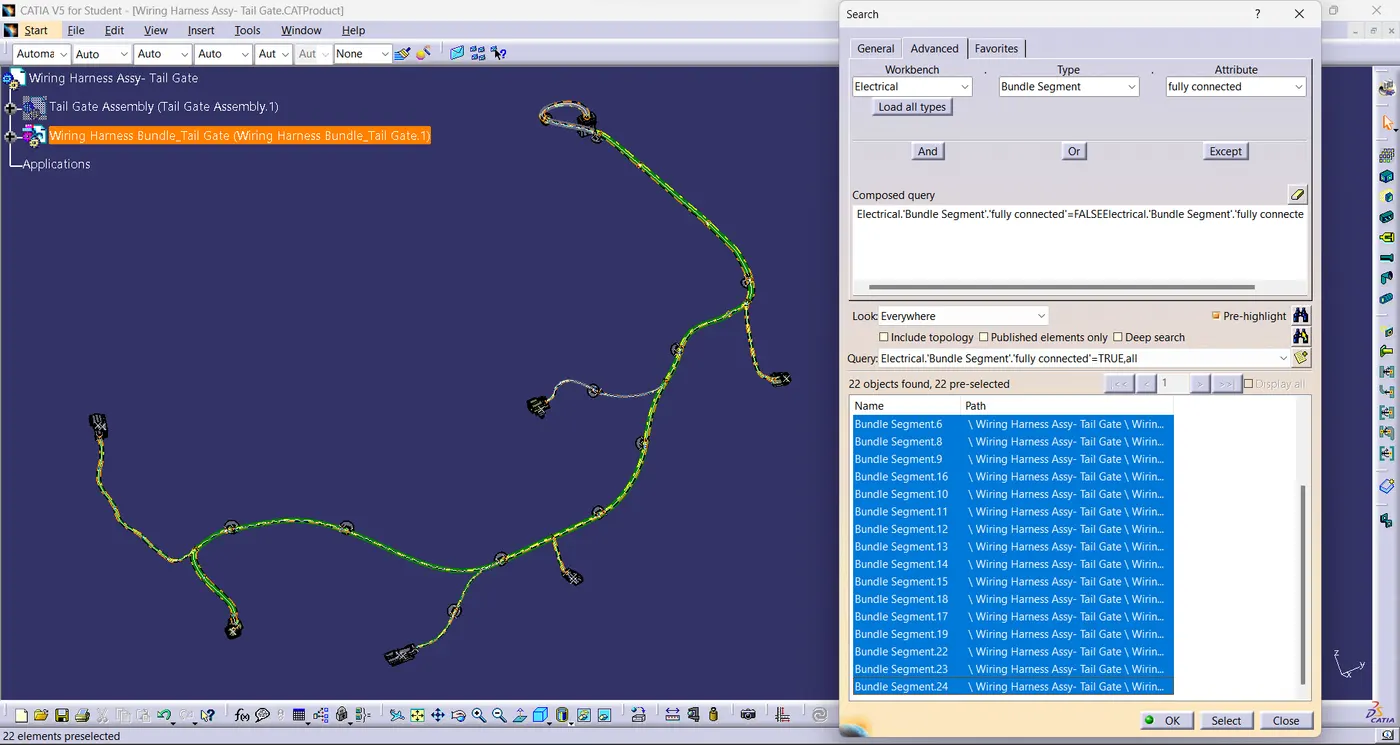
- Checking the Bundle Segment if it is Fully connected=True.
Flattening Methodology:
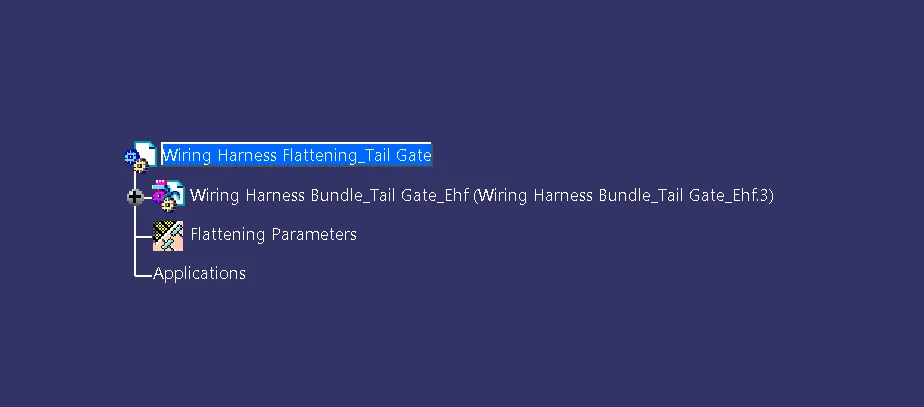
- Create a new product named Wiring Harness Flattening_TailGate.
- Switch the workbench to Flattening Workbench.
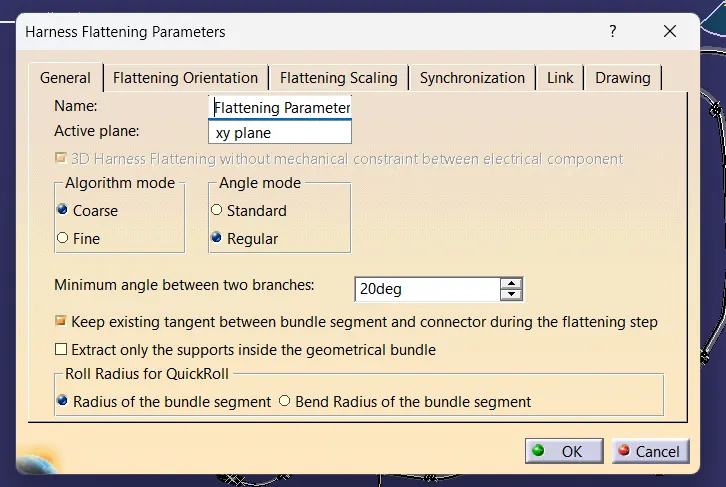
- Define the parameters.
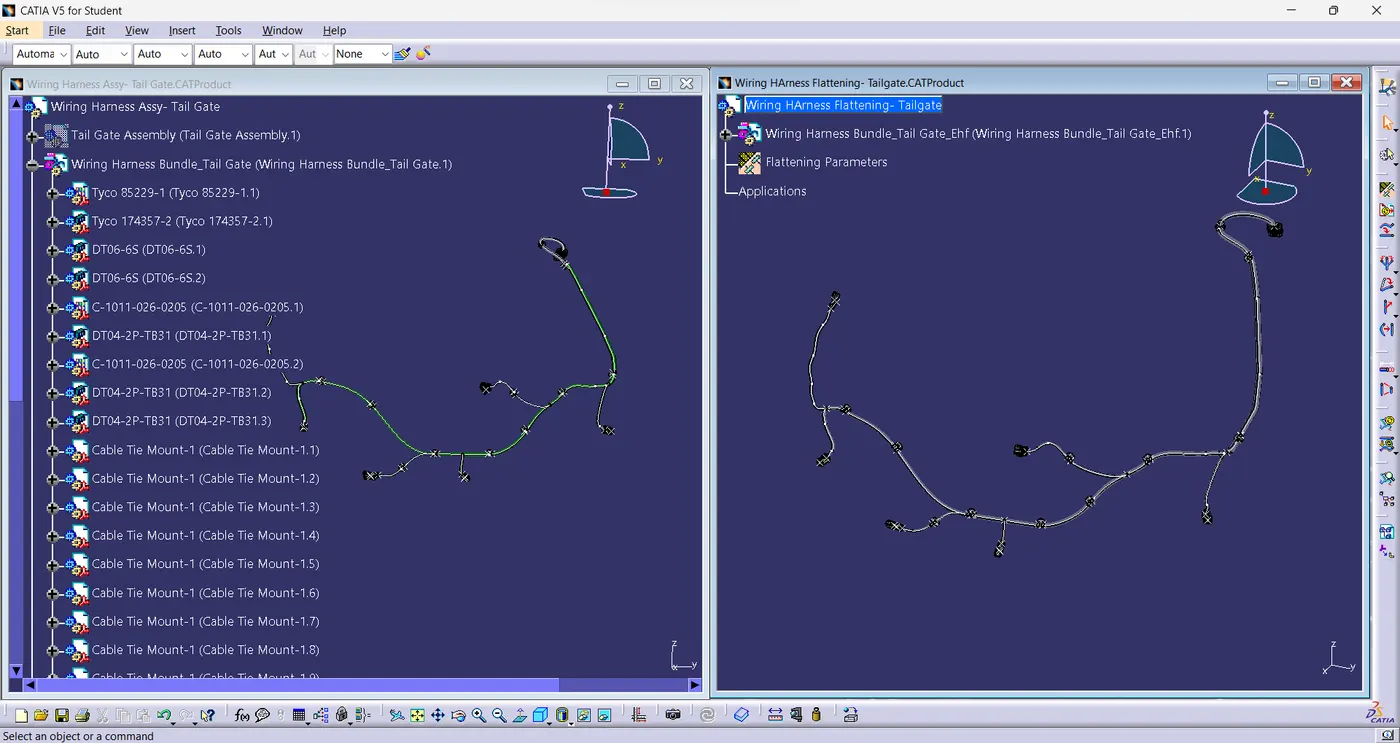
- Then Sideloading the Wiring harness Assy-Tail Gate.
- In Electrical Harness Assembly- Inserting the wiring harness assembly by Extract Command And Required Face.
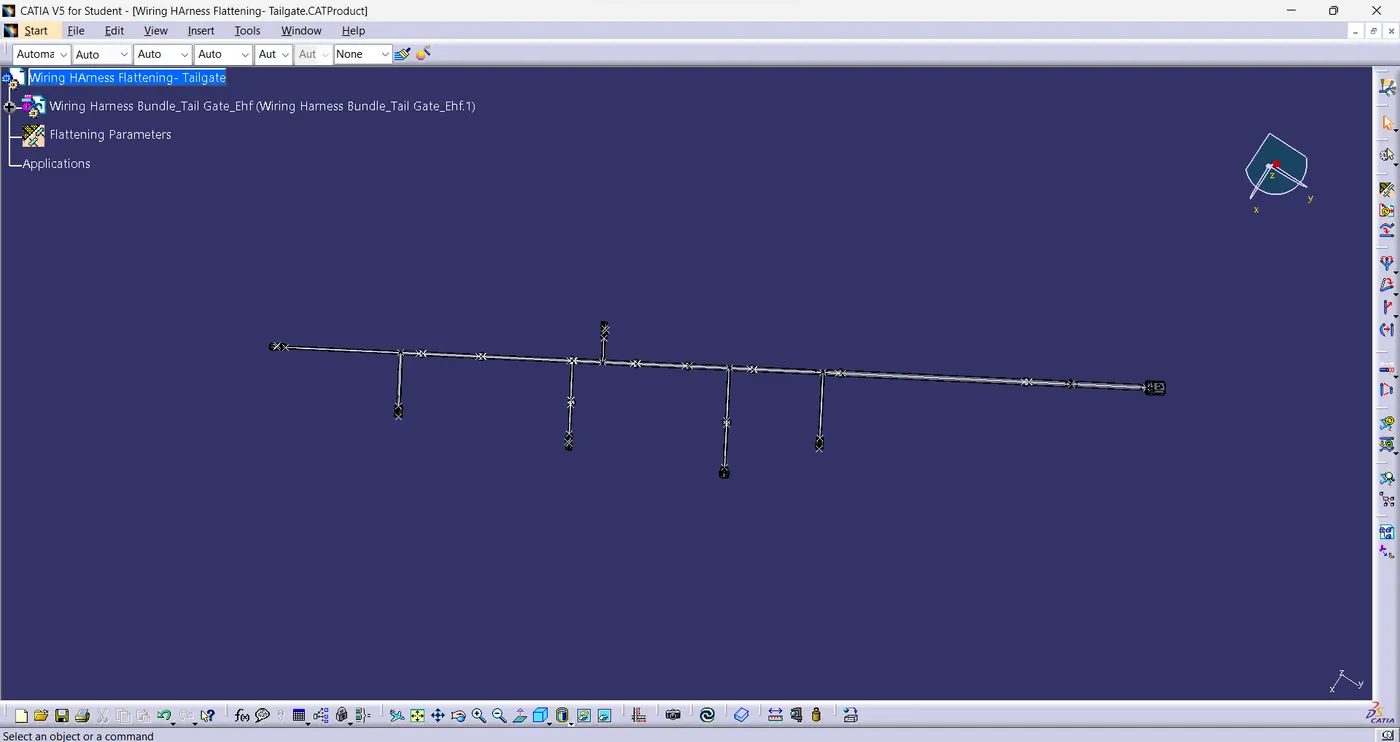
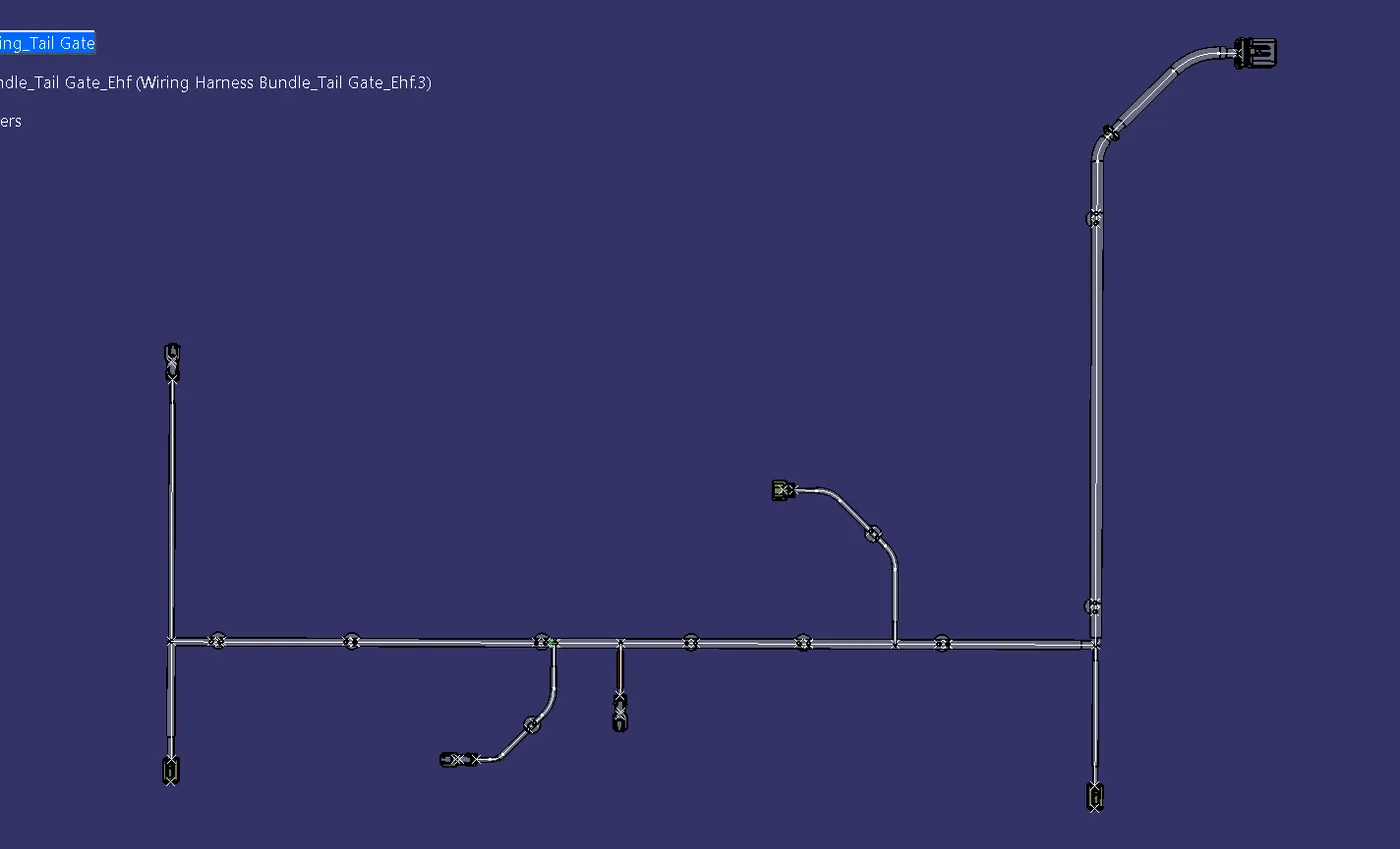
- Then Flatten The Assembly By Flatten Command and Selecting the Required Face & Required Branches.
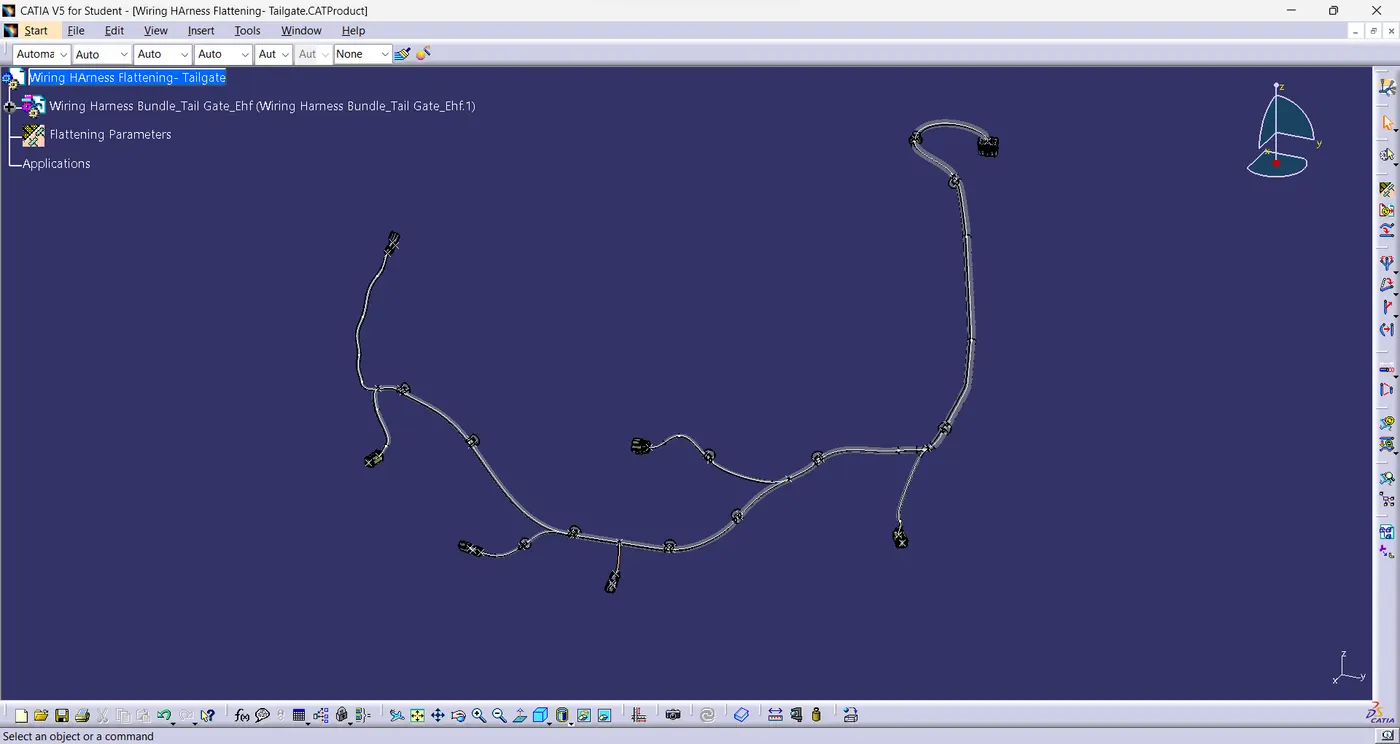
Flattening Parameters:
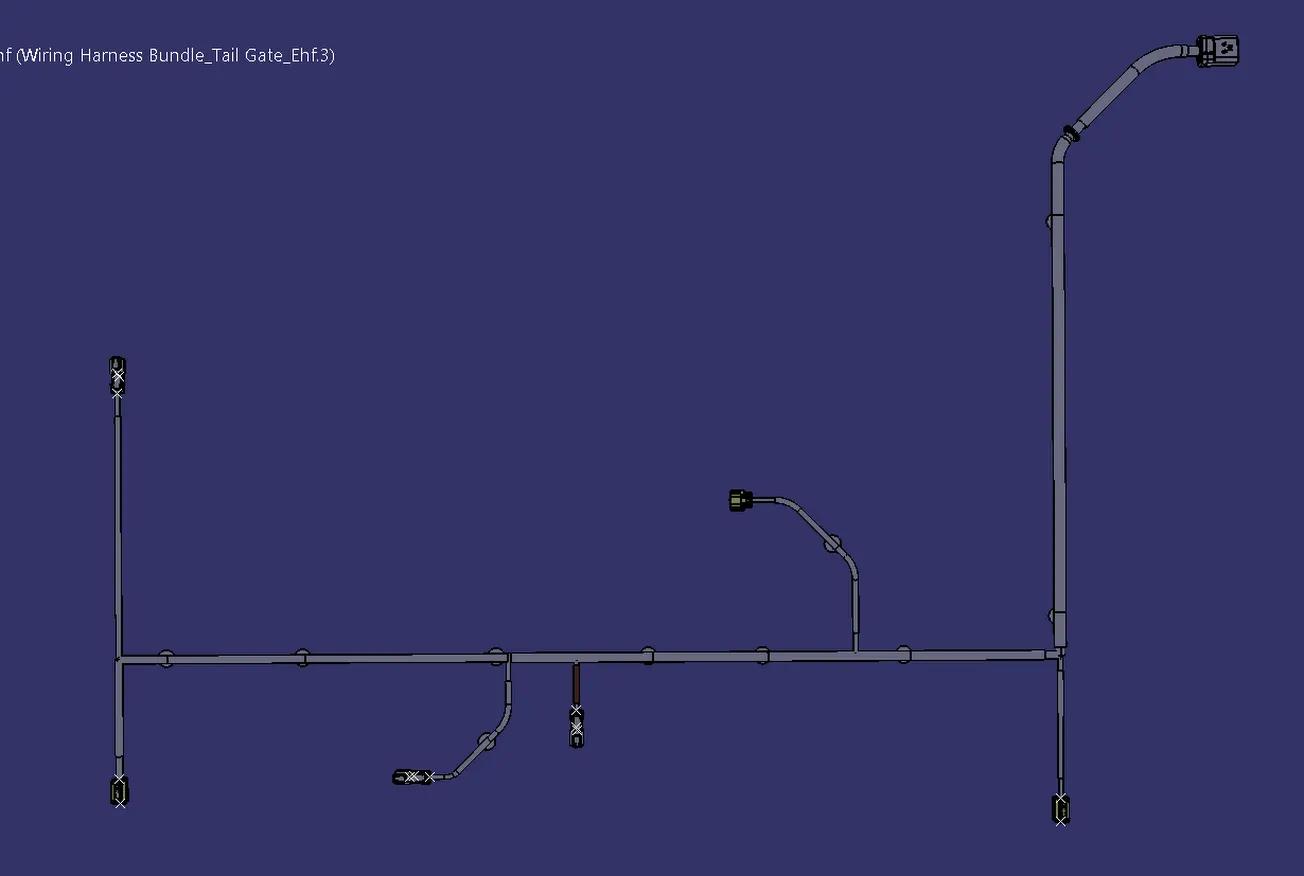
Flattened Part:
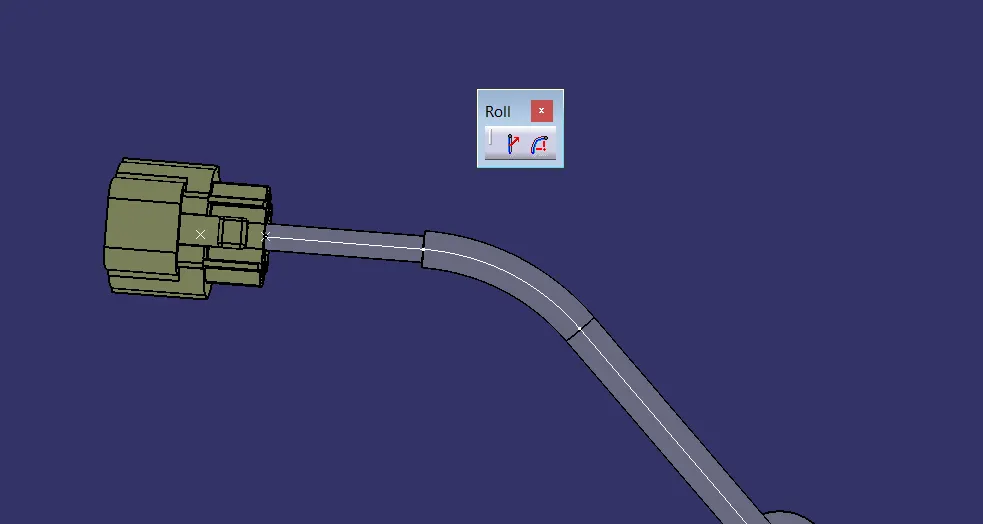
- Then Bend the Harness By Roll Command.
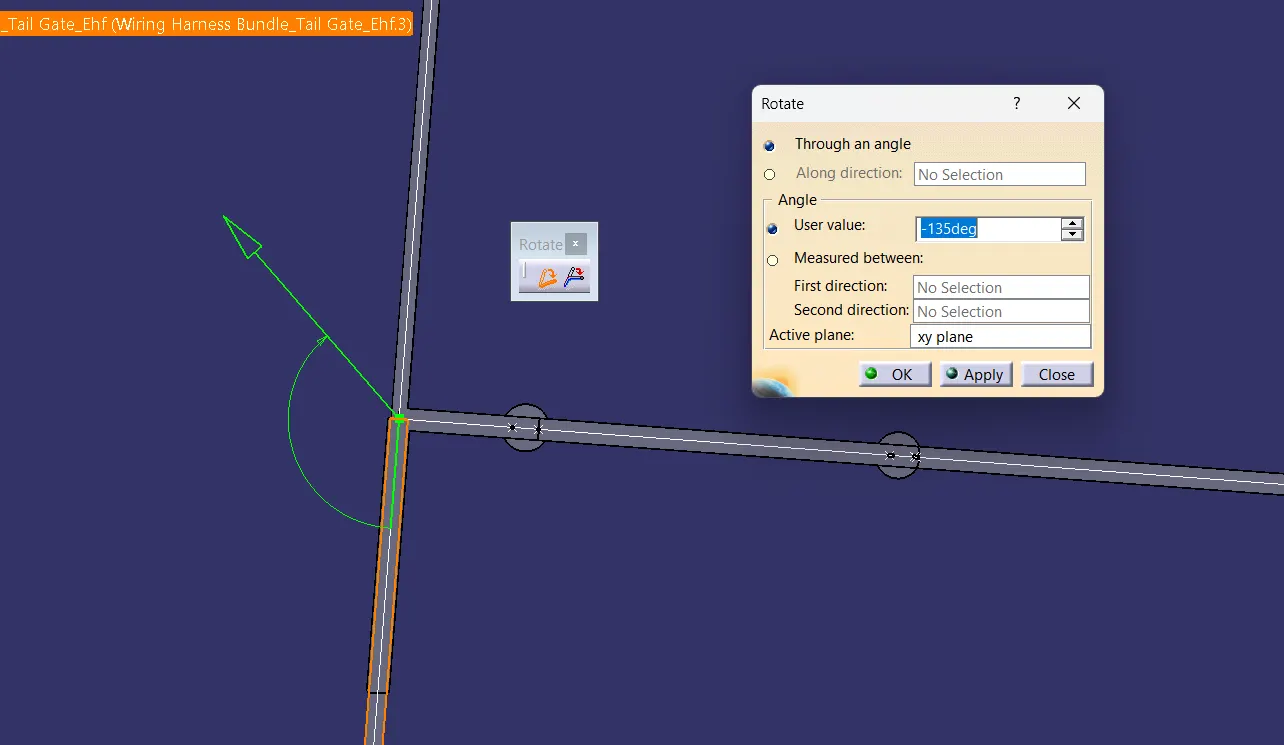
- Rotate The Branch By Using Rotate Command
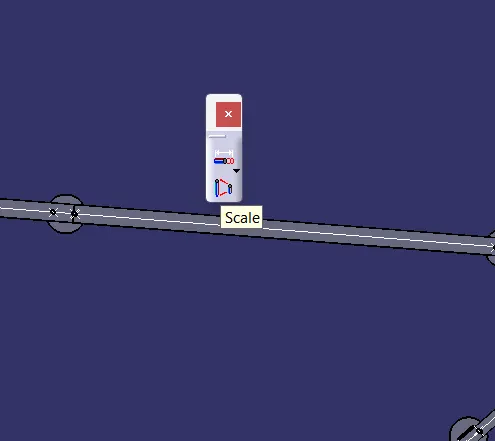
- Then if a branch needs to Increase in length for Appearance It Can be fake scaled by using the Scale Command
- Using the Compass to Manipulate the Connectors, Mounting Equipment & Clamps To Position it.
- By using synchronize Command Can be link and unlink with main assembly.
Drafting Methodology:
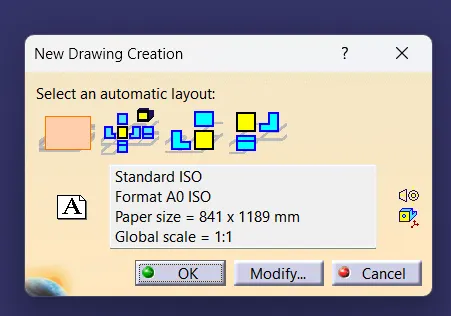
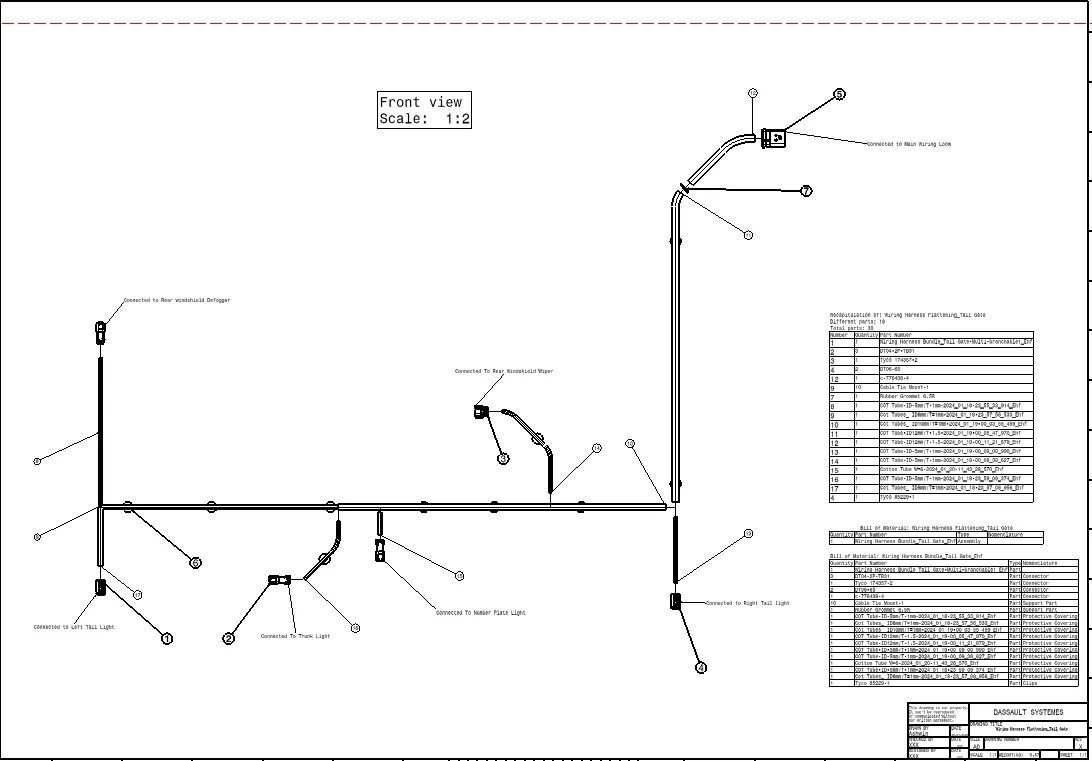
- Creating a new Drawing File.
- Importing the front view of Flattening Assembly.
- Changing the properties of the view.
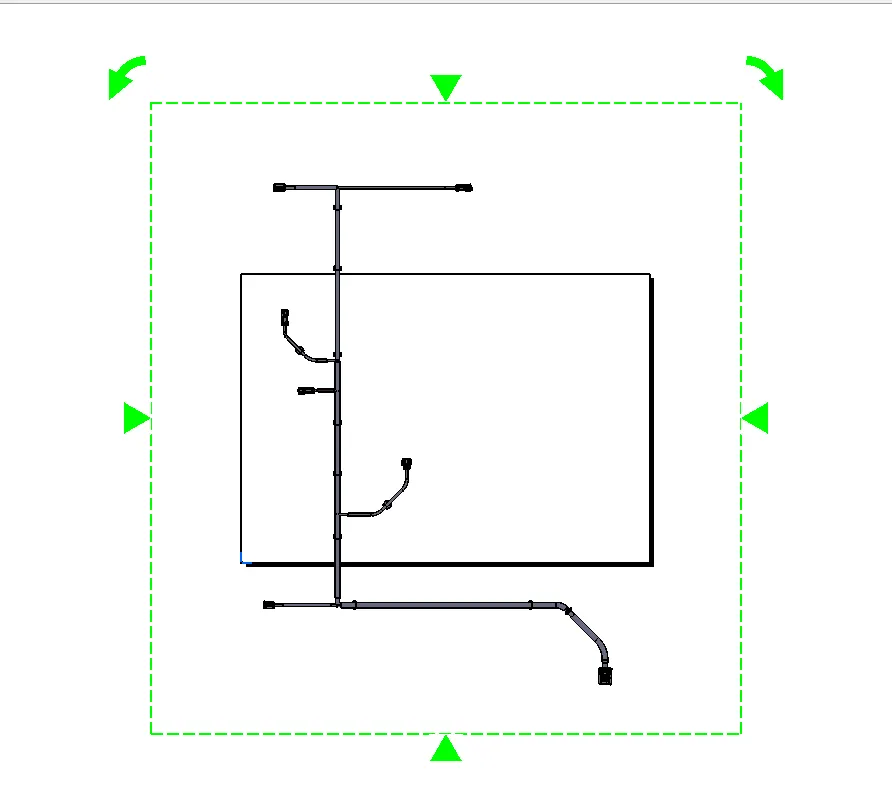
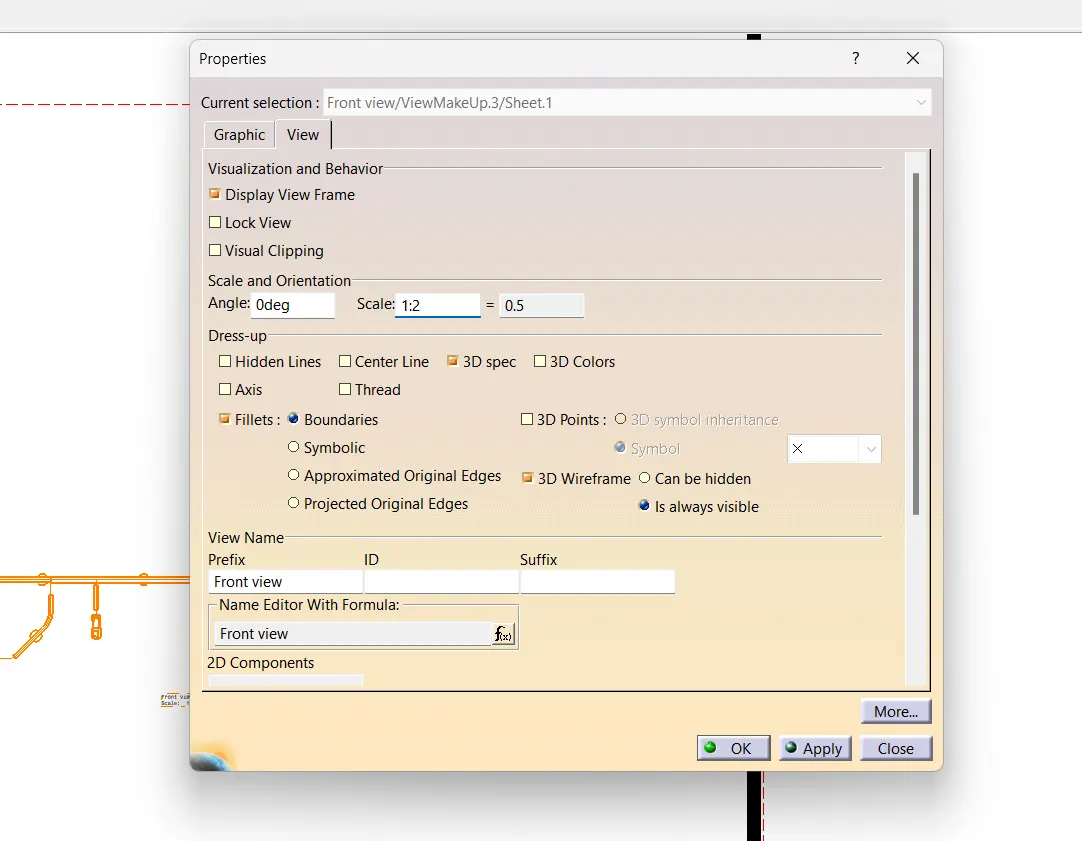
- To fit the Assembly in Drawing sheet I have scaled it to 1:2 Ratio.
- To differentiate the Cot Tubes and Bundle I have shown the 3D Wireframe is always visible.
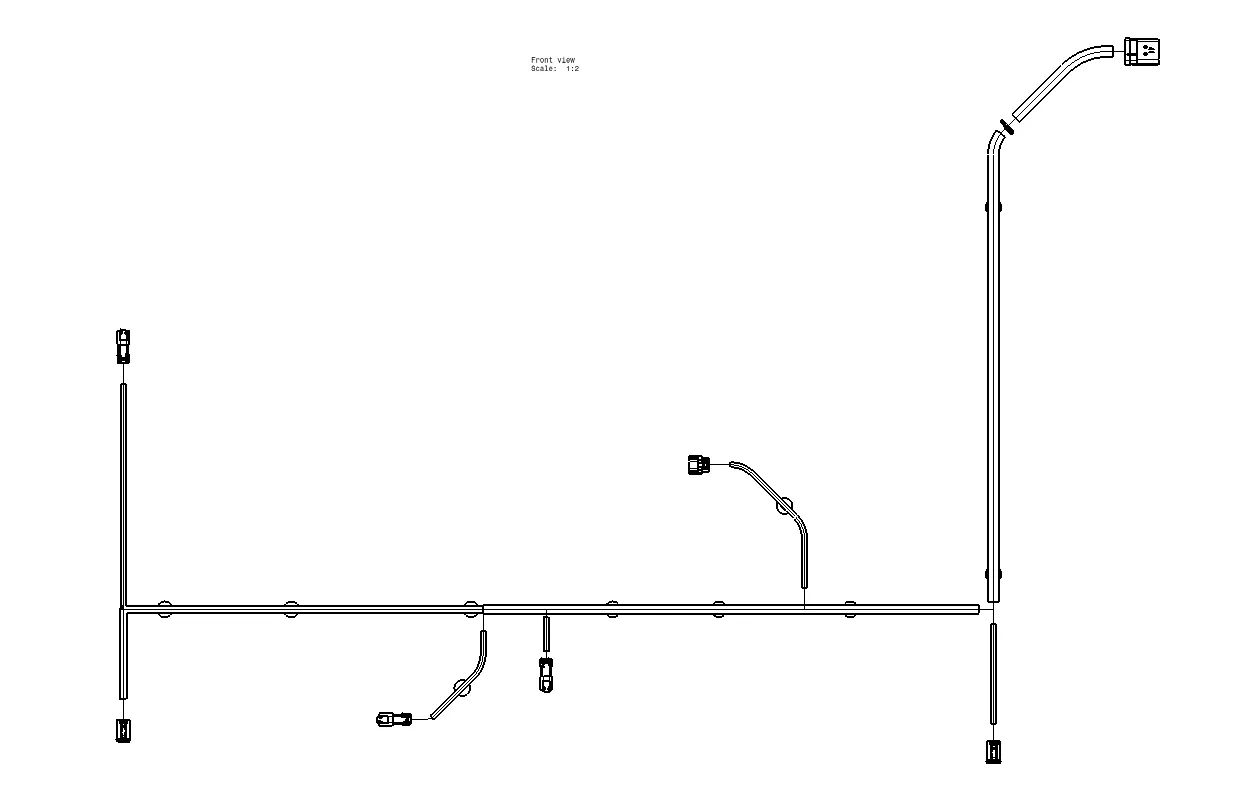
- Then Switching to sheet backround to create a Frame & title block.
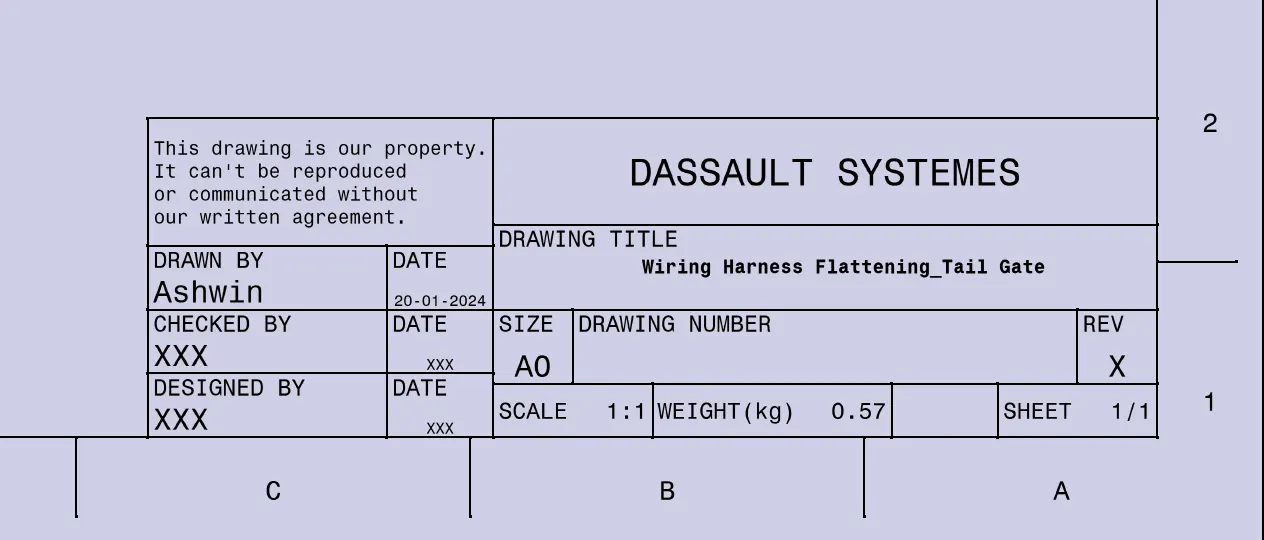
- Switching Back to working view to generate Balloons.
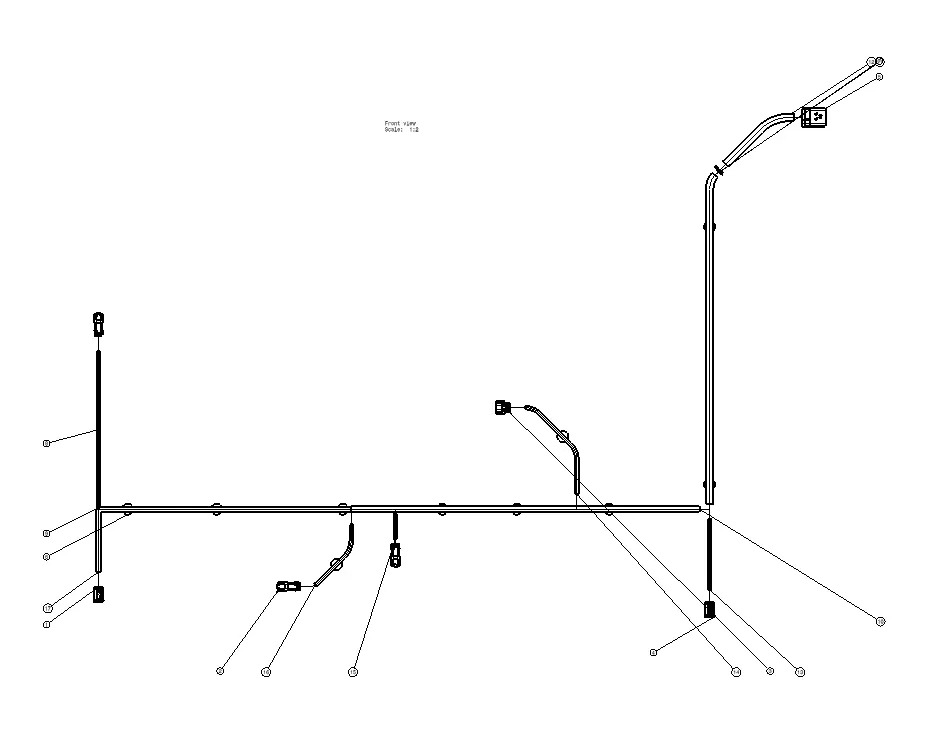
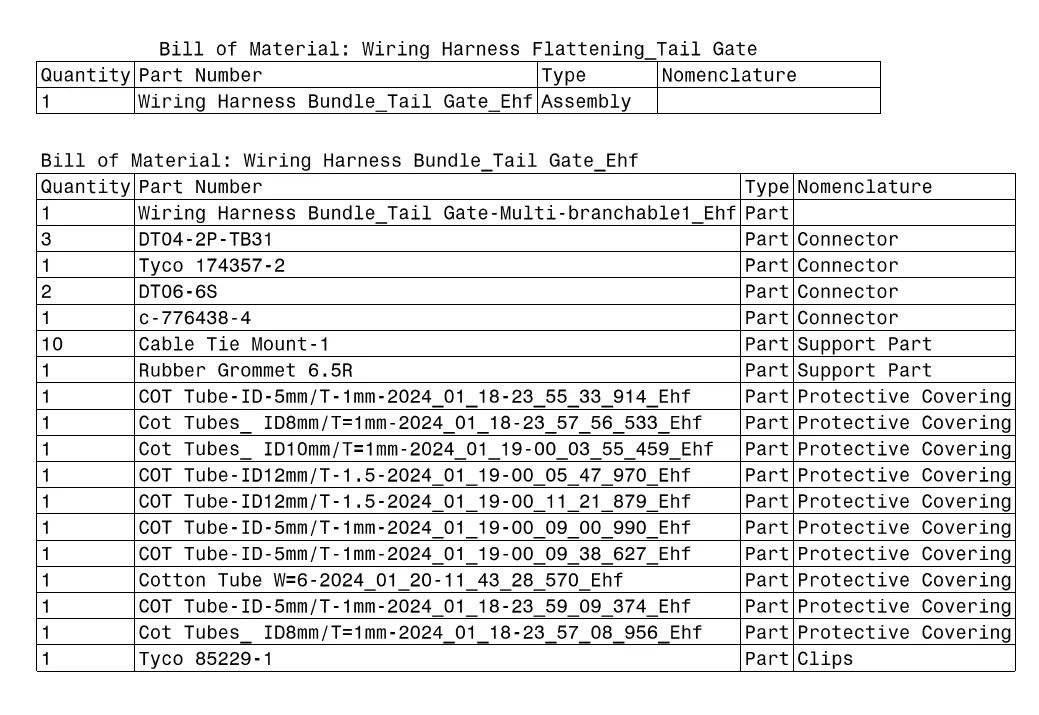
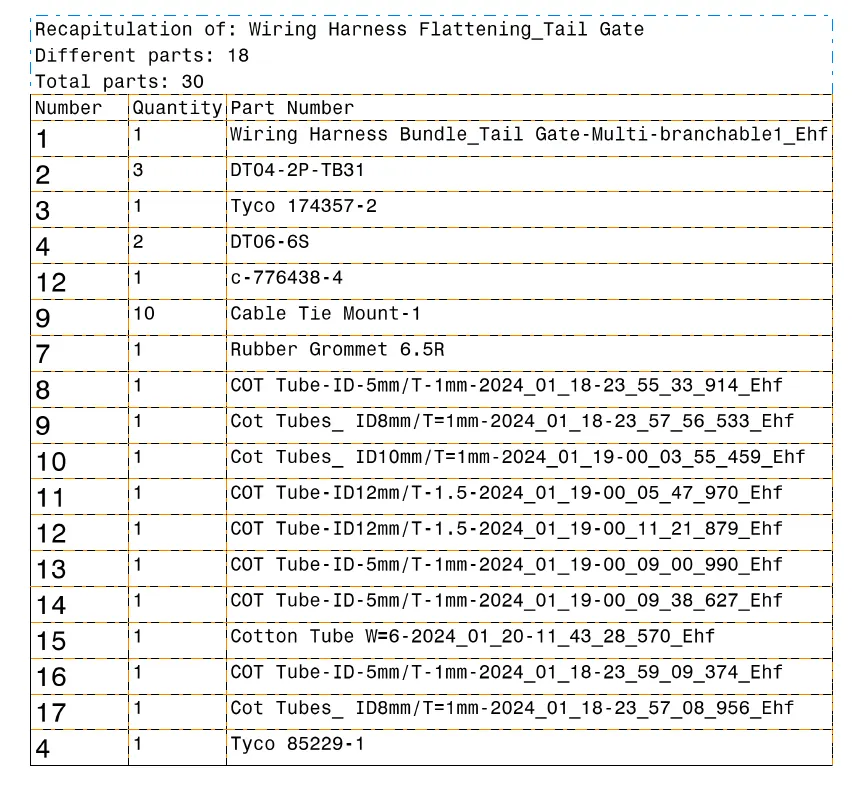
- Then Generating Bill Of Material.
Drawing Sheet:
Different Views:
Tail Gate Wiring Harness Assembly.