Project 1-Meshing of Rear Wheel Holder challenge
Project 1-Meshing of Rear Wheel Holder challenge
Aim- Meshing of the Rear Wheel Holder
Hm file link-https://drive.google.com/file/d/1V21rFKAVyH1LX_tpBXb6W0g6NQy_H3Z/view?usp=share_link
Step 1 - Imported the file.
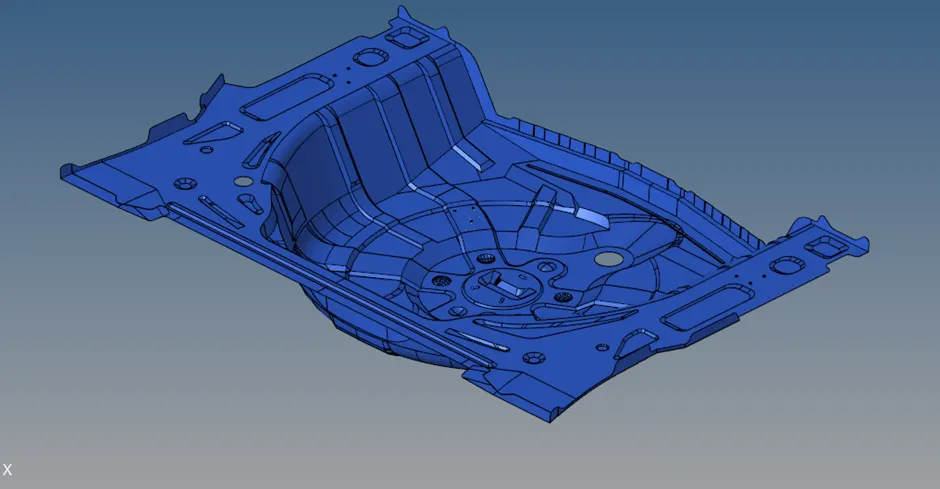
Fig- imported file
Step 2 – searching for any missing surface and filling the missing surface from Quick edit (f11).Step 3 – finding the thickness of the component. From geometry – distance(F4)
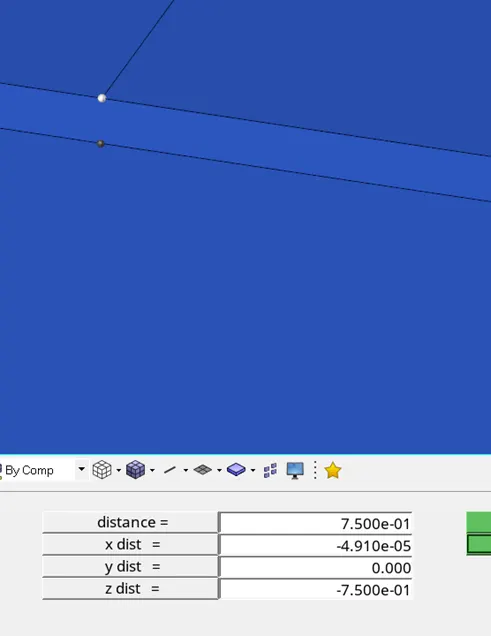
Fig - thickness
Step 4- Extracting the mid surface of component. From Geometry -mid surface
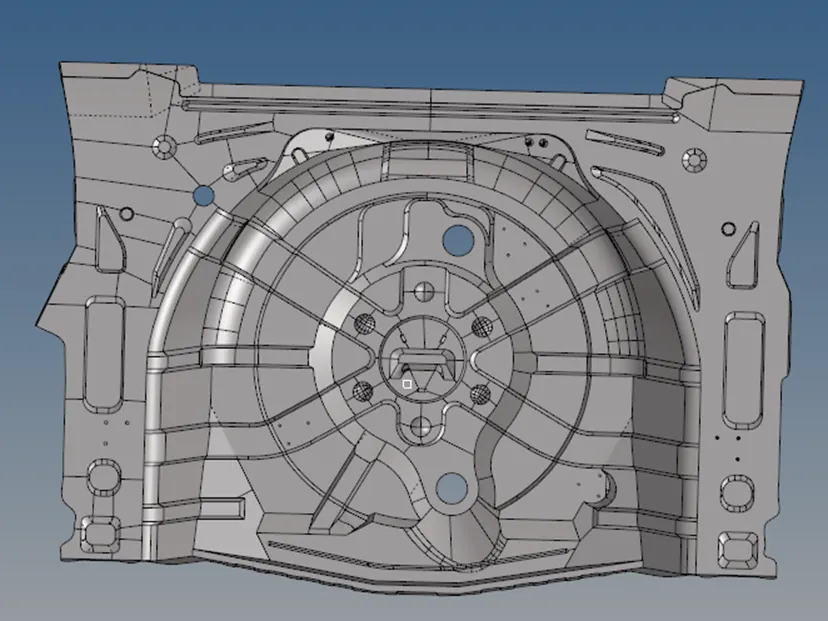
Fig – Mid surface
Step 5- suppressing the unwanted lines from quick edit menu
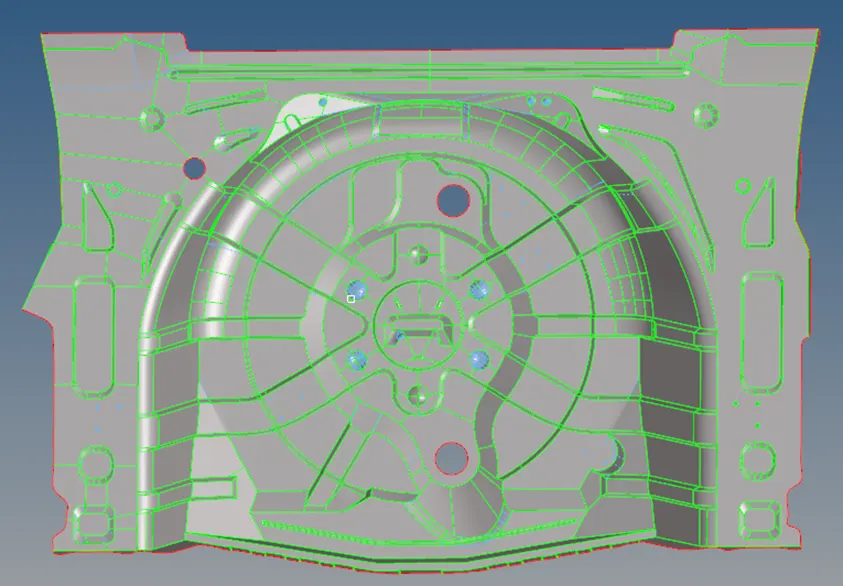
Fig – surface are modification
Step 6- setting the mesh quality criteria from tools-check elements(f10)
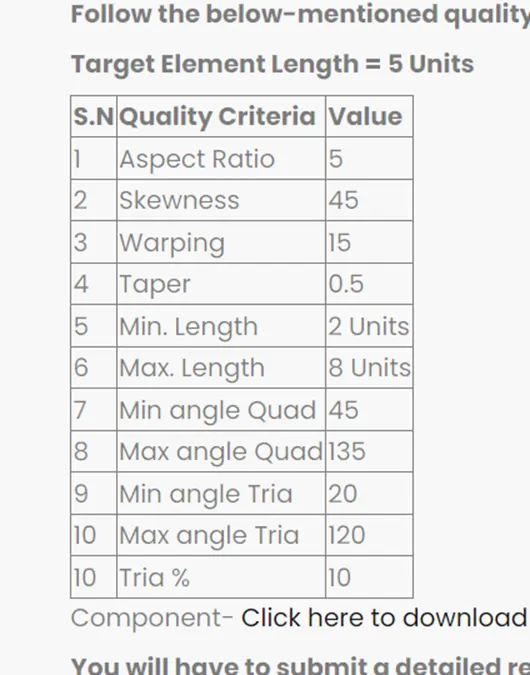
Fig- quality criteria
Step 7- meshing the surface from 2d- auto mesh (f12) setting mesh size as 5 units.
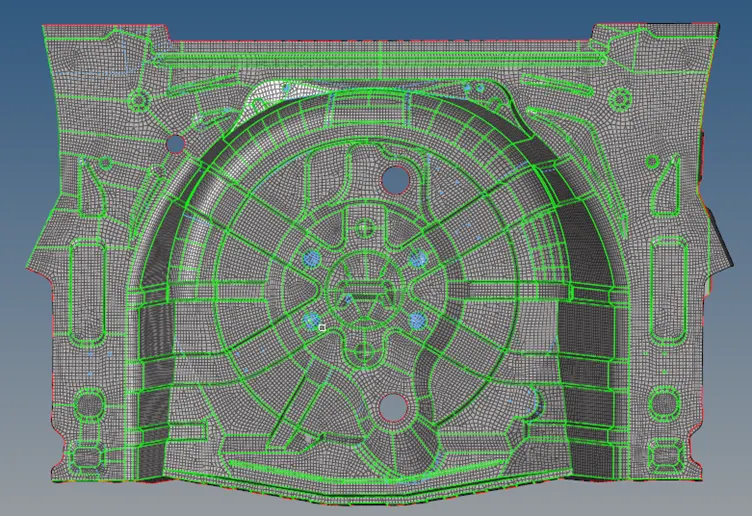
Fig -component after meshing
Step 8 – solving the failed elements from tools- check elements(F10)
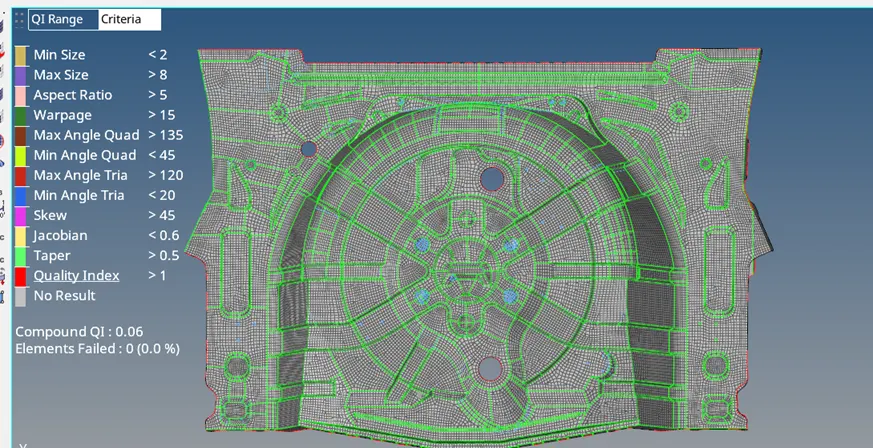
Fig -Component after solving for failed elements
Step 9 -assigning the thickness to the elements by giving the property.
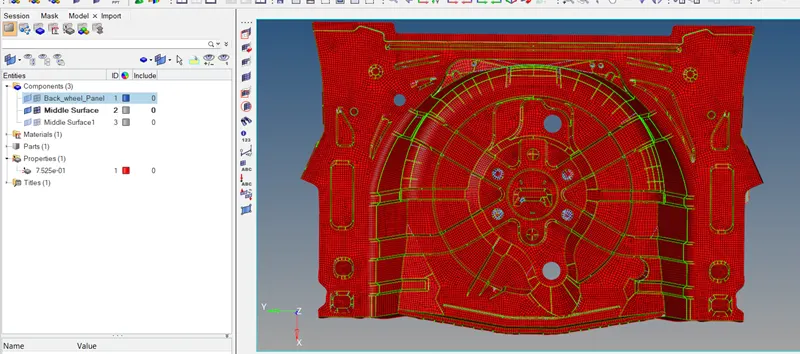
Fig- component after applying property
Step 10- checking for crack. Tools-edge (Shift+f3)
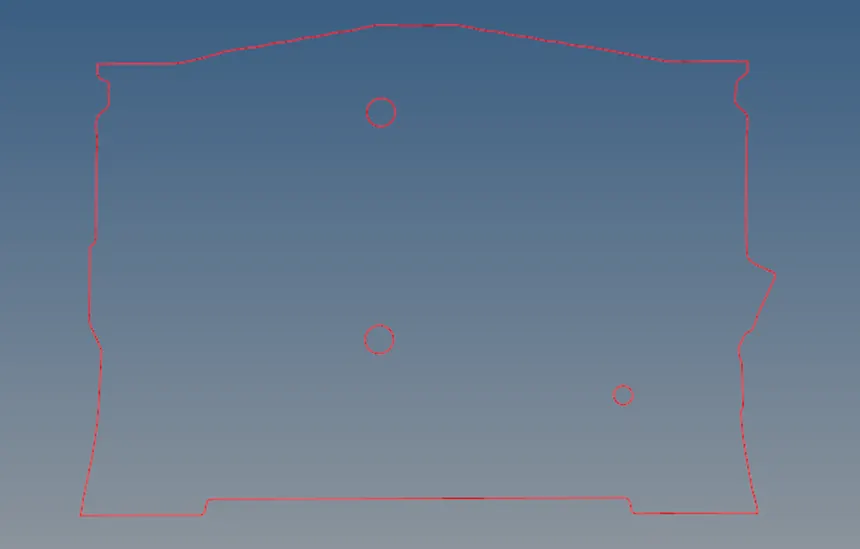
Fig- edges
Step 11- checking for normal.
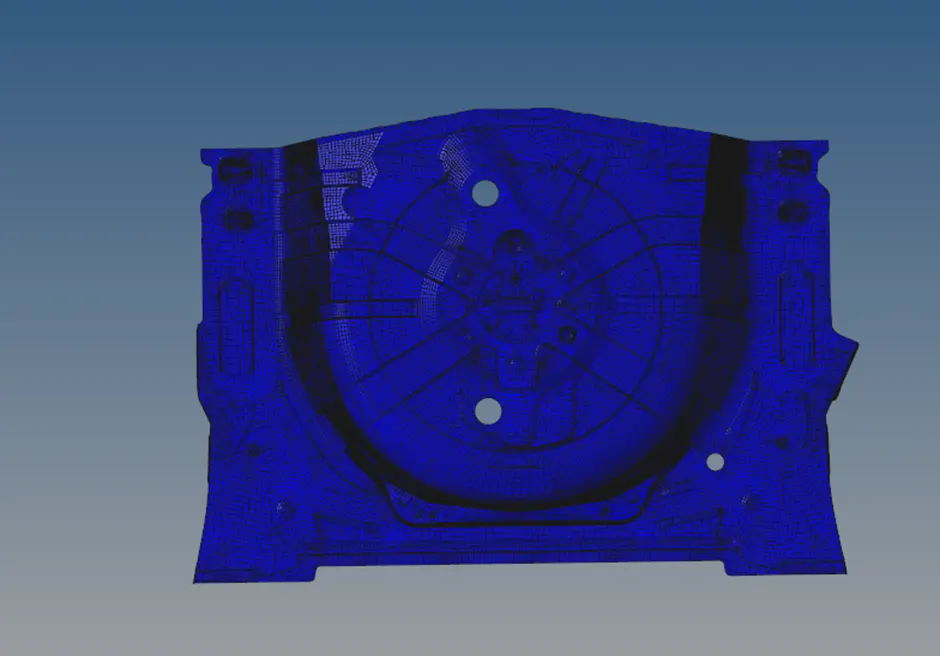
Fig- normal
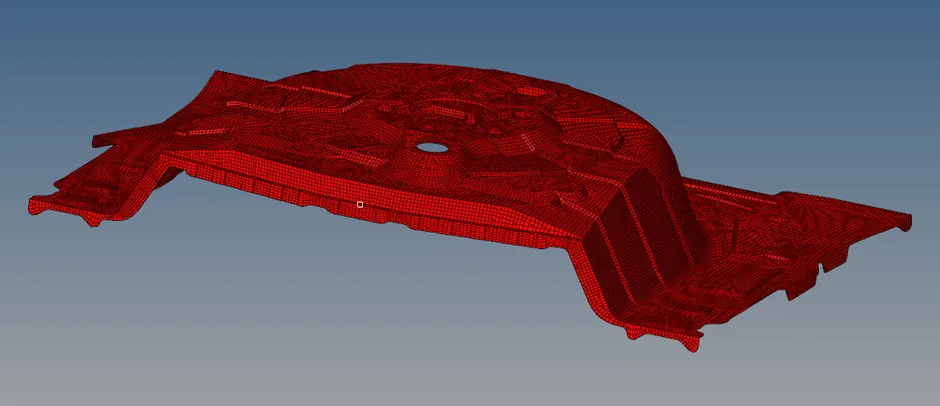
Fig – Final component.
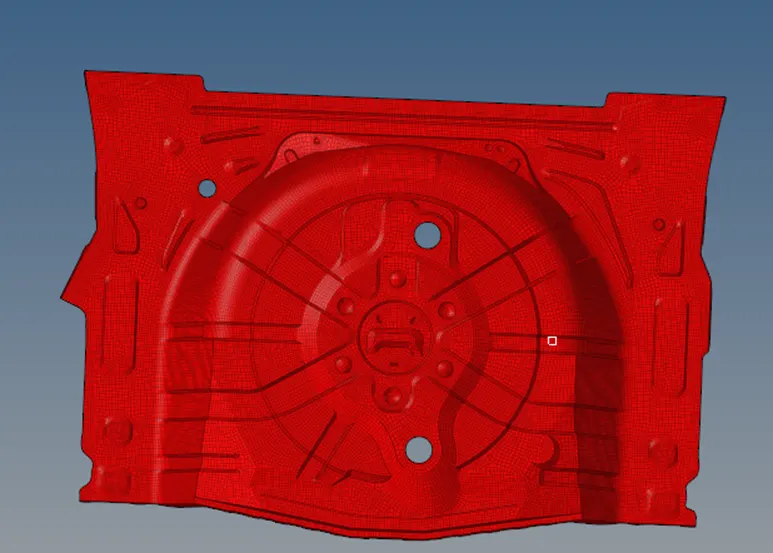
Fig- final component.
Conclusion
- From this project we learned and explored the different 2D meshing options like auto mesh, ruled meshing, spline etc.
- Learned more about the auto mid surface feature
note- not able to upload the Hm file so imported in the google drive and shared link