Project 1-Meshing of Rear Wheel Holder challenge
AIM :- Shell (2D) Meshing of back wheel holder with given quality and assign thickness.
Objective :-
*To perform 2D shell mesh on the back wheel holder of car by given criteria.
*To assign thickness for the component.
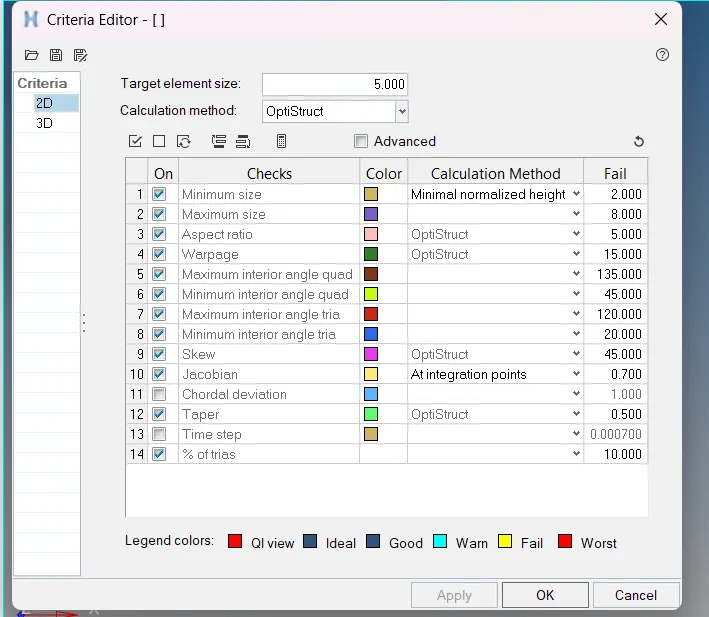
Target Element Length = 5 Units
| S.N | Quality Criteria | Value |
| 1 | Aspect Ratio | 5 |
| 2 | Skewness | 45 |
| 3 | Warping | 15 |
| 4 | Taper | 0.5 |
| 5 | Min. Length | 2 Units |
| 6 | Max. Length | 8 Units |
| 7 | Min angle Quad | 45 |
| 8 | Max angle Quad | 135 |
| 9 | Min angle Tria | 20 |
| 10 | Max angle Tria | 120 |
| 10 | Tria % | 10 |
Procedure :-
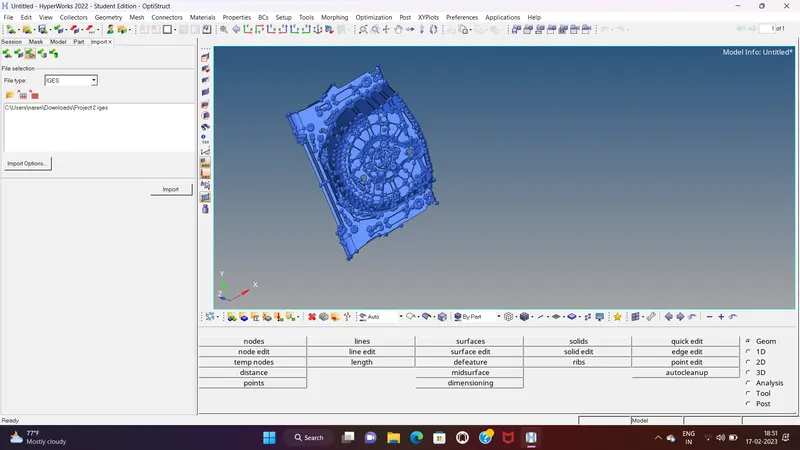
1. import the model.
* first import the given model.
2. Geometry cleanup and topology:
* After importing the model we have to check the geometry and if any is error is found , clear this with cleaning tools such as quick edit tool , surface edit tools, etc.
* In this process we also check for free edges , gaps , overlaped surface and T-edges.
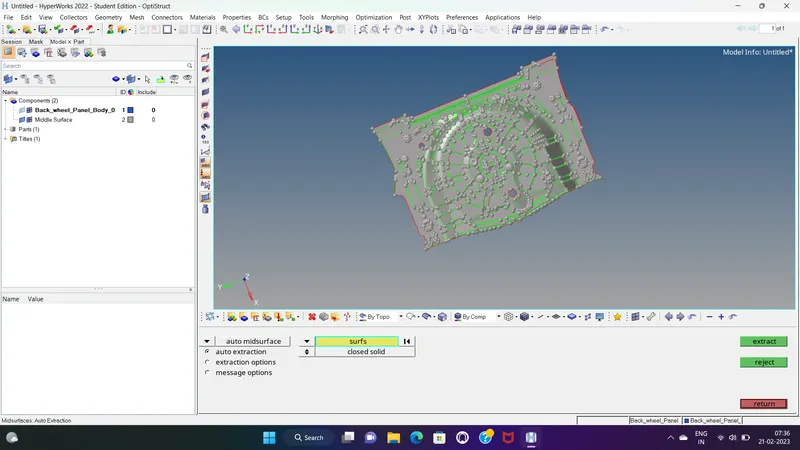
3. Mid surface extraction:
* For extraction of mid surface first we have to check thickness of surfaces so that we can decide whether go for manual or auto mid surface extraction.
* For thickness measurement we use distance tool. ( geom - distance )
* For the thickness of the component uniform. we use the extraction of automidsurface.( 0ffset +planes+sweeps).
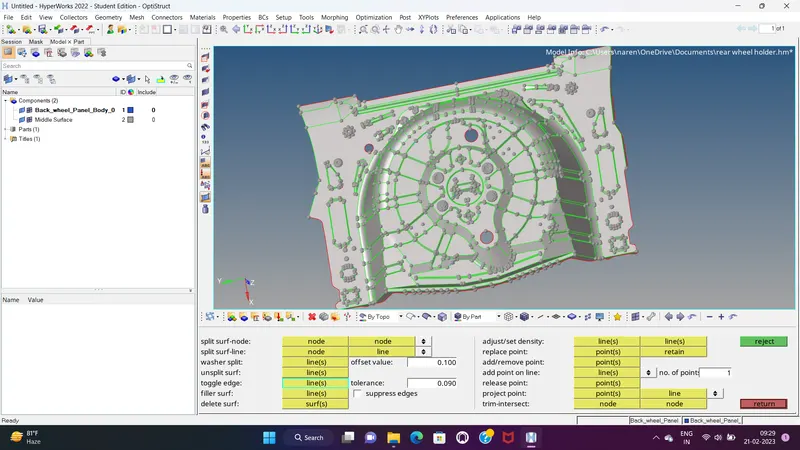
*given auto midsuface is create in free edges and not proper feature.
*then we use quick edite panel in such as toggle and point to point replce as well.
* we can see the below image is overlaping and not trimed two surface together.
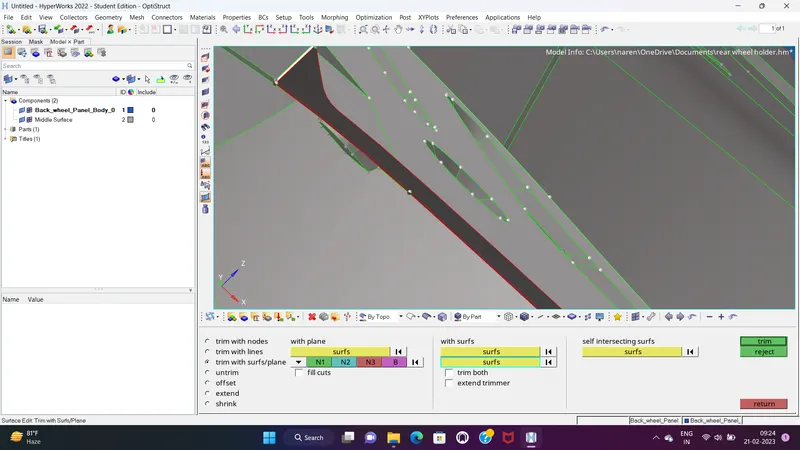
* then we use the surface edit panel in trim with sur/plane option join the together.
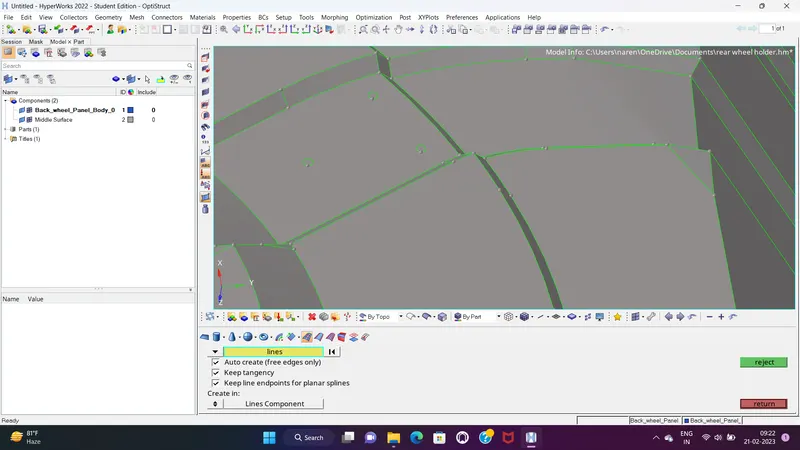
* this small feature well removed the component .and fill the hole in use the split/fillet option in surface panel.
4. meshing
* First we set the quality criteria
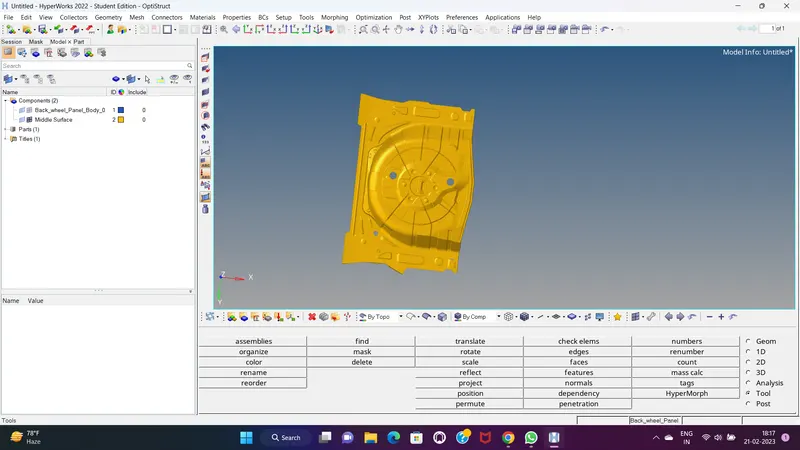
* we can go to tha auto mesh panel .select the surface one by one mesh the whole component.
* For fix this issue of failed elements and flow and other importan aspects we use different tools such as rebuild mesh, remesh element , quality index tools, place nodes , replace nodes , translate nodes , etc.
* In this way we pass all element for givne quality criteria.
* After solve this issue of elements failure and fow we check for free edges. ( tool - free edges )
* After this we check for normals so we ensure that all elements have in same normal.
* For checking the normal we go to tools and then normals select elements and click on display.
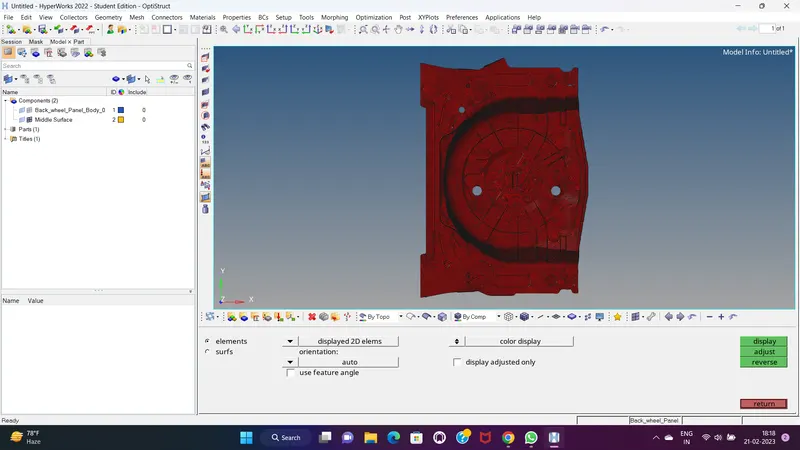
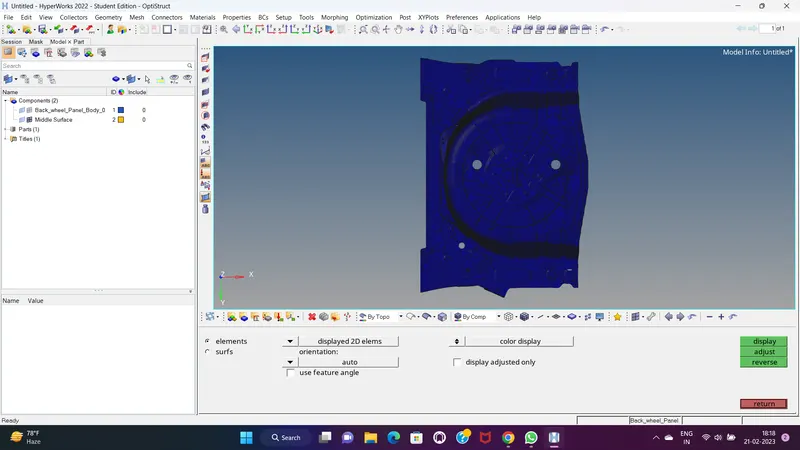
* In this process we found some elements are in different normal so we select these element and click on severse
5. creating propery and material.
* In this model we have to create propery as well as material.
* so mearsure the thickness of the component.(0.75)
*accourding to thickness create the materials.
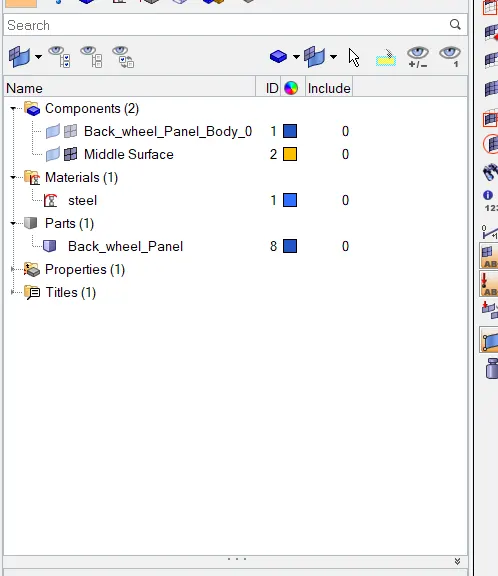
* Then we create the property for these materias and give thickness value to property according to different component's thickness.
6. FINAL MODEL.
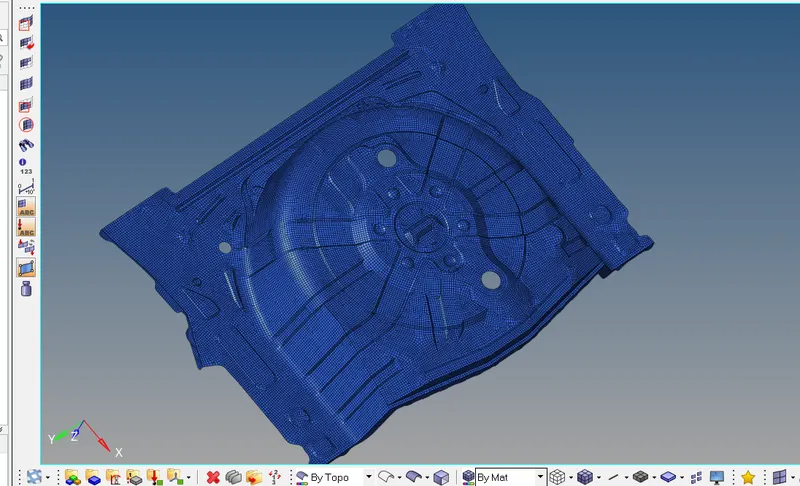
CONCLUSION:-
* In this project we learn 2D meshing of sheetmetal component and assign the thickness.