Project 1 - Meshing of Floor Panel
ROJECT 1 – FLOOR PANEL MODEL
Objective: To generate mid-surface for the floor panel & provide mesh using batch mode meshing option.
Quality Criteria to be followed are listed below:
|
SR NO |
Quality Criteria |
Value |
|
1. |
Aspect Ratio |
5 |
|
2. |
Skewness |
45 |
|
3. |
Warping |
15 |
|
4. |
Taper |
0.5 |
|
5. |
Min. Length |
2 |
|
6. |
Max. Length |
8 |
|
7. |
Min angle Quad |
45 |
|
8. |
Max angle Quad |
135 |
|
9. |
Min angle Tria |
20 |
|
10. |
Max angle Tria |
120 |
|
11. |
Tria % |
10 |
Steps to be followed:
- Initial we have to check the geometry with the help of tool called check geometry. This tool indicates if there are any missing point or unnecessary triple con generated on the model. While working on the model we can find some cons or issues identified. This issues can be fixed automatically if not done then it shall be manually fixed by using cons release, new face & topo option.
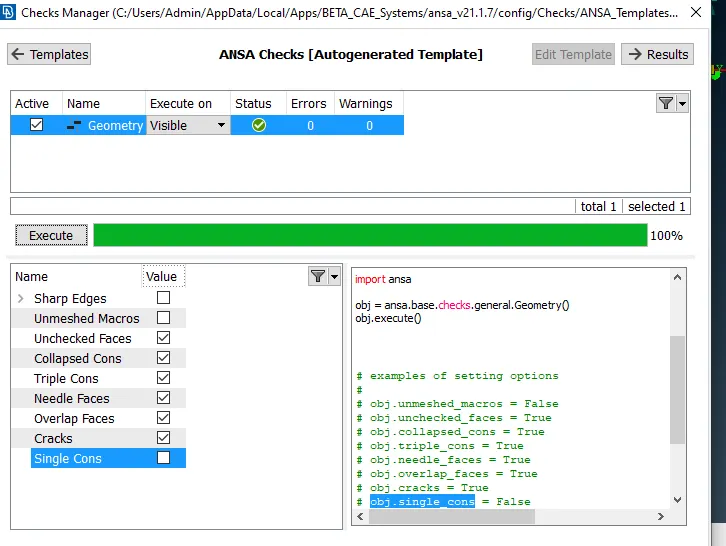
- Once the geometry cleanup is done & no errors are been highlighted then we can proceed further with providing the midsurface to our model.
- First of all we have increase the resolution of the model by choosing length option in mesh module & provide a parameter length of 1mm & macro length of 1mm. This will help us to have a more refined surface.
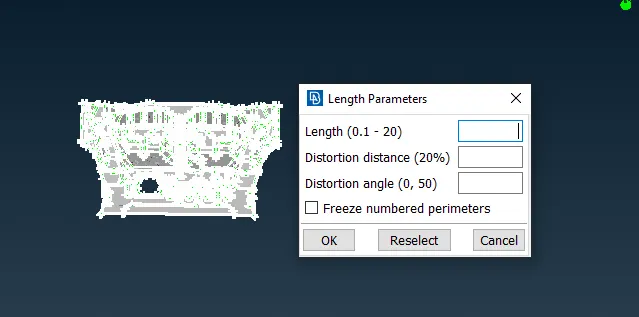
- Next before generating midsurface we have to go through overall thickness of the part so as to have an idea of which option to be selected for mid surfacing. After checking it can be observed that uniform thickness is been observed in every part & we can choose direct midsurface generation & providing property ID with the help of toolbar called ‘Midsurface Skin’ in toolbar & generate auto midsurface. Another option is for manual midsurface choosing the offset option.
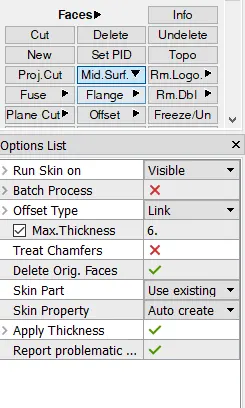
- To save time & generate mesh quickly we shall go for mid-surface “skin” option from the module. This option generates automatic midsurface with a unique property ID & provides a thickness as required. So we can save more than 2 to 3 steps from manual mid-surface. Next by choosing single part from property ID we shall create single midsurface for each body.
- Next now we move to mesh module & initiate with meshing process. But before that we have to provide quality criteria & define a target element length.
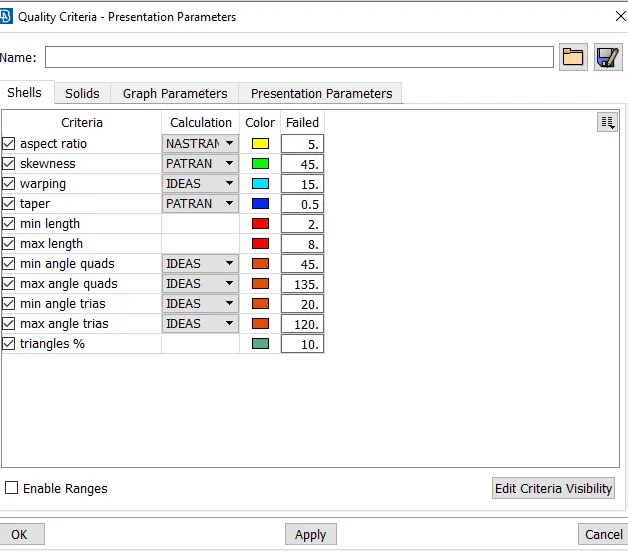
- Now here we shall go for Batch meshing option for meshing the floor panel model. Before initiating batch meshing we need to set new part in model browser.
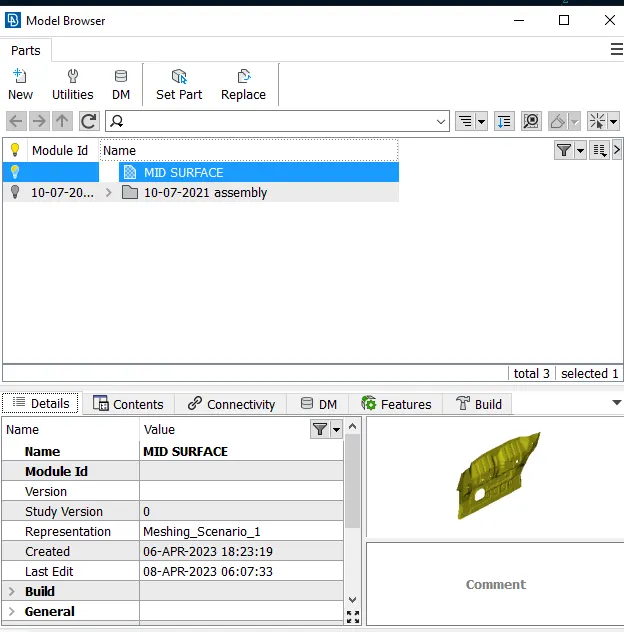
- After providing new part we can click on batch mesh _contents & loda the mid surface for meshing.Now click on run otion to initiate with batch meshing. Batch meshing is an important tool as it saves lot of time & the operator should always be aware of all the options avaialable for meshing as this can make him execute things quickly.Batch meshing cannot provide the best mesh flow with comparision to manual mesh but it can be improved where there are discrepancy found with respect of OFF elements. Now we have executed mesh flow & results generated is good. There were few off elements but it can be manually handled and resolved.
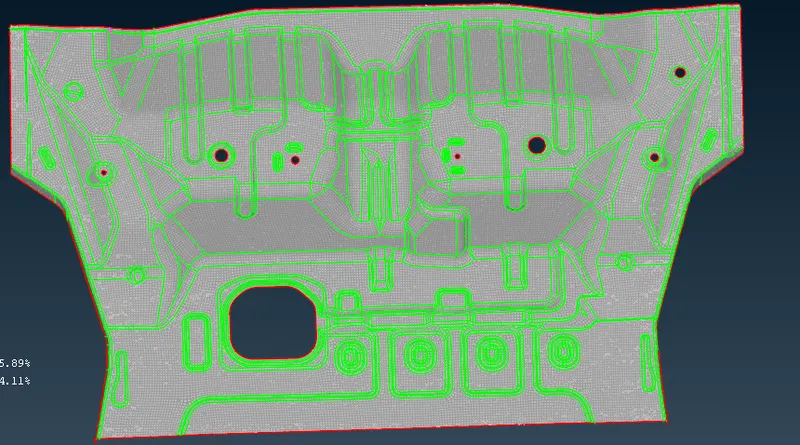
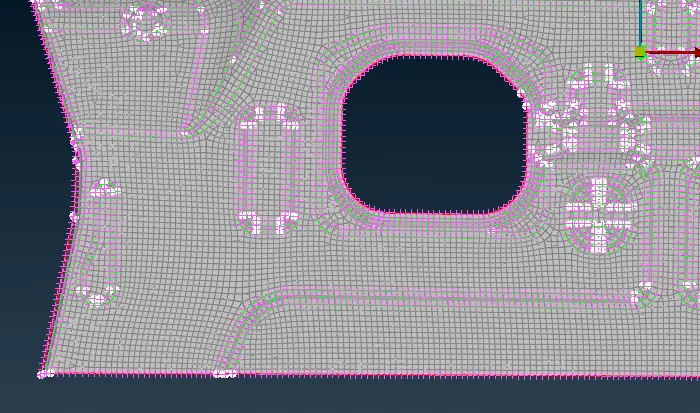
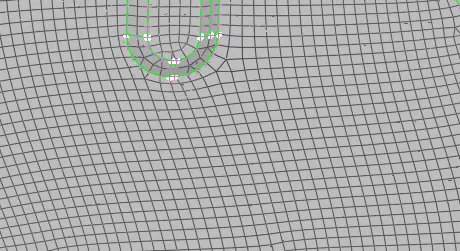
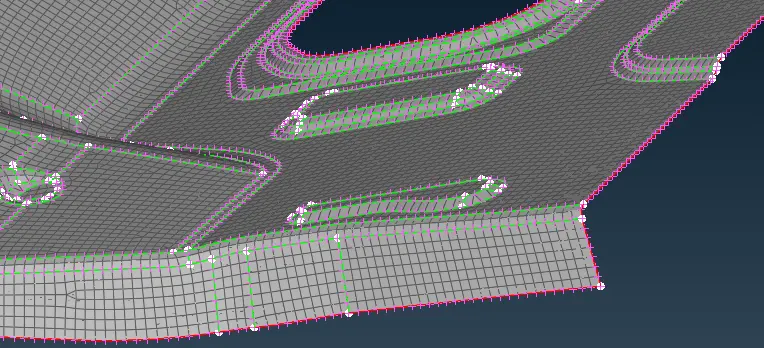
9.Now we have meshed all the parts we can check for any off elements & work on the same in order to bring it under quality criteria & try to improve the mesh flow.
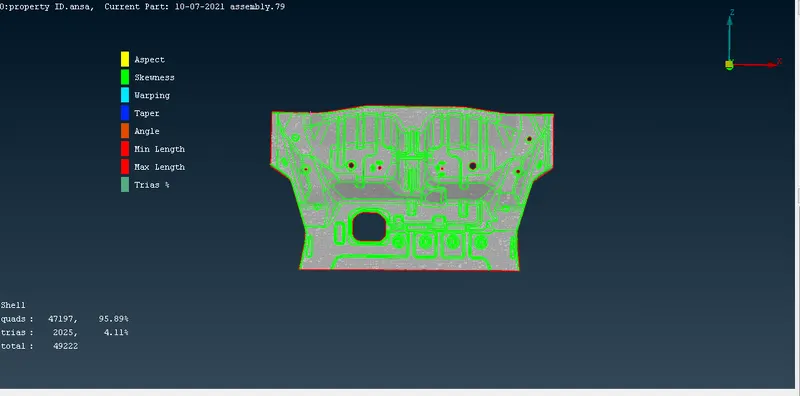
Conclusion: From the above project we learned how we can create mid surface through skin option & save time. Also while meshing how a lot of time & efforts can be saved using Batch meshing. Now when the quality parametes are not so criritcal we can choose batch mesh & save a lot of time.So we can conclude that where parameters are not critical we can always select batch meshing as a option.
NOTE _ MODEL ADDED IN ZIP FILE FOR YOUR FURTHER ACTION.