Project 1 _Creating an Architectural plan for the provided plot size and develop relevant basic structural drawings
Aim: To draw
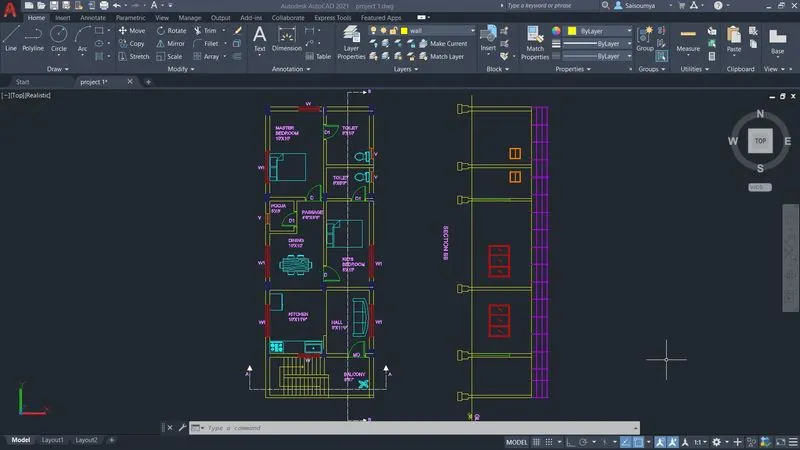
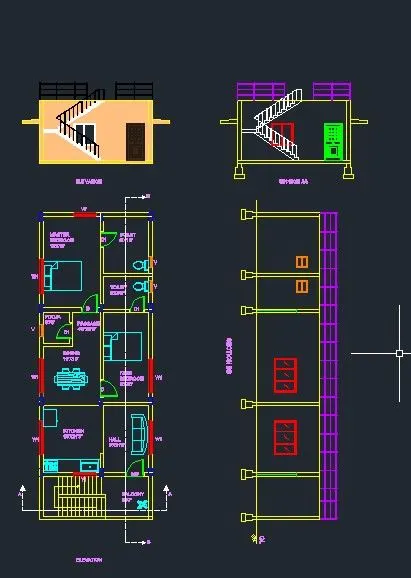
- Architectural drawing of a residential building: Plan of a residential building. Elevation of a residential building. Section of a residential building.
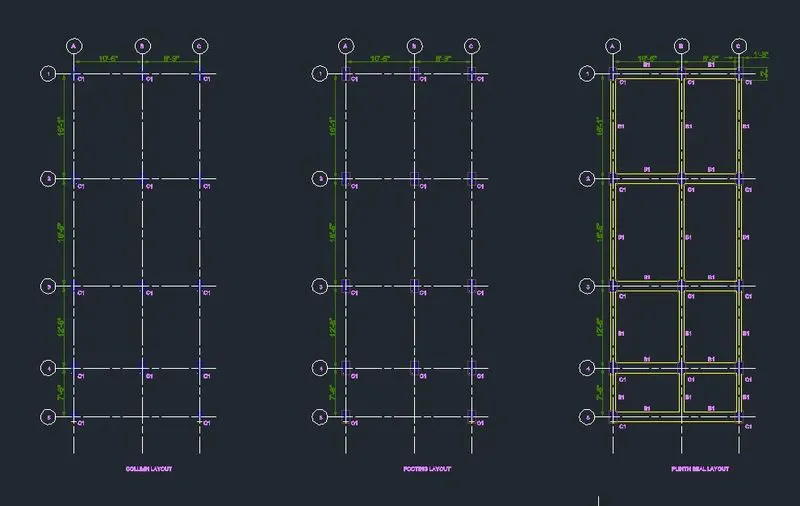
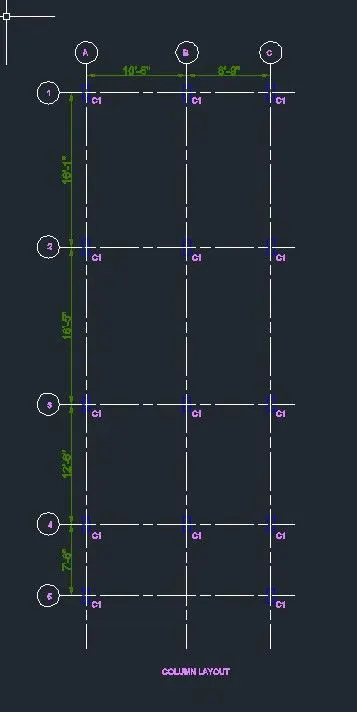
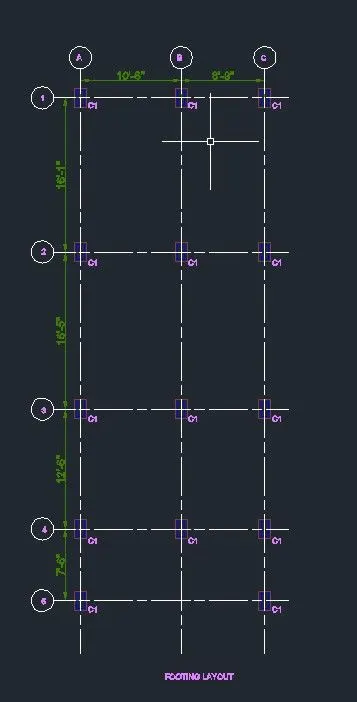
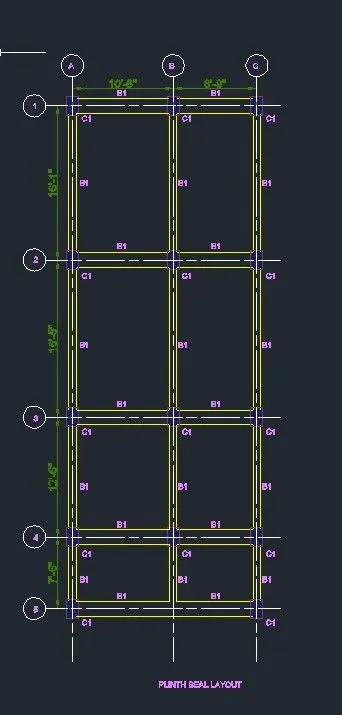
- Structural drawing: Column plan layout of the building. Footing plan layout of the building. Beam plan layout of the building.
Commands used:
- Line.
- Offset.
- Rectangle.
- Trim.
- Extend.
- Block.
- Block edits.
- Dimension.
- Layer.
- Hatch.
- Design centre.
Procedure:
Step 1:
Opening of AutoCAD, setting limits .Select imperial as we are drawing in Feets. Set the limits .Set the dimension to engineering units and set the precision.
Architectural drawing of residential building
Plan of the residential building:
Step 2:
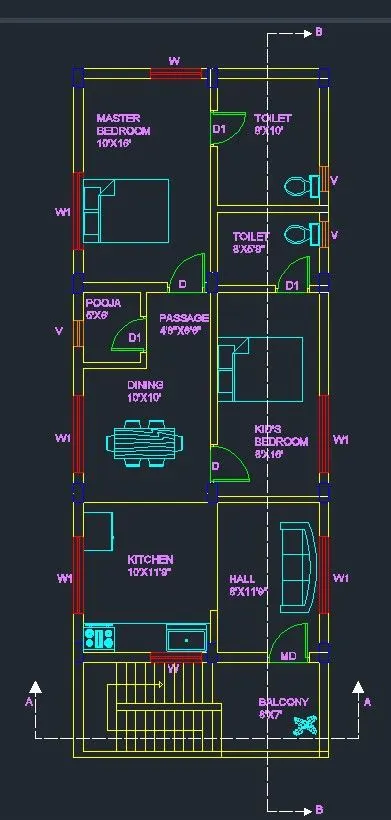
Drawing of plan:
Step 3:
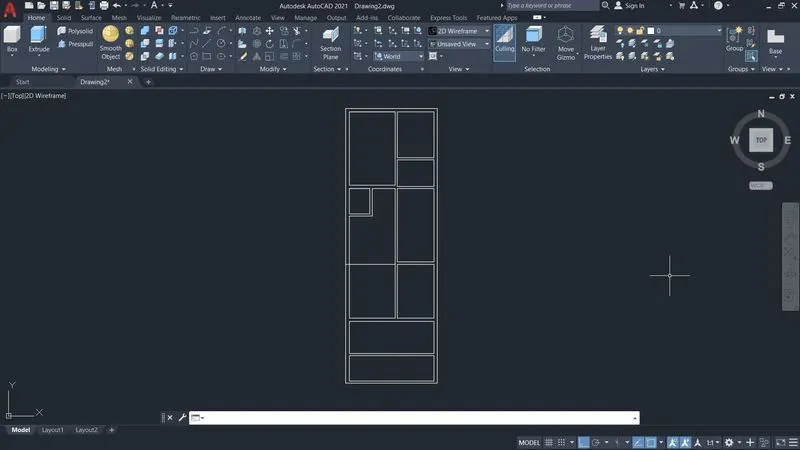
Drawing wall offset 9” from the boundary after the setback is taken for the wall thickness.
Step 4: Drawing Living room or hall: As the orientation is given as East, main door should face east. For living room, give 9” offset horizontally front. The size of the room will be 8’x11’9” Opening for main door is create by offsetting 9”from the wall and trim the same.

As per Vasthu Shastra
North-East is favourable for living room and the entrance should face North or East
Draw the other rooms according the sizes
Size of kitchen is 10’x11’9”
Size of dining is 10’x10’
Size of kid’s bedroom 8’x16’
Size of bathroom in kids bedroom 8’x5’9”
Size of puja room 5’x6’
Size of master bedroom 10’x16’
Size of bathroom in master bedroom 6’x10’
Step 5:
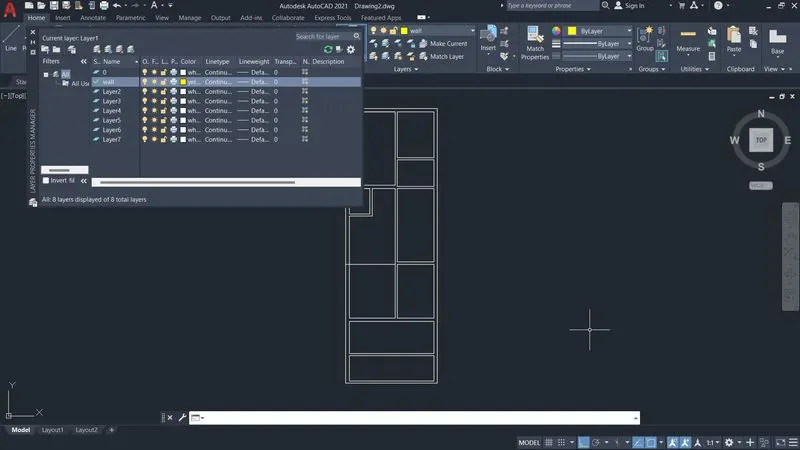
Use of Layer:
Different layers are made and the objects are placed in layers. Click on layer, layer manager dialogue box app Create new layer button and create the layer for walls, stairs, doors, windows, text, dimension .Insert the respective layers
Step 6:
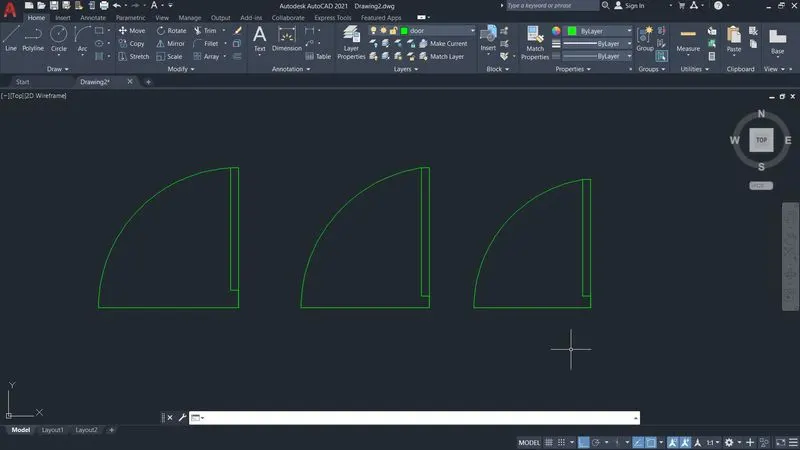
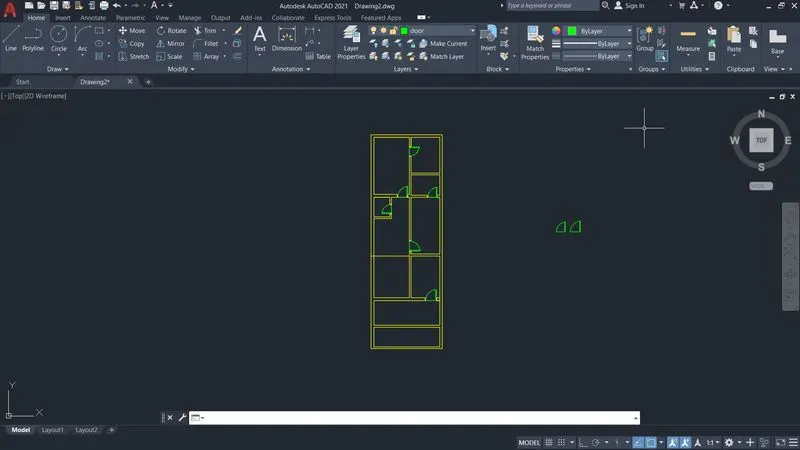
Placing the doors:
Step 7:
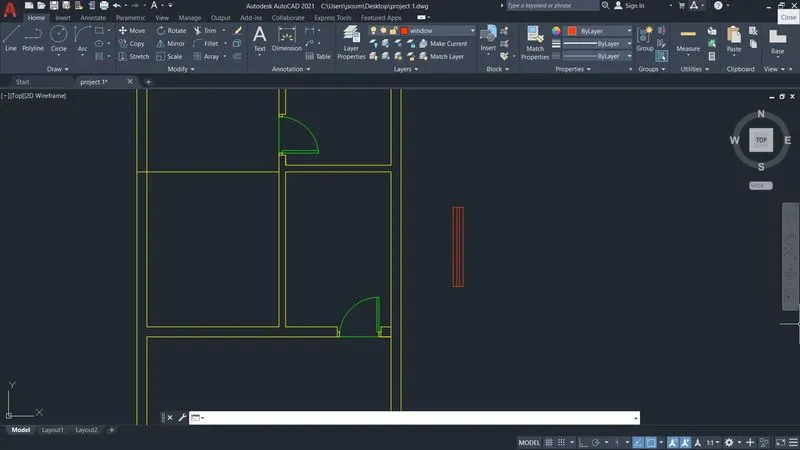
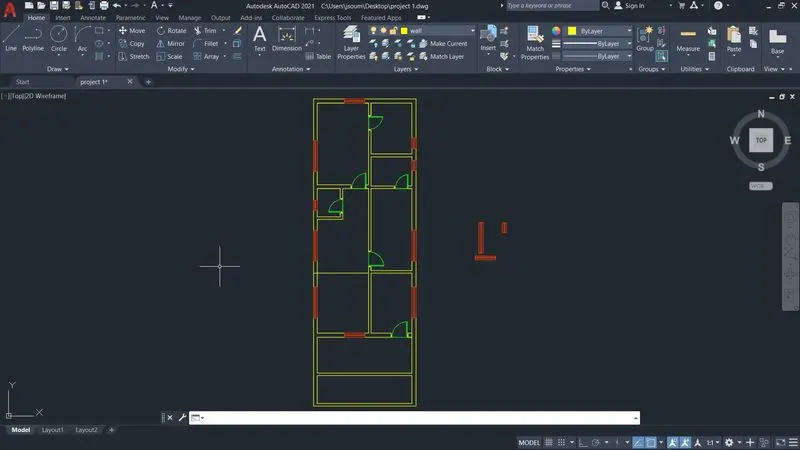
Placing the windows:
Step 8:
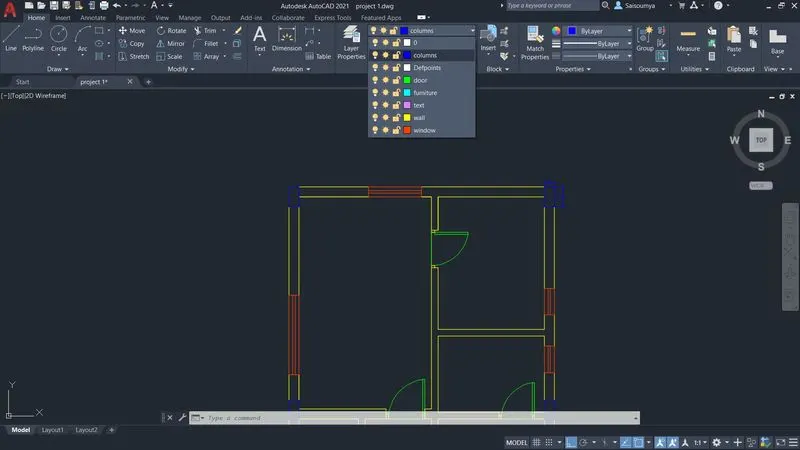
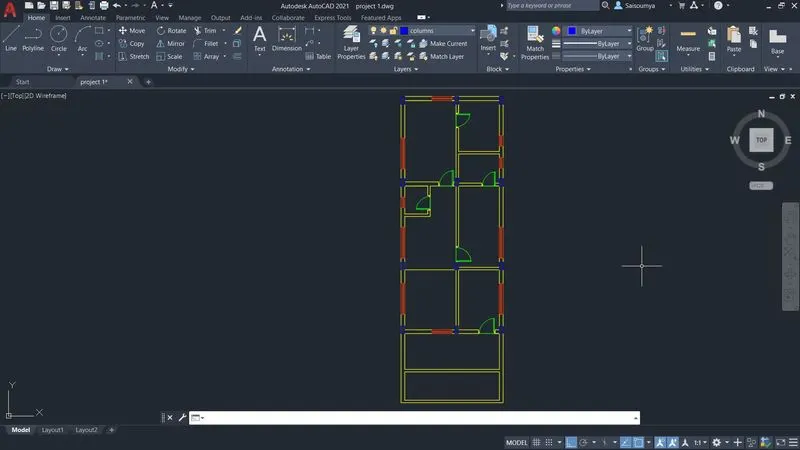
Placing the columns:
Step 9:
Design centre:
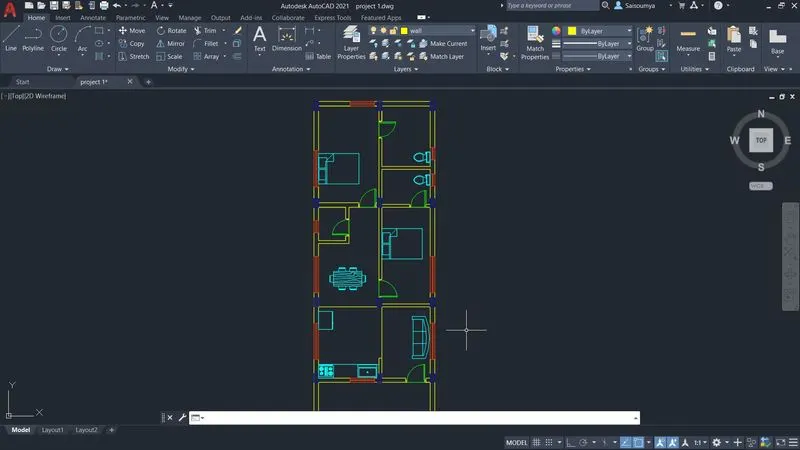
With the help of design centre, insert the required furniture in the plan
Step 10:
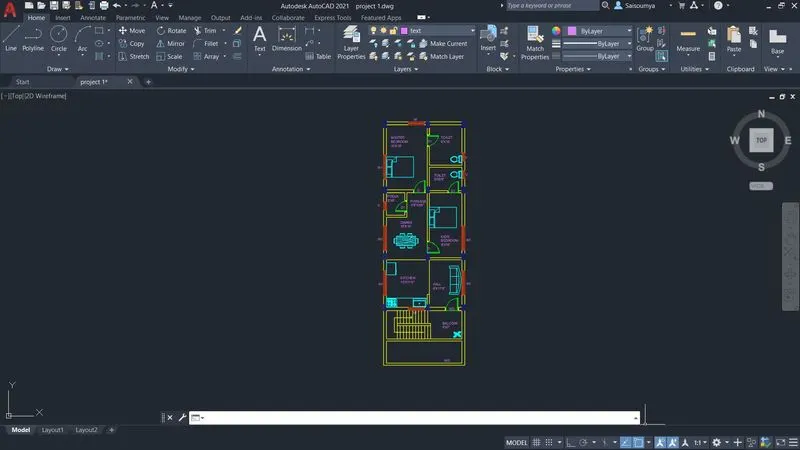
Inserting the text:
Step 11:
Elevation
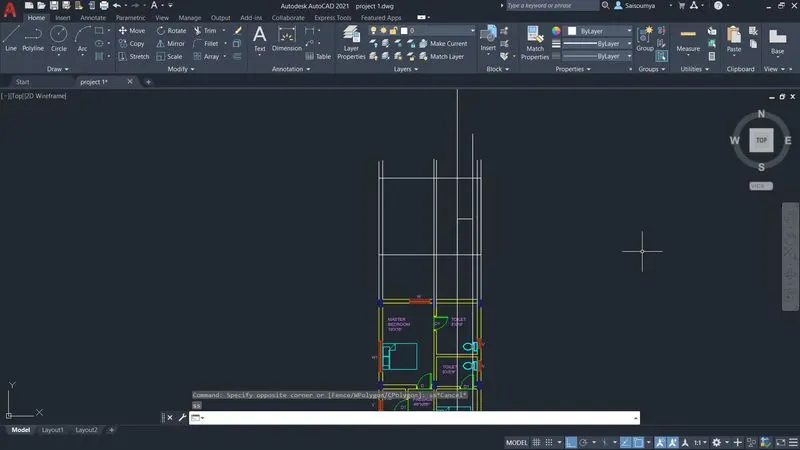
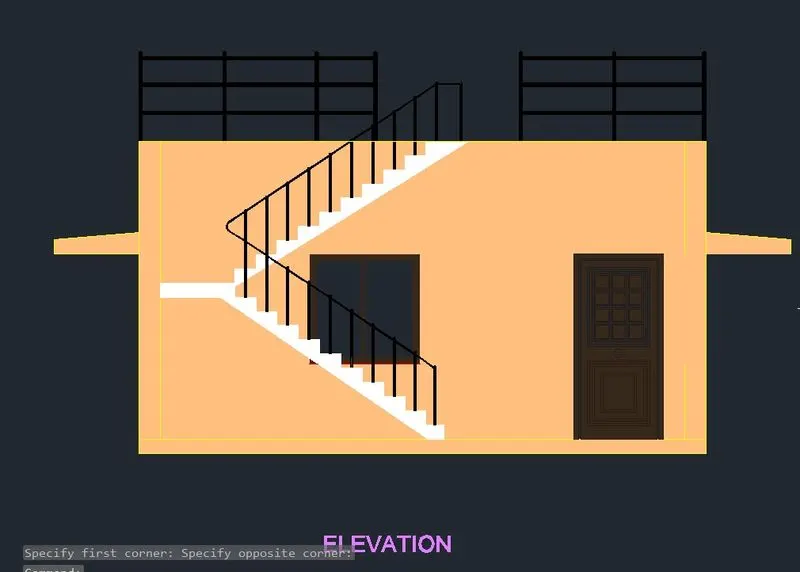
Projecting lines to draw the elevation: Project the wall lines to the top. Draw a horizontal line. Offset 6” for the plinth level. Offset 7’ for the Lintel level. Offset 11’ for the floor level. Offset 14’ for the parapet wall .Trim off the extension lines and make shutters and panels for doors and windows. For architectural purpose, create some hatches. Place the windows and foundations in the respective layers and give colours.
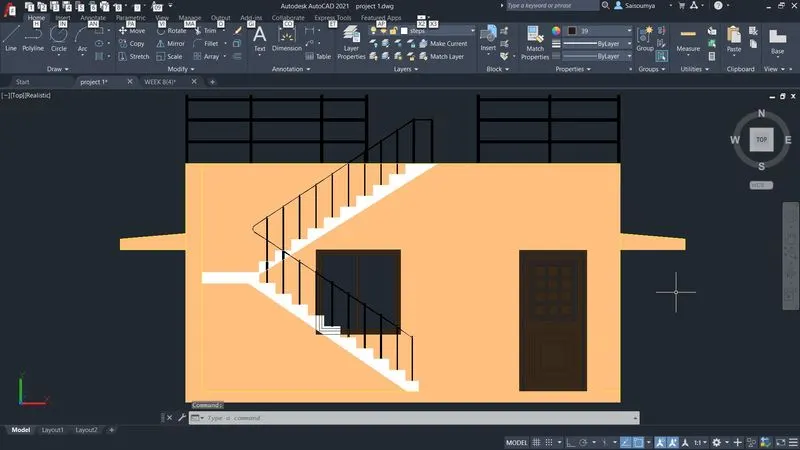
Step 12:
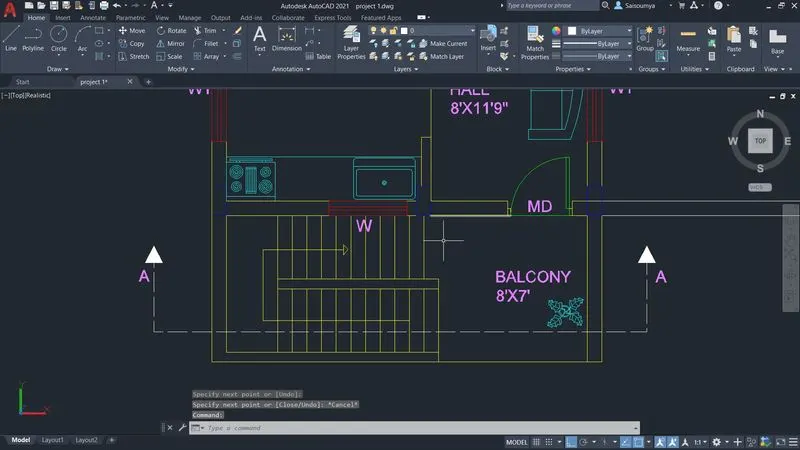
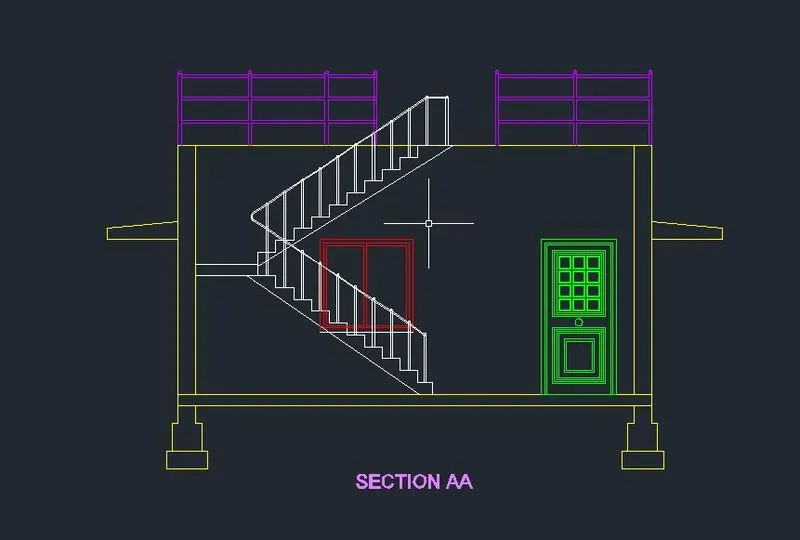
SECTION A-A: Draw the section line A-A, Project the lines from the elevation for the height and from the section line of plan for the horizontal members.
Drawing windows, doors and stairs in section: Draw the window and door which we see after cutting the section A-A
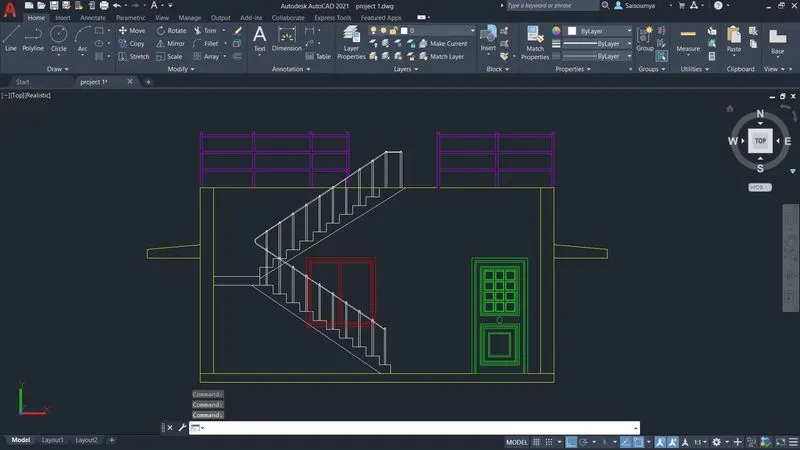
Step 13:
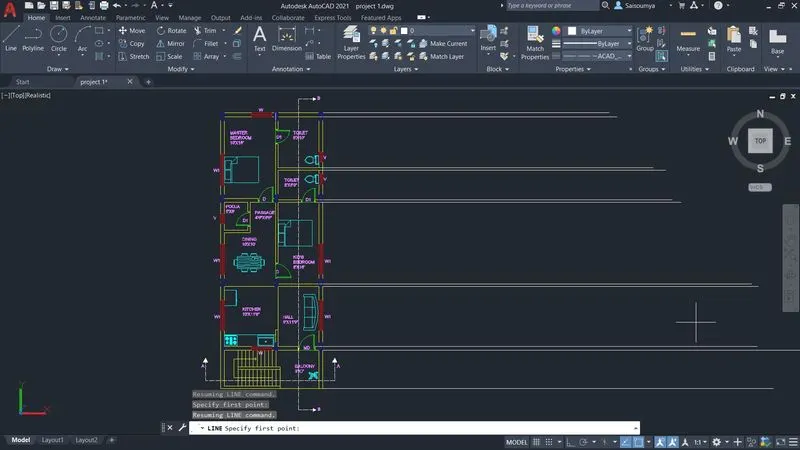
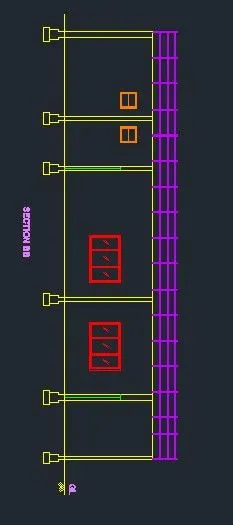
SECTION B-B: Draw the section line B-B, Project the lines from the elevation for the height and from the section line of plan for the horizontal members.
Drawing windows, doors and stairs in section: Draw the window and door which we see after cutting the section B-B
Step 14:
Structural drawing:
Column layout of the building:
Draw the centre to centre line wall layout
Column of size 9”x18”is provided. Create a rectangle with dimension 9”x18”, place the column at the respective positions. Make a layer for columns and place the columns in that layer.
Step 15:
Footing layout of the building:
Isolated footing of size 15”x24” is provided. Create a rectangle with dimension 15”x24”, place the centre column. Make a layer for footing and place the footings in that layer.
Step 16:
Plinth beam layout:
Drawing of plinth beam: First connect the columns by beam of width, as the wall thickness is 9”.Plinth beam is provided. Create a layer for beam and put the plinth beam in that layer
Result:
- Architectural drawing of a residential building: Plan of a residential building. Elevation of a residential building. Section of a residential building.
- Structural drawing: Column plan layout of the building. Footing plan layout of the building. Beam plan layout of the building.