Project 1 : CFD Meshing for Tesla Cyber Truck
CFD meshing for tesla’s cyber truck
AIM: -
For the given model of tesla's Cyber truck, checking and solving all geometrical errors and Assigning appropriate PIDs and creating wind tunnel and creating surface mesh on wind tunnel for CFD analysis.
Procedure
- Importing the CAD model.
- Identifying & cleanup of the topological / geometry errors.
- Geometry check-up.
- Naming PIDs.
- Defining the element size and length.
- Setting the mesh parameters, selection of meshing type and generating surface mesh of model.
- Resolving off elements in surface mesh.
- Creating the wind tunnel for external flow CFD analysis and surface mesh of wind tunnel.
Given model
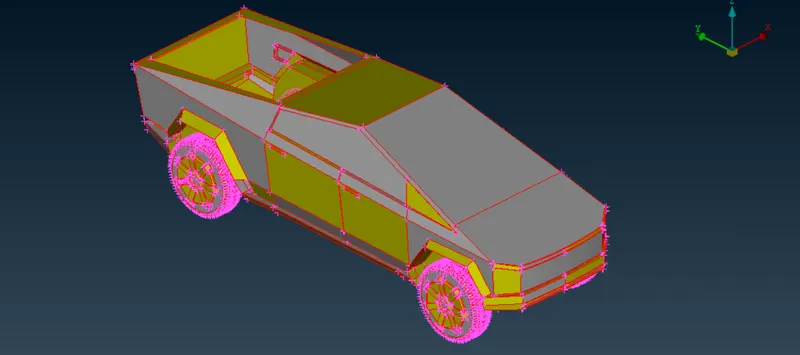
Topo clean up the whole body
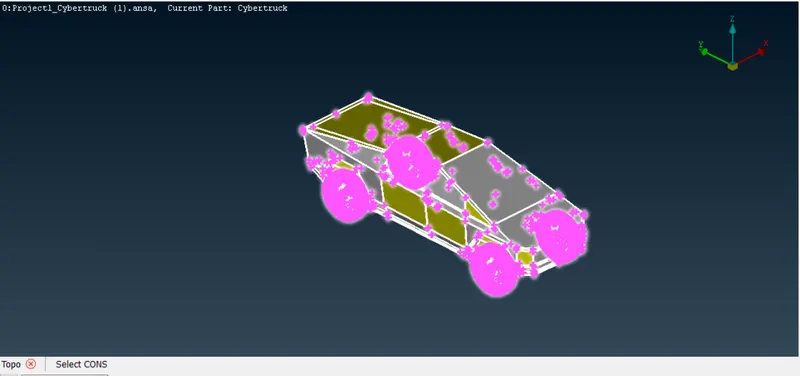
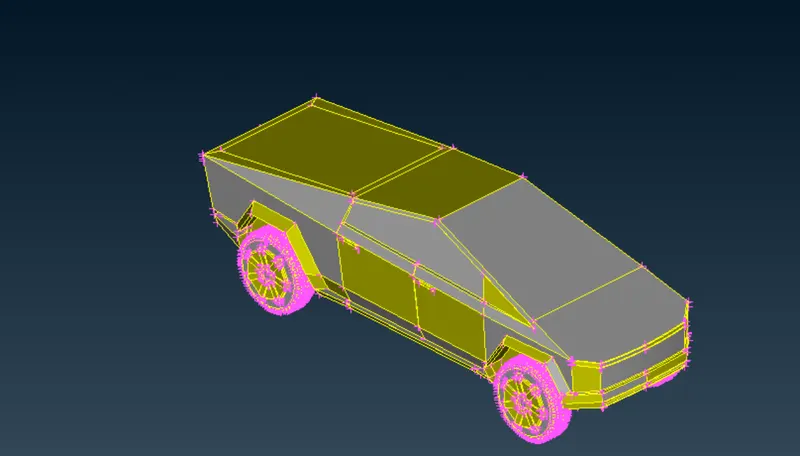
After checking and performing topo-clean up for the entire model. We need to perform geometry checks to find small cracks are unchecked faces extra which is not good for the geometry, therefore we need to perform checks and clean the geometry accordingly.
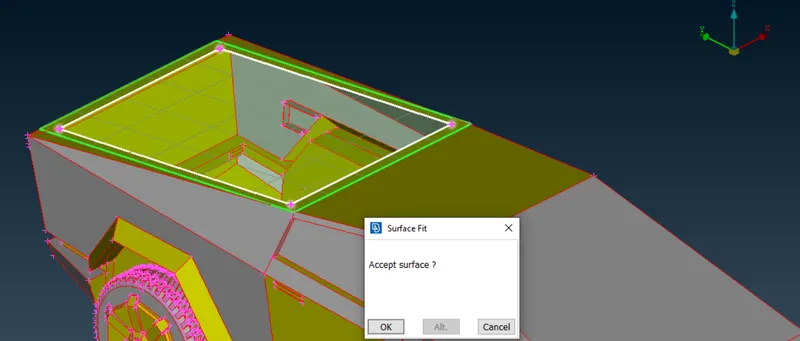
Filling the uncovered faces by new>> fitted tool
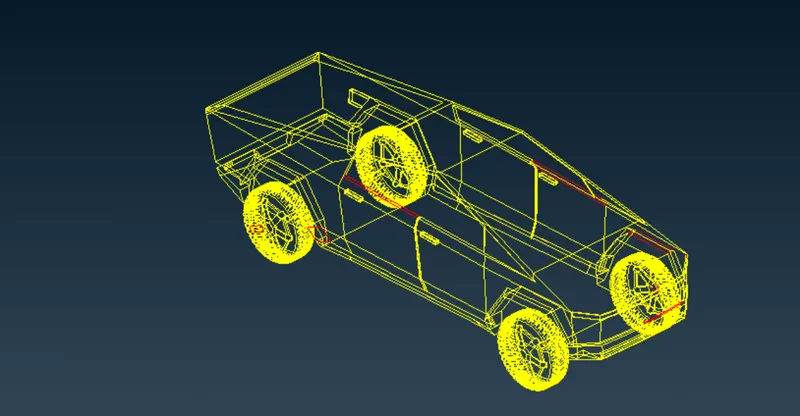
Geometry checks up
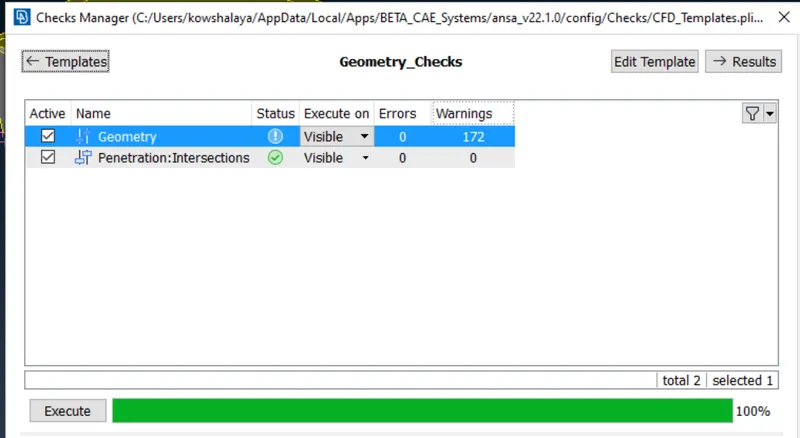
After geometry cleanup
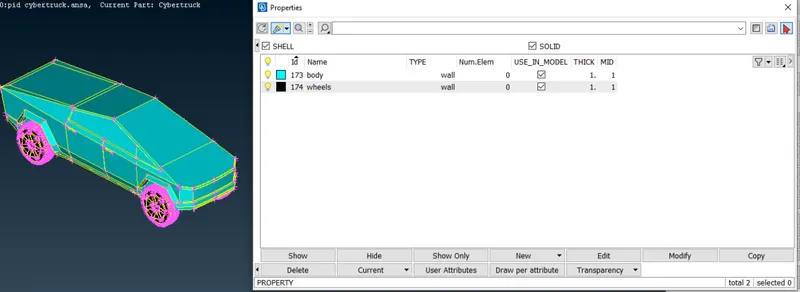
Naming PID’s
Once the geometry is checked and has no errors, we can now assign names to different components using PID.
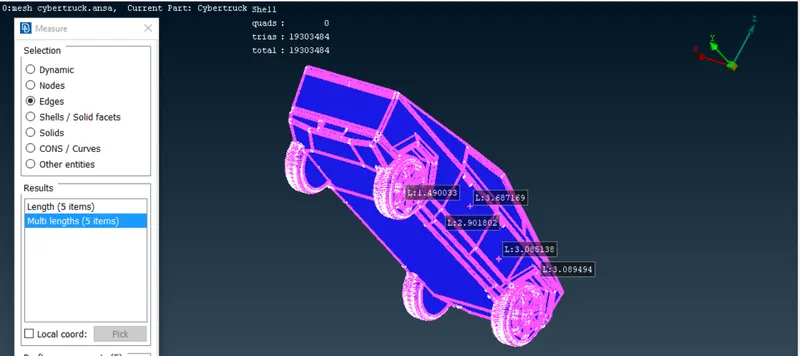
Surface meshing
The mesh length for the wheels is given as 2mm and for the whole body is 4mm
Creating wind tunnel:
- First, we need to create reference points to create wind tunnel surfaces.
- Select relative under points in topo mode, create a point below the car taking one reference point and entering the correct values from the center of the body.
- First create a point towards downwards and give distance of 600 and the point is created.
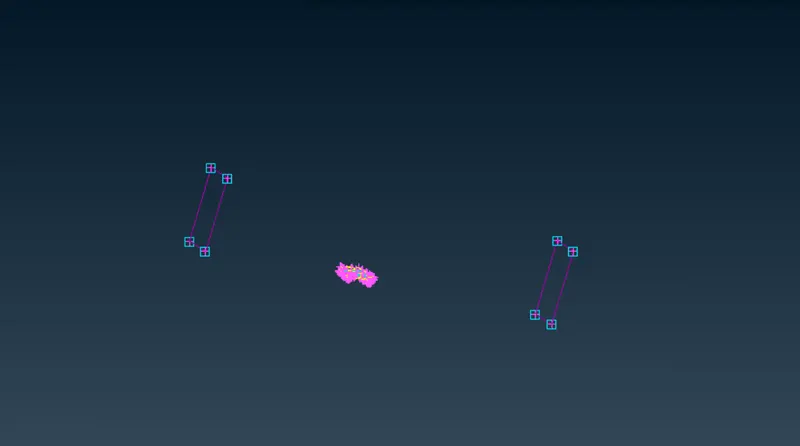
- After the first point give the half length of the tunnel measurement to create point in front of the car then create points in the left and right(width) of the tunnel
- After that create a point facing upwards(height). select the two points created before and give the upward angle and distance
- Then select four points created in front of the car and give a distance length of the tunnel
- After creating the points create a curve with the points and create a face and give the required pid’s
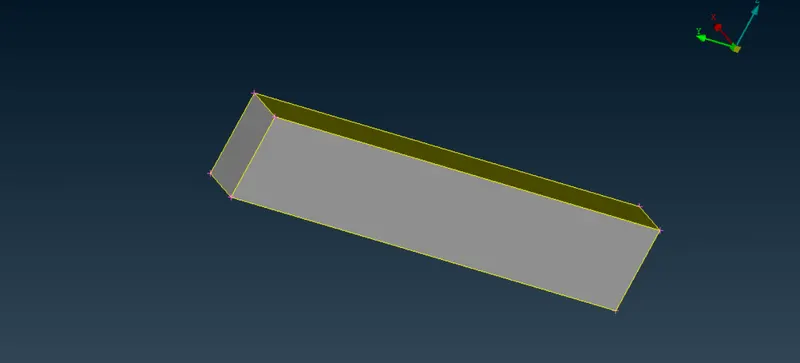
After creating WindTunnel select the spacing tool for the min and max mesh limits for the tunnel here we have given 20 as min and 100 as max with factor of 1.1
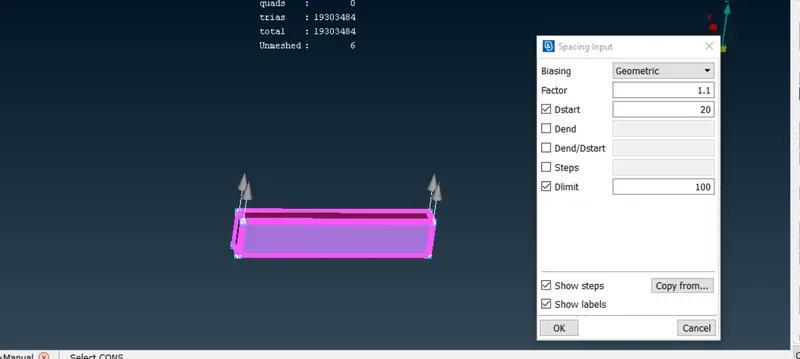
Surface meshing on wind tunnel
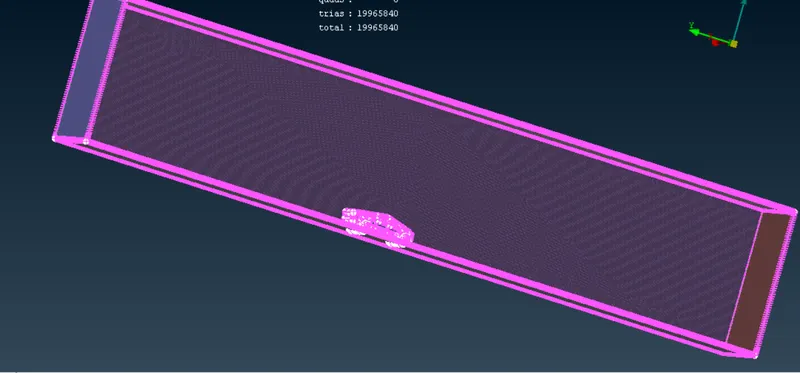
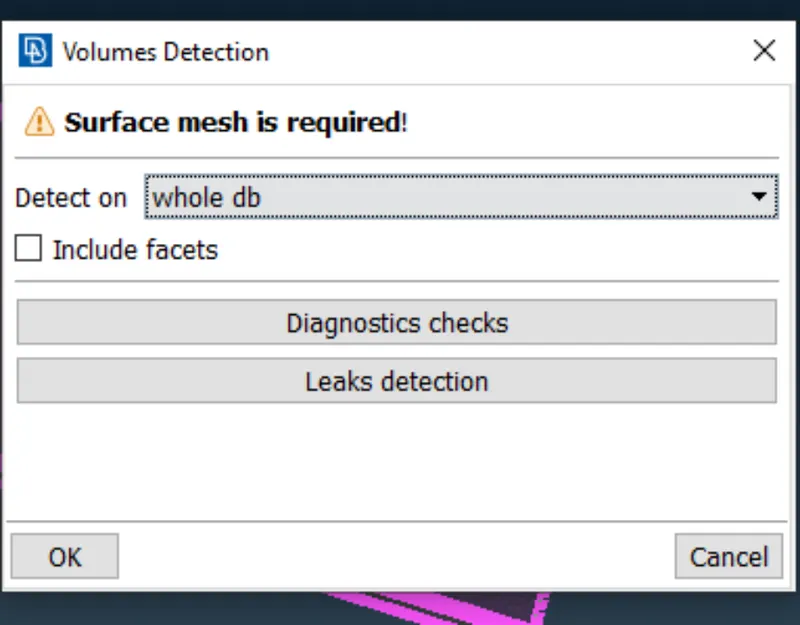
Here we are going to detect the volume for model here we are getting about 6 volumes
Since volumetric mesh takes longer time thats not necessary so here we are detecting only the volumes between the car and tunnel.
Learning outcomes:
- Performed various topo clean-ups using different tools.
- Understood the need of double cons and removing unnecessary triple and single cons.
- The use of symmetry helps in reducing the work time and helps in having accurate results with less work.
- Create surfaces using the reference hot points by using relative points.
- Surface meshing for different components and their varying mesh lengths.
- Using spacing option in surface meshing helps in having varying mesh lengths along the surfaces.
- Using re-construct option to reduce off elements to a level where we can edit it manually.
- Using the mesh modifying tools like move, split and smooth options.
Conclusion
Hence the geometry clean up has been done and surface meshed the car and wind tunnel successfully
ansa model file:- https://drive.google.com/file/d/12OhGQKuRR3jjSJ0e9xzxQ8LSC-sRew6Z/view?usp=sharing