Project 1 : CFD Meshing for Tesla Cyber Truck
OBJECTIVE:
1. For the given model, check and solve all geometrical errors and Assign appropriate PIDs. Perform meshing with the suitable Target length and element Quality criteria.
2. Target lengths for the different parts of a model can be decided by your own. Finer mesh will give good results and will compromise with the longer processing time.
3. Meshing Wind tunnel volume with tetra elements may take upto 2 days of time. So that is not compulsory to perform. As this is a major project, It is advisable to mesh that completely by taking some days of time. Write a detailed report for the same.
Note: All the 2D elements(Trias) in your model should clear the quality criteria (i.e. Off elements should be zero). Depending upon this you will be awarded marks.
AIM:
To check and solve all the geometrical errors, assign relevant PIDs, and perform surface mesh on the cyber truck geometry as well as the wind tunnel surfaces
STEPS ON ANSA:
Step 1: Importing the model on ANSA workspace and checking for geometry errors called topo cleanup
open >> browse the location of the CAD model >> select it click on open
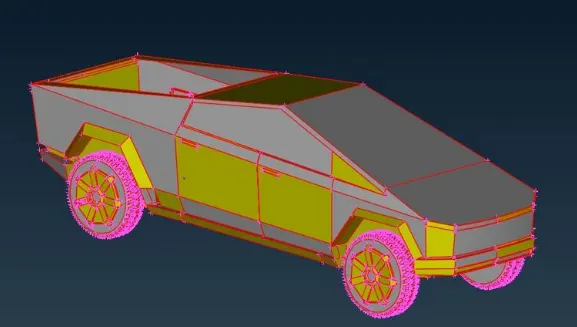
under Topo, drag and select the model and double click
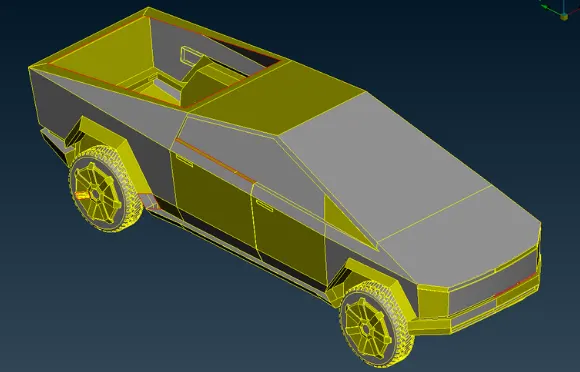
not much errors of single cons and triple cons we have to look after are:
a. On truck Body:
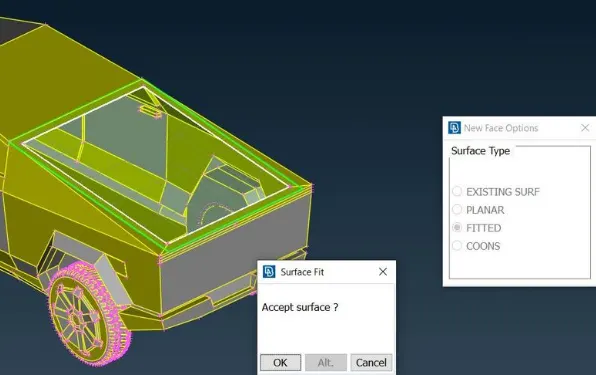
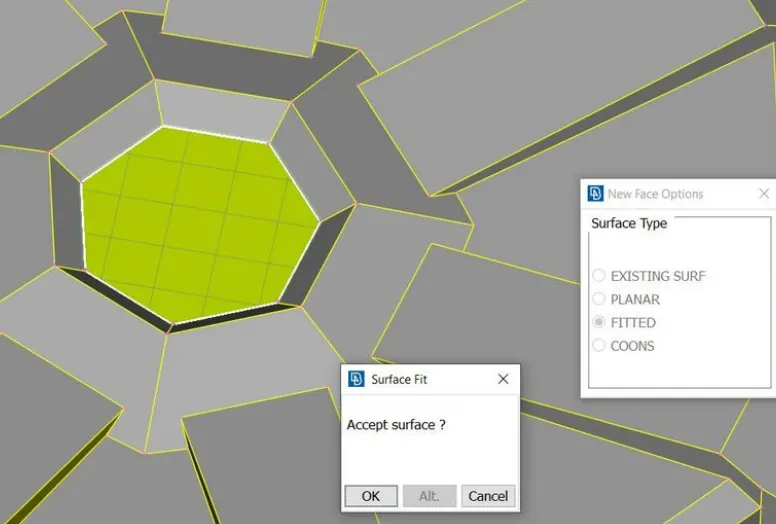
closing the open face at top floor of truck: creating new face as shown below:
there are few more faces that are missing and forming a loop of single cons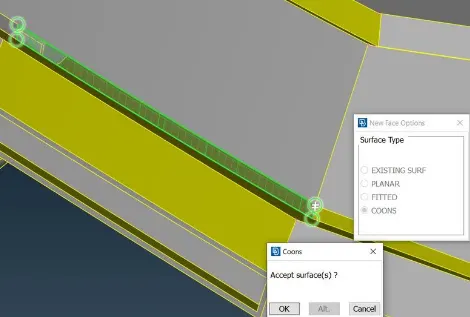
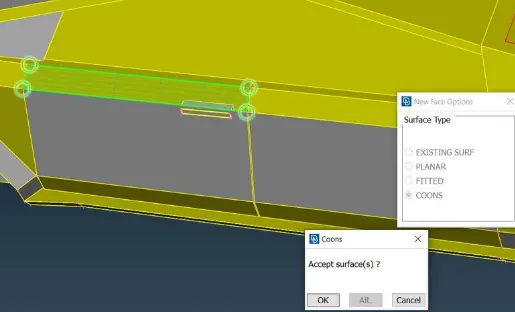
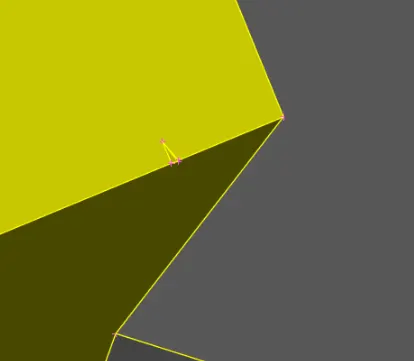
To resolve above snip crack, unwanted surfaces and hot points are to be deleted and new surfaces are created using NEW tool in the FACES section with FITTED option to avoid creation of unwanted holes.
b. On Rims and Tyres:
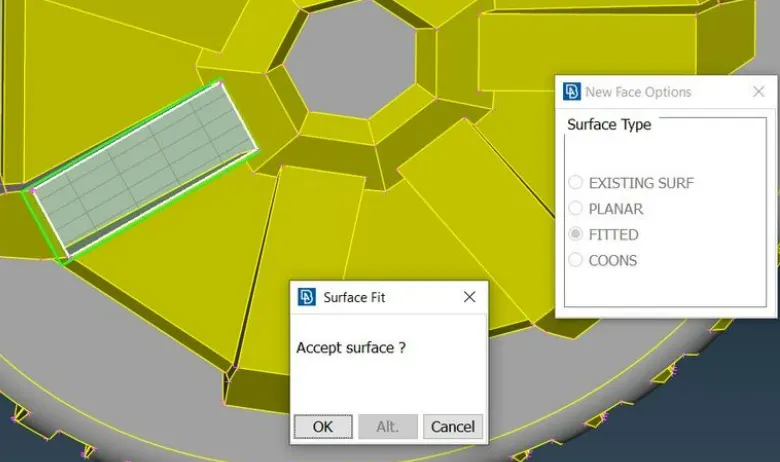
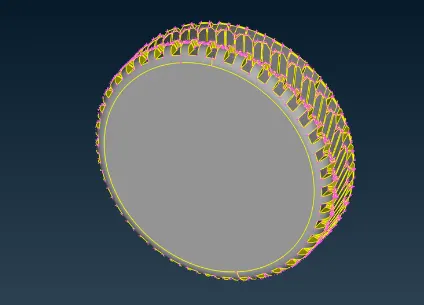
at these 2 locations there were single cons. To define the volumes in later stage while volumetric meshing, we need to close them also.
thus creating new surfaces using new face option. We have 4 options best sitable is fitted in this case.
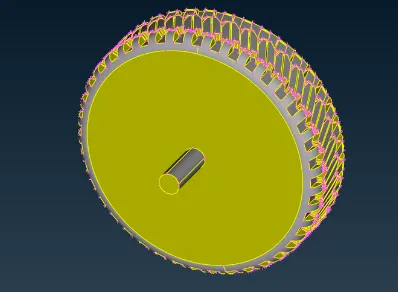
here also as we have to seperate the volume of tyre from the Truck body. That was connected by an axle as below. We need to delete it as it is the inner surface feature and we are focussed on flow outside over the Truck surface in a tunnel.
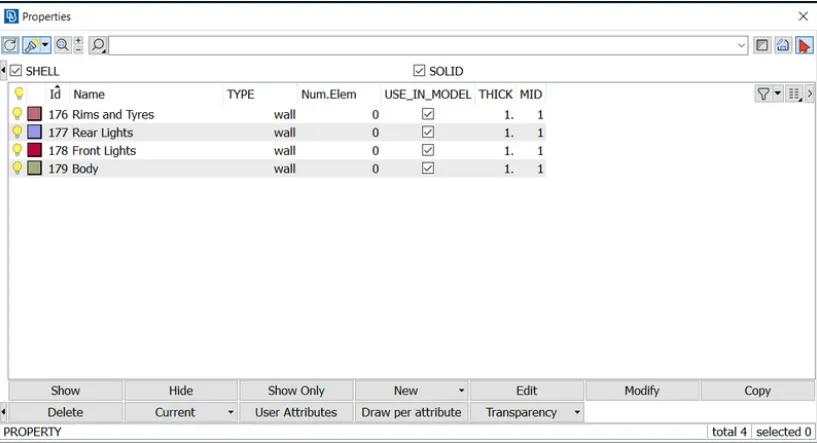
Step 3: Assigning PIDs:
Step 4: surface meshing
Before moving on next step, we need whole and for this we will use tool: Transverse on top tool bar, Trans >> copy >> Symmetry >> selecting whole truck half body by drag and select using mouse >> chose any option for axis of symmetry >> middle click on mouse
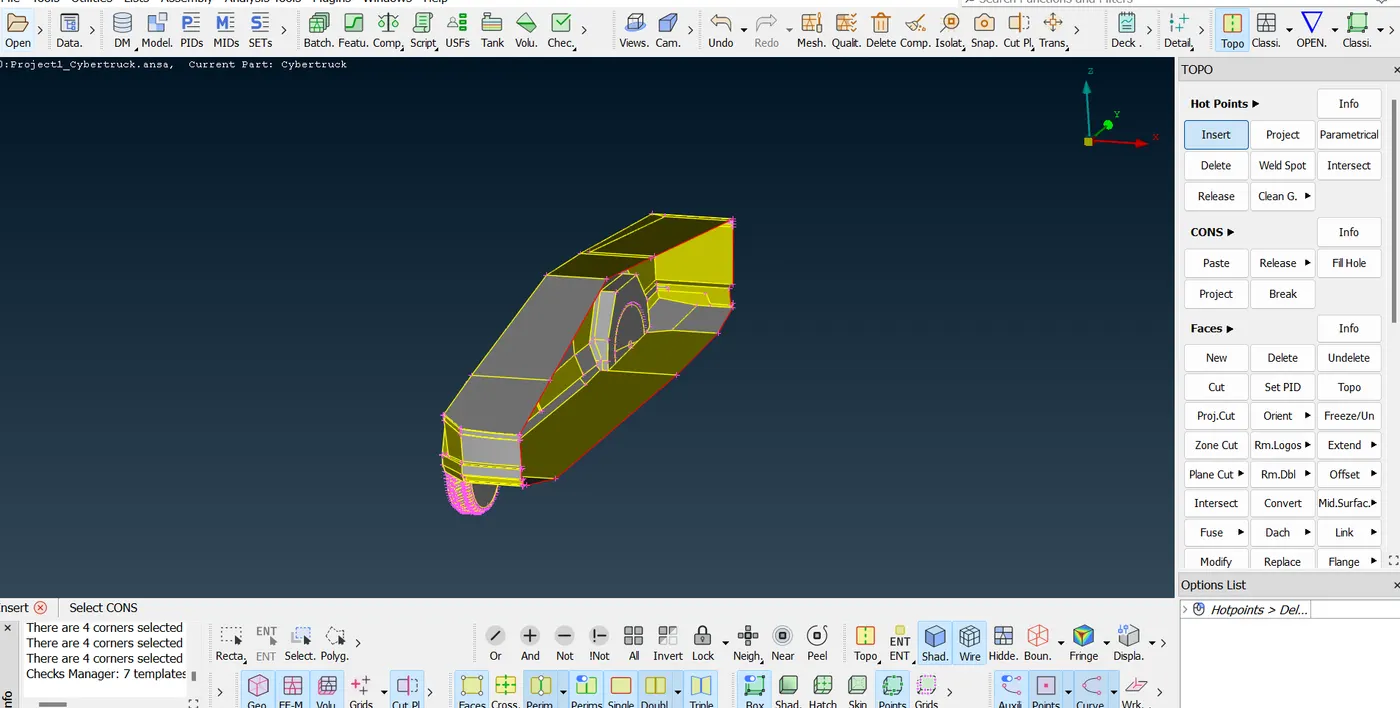
we can see in below snip.
we have to take care of intersecting faces or gaps between 2 half parts of Truck.
-> to solve the intersecting surfaces, intersect command under face tool section and the delete unworthy faces
-> to the gaps between interconnecting symmetric surfaces, we use paste option
checking for gemetry check for errors:
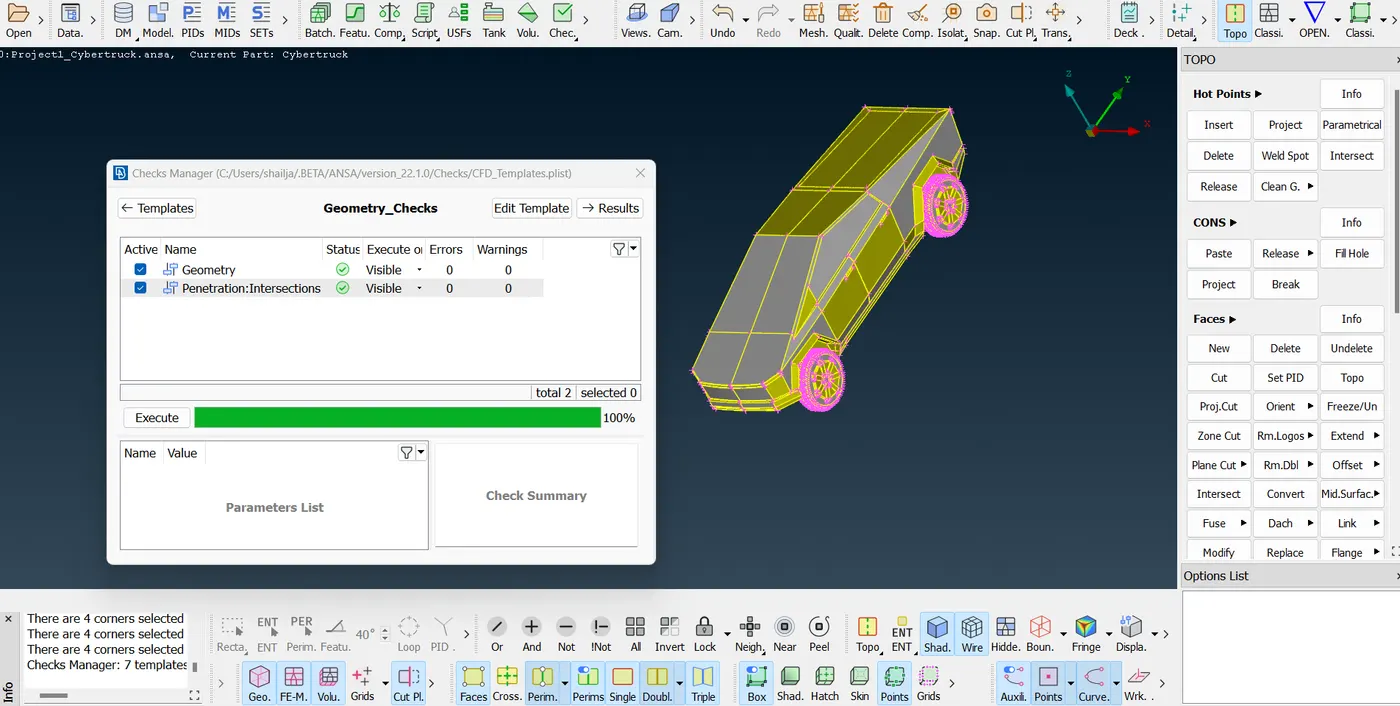
we have to take care of the edges that are very very close to each other <= 3mm (target mesh length for Truck body). We have to use cut option under faces tool section.
Face >> Cut >> right click over hover the undesired double con or edge.
the yellow coloured double con gets highlighted into orange colour. This step will delete that edge or cut and joined the 2 surfaces but temporary. Whenever we require it back, we can use cut option above that uncut edge.
Step 4: creating tunnel:
using point option we can create coordinates of tunnel using relative point option.
truck chasis floor distance from Road=410mm
truck Length=5870mm
truck Width=1931mm
Truck Height=2000mm
we will take 4 times of the above dimensions from all 5 directions of truck to create length, height and width
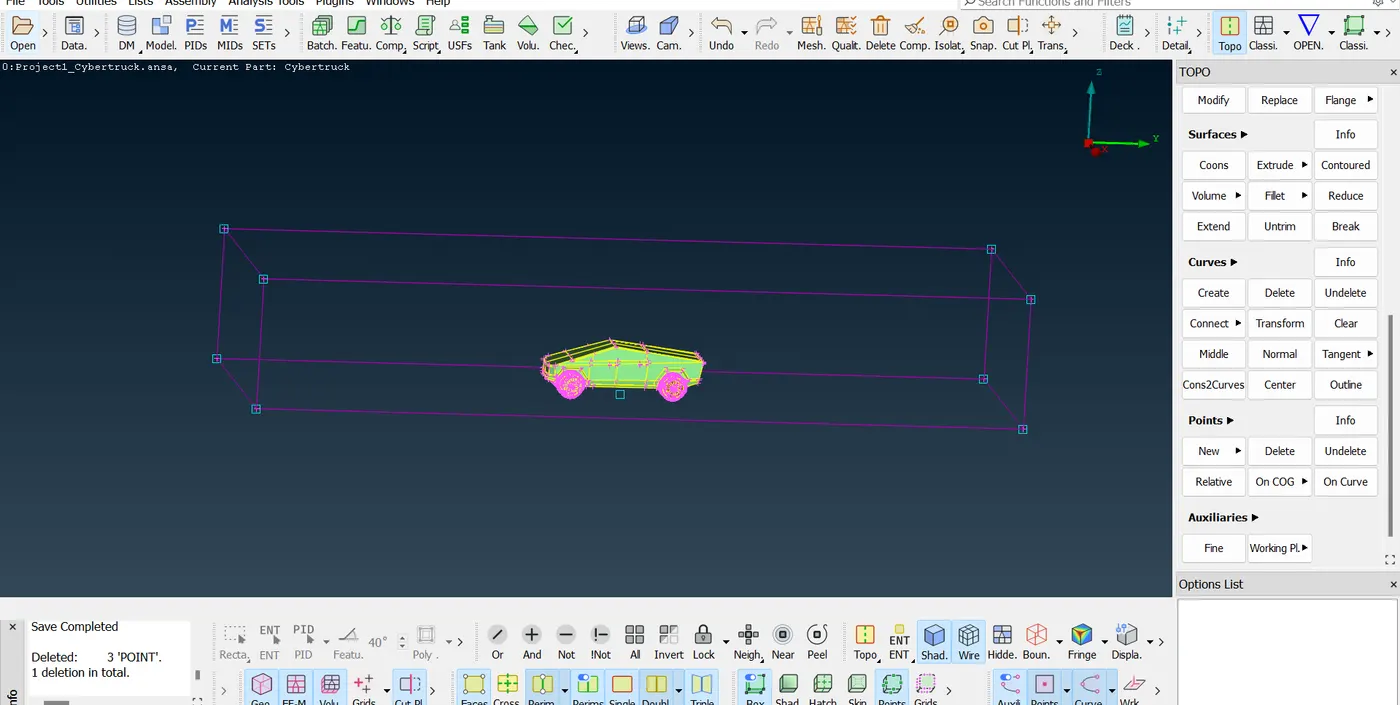
then will create all 6 faces of tunnel
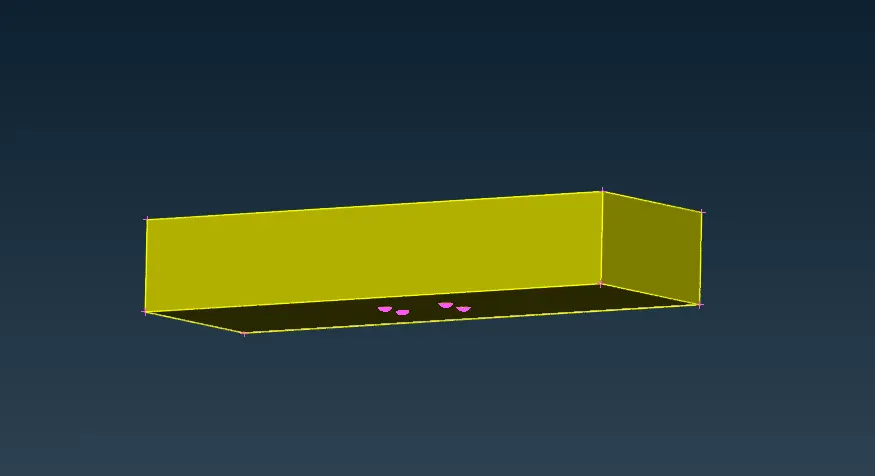
giving names to all 6 faces in PIDs

Here consider mesh target length for:
Truck body = 3mm, min target length = 2mm & max target length = 4mm
Rims and Tyres = 2mm, min target length = 1mm & max target length = 3mm
lights = 1mm, min target length = 0.5mm & max target length = 1.5mm
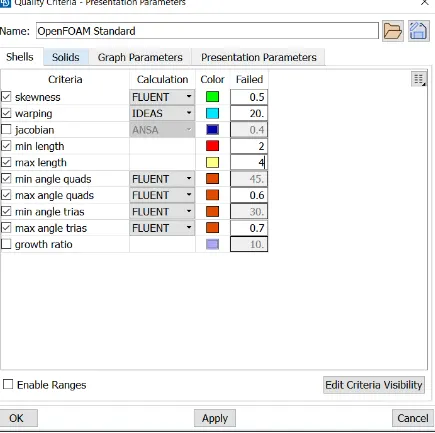
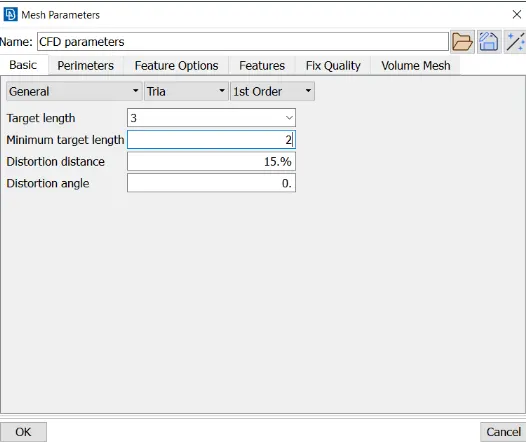
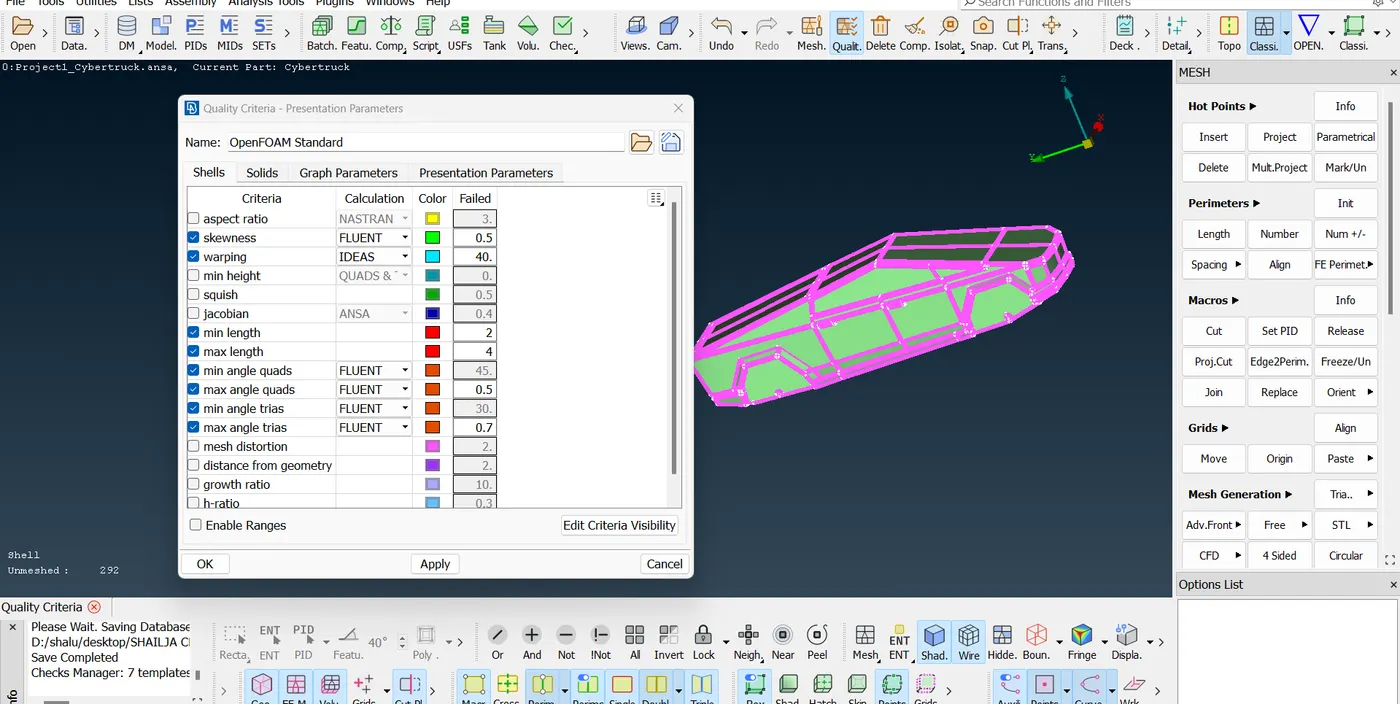
like this we can give mesh parameters to lights and rims and tyres
mesh size for top of tunnel = 60mm
road = 20mm
and varying length to side walls from length tool section using varying space, 10 to 50mm
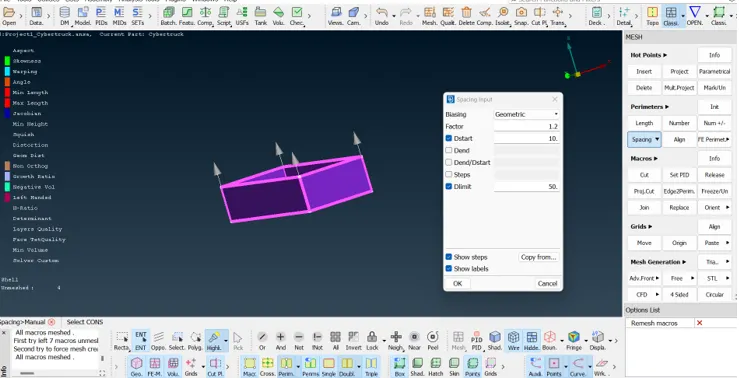
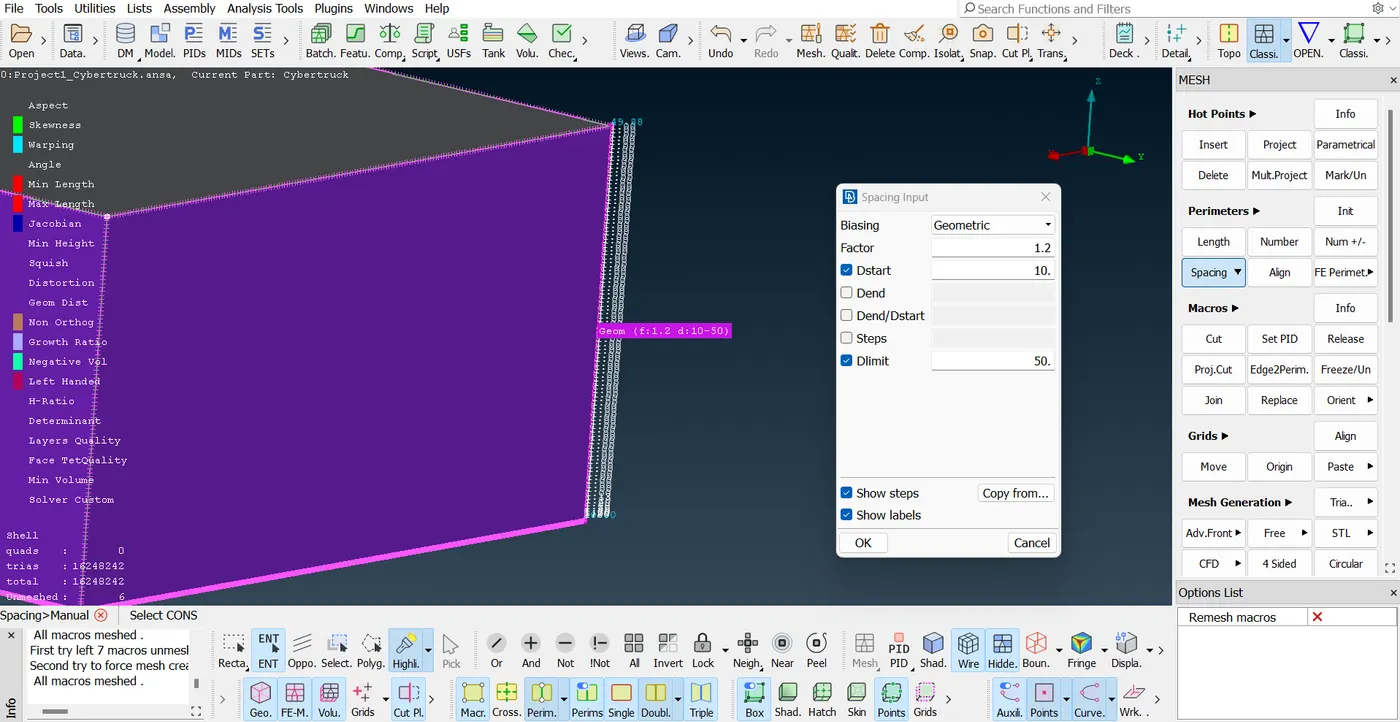
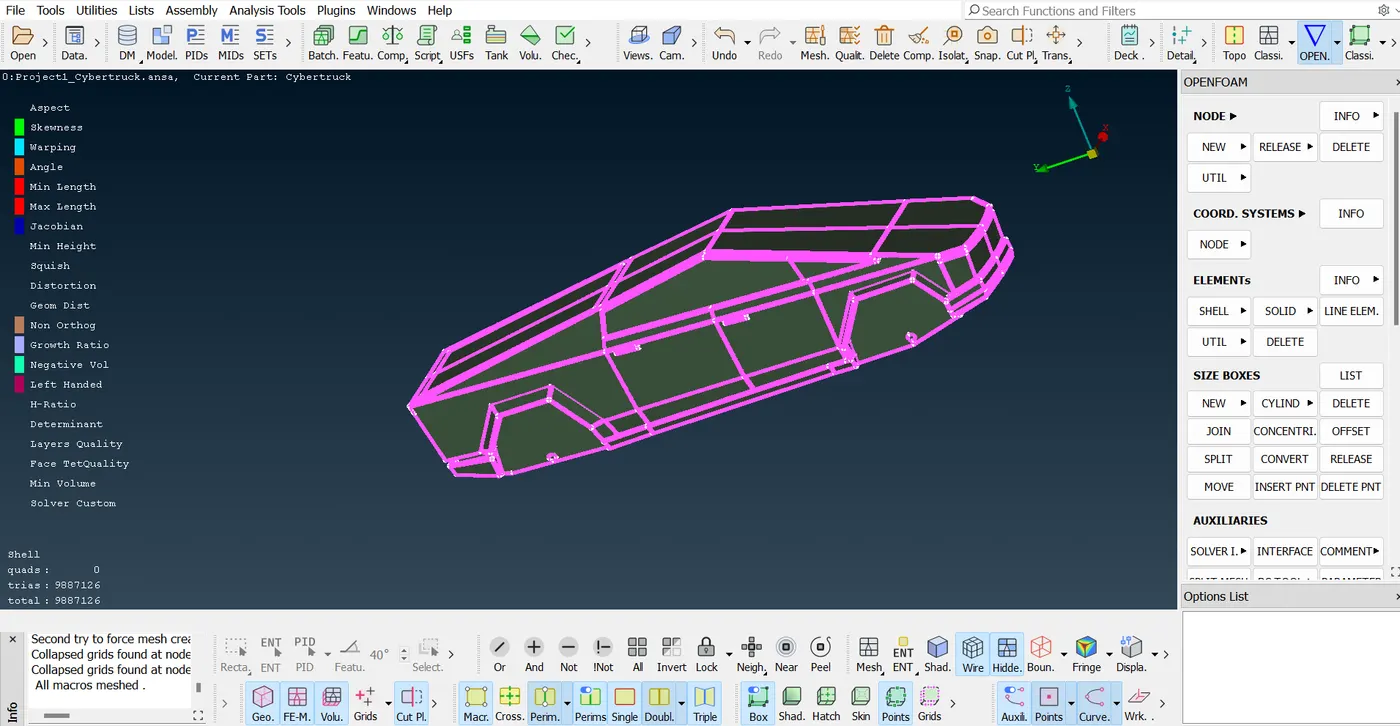
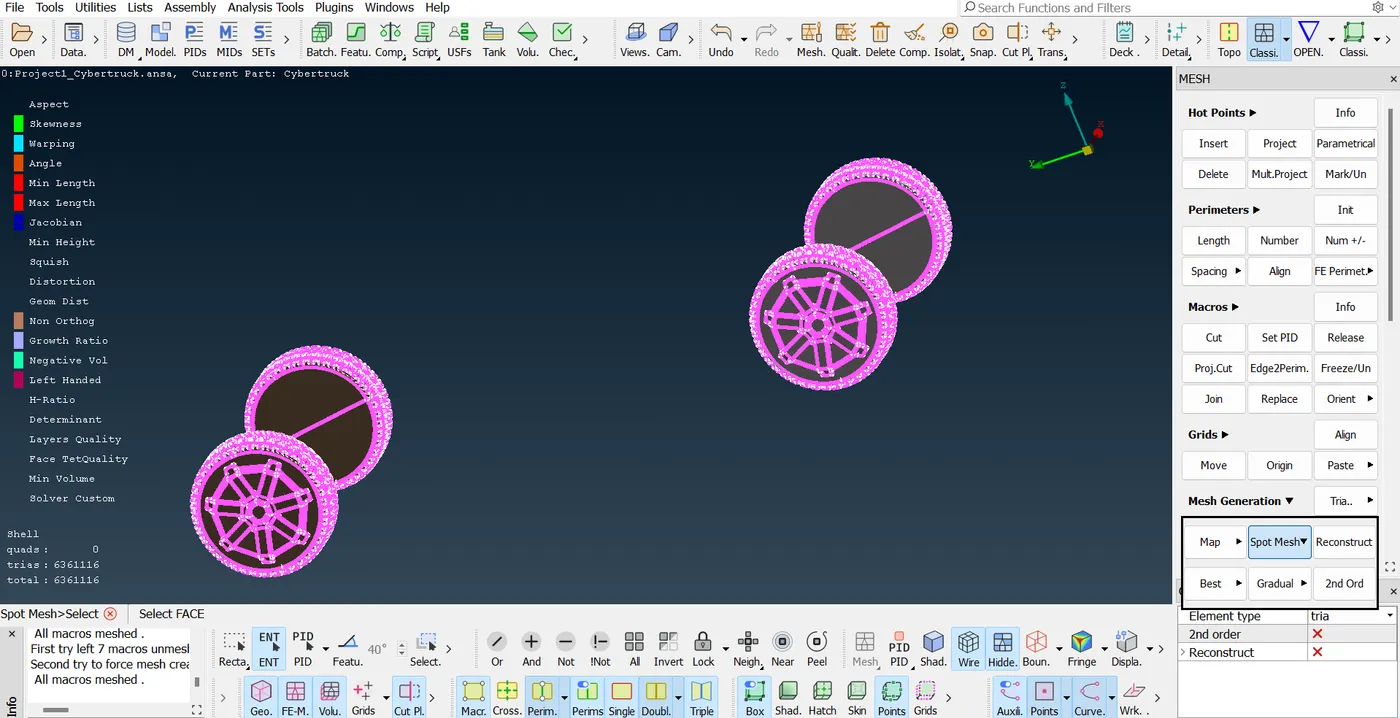
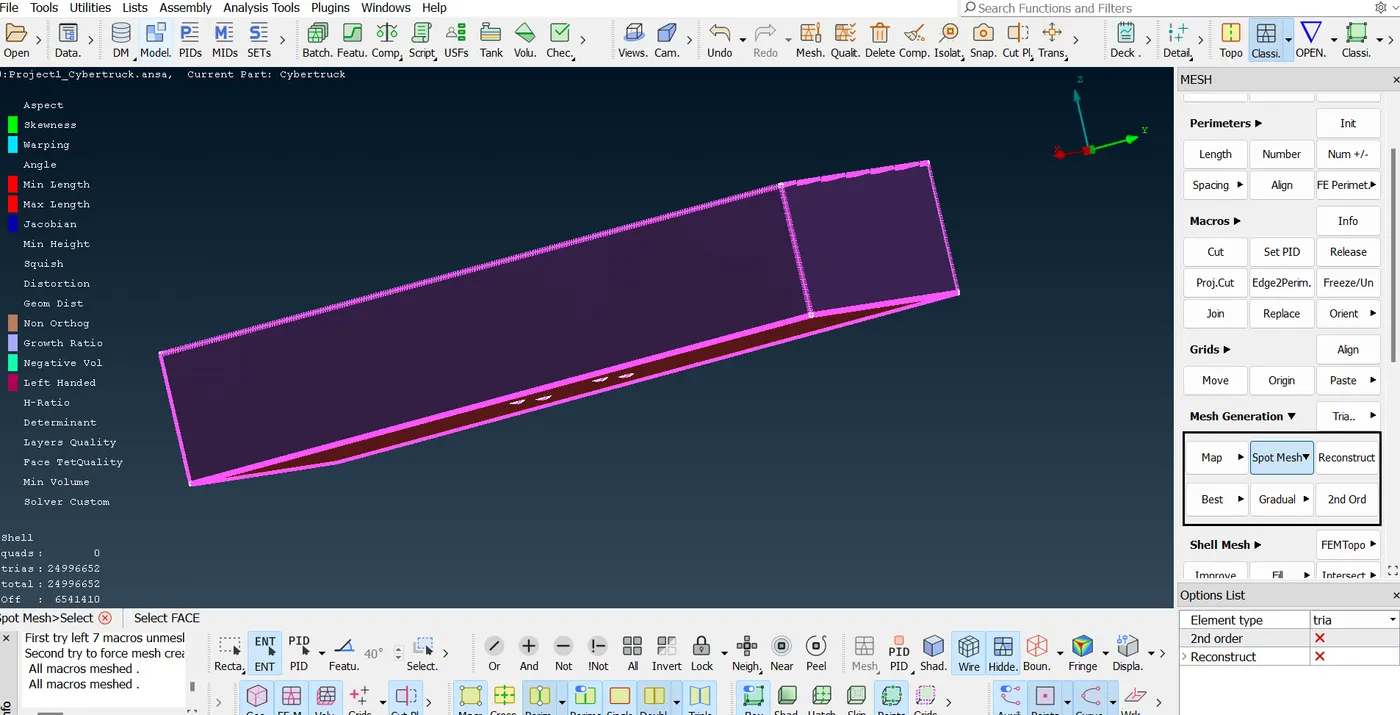
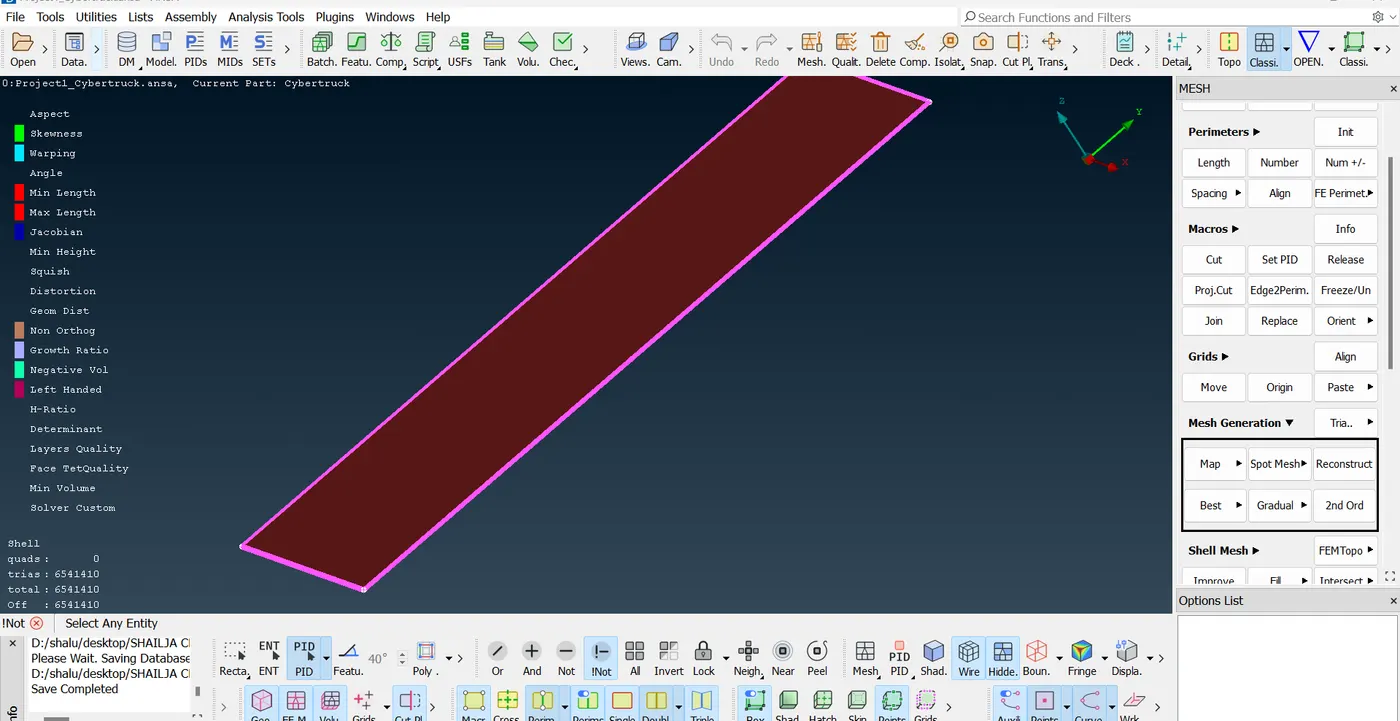
improving the mesh quality of road
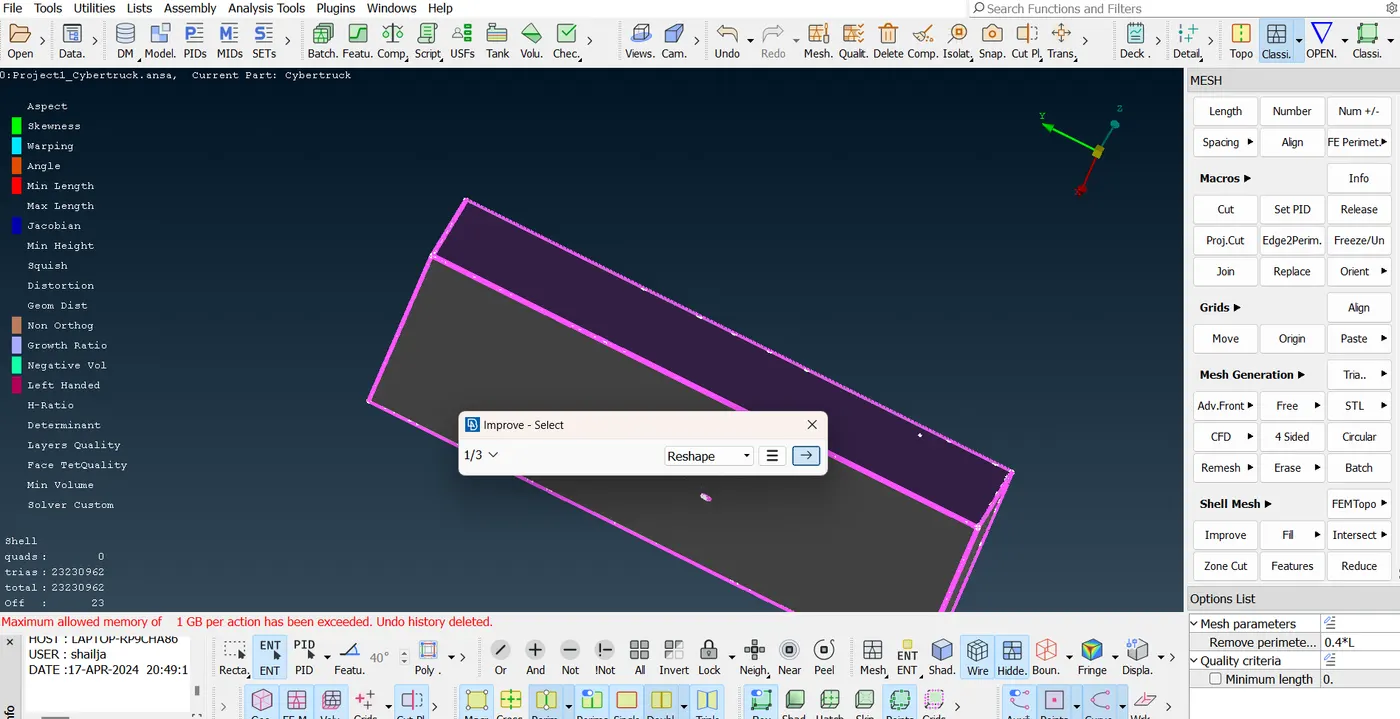
now all the surfaces are meshed in a very good manner
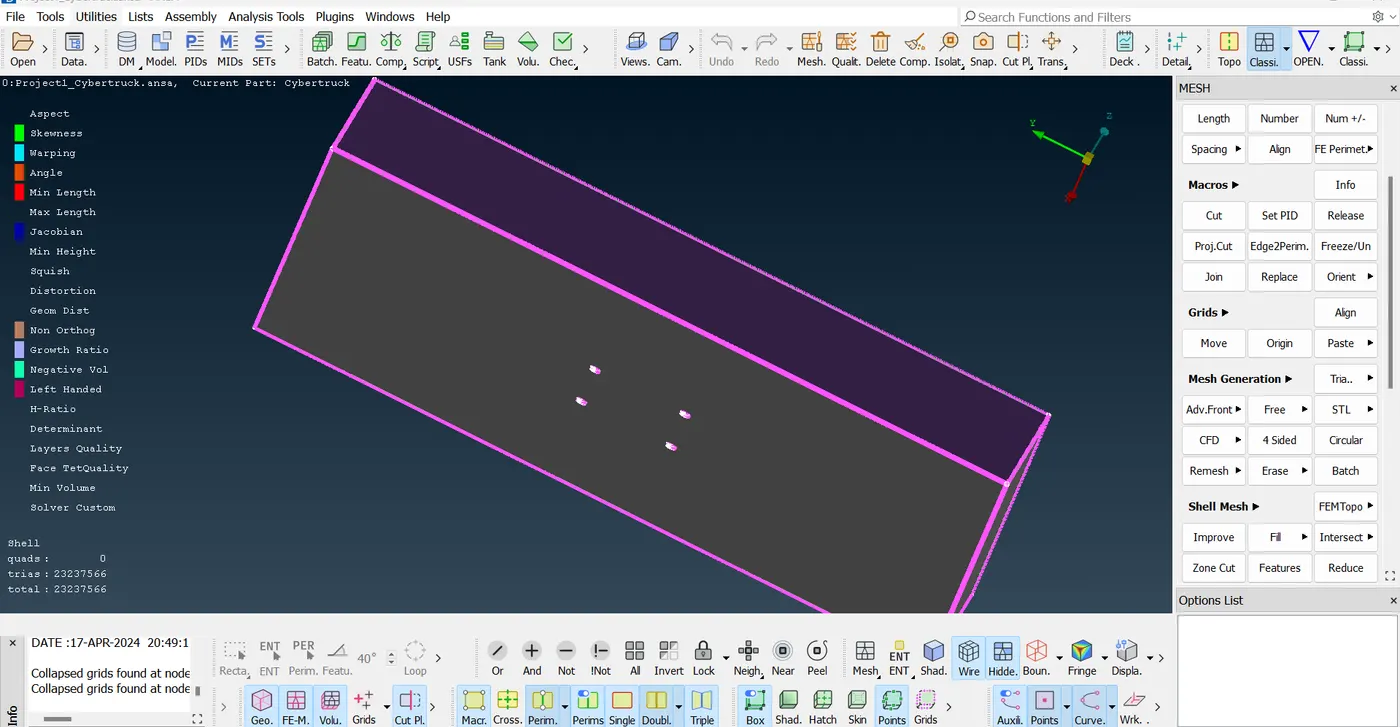
step 6: volumetric mesh
opting for tetrahedral meshing
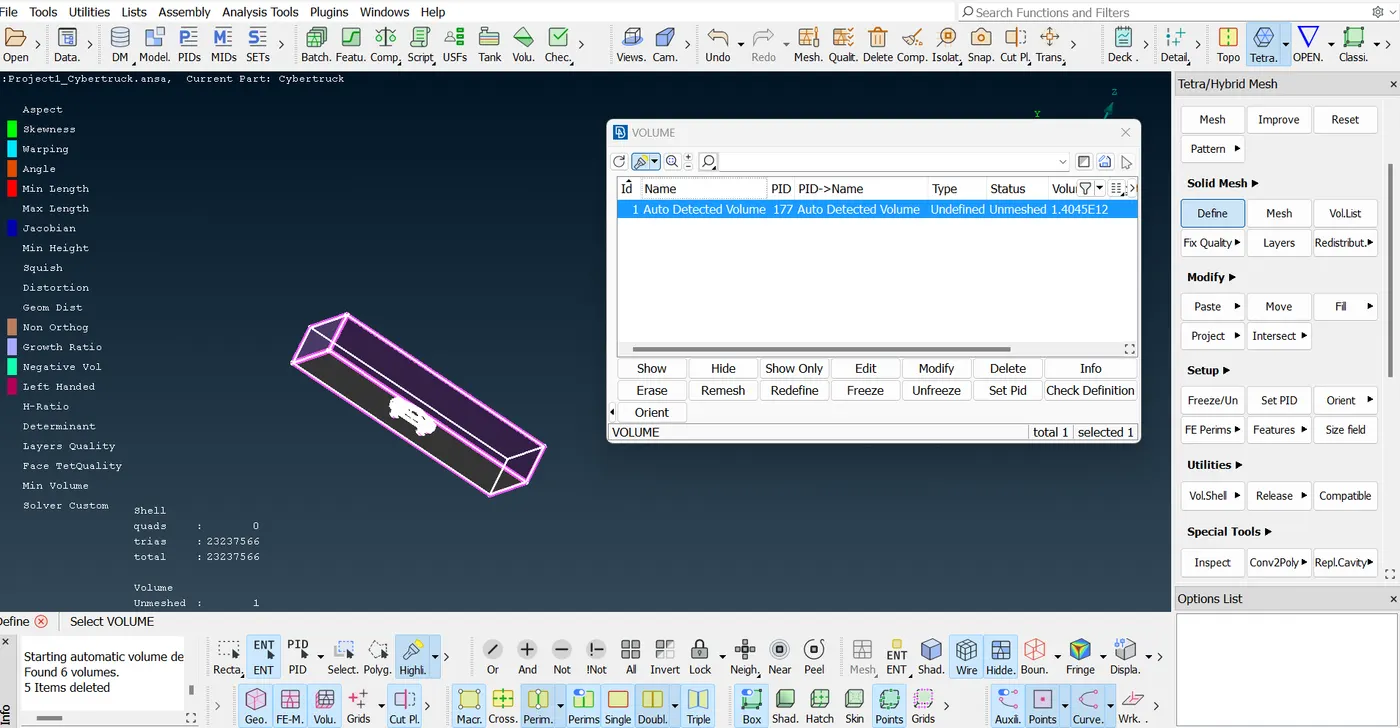
under solid mesh, click on define option that will auto define the volumes in the model
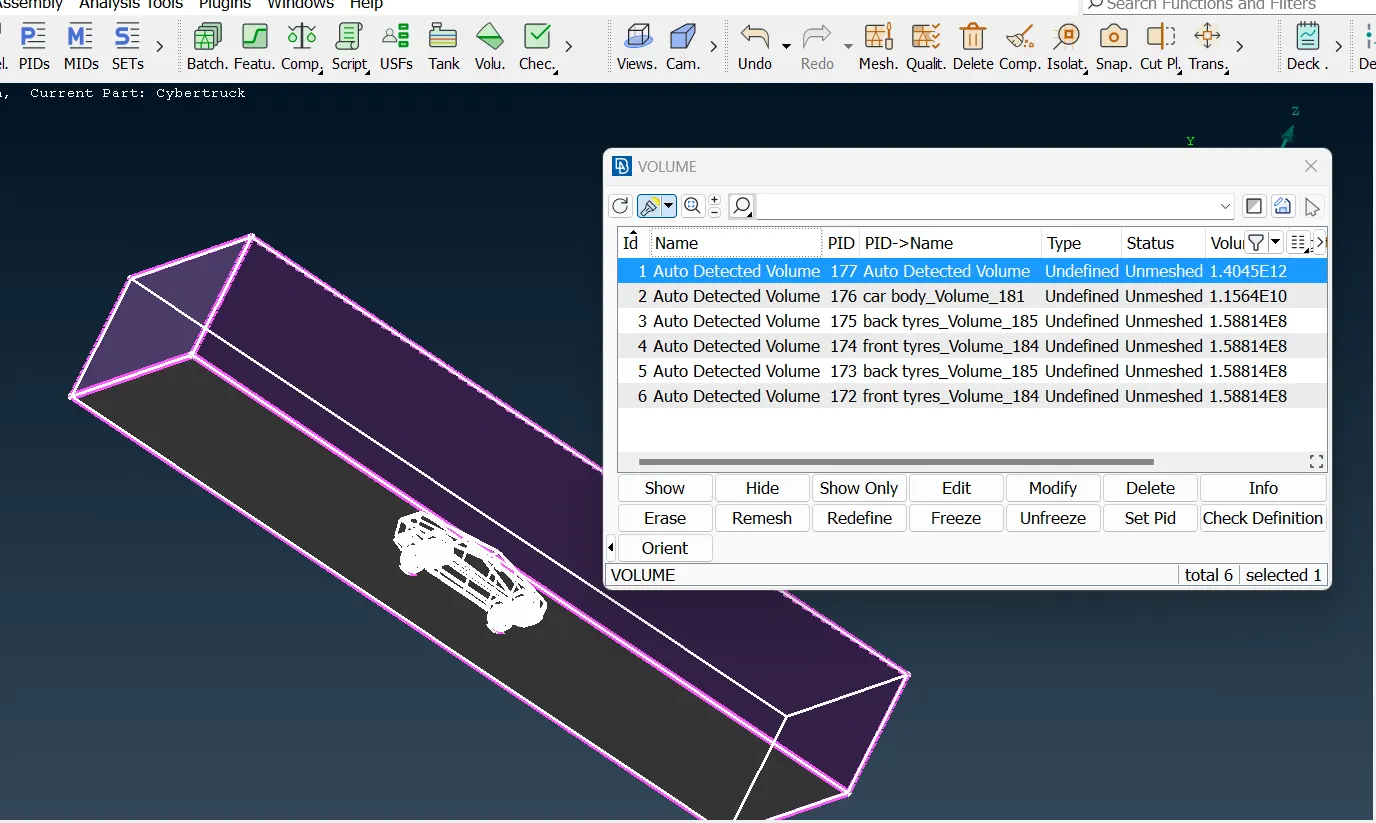
deleting other volumes except this where the flow through tunnel over truck body will be studied.
conclusion:
we have successfully completed the topo cleanup and meshing but couldnt done volumetric meshing as the size of this ANSA file is more than 4GB. We require a very good processing speed and RAM of workstation.
Spot meshe once done we had so many off meshes that were improved by reconstruct tool in surface meshing section and took almost 40 to 50 % of time in this project.