Project 1 : CFD Meshing for Tesla Cyber Truck
Objective- CFD Meshing for Tesla Cyber Truck
Introduction- In the final week here in the project we are going to perform the pre-processing on the given model, here the pre-processing of the model comprising with the CFD meshing by the use of ANSA V22.1.3 software.
The given model in the project is the tesla cyber truck, the car model design has a lot of fine and sharp edges which makes the model look very different among the other designs of the truck available in the market also the meshing of the model comes with the lot of challenges.
Procedure- the meshing of the model with the wind tunnel creation around the body is being covered in the following steps.
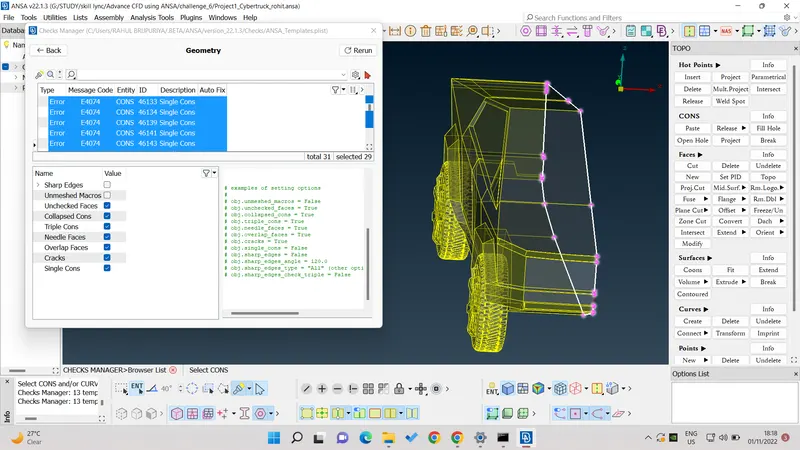
Step_1 geometry clean-up or topo clean-up.
- Provide the 1mm target length to the model to make the smooth surface first.
- Start with the geometry check-up and look for all the single coons, triple coons, overlap surface, surface patch and the sharp edge penetration.
- Intersection errors also needed to be removed before proceeding further.
Here as the car model is symmetry about the centre to both the side we can delete the half part for now and after the geometrical clean-up this half part can be retrieved by 3-point mirror.
Step_2 assign the PIDS.
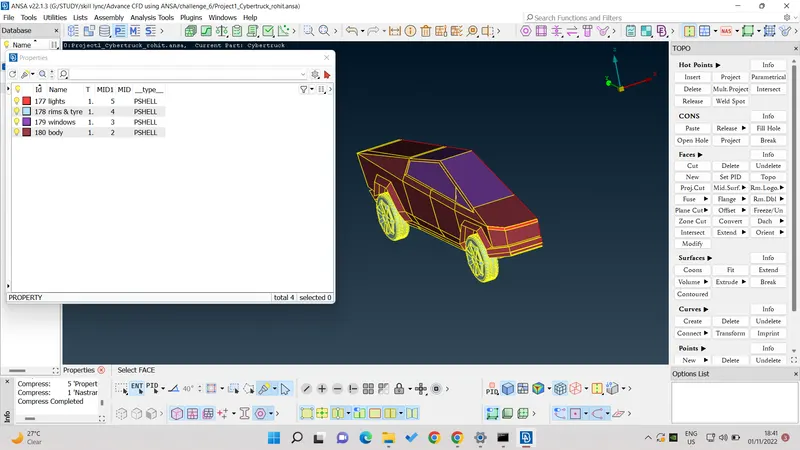
- The PID’s are here divided into 4 sub parts
- Body- the whole car model.
- Rim and tyres- the all 4 rim and tyres are assigned as one PID.
- Lights- the front and rear head and break light with side indicators are assigned as a one PID.
- Windows- the side windows glass and the windshield is assigned here with this PID.
- All PID’s are now also assigned with the different colours.
Step_3 meshing
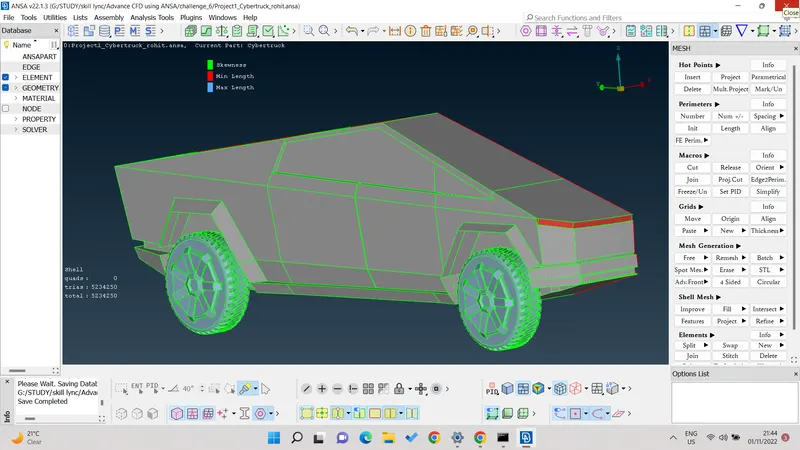
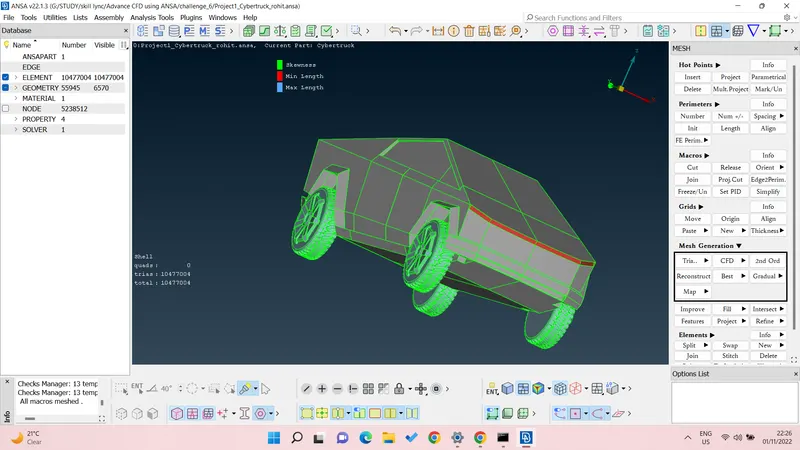
- Here we are going to start with the classic mesh with the different target length given to the different PID’s
- Body-3mm
- Lights-2mm
- Windows-4mm
- Rims and tyres-2mm
The quality criteria for the mesh is given as fluent for the skewness and the limits for the max length is 6mm to the min length is 0.5 mm. also the meshing spacing is provided accordingly with the mesh type is tria and CFD meshing.
- As the colour coding is also provided to the limits so the off elements can be identified.
- All the off elements are reconstructed as the provided quality criteria.
- The hidden mode shows the no of mesh elements falling under off element which does not comes in the given quality criteria.
Step_4 transform the half
- By symmetry option under copy < three-point coordinate select the three random point of the end and the half part and middle click.
- Now join the both part with zero offset value.
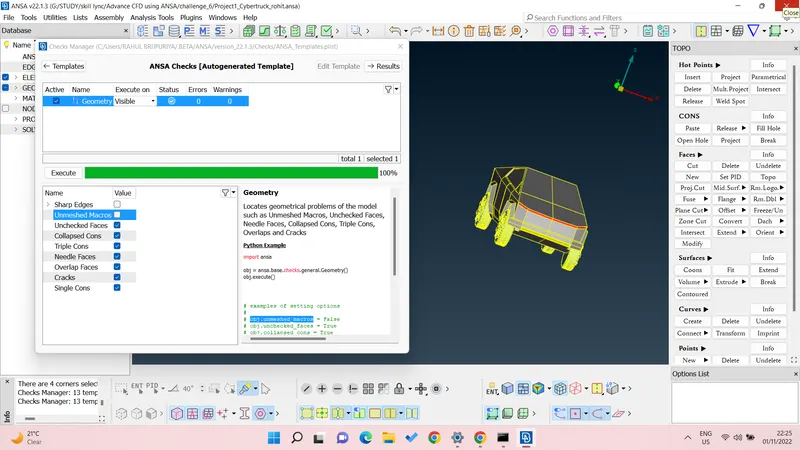
- Now again check for the geometrical error and remove if any single coons are present there.
- Also check if the reaming half part has the good surface mesh as the desired input or not, if not then redo the meshing for that reaming half.
Step_5 creation of wind tunnel
- The wind tunnel has the following dimensions to construct around the body.
- First measure the length of the body (end to end length) and assume this length as x.
- The front side of the body will have 4x distance and back side will have a 6x.
- The top face will have the 3x and side wall will come in x-x distance.
- Now create the wall by new face around the body and make sure it forms the closure around the car model.
- Also the bottom surface should not touch the wheel of the car thus 1500mm is taken to the bottom Z direction.
- Now assign the wind tunnel with the new PID’s top face, bottom face and the side face.
- The bottom face will have the target length of 100mm and the top face will have the 300mm target length.
- Now by the use of manual spacing we will have the upgraded mesh with the lower limit of 100 to the top limit of 300 mm with the step size of 1.2.
- Generate the CFD mesh for wind tunnel.
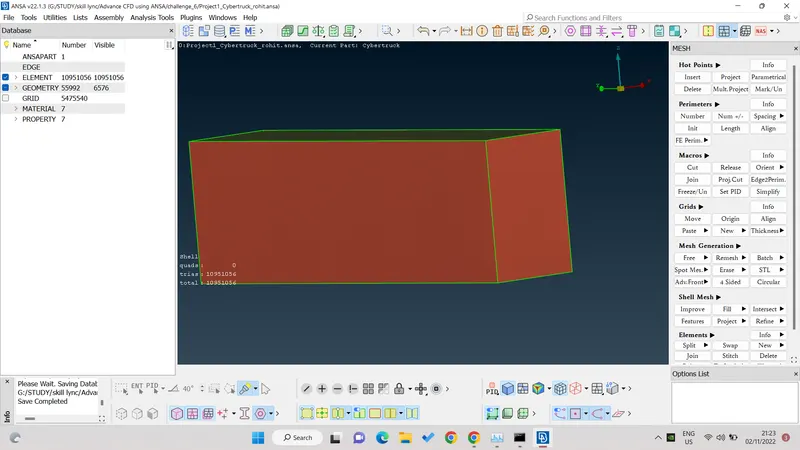
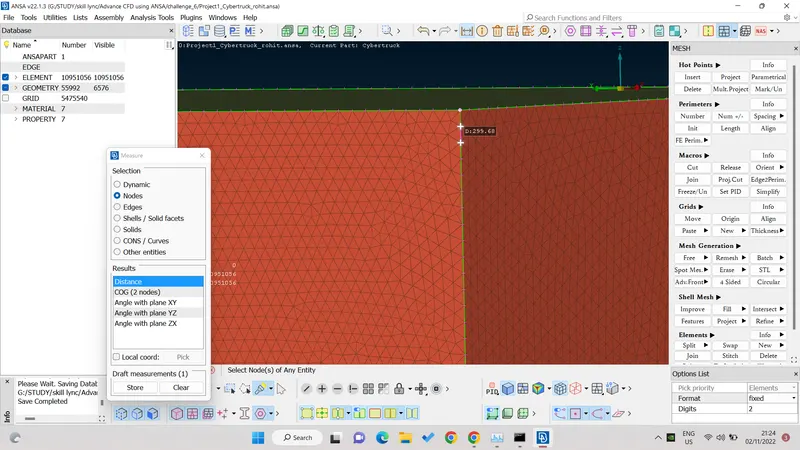
Result- the result of the ANSA file is attached with the google drive link here.
https://drive.google.com/file/d/1gGWRIA_dqf6NGF1x3sMn_G-Izg3nPh1n/view?usp=sharing
Learning outcome- this is the last week challenge the final project for this module here as this project does not had the video lecture support as provided in the all previous challenges so all the challenges and difficulties I have faced while working on the project is somehow I should manage at first so this helped me a lot to learn and get a more grasp over the software.
To make the car body as the single volume by identifying and deleting all the unnecessary parts and then from there to deciding the appropriate mesh length and generating the mesh over the body so we will, have the zero off element and all the mesh element should cover the quality criteria was the challenging task in the project but by the help of the trainer on the skill Lync this project has now successfully completed with giving me more knowledge of the software.
Conclusion- ANSA is very vast software I got the idea of the basic tools, but to perform the meshing on different models in the industries with proper design and the given calculation also on very bulky structure is quite a difficult and challenging work.
After this challenge I got the little bit idea about how one bulky project in the industry will look like and which type of possible problem can be faced there and how to overcome them.
Tesla cyber truck is a very different and kind of a different design in an automotive industries and their cars are equipped with various critical surface geometry and working on this type of geometry as the part of the project gives some confidence.