Project 1
Routing for side door panel
Route the wire for the side door of a care with the necessary connector along with the guiding challenge data given
TASK
- Routing assembly creation
- Flattening
- Drawing creation
Wiring Harness Overview
A wiring harness is an organized set of wires, terminals, and connectors that run throughout a vehicle to transmit power and signals between various components. It simplifies the electrical system by bundling multiple wires into a single unit, reducing the risk of short circuits, wear, and complexity in installation and maintenance.
Car Door Wiring Harness
A car door wiring harness is a specialized harness that connects the electrical components inside the door to the vehicle’s main electrical system. It typically passes through a rubber conduit between the door and the A-pillar to prevent damage due to door movement.
Functions of a Car Door Wiring Harness:
Power Windows & Mirrors: Supplies power and control signals for automatic window and mirror adjustments.
Central Locking System: Connects actuators and sensors for remote locking and unlocking.
Speaker Wiring: Carries audio signals for door-mounted speakers.
Ambient & Courtesy Lights: Powers interior door lights and external welcome lights.
Side Airbags & Sensors: Connects to airbag modules and crash sensors for safety features.
Typical Components in a Car Door Wiring Harness:
Connectors: Waterproof and dust-resistant to prevent corrosion.
Grommets & Sleeves: Protect wires from friction and movement.
Wire Bundles: Made of copper or aluminum, insulated with PVC or cross-linked polyethylene.
Clips & Fasteners: Keep wires secured within the door panel.
Key Parameters for Wiring Harness Design
When designing or selecting a wiring harness, consider the following technical parameters:
-Wire Gauge
-Determine current-carrying capacity.
-Current Rating
Affected by wire gauge, material, insulation type, and ambient temperature.
-Voltage Rating
Wires must be rated to handle the voltage levels in the system
-Insulation Material
Common types: PVC, Teflon, Cross-linked Polyethylene (XLPE).
-Temperature Resistance
Automotive harnesses must withstand temperatures ranging from -40°C to 125°C (or higher for EVs).
-Flexibility & Bend Radius
Important for areas where frequent movement occurs (e.g., door harnesses).
-Shielding & EMI Protection
Essential for signal wires to prevent electromagnetic interference (EMI) from other electrical components.
-Connectors & Terminals
Must be compatible with the system voltage and environmental conditions (sealed vs. unsealed connectors).
-Fuse & Circuit Protection
Proper fusing prevents overcurrent damage.
-Waterproofing & IP Rating
Critical for harnesses exposed to water (e.g., IP67-rated connectors for exterior wiring).
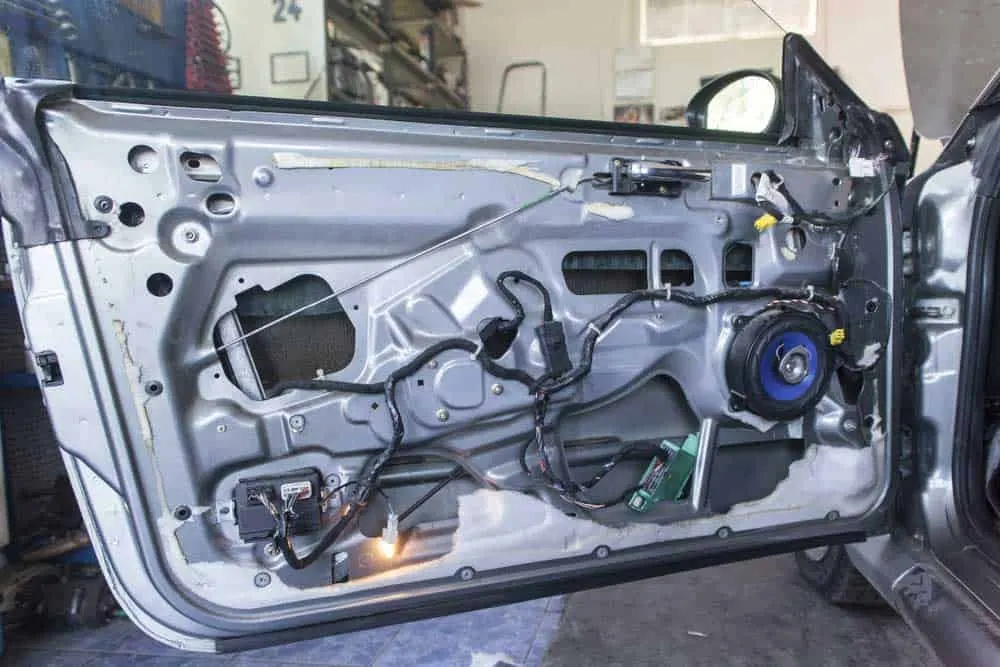
The Cad files are Downloaded with Connector as well , one can find the connector on TE Connectivity website from there all the connectors cad file can be downloaded easily.
The wiring Harness is done using the software Catia V5 Electrical Wiring harness Design.
For this harness two pole and four pole connectors are randomly used and also an inter connector is used.
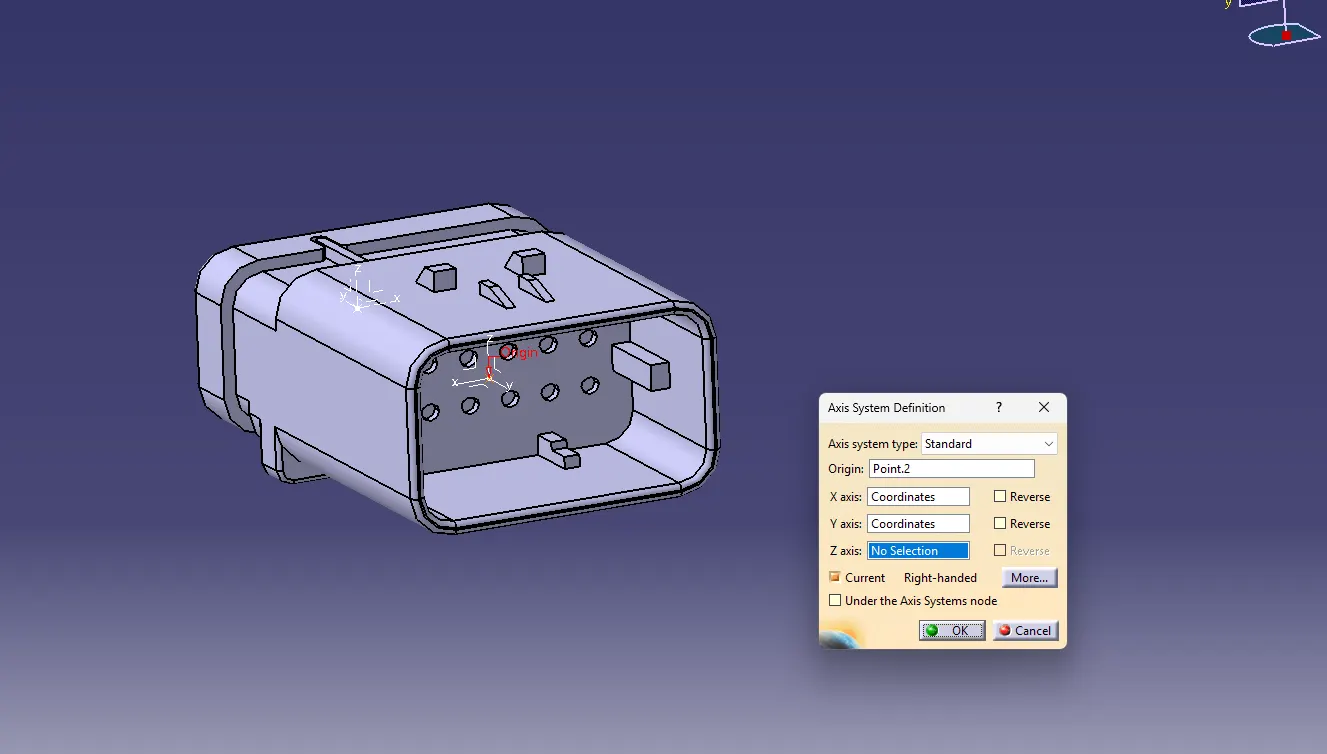
Step 1 : All the connectors and clips are electrically defined as the connector with connector connection point and Geometrical bundle point with middle point and axis definition system.
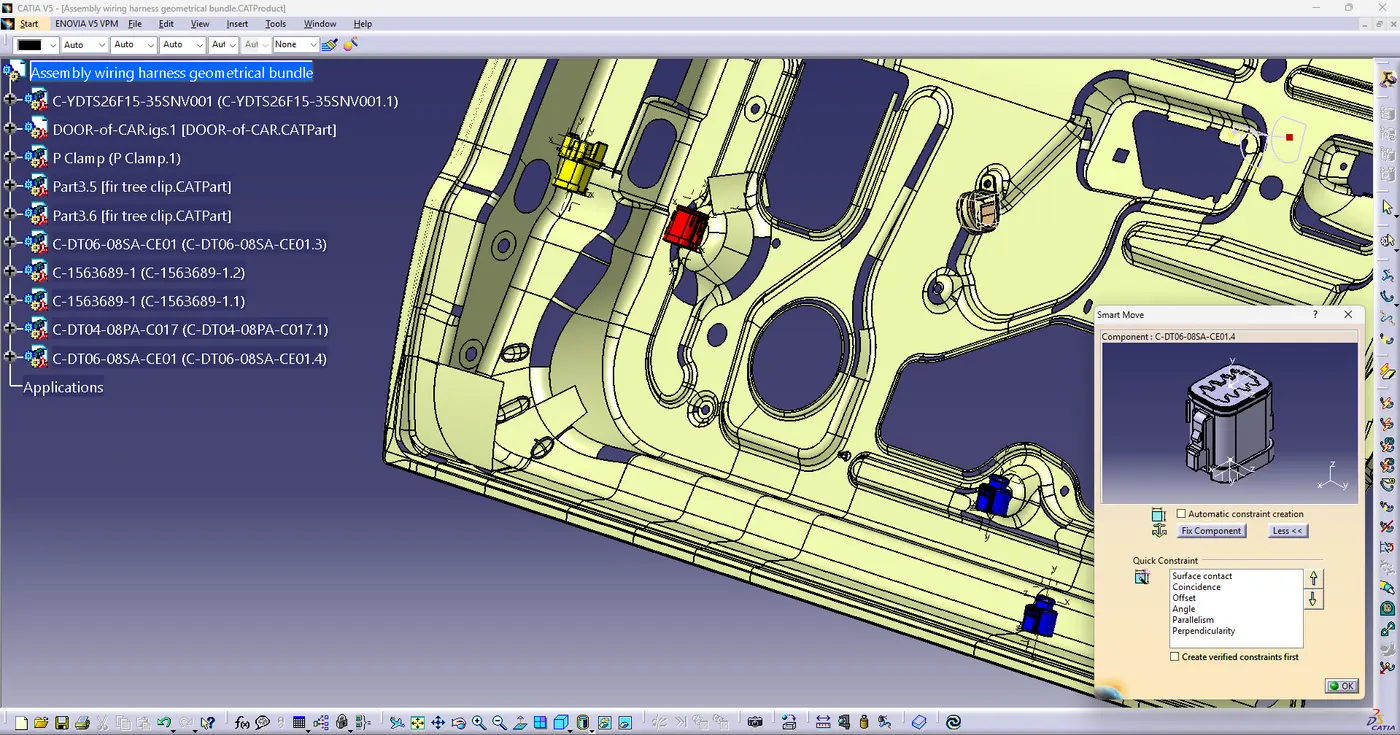
step 2 : All the connectors are placed on the given location using Electrical Harness Assembly Design .
connectors can be arranged using different tools like smart move, manipulation tool and Axis system.
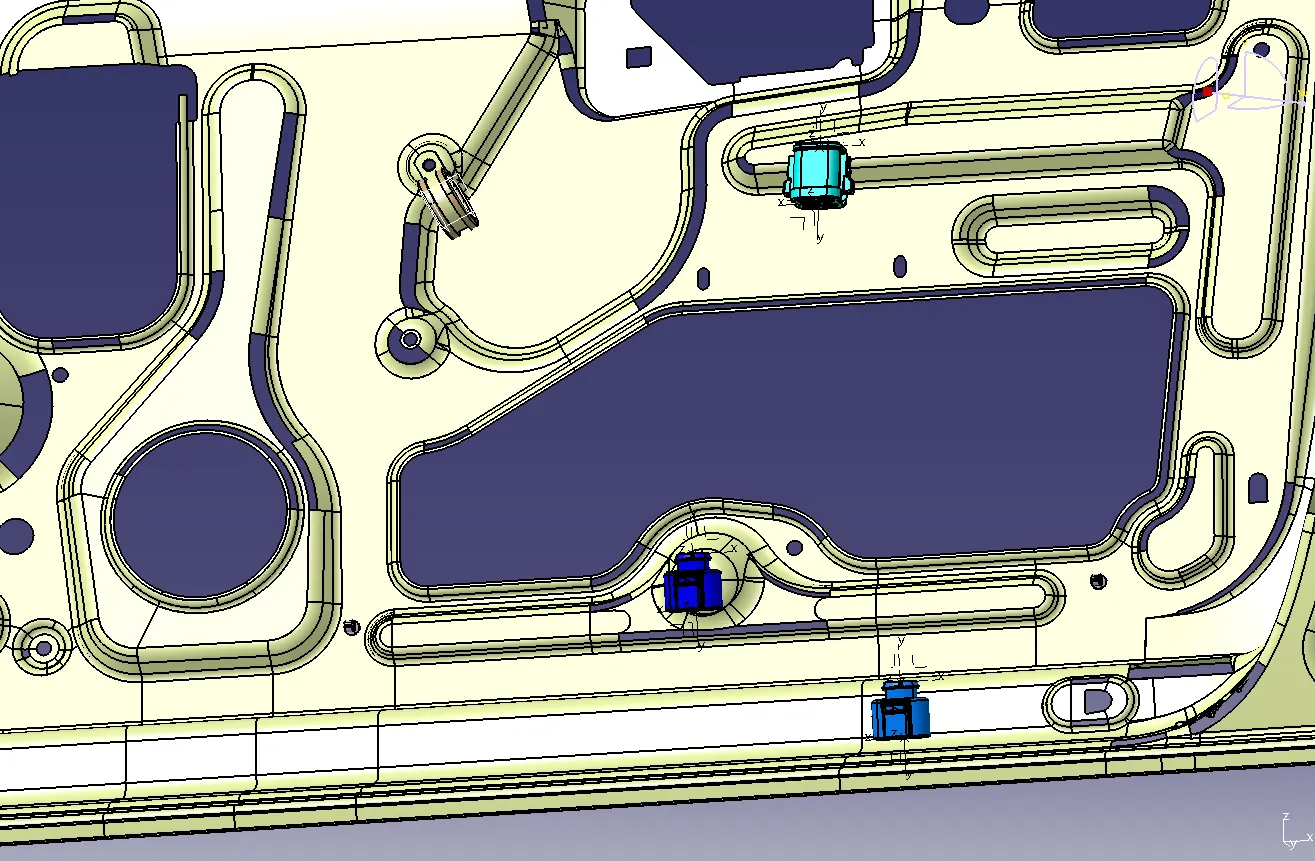
once the connector is located on their respective positions then the wiring harness can be proceed .
here clips and p clamps location are randomly taken so the wiring shouldn't create any disturbance to the other components such as winder and motor.
one thing to know its not neccesary that wiring should follow similar pattern , it should be done according to the size and situation of the design.
step 3 :
Here i've taken wiring harness diameter as 15 mm so that it can be easily visible on the door , one can select the dia. as per requirement.
Step 4:
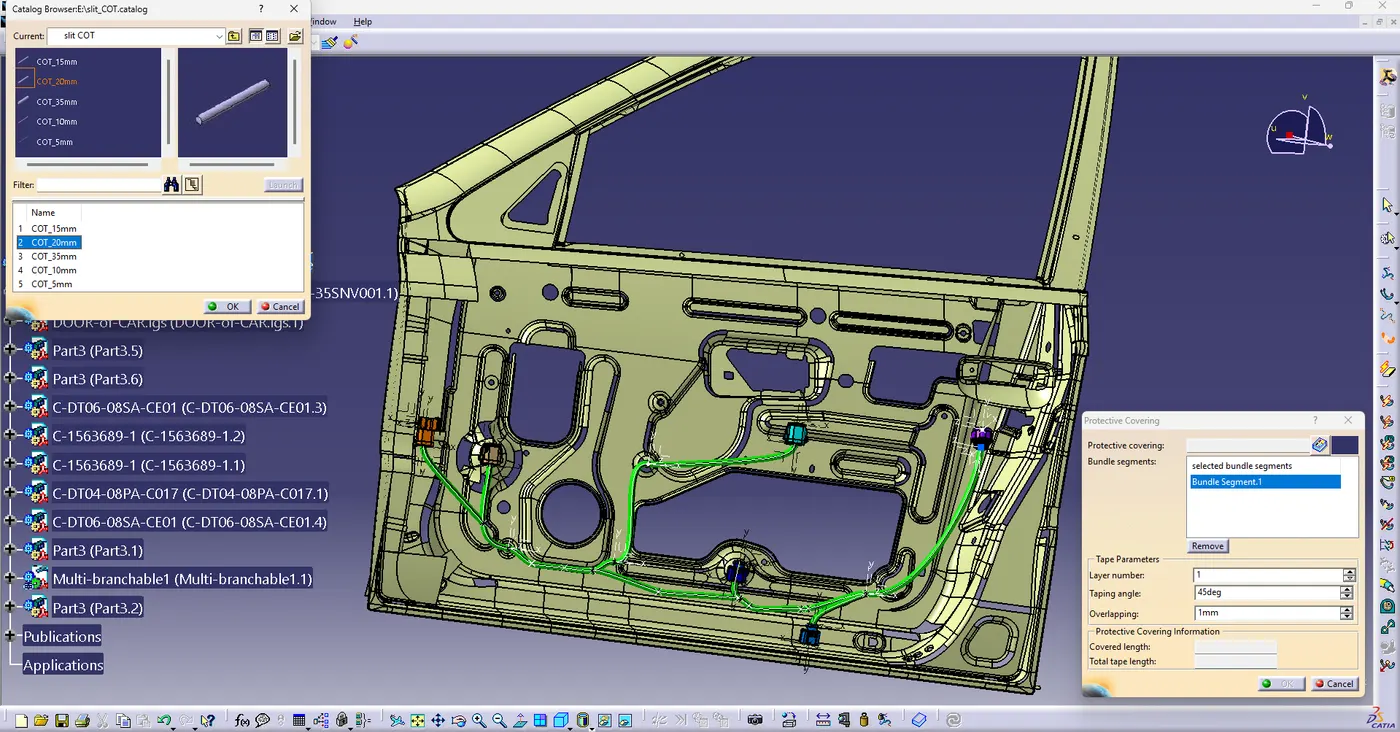
After the wiring harness done Protection Covering of 20 mm is applied with and extremity to the connector side of 20mm as well for the tubes catalogue.
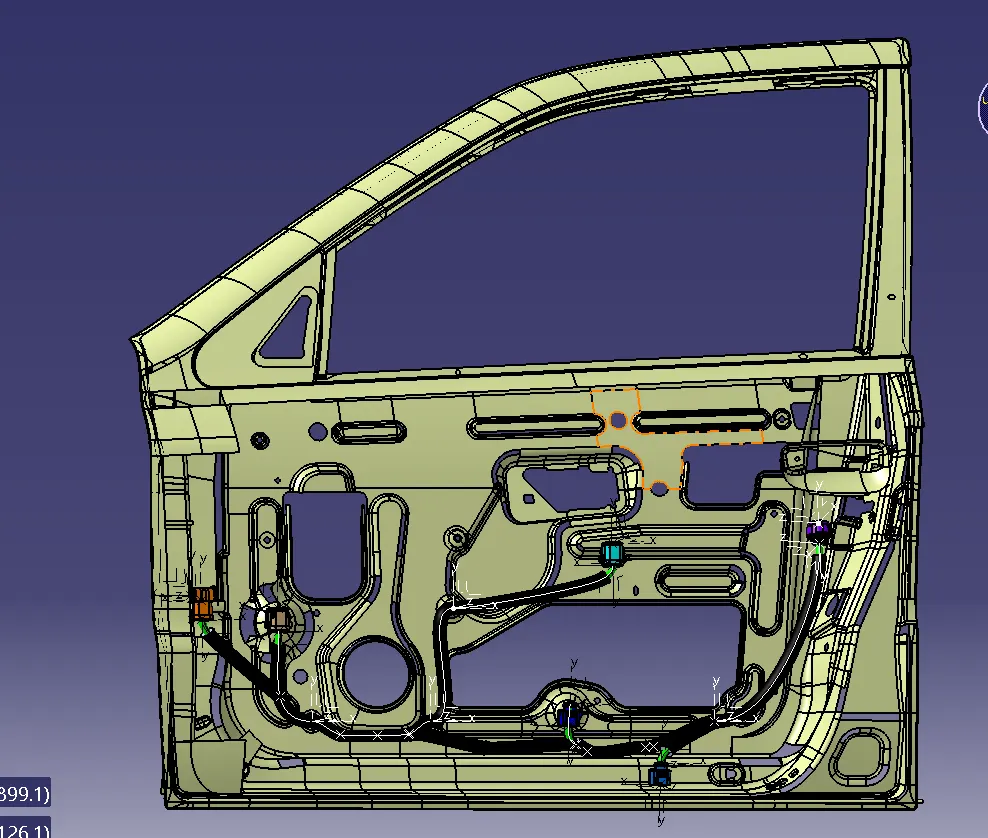
For clear representation Protection Covering is made of black Color and bigger diameter in size.
Step 5 :
Wiring Harness Flattening Parameters are applied using Wiring Flattening Design.
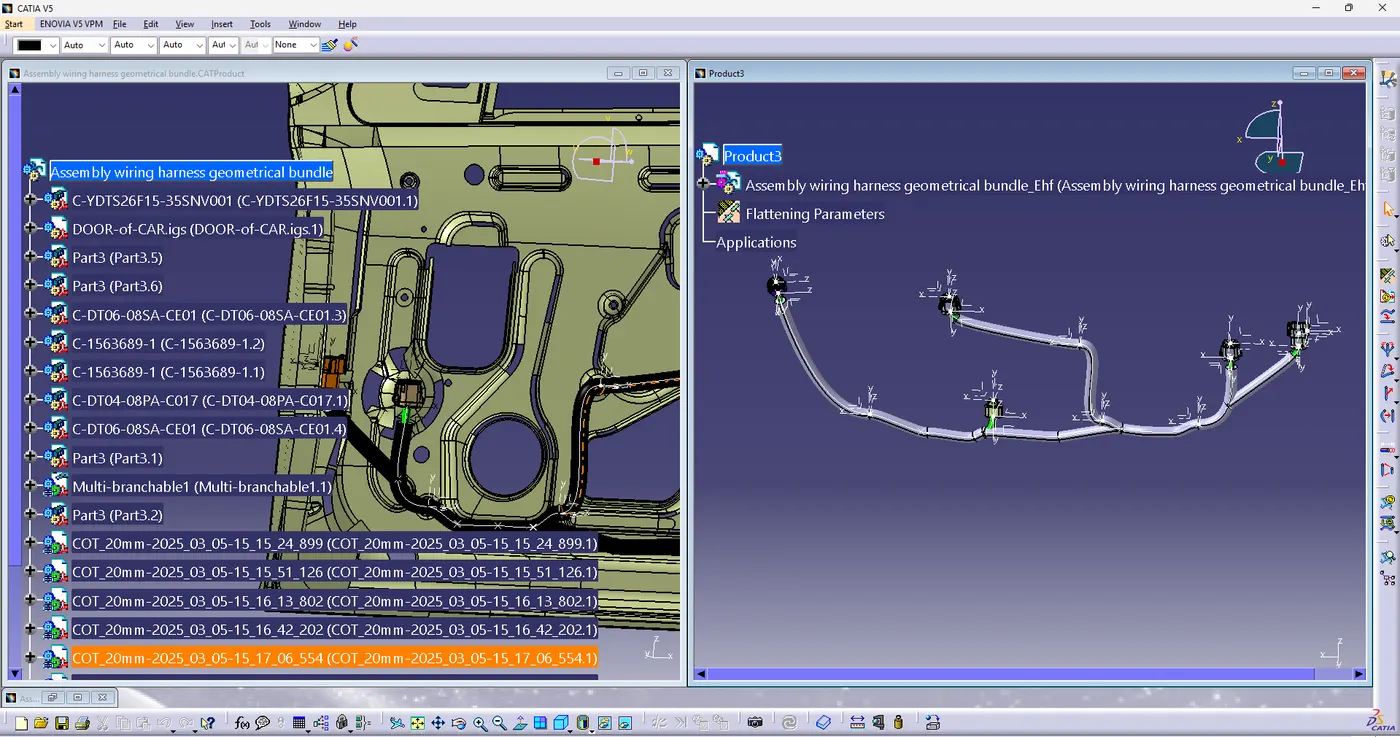
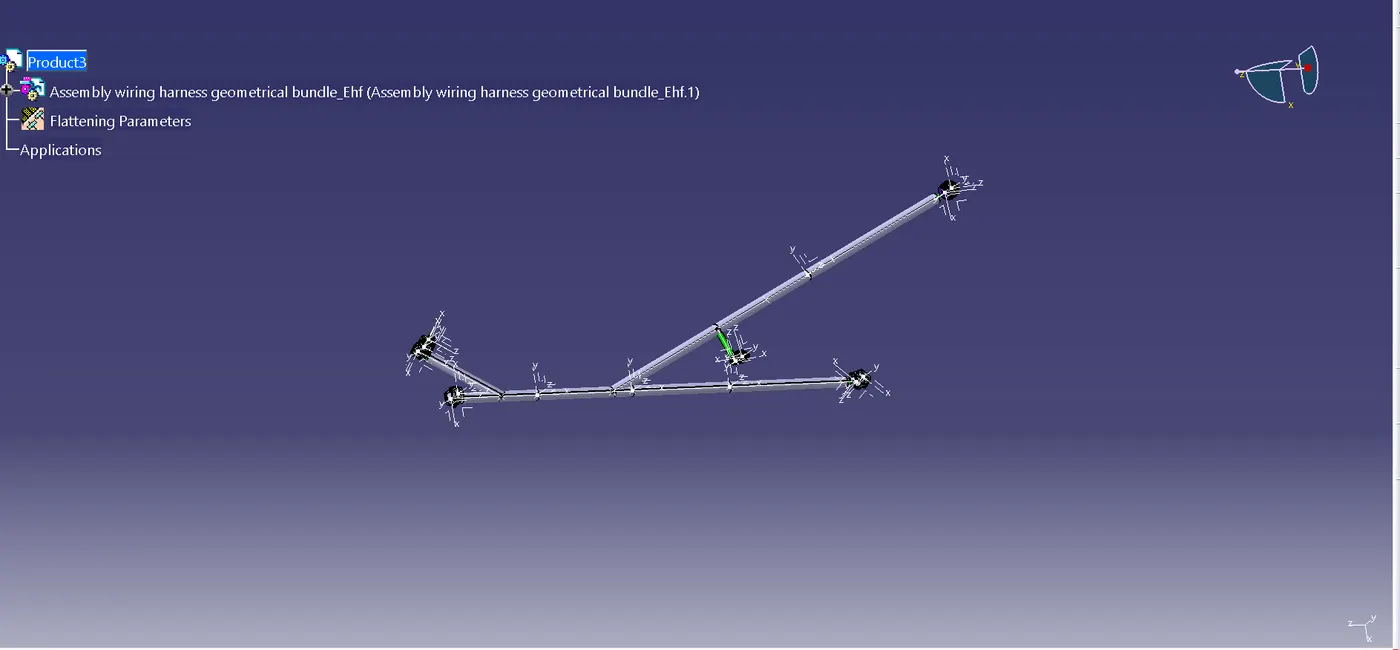
Here the Branches are flattened .
Step 6 :
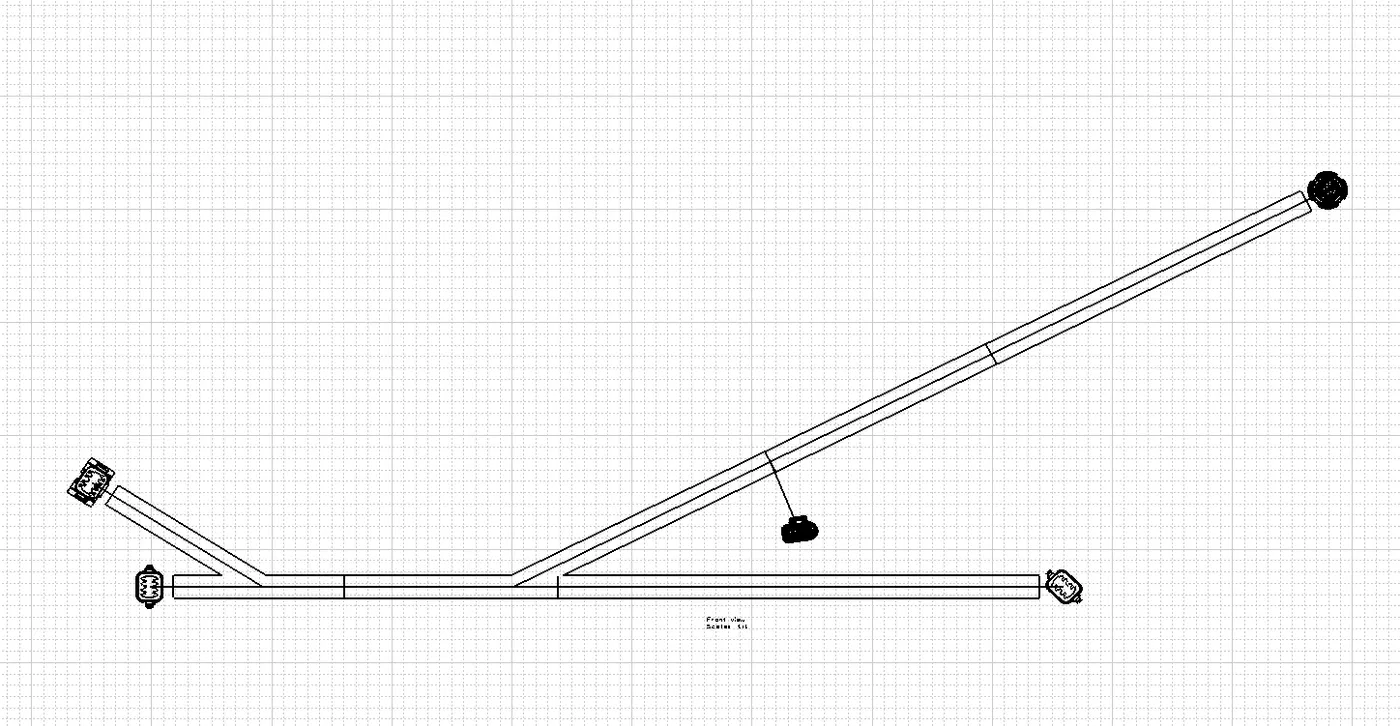
Creating a Drawing of the Harness Design.
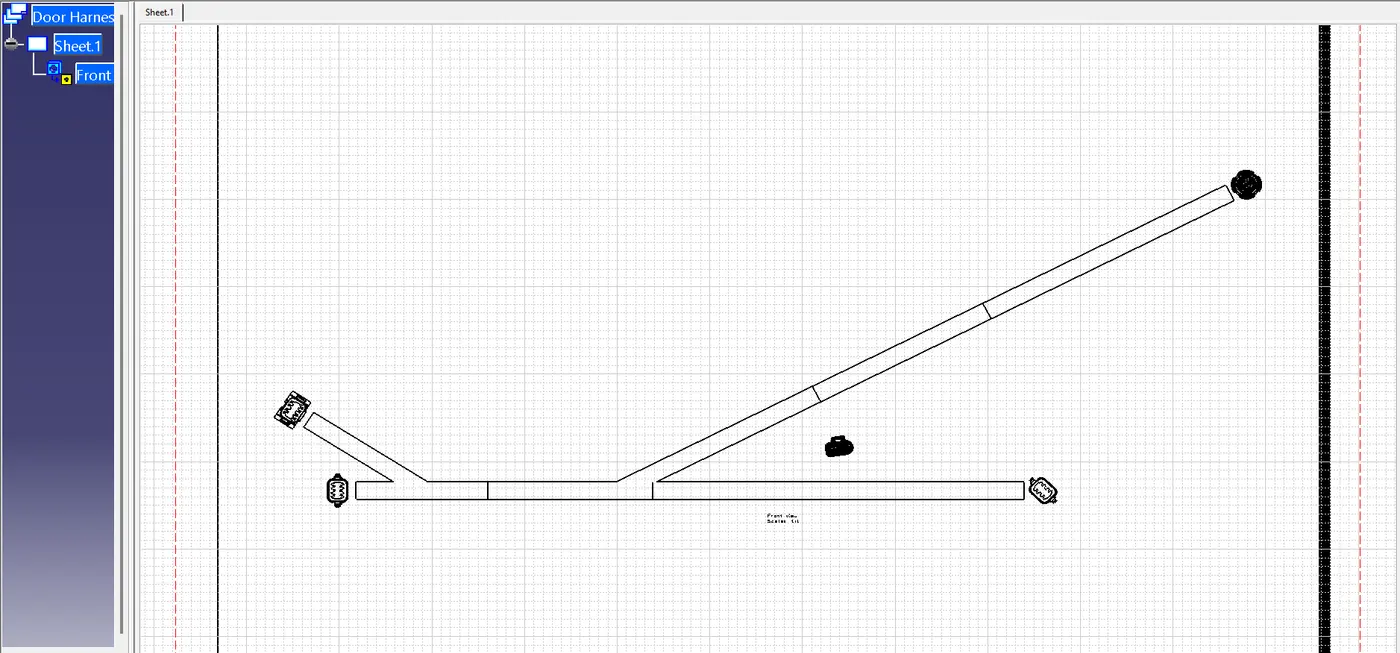
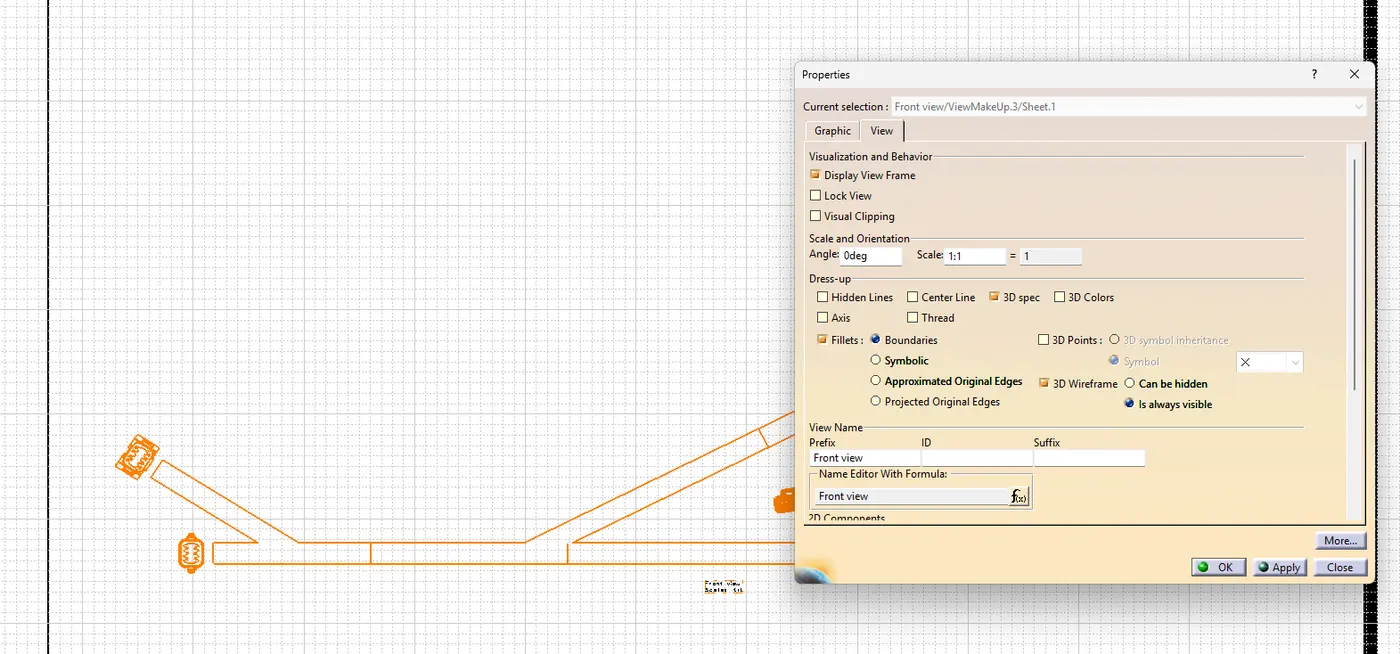
Here the parameters are set as single line for wire and double for bundle segment and 3D Projection.0
Reference :
https://sumitomoelectric.com/products/wiring-harnesses-automobiles
https://en.wikipedia.org/wiki/Cable_harness