Project 1
Aim : To perform following operations in the given model (Dash board)
Geometry clean up,Topology,mid surfacing and meshing.
Proceudre :
First import the model into ANSA. and select topo module.
Geometry clean up :
*Apply topology to fix the parts that arent joined properly.
*Now go to check manager , click on geometry. A dialog box opens up and select execute. The geometrical errors will be shown after the former operations.
*Select the gemoetrical errors and use right click option. A 'fix' option is visible and by selecting that we could fix them.
*After fixing the geometrical issues, mesh-perimeter-length is done. The box selection is executed on the entire model to set perimeter length. The target length here is 4.
*It is done to make meshing process easier , so that each macros are maintained at a length of 4.
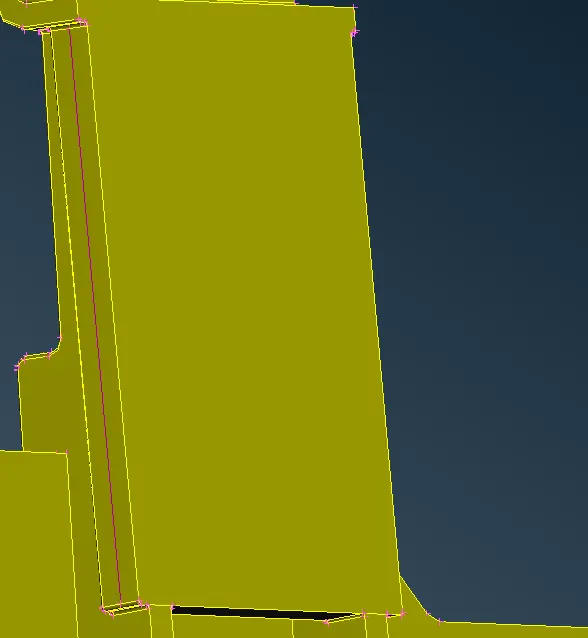
*After fixing , we'll be able to get geometrical clearance like this in the geometry check box.

(image 1)
Mid surfacing :
*There are many process for generating mid like skin,casting and manual mid. The type that is used here predominantly is manual mid since there are lot of complex parts. Manual mid offers us to work on individual elements.
*First cross hatch is turned so that it will make us easier to select the parts for mid surfacing. Faces-offset is used to take mid. Select on the surface so that parts of same pid region gets selected and offset value is given and mid is generated.
*Offset value is set by measuring the thickness of the part where mid has to be taken. It is the half the value of thickness measured.
*In some areas offset cannot be used as the ansa may find it difficult to capture the mid properly or including the fillet areas. In that case we could use curves-middle.
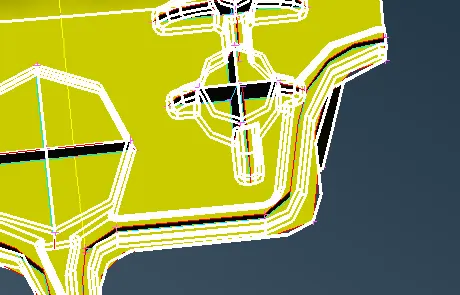
*A middle area for a particular part is fixed and curves middle is used. After using this option , one of the cons is selected first and middle mouse button is used. this selects the first group and for the second group, click on the con that is opposite to that.This generates a curve in the center of the two cons that are seleced.
This process should be carried out for the particular part in which we want to generate a mid.
(generation of curves-image 2)
*Switch off geometry by going to database-geometry-faces. This will make curves to be visible separately.
*Use faces-new-planar option and select the cruves individually and click ok. This will generate a surface along the curves.
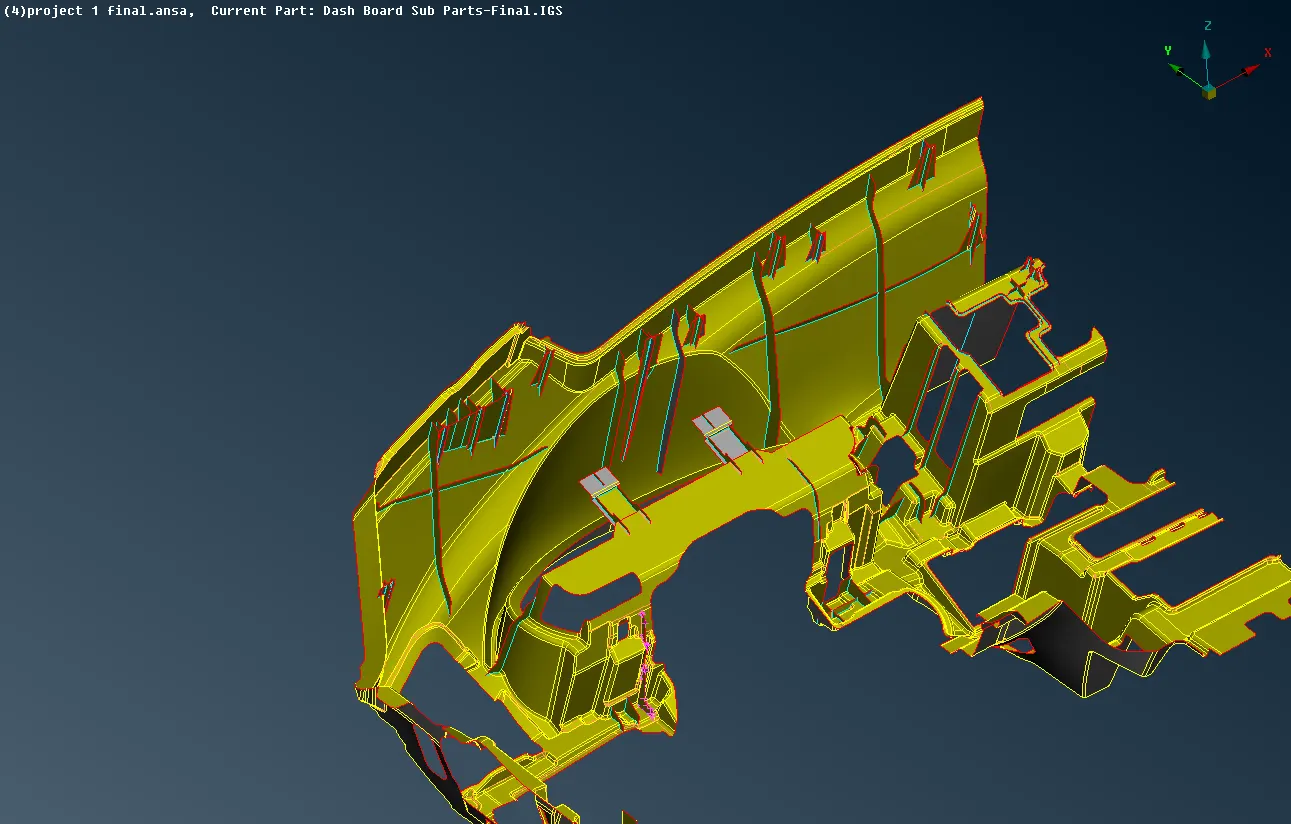
*To check whether the generation of mid is proper or not , go to property manager and turn on transperacy on the parent geometry.
(transperancy mode to check mid-image 3)
*This will make the parts transparent and we could check whether the mid lies in the center of a part or not.
*Next process is extension. After generating the mid by using above processes for all parts , it is important for us to check whether they are joined together or not. For this use , faces-extension. Select the part that has to be extended as first group. Select the surface on which it has to be extended as second group. By using middle mouse, we can see parts extended.
*Follow the processes to all parts.
(mid surface of dashboard - image 4)
Meshing :
*Meshing is done to study whether the parts have good quality parameters or not.
*After generation of mid , go to mesh module.
*There are different options to generate mesh like spot,batch,best and etc.
*As we know the dash board consists of complex parts, it is important for us to study the parts without defeaturing them a lot. usage of other meshes like batch or best may result in that. So spot mesh is preffered here.
*Set quality criteria before meshing.
Target/Average length - 4
Minimum Length - 2
Maximum Length - 6
Aspect - 3
Warpage - 15
Skewness - 45
Jacobian - 0.7
Minimum Quad Angle - 45
Maximum Quad Angle - 135
Minimum Tria Angle - 30
Maximum Tria Angle - 120
Tria Percentage - 15
*Switch onto hidden mode so that the quality parameters are visible.
*Use mesh generaion-spot mesh option and click on the parts individually by using left mouse button.
*Use shell mesh - reconstruction,reshape or smooth option to eliminate quality failures.
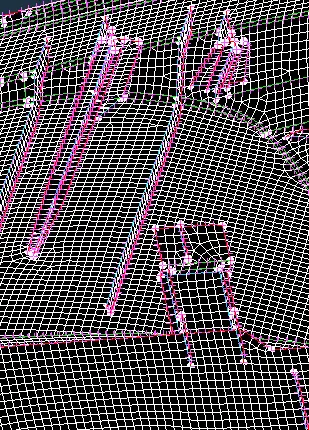
(meshing - image 5)
Learning outcomes : Geometry clean up, Topology, Mid surfacing using offset and complex parts, Meshing of complex elements were learnt.
Conclusion : Generation of mid and meshing were done in the given dash board model.