Project 1
MOLD DESIGN, SLIDERS & EJECTION PINS CREATION FOR TABLE FAN BASE USING SOLIDWORKS
In this report mold design, creation of ejection pins and sliders for table fan base was done by creating each individual part in assembly workbench following step by step process to attain best results.
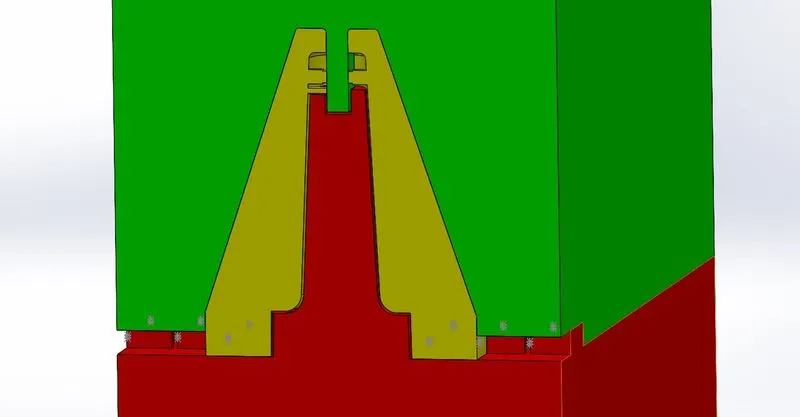
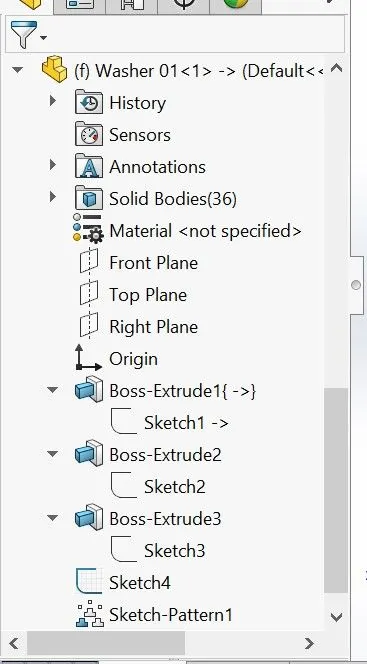
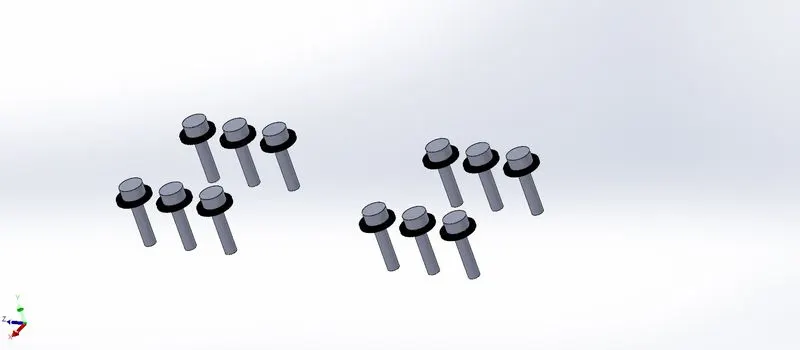
As there was the necessity of the sliders for the model, we should create washers for the sliders.
Assuming the material for the model as ABS (shrinkage - 0.6%), the scale value is determined as (0.6/100)+1=1.006 for the model.
Model
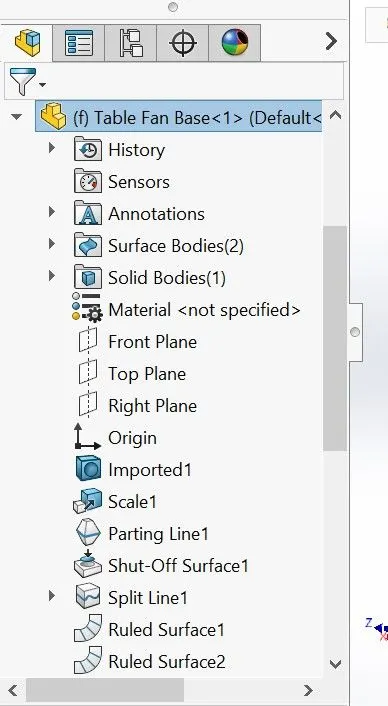
1. My first step in creation of mold is to import the Table fan base of which i suppose to create mold. Then i scale the moldel about 1.006 times than usual size and i'll latter perform draft analysis and give draft if any portion needed other wise create parting line.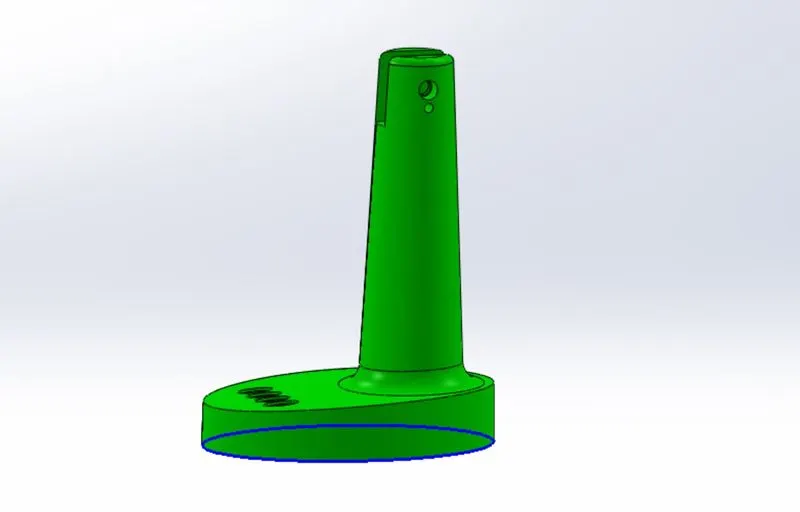
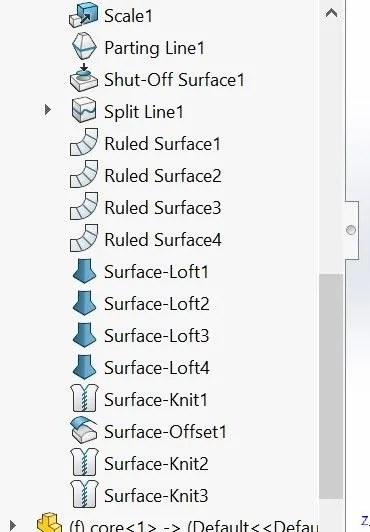
2. After creation of parting line create the shut off surfaces and then parting surface using ruled, loafted surfaces command and after creating each slice of surface i'm knitting surface together and copy it then again knitt both the parting surface with core and cavity surafce.
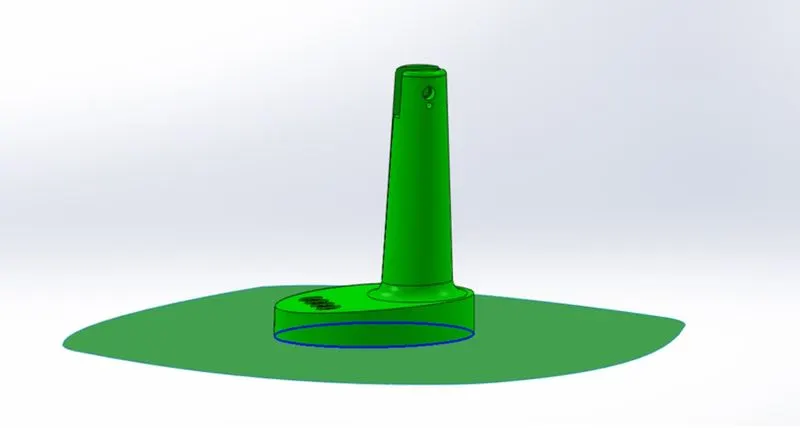
3. Our model is ready for creation of mold so we can import model in assembly and carry process futher from there.
After impoting model in to assembly rotate it and coinside with origin of assembly.
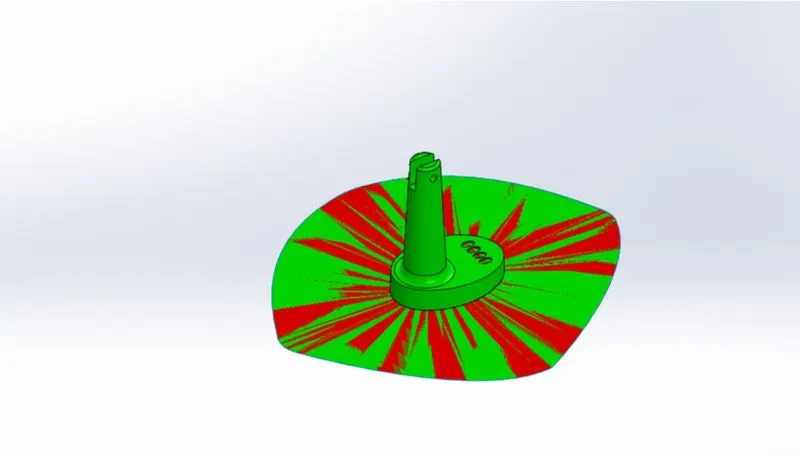
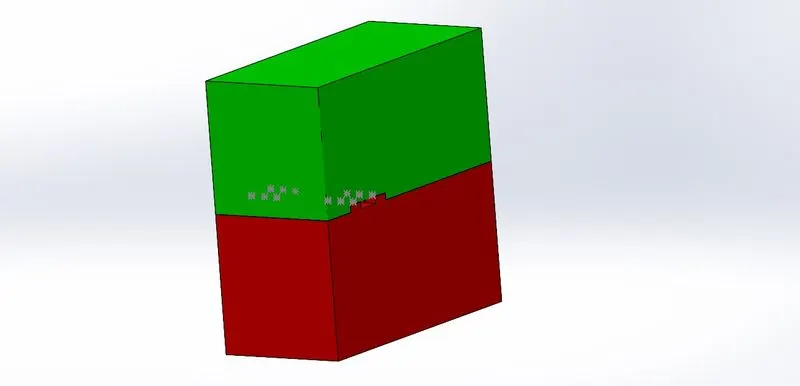
4. In insert component create two components and rename tree as core & cavity
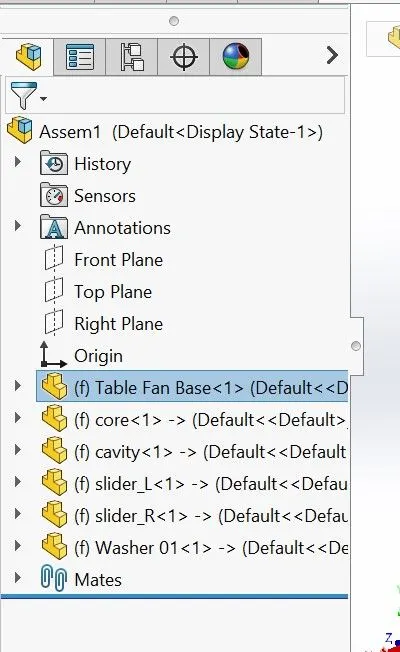
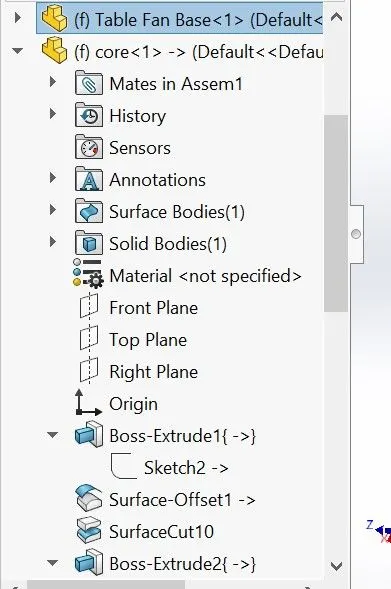
5. Open core block and create two rectangular blocks in which one is smaller and offset core surface from core surface in imported part then cut with surface, so i have core side of mold.
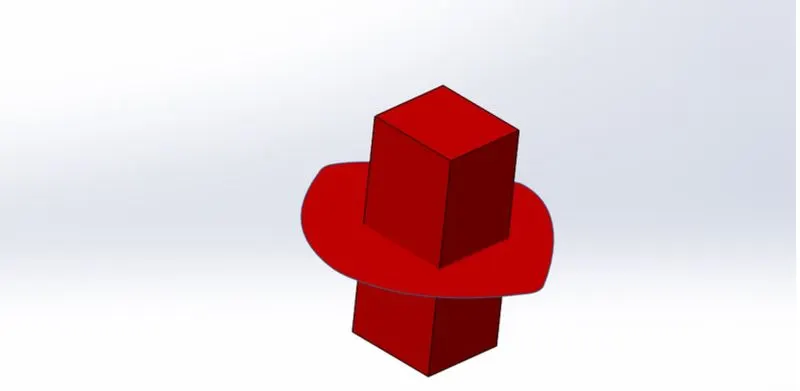
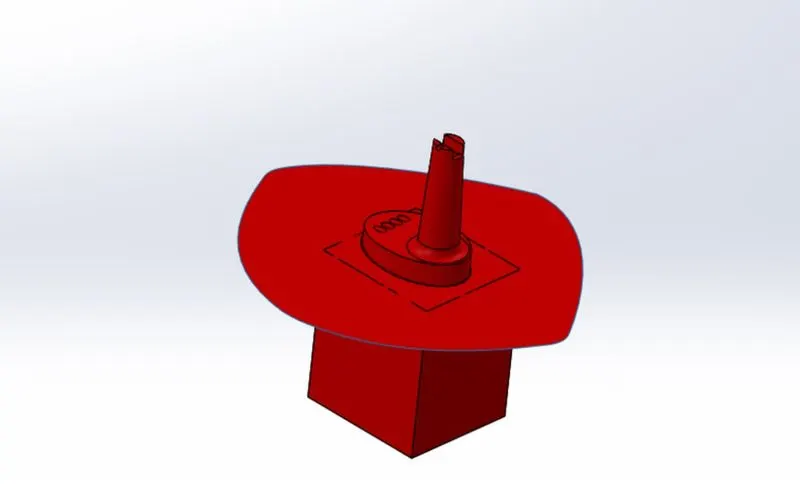
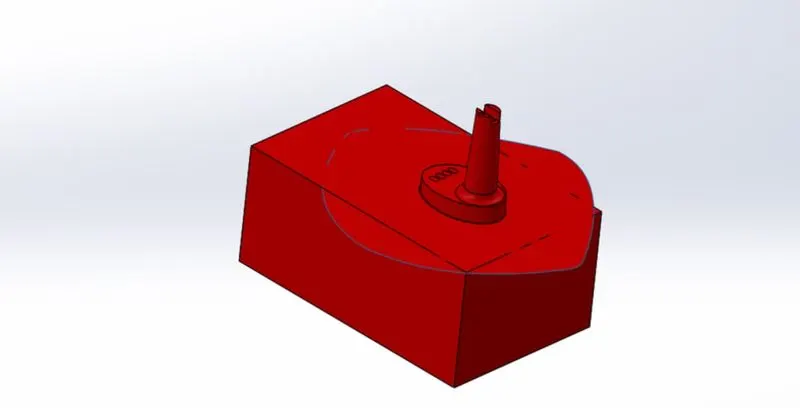
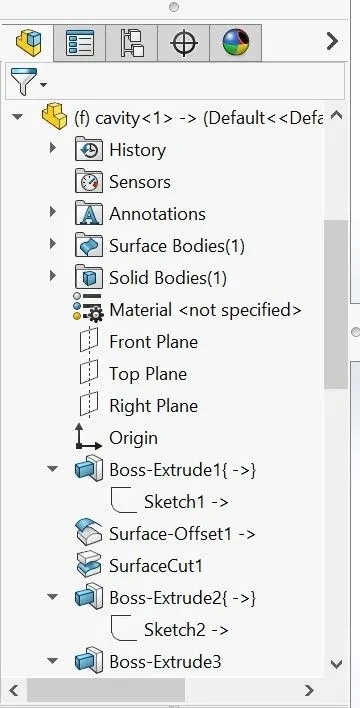
6. After this process apply same over cavity for creating cavity block.
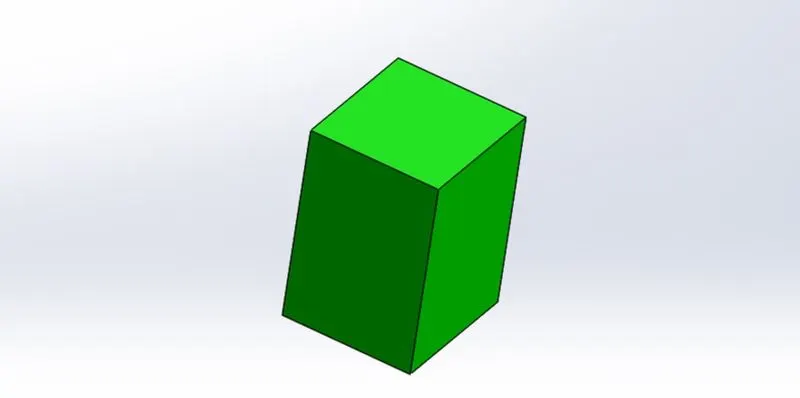
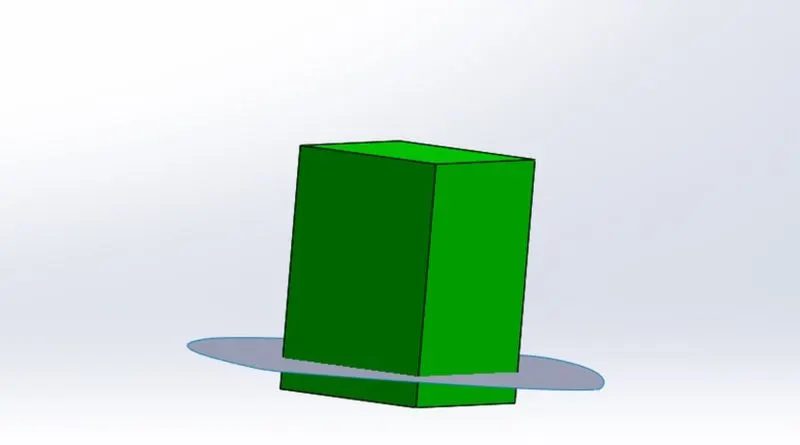
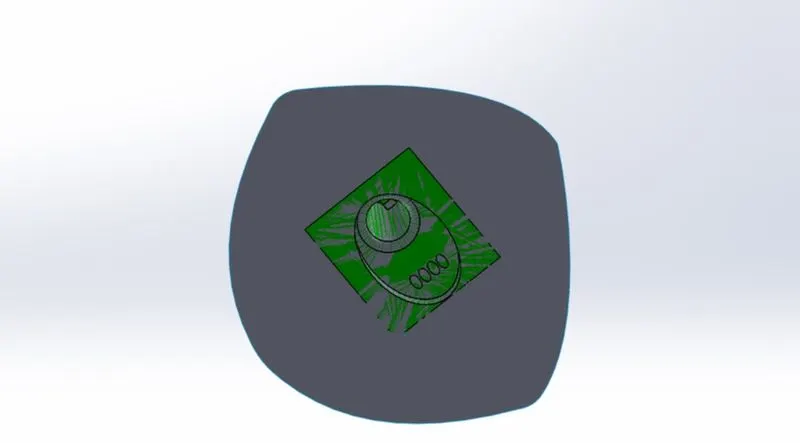
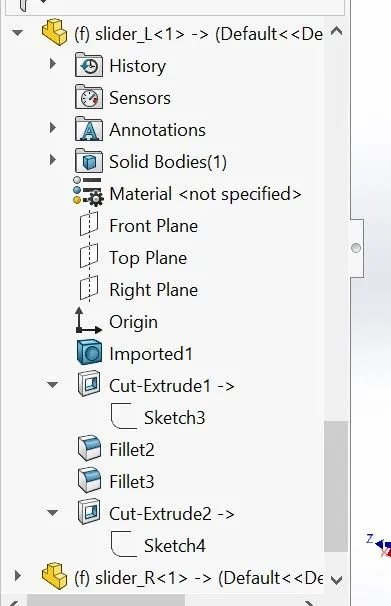
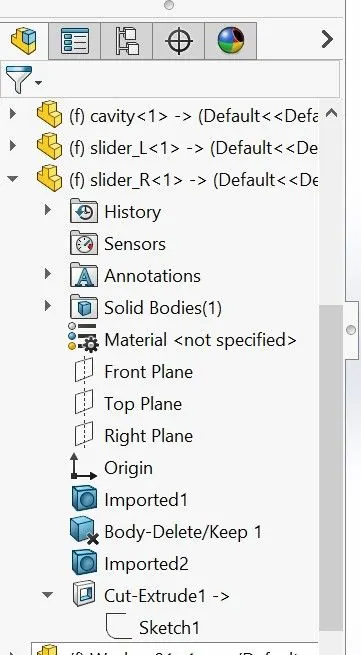
7. Create sliders by making plane and sketching over it as per required size of sliders.
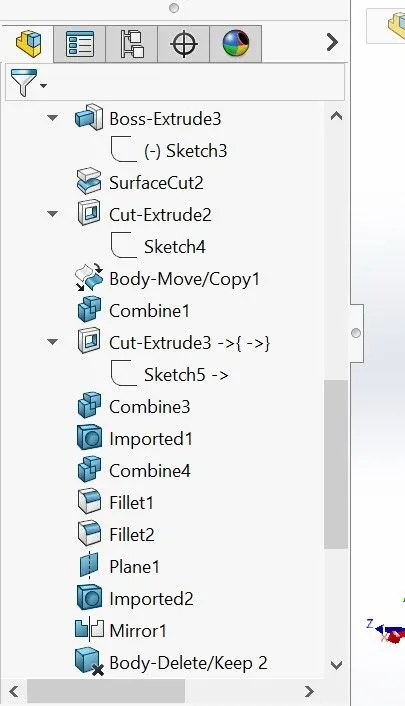
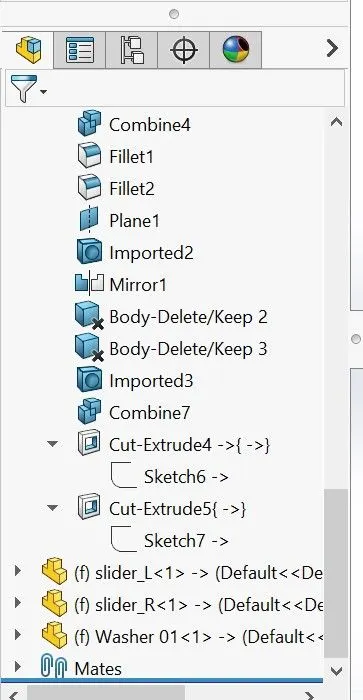
Trim the size of sliders using split, cut extrude, combine and fillets on both components sliders and cavity block cammands and save it as parasolid file.
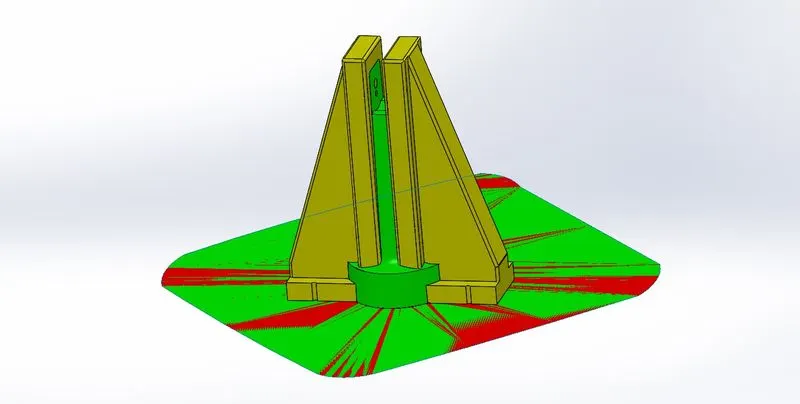
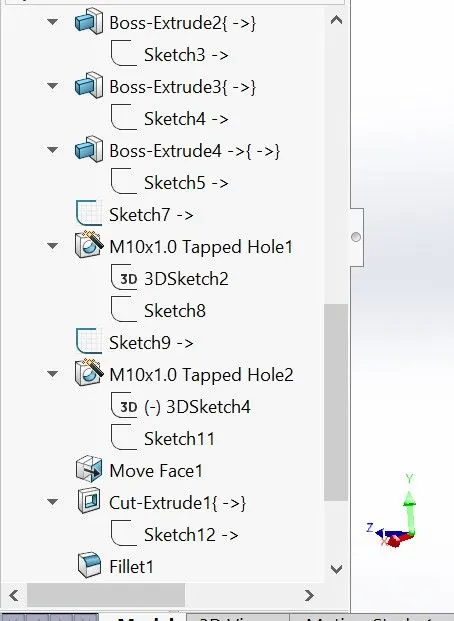
8. Import the sliders in core block and subtract in combine command to make space in core block for sliders and remove material from the passege area of slider in core blocks.
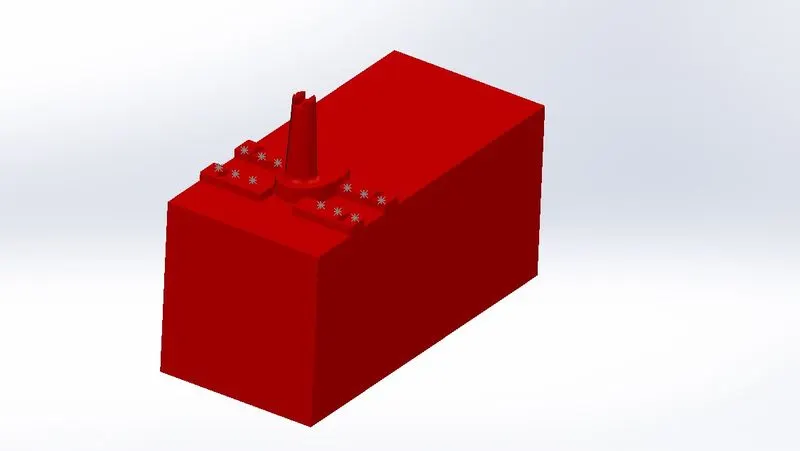
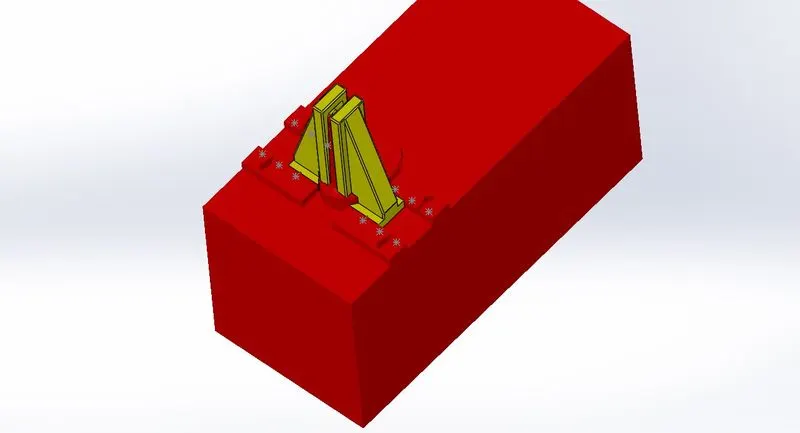
9. Create two walls near sliders to support for holding and moving of sliders and create holes to accomdate washers.
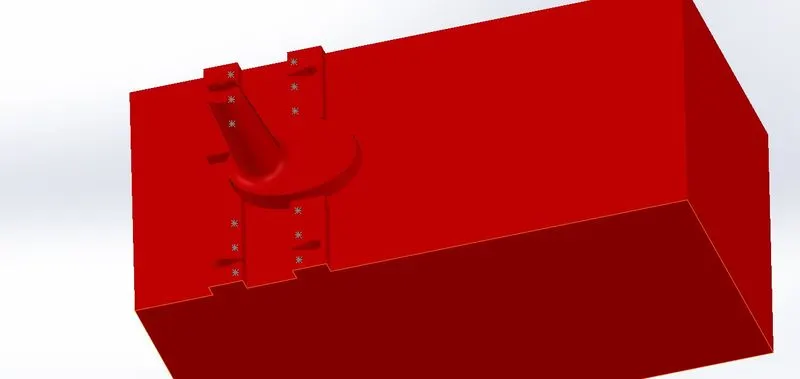
10. Create space for locking mechanism using extrude cut cammand.
11. Due to upper portion of washer so it need clearence in cavity block also, so remove extra material from it.
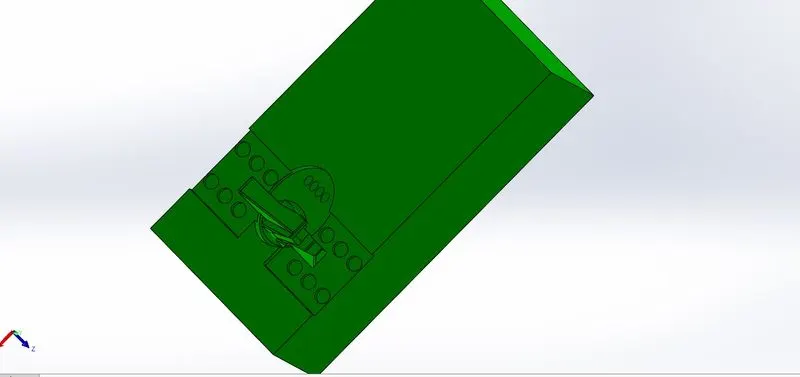
12. Create washers as per dimention and assemblr it finally.
13. Our mold is ready.