Project 1 - 2D meshing on the instrumental Panel
Project - 2D meshing on the instrumental Panel
Aim:
For the given component-
- check for the geometrical errors and mesh with the given element Quality criteria.
- After meshing the component the thickness has to be assigned.
Quality Criteria:
|
S.No |
Quality Criteria |
Value |
|
1 |
Target/Average length |
4 |
|
2 |
Minimum Length |
2 |
|
3 |
Maximum Length |
6 |
|
4 |
Aspect |
3 |
|
5 |
Warpage |
15 |
|
6 |
Skewness |
45 |
|
7 |
Jacobian |
0.7 |
|
8 |
Minimum Quad Angle |
45 |
|
9 |
Maximum Quad Angle |
135 |
|
10 |
Minimum Tria Angle |
30 |
|
11 |
Maximum Tria Angle |
120 |
|
10 |
Tria Percentage |
15 |
Methodology:
- All the elements in this model should clear the above-mentioned quality criteria and the features in the model have to be captured properly with good mesh flow.
- To do this first of all we will perform topology to stitch all the surfaces together and orient them.
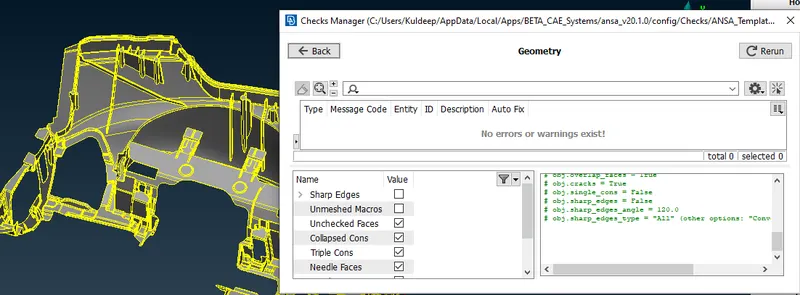
- Now check for the geometry errors and clear them using the fix option.
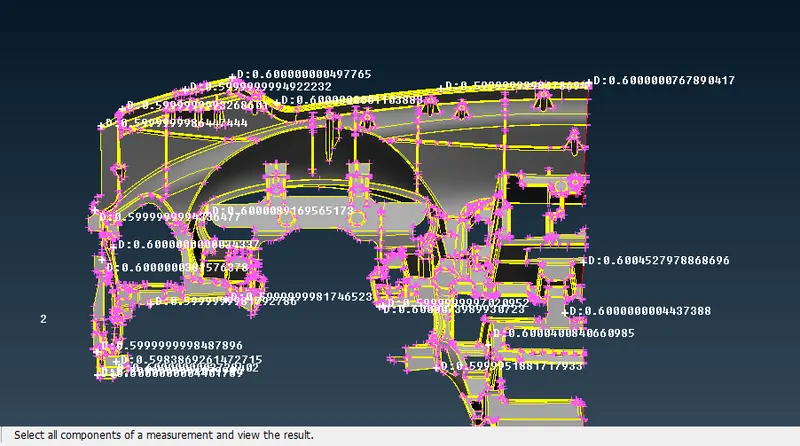
- Measure the thickness of this panel to identify the PID.
To take mid surface we use 2 methods:
- Offset Faces: When One side has different features which are not possible to capture with faces middle.
- Faces MIddle: When both sides of the part having similar features and uniform thickness.
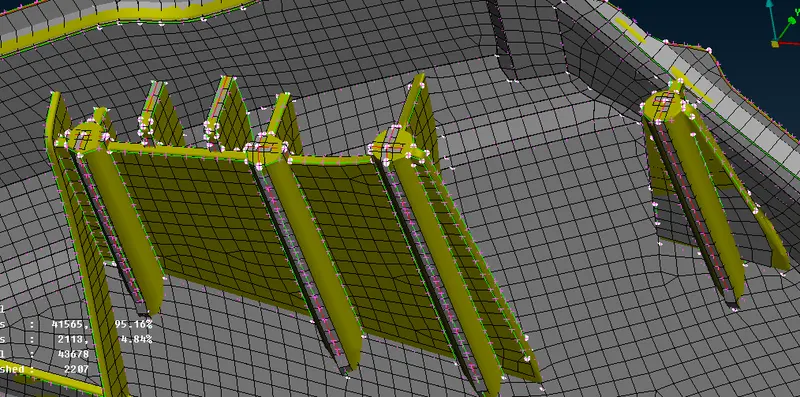
The dog house in this model captured as a "Cross pattern" in Mid surface since dog houses are solid (Hollow from inside) and are not having any thickness.
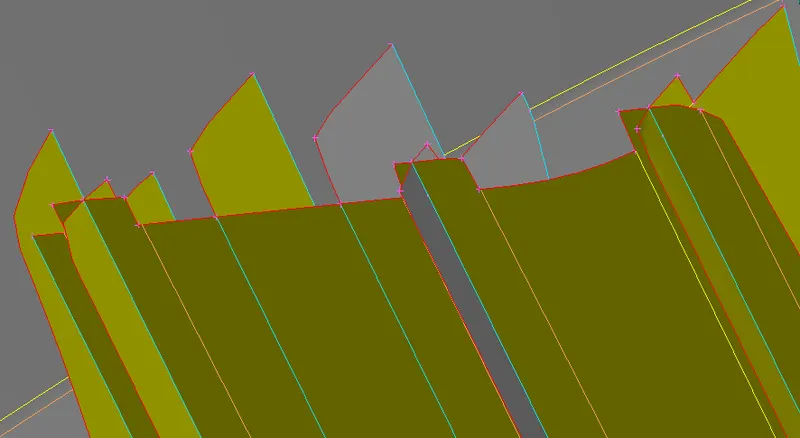
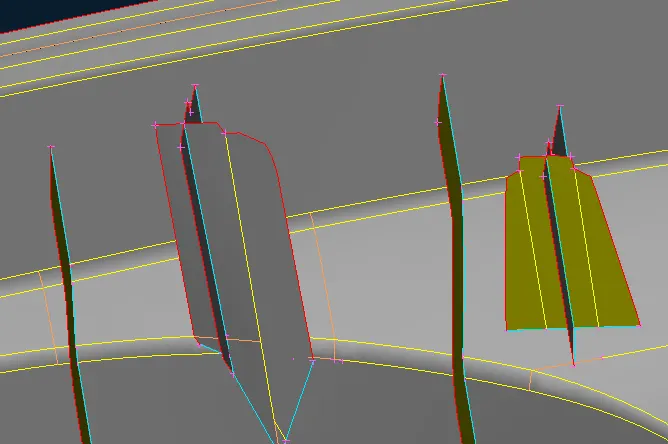
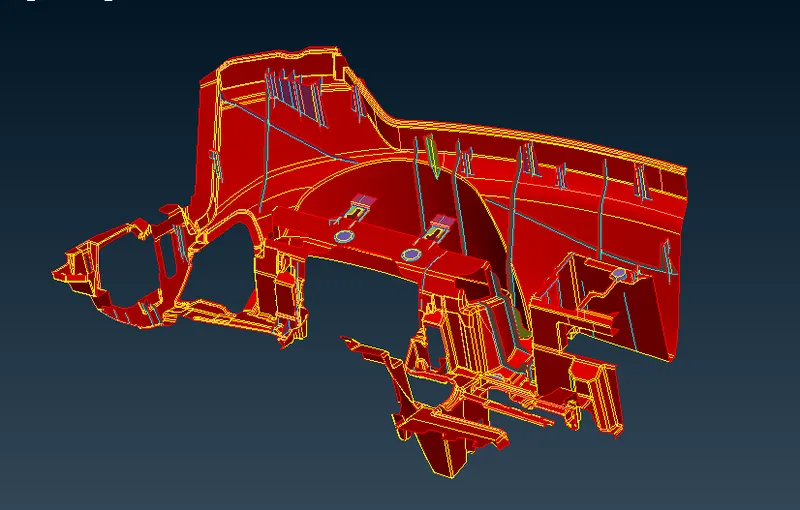
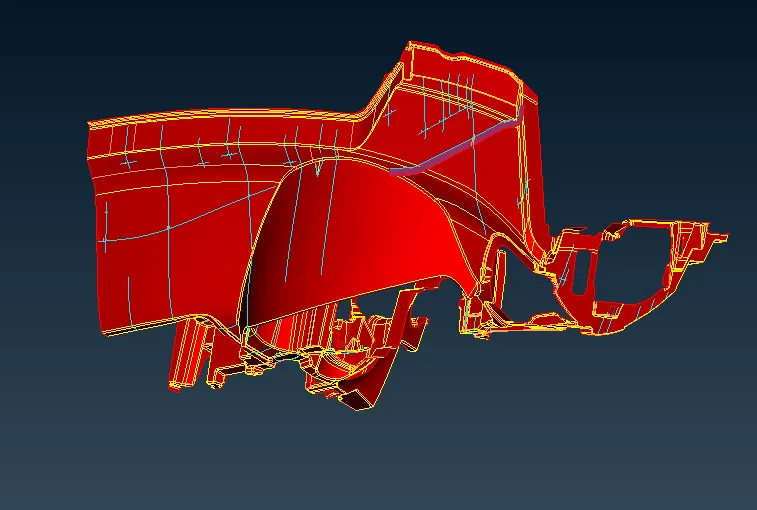
- After taking the mid surface we do a geometry checkup again and remove the errors.
- Now we can go for meshing the full model.
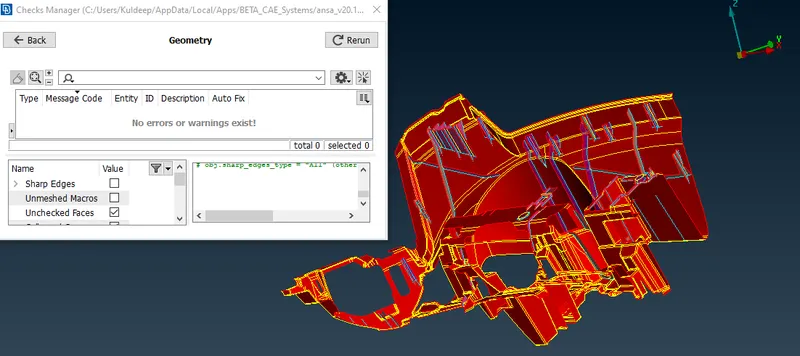
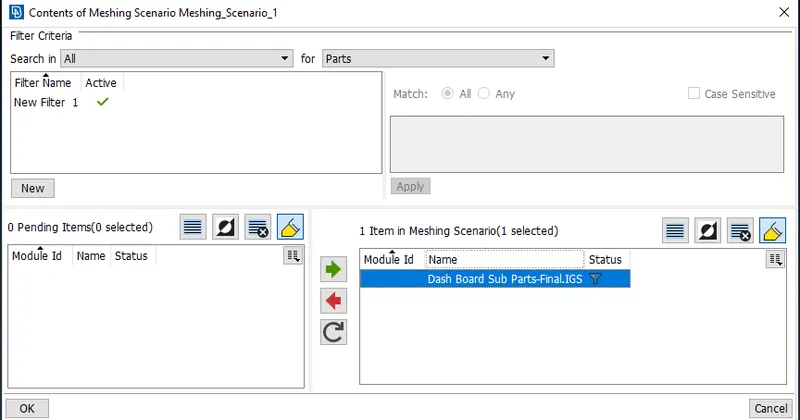
- We use the Batch Mesh here for this model to save time as it is a very big model to work on mannualy.
- For that we will follow few steps
- Go to batch mesh manager > create new mesh scenario > add the content.
- Now add the mesh parameters and quality criteria and press run.
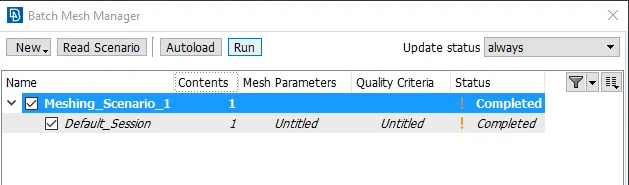
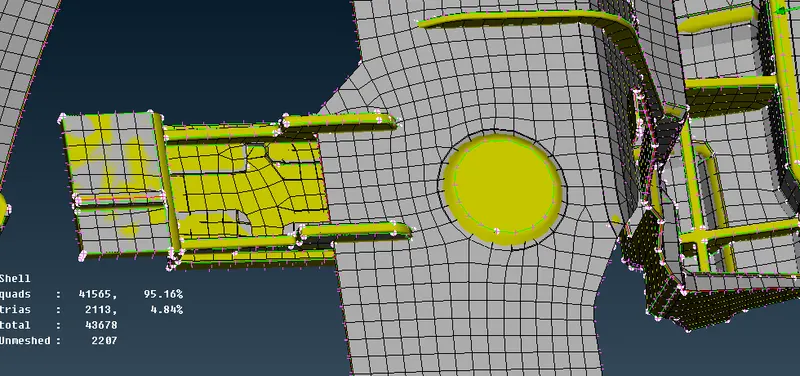
- Now after getting the mesh we have to use reconstruct, smooth, cut, and split tools to improve the mesh quality as ANSA does not do complete feature capturing.
- Manual intervention is very much needed here. In this, we will try to eliminate the tria from the corner and construction lines.
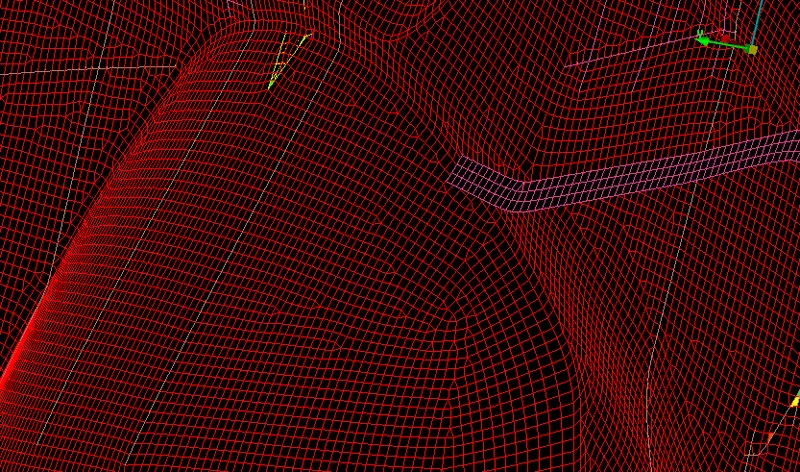
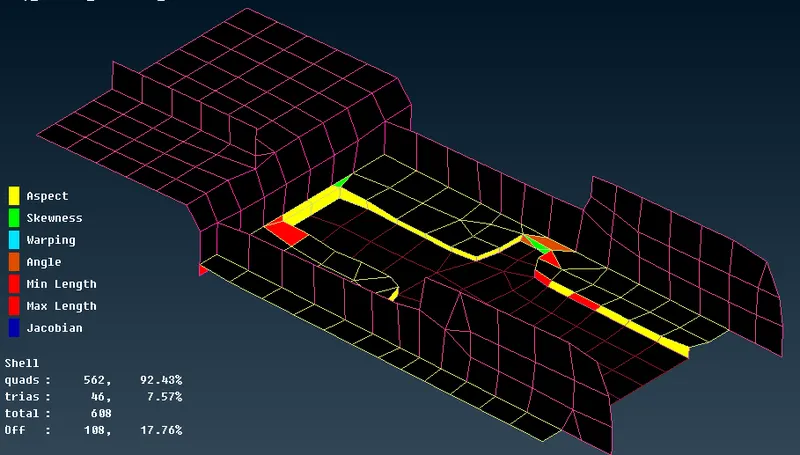
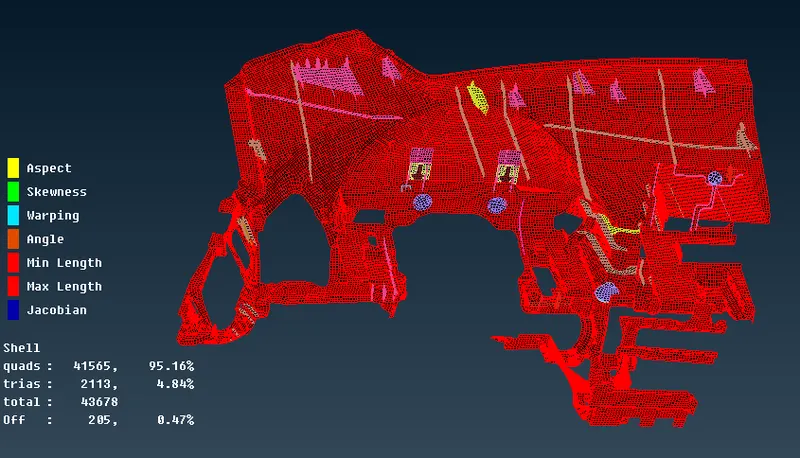
Hereafter assigning the thickness to all PIDs we draw the shell as solid.
Learning Outcomes:
- Now we can take the mid surface of more complex geometry features and can do defeaturing.
- Got more confidence in meshing and removing off elements from the mesh.
Conclusion:
We have successfully completed the 2D meshing on the instrumental panel of a car with available quality criteria.