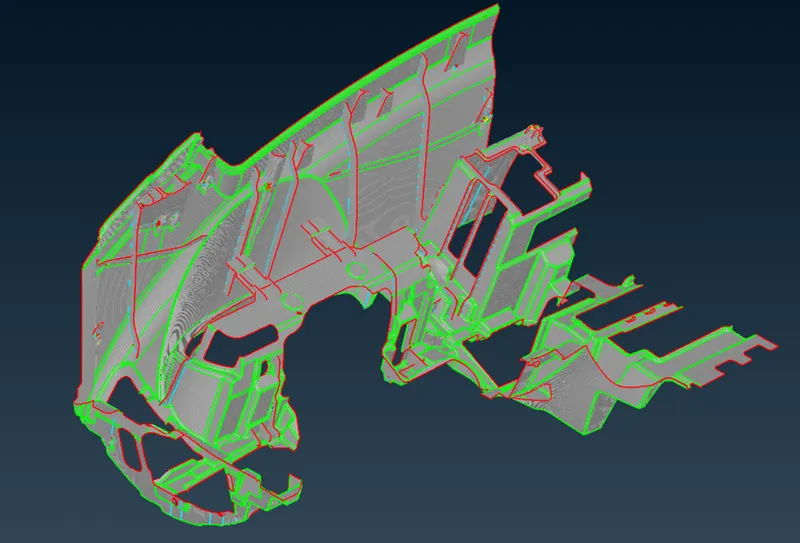
Project 1 - 2D meshing on the instrumental Panel
Project 1 - 2D meshing on the instrumental Panel
GEOMETRY CLEAN-UP:
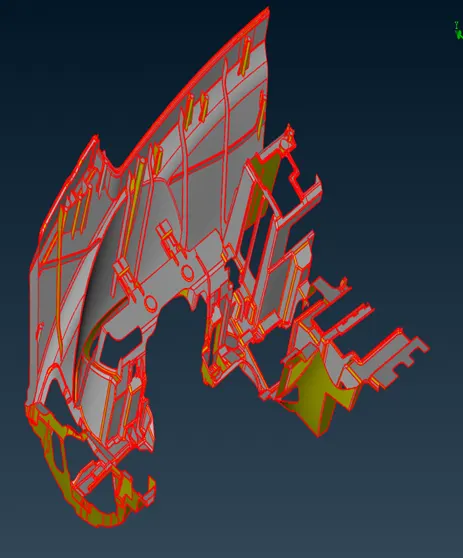
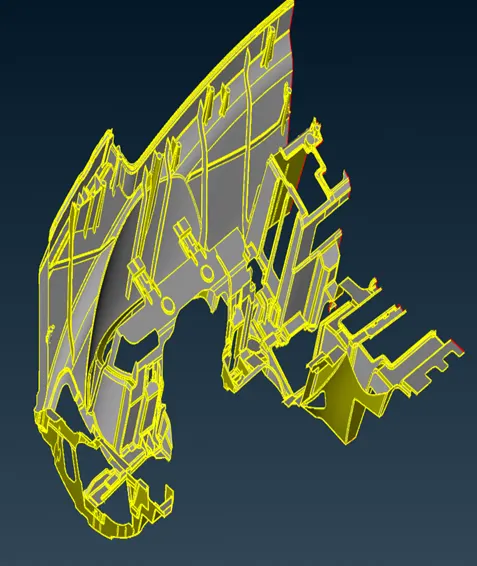
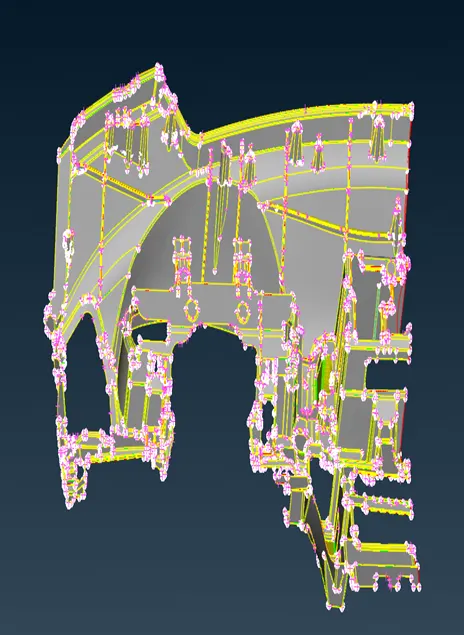
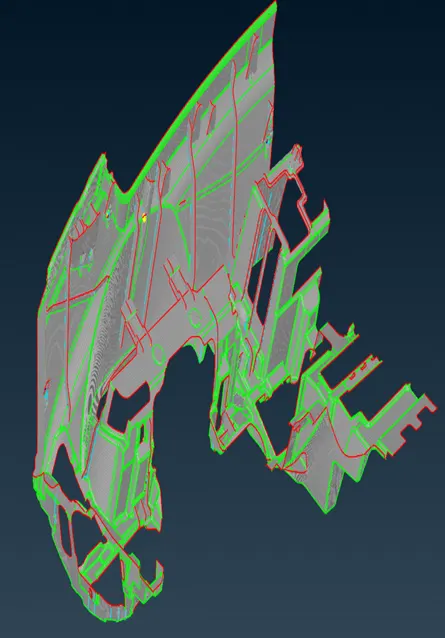
Geometry was cleaned using geometry check manager in ansa. There some missing faces were found. Those were repaired by paste and new command in faces module. After cleanup topo command was used to make the geometry closed.
|
BEFORE CLEAN-UP |
AFTER CLEAN-UP |
 |
 |
MIDSURFACE EXTRACTION:
After geometry clean-up mi surface of given geometry was extracted using casting command, which is an automated procedure. After that again geometry was checked for error. Then after extracting mid surface thickness was assigned which was automatic process and an unique feature of casting command.
|
MIDSURFACE BEFORE THICKNESS ASSIGNMENT |
MIDSURFACE AFTER THICKNESS ASSIGNMENT |
|
|
|
 |
MESHING:
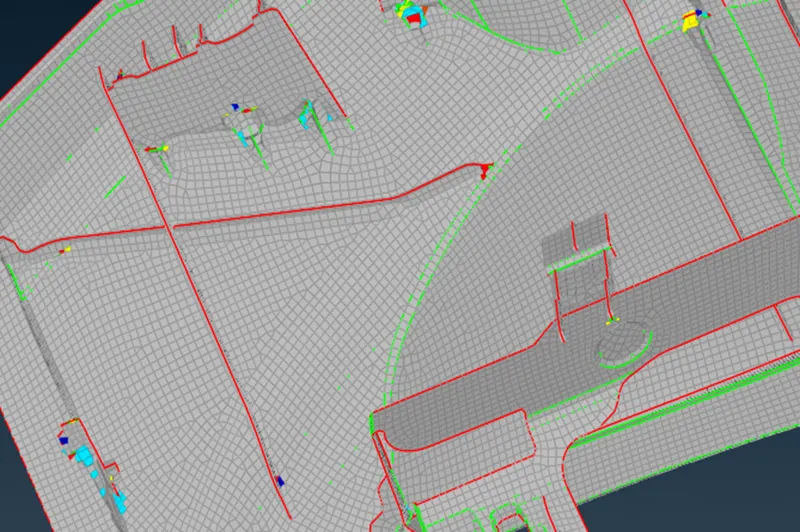
As casting method is employed for mid surface extraction meshing was done at the same time of mid surface extraction. But here we get only fea elements. After employing improve and reshape command the off elements were limited to 350 in numbers. And it was accepted because of the instruction given about the location of off elements. Also align manager is used to get rid of empty elements.
MESH-FLOW IMPROVEMENTS:
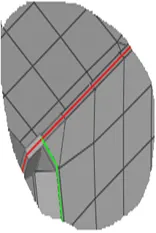
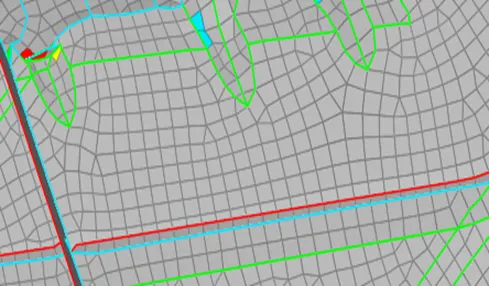
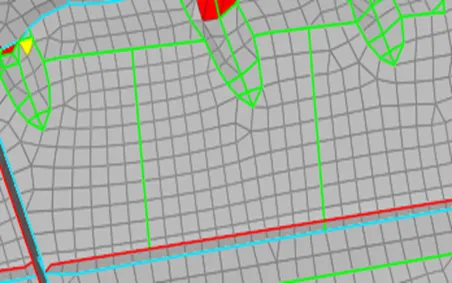
After meshing mesh flow pattern was improved to some extent at different location of the model, screen shot of one of the locations is compared below
|
IMPROVEMENT |
AFTER IMPROVEMENT |
 |
|
CONCLUSION:
This process for 2-d meshing is an automatic process compared to other techniques taught in the course. Though in results some off elements were found, in respect of time consumption it is a very good process.