Preparing Schedule & Cost Estimation for a building using REVIT
Aim : 1) Use the shortcut keys in Revit discussed in class to complete the following tasks and list them below
a. Using 3D model create a section box
b. To create similar doors and windows in a floor plan layout
c. To reduce the thickness of lines visible in plan views
d. To apply override settings to a floor in the model section view
e. To increase the range of visibility in a plan view
f. To select the previously selected items
g. To add annotations to the model views
h. To bring the model elements in line
i. To rotate the model elements
j. To move an object to another location
k. To copy a model element
l. To mirror an element about an axis
m. To create an array of model elements
Procedure :
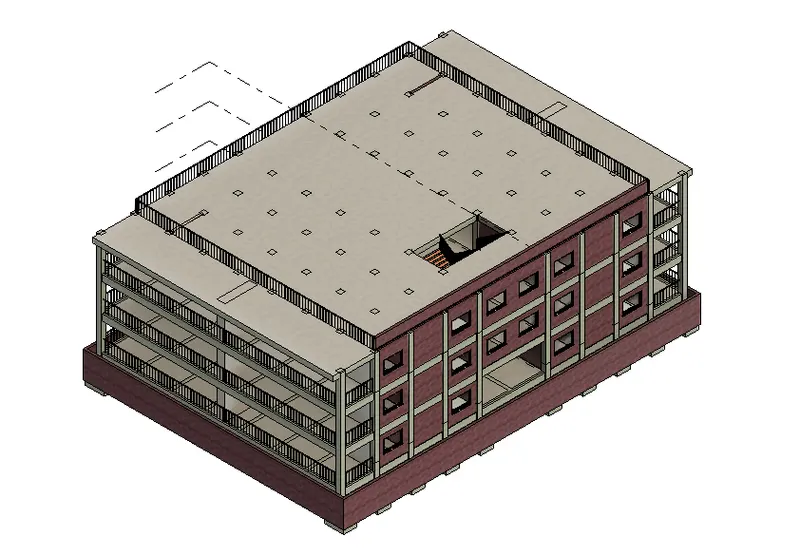
This is the 3D view of the residential Building model from Project 2
1.BX
1. BX is the short key for the Section Box.
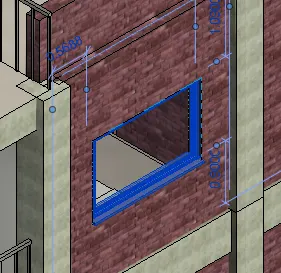
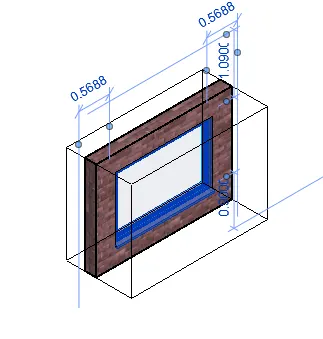
2. Below is the Section Box Created for the Window of the residential Building
2. CS
1. CS is the short key for create similar command.
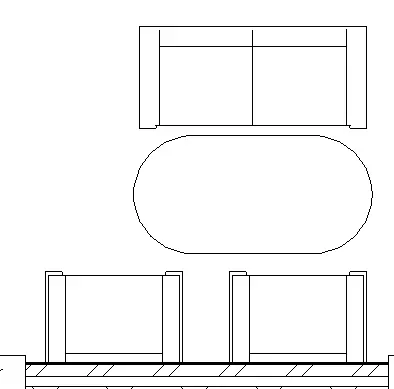
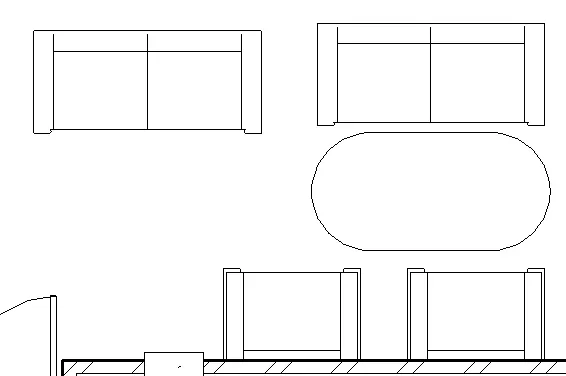
2. Sofa is created by using the short key for the Sofa in the living room
3. TL
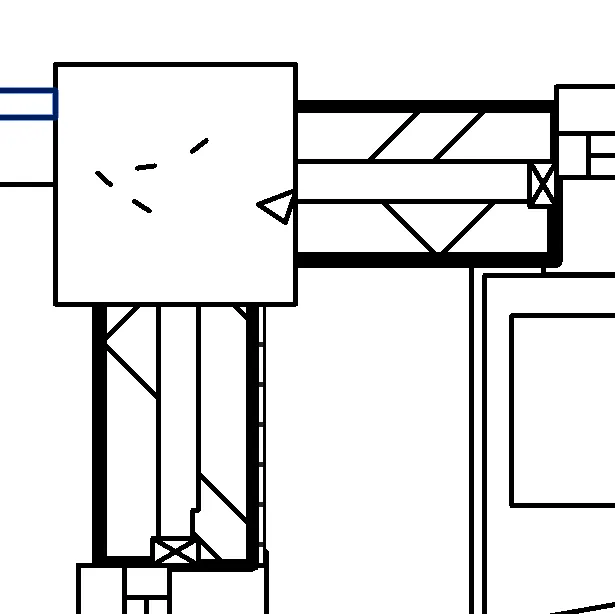
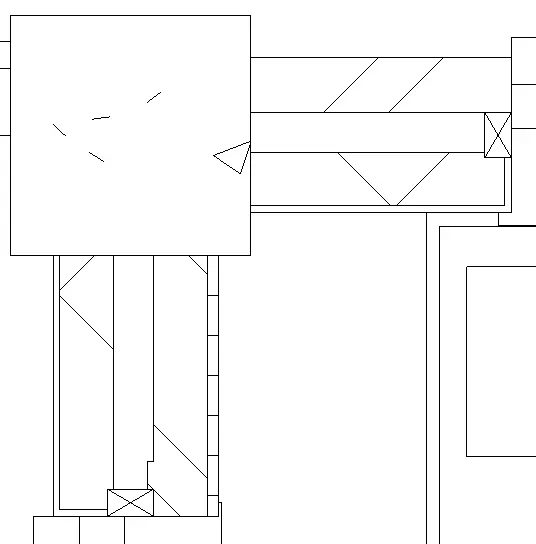
1. For the thickness of Line TL is the short key
2. Below is the result of thickness of Line
4. VG
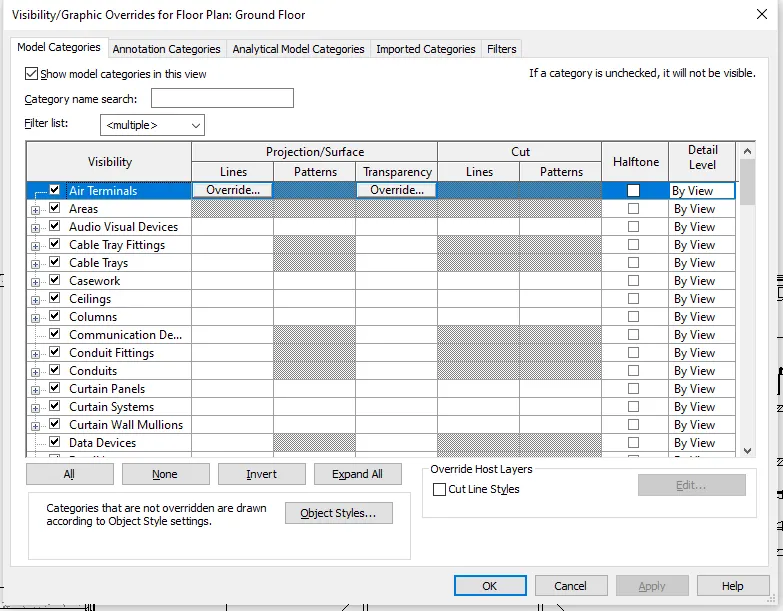
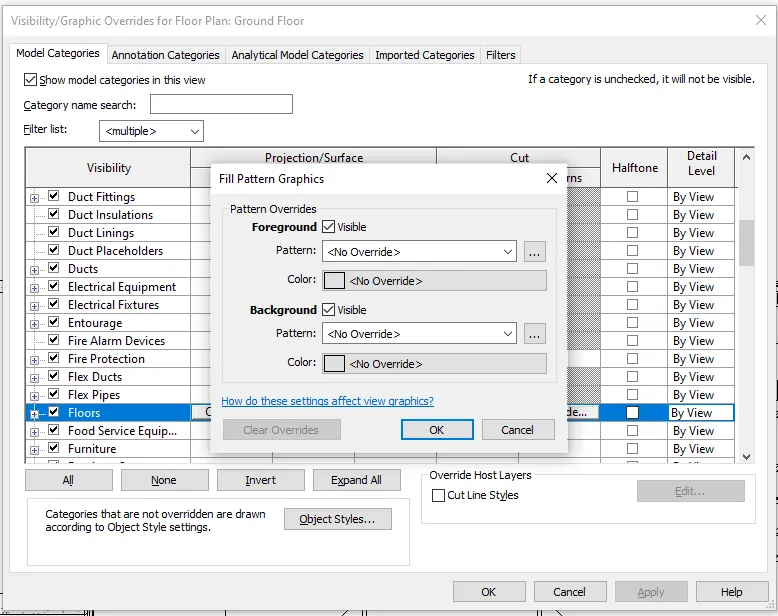
1. For the override setting to a floor go to Visual Graphics and select the floor Option
2. VG is the short key for Visual Graphics
5. VR
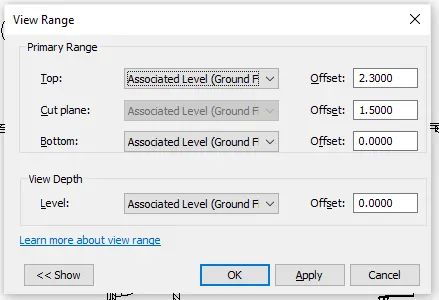
1. To increase the range of visibility in a plan view just Type VR
6. ctrl+< (Re select)
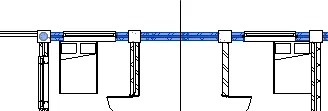
1. To select the previous selected option, type control + <
7. DI
For the annotate option Type DI and select ani option (Aligned , Linear, Angular etc)

8. AL
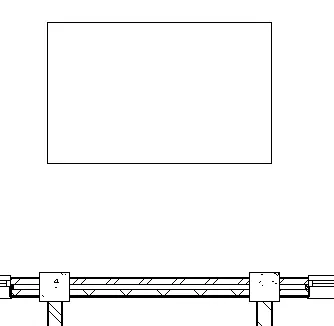
To Align any floor eith the current selected level type AL and select the floor where it is to be aligned
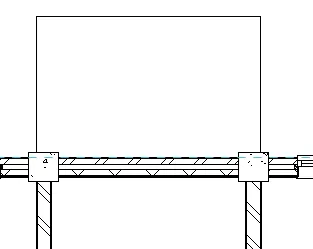
9. RO (Rotate)
1. To Rotate the any object just select the Object and type RO
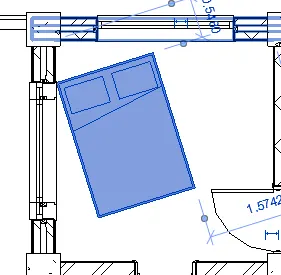
10. MV (Move)
1. To move any object in the Model just type MV and select the object to move
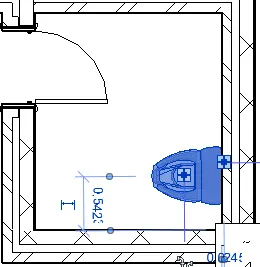
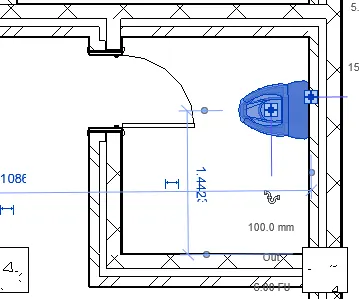
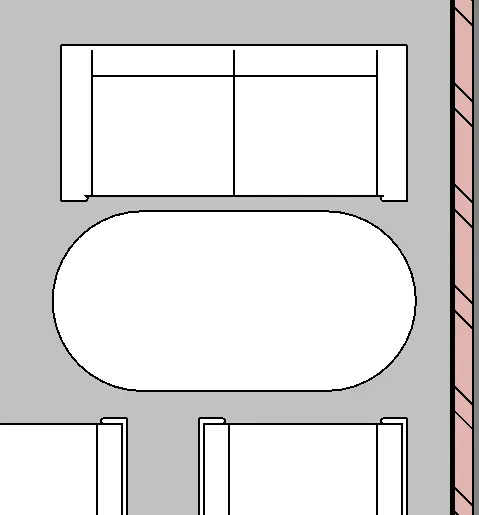
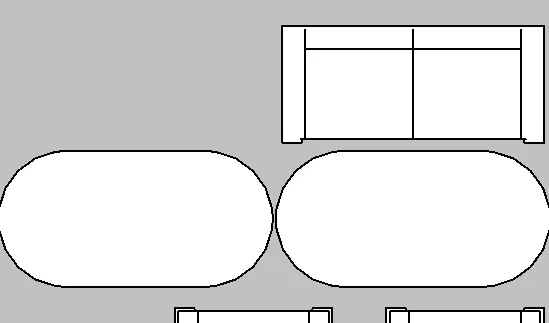
11. MM (Mirror)
To mirror any Object Type MM given below.
AR (Array)
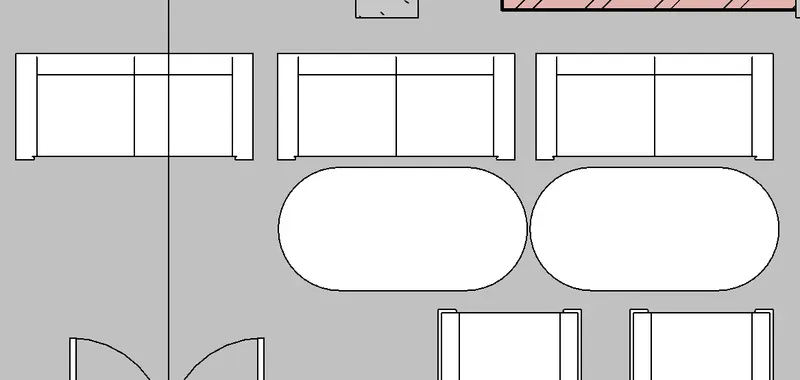
1. Array is to create Mulitiple same object in a line.
2. AR is the short form of the Array
Aim : 2) Using Revit and the project used from week 6 to 8 prepare a schedule for the following
a. Walls
b. Doors
c. Windows
d. Material – Concrete/Wood
Procedure :
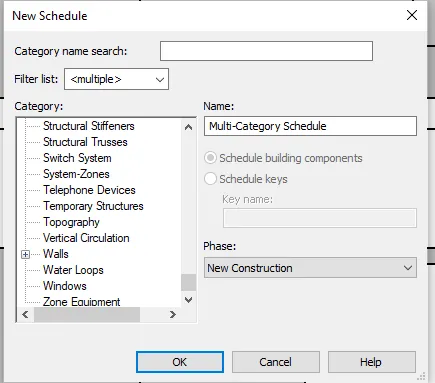
1. To create a Schedule of the given items in the question
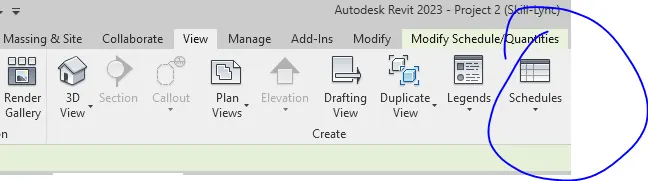
2. Just go to view tab and and select schedule
3. Select any object (Wall) from the schedule
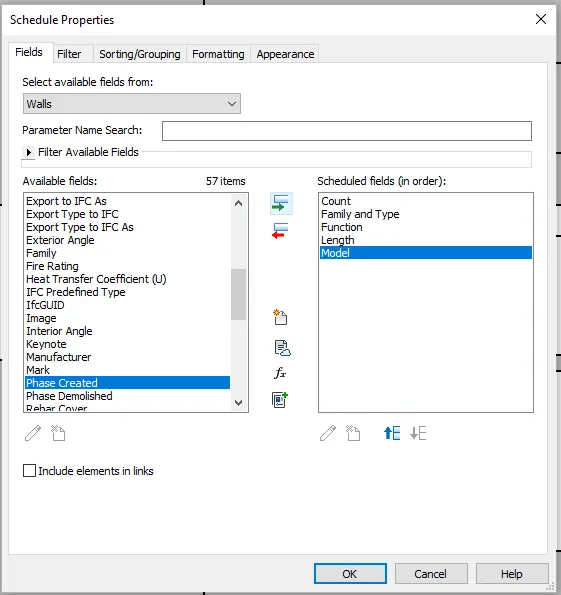
4. Select the parameters which are to be included in the Schedule chart (Cost, Volume, Width etc)
5. Select OK
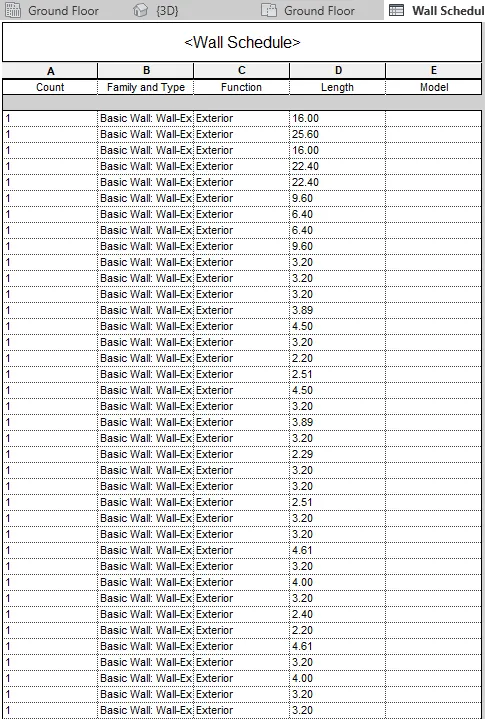
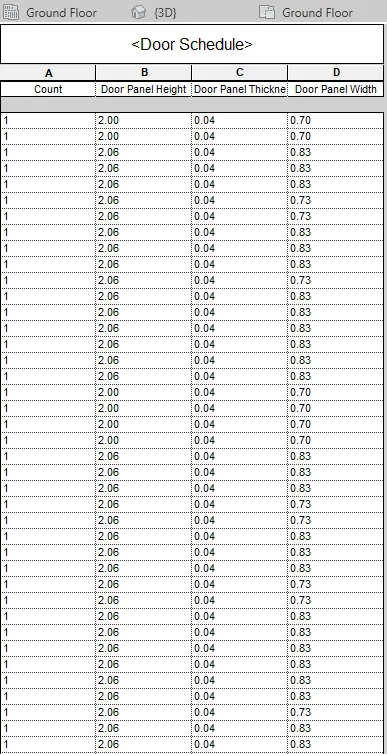
6. The schedule chart is prepared
1. Walls
2. Doors
3. Windows
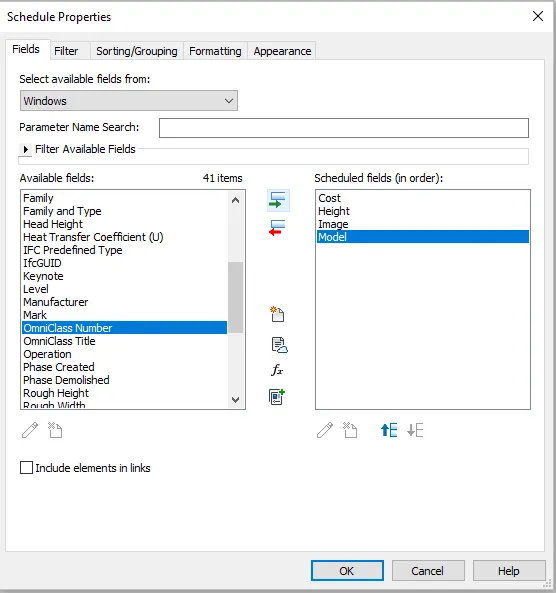
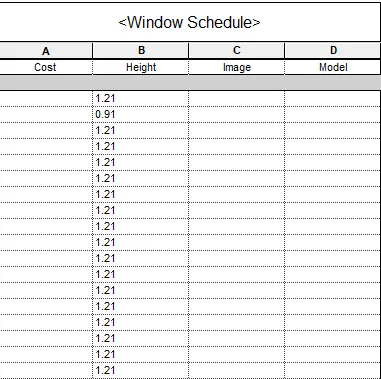
4. Material
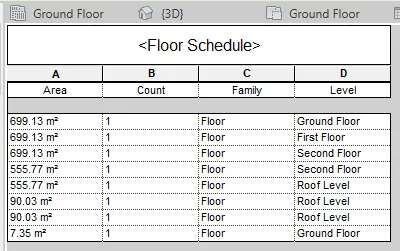
Aim : 4) Using the same schedule using the unit cost rate for materials available in the internet, prepare total cost of materials used in the project
a. Total Cost of Materials
b. Individual Material Take off
Procedure :
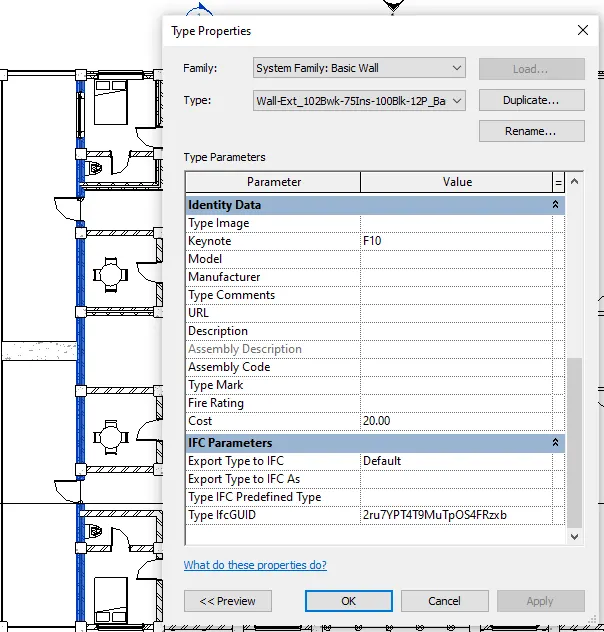
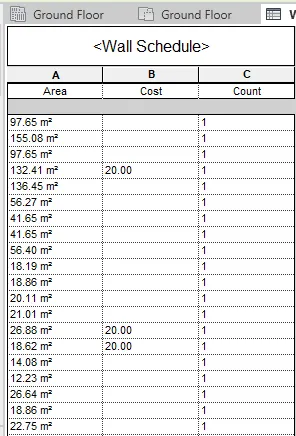
1. Select the any Item wall
2. Go to property Browser and select Edit Type
3. Enter a particular Amount in the Cost Parameter
4. And select Apply and ok
5. Go to view tab and go to schedule
6. Select the Objects and select the parameter.
7. After selecting the necessary Parameter just press OK
8. And the the schedule is created.
9. Repeat this process for every object
Aim : 6) List the parameters associated with each model element
a. Wall
b. Floor
c. Door
d. Window
e. Table
f. Building
Procedure : For the Parameter of each object in the Model.
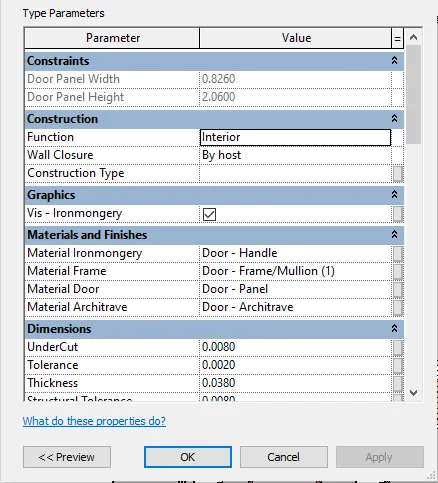
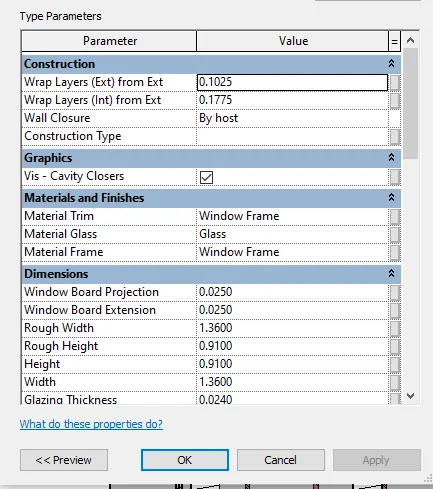
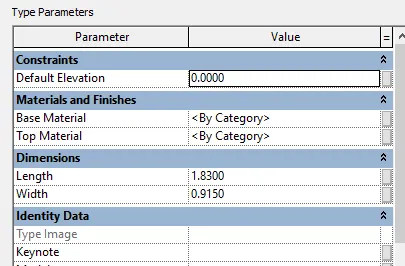
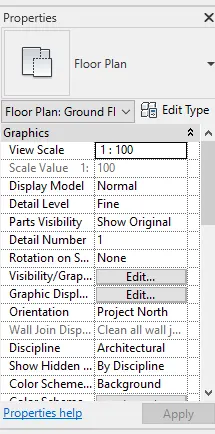
2. Select the object and go to property browser
3. In Property Browser go to edit type and you will get the Parameter
4. Below given is the Prameter of each Object given the Question
1. Walls
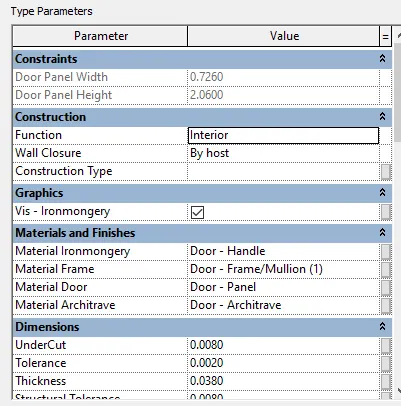
2. Doors
3.Windows
4. Tables
5. Buildings
Conclusion : Hence the Challenge 9 is completed