Photo Realistic Rendering
Photo Realistic Rendering
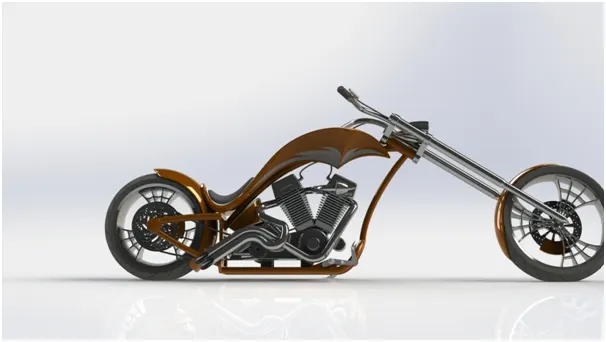
Objective: - The main objective of this project is to design and model American chopper by using different tools and commands in solidworks, to assemble different parts of American chopper and to create photo realistic view of the chopper by rendering the model in photo view 360.
Part Modelling: - In part modelling different parts of an item are sketched and then these are modelled using various graphical visualisation.
Features Description:-
Sketch: - sketch is used to represent the two dimensional state of the model. Solidworks includes different types of sketches such as line, circle, spline etcetera.
Offset: - Offset one or more sketch entities, selected model edges, or model faces by a specified distance.
Extrude Boss/base: - An Extruded Boss/Base feature will allow you to take a 2D sketch and add thickness to it in the third dimension.
Fillet: - Fillet/Round creates a rounded internal or external face on the part.
Loft: - Loft creates a feature by making transitions between profiles. A loft can be a base, boss, cut, or surface. You create a loft using two or more profiles. For a solid loft, the first and last profiles must be model faces or faces created by split lines, planar profiles, or surfaces.
Dome: - select one or more planar or non planar faces. You can apply domes to faces whose centroid lies outside the face. This allows you to apply domes to irregularly shaped contours.
Extrude cut: - The Extruded cut operation allows you to easily remove material from a solid by extruding a profile along the normal to its plane.
Split: - The SOLIDWORKS Split Line tool is used to project an entity (sketch, solid, surface, face, plane, or surface spline) onto other surfaces or curved/planar faces. You are also able to split faces on multiple bodies with one command.
Trim entities: - Select the trim type based on the entities you want to trim or extend. All trim types are available with 2D sketches and 2D sketches on 3D planes. You can use any of the following trim options: Power trim.
Revolve: - Revolves add or remove material by revolving one or more profiles around a centreline. Create revolved boss/bases, revolved cuts, or revolved surfaces. The revolve feature can be a solid, a thin feature, or a surface.
Dynamic mirror: - Dynamic Mirror Entity works by automating the mirror entities tool while you are sketching. When this tool is activated, SOLIDWORKS will automatically create a symmetric relation between the original sketch, the copied sketch, and the line that the sketch is being mirrored over.
Appearances: - An appearance defines the visual properties of the model. It does not affect physical properties, which are defined by material.
Combine: - Combine feature uses multi bodies to create a single body.
Shell: - The shell tool hollows out a part, leaves open the faces you select, and creates thin-walled features on the remaining faces.
Chamfer: - The chamfer tool creates a bevelled feature on selected edges, faces, or a vertex.
Circular pattern: - circular patterns create multiple instances of one or more features that you can space uniformly around an axis.
Linear pattern: - linear pattern creates multiple instances of one or more features that you can space linearly.
Surface modelling: - surface modelling gives you the ability to built out a visual representation of an object’s exterior and its contours.
Features description:-
Lofted surface: - loft surfaces are 3D surfaces generated by multiple 3d curves or existing edges creating a smooth tangency between the selected curves.
Swept surfaces: - sweep surfaces are surfaces that are generated from a section curve positioned along a path.
Filled surfaces: - the filled surface feature constructs a surface patch with any number of sides within a boundary defined by existing model edges including composite curves.
Surface trim: - surface trim tool is used to trim intersecting surfaces.
Extend surface: - extend surface is used to extend a surface by selecting an edge, multiple edges, or a face. For edges, the surface extends along the plane of the edge.
Surface knit: - Knit Surface is used to combine two or more faces and surfaces into one. Knit surfaces absorb the surface bodies you used to create them.
PARTS MODELLED FOR AMERICAN CHOPPER :-
Transmission belt
Kickstand
Front fender
Rear fender
Chain
Oil Tank
Pedal
Front wheel
Rear wheel
Front fork
Chassis
Engine
Gas Tank
Description of parts used:-
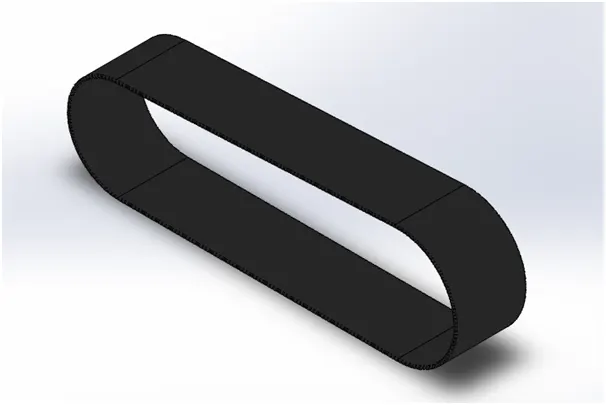
- Transmission belt: - the transmission belt in the chopper is used to transmit power from the engine to gear box.
Features used:-
Boss extrude
Fillet
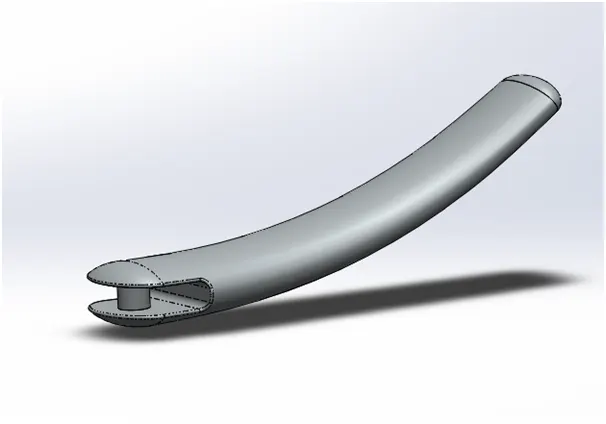
- Kickstand: - the kickstand is used to support the chopper. Its also called side stand.
Features used:-
Loft
Dome
Cut extrude
Split
Boss extrude
Fillet
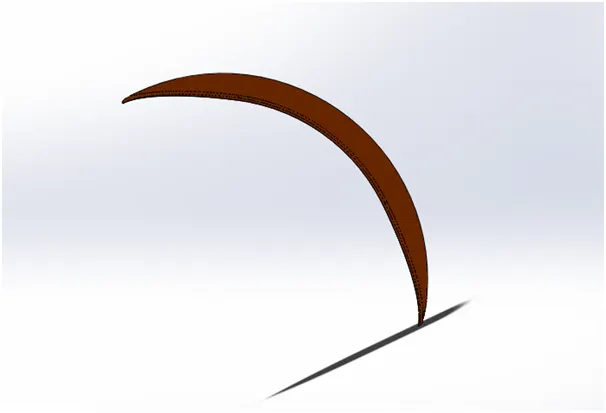
- Front fender: - the front fender is a part mounted on the fork above the wheel to protect the rider and the chopper other parts from debris and foreign particles.
Features used:-
Revolved boss
Split
Fillet
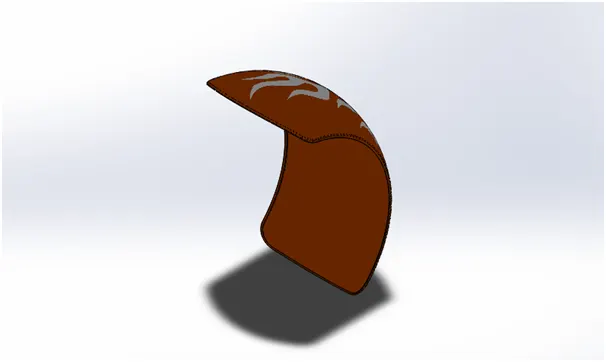
- Rear fender: - the use of the rear fender is same as the front fender. The rear fender is mounted on the chassis of the rear part above the rear wheel to protect the body from mud.
Features used:-
Revolved boss
Split
Fillet
Shell
- Chain: - chain is used to transmit the power from the engine to the rear wheel.
Features used:-
Extrude boss
Fillet
Projected curves
Curve pattern
Mirror
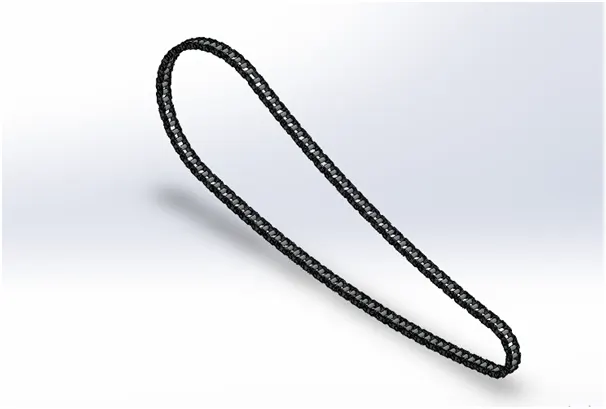
- Oil Tank: - Oil tank is used to store the oil required to run the engine. Oil tank is the hollow one.
Features used:-
Extrude boss
Fillet
Shell
Combine
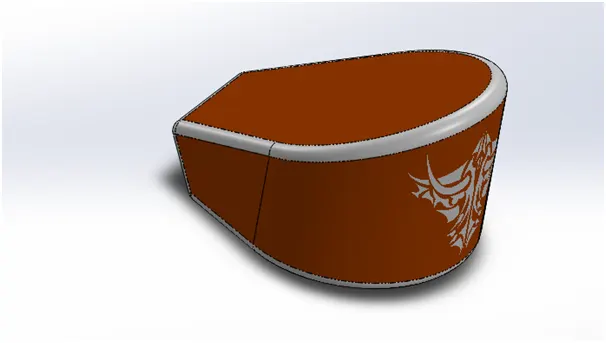
- Pedal: - A pedal has the function of shifting the gears to get desired speed from the engine and also apply the breaking force.
Features used :-
Extrude boss
Fillet
Revolve Boss
Dome
Chamfer
Linear pattern
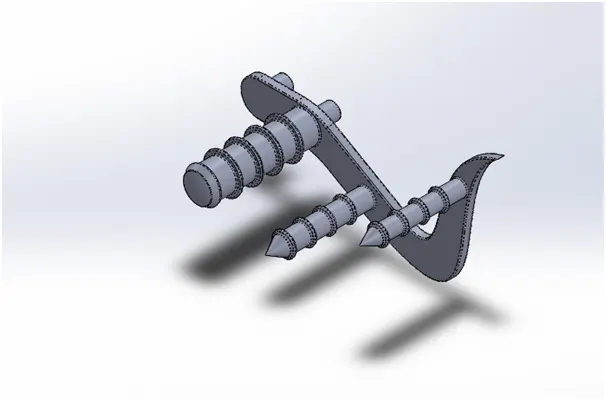
- Front wheel: - A front wheel is a circular block of a hard and durable material where the centre has been bored with a circular hole through an axle bearing about which the wheel rotates.
Features used :-
Extrude boss
Cut extrude
Revolve cut
Circular pattern
Combine
Fillet
Chamfer
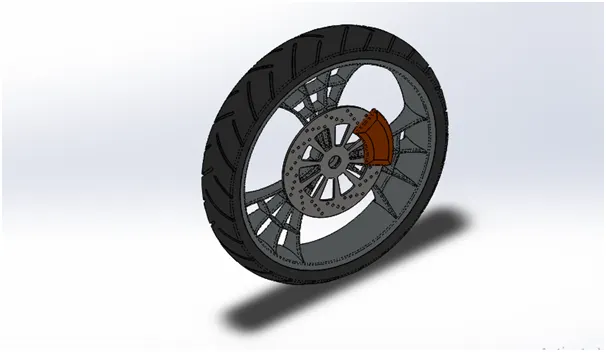
- Rear wheel: - A rear wheel is a circular block of a hard and durable material where the centre has been bored with a circular hole through an axle bearing about which the wheel rotates. The disc and sprocket are attached with the rear wheel.
Features used:-
Extrude boss
Cut extrude
Revolve cut
Circular pattern
Combine
Fillet
Chamfer
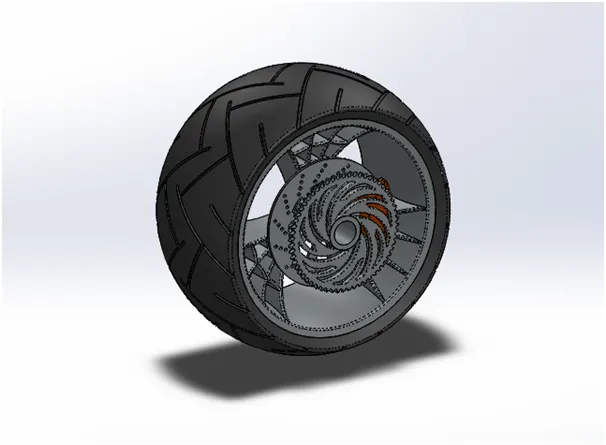
- Front fork: - the forks is simply a large hydraulic shock absorbers with internal coil springs. They allow front wheel to react to imperfections in the road while isolating the rest of the motorcycle from that motion. It filters the bums to give comfort to the riders.
Features used:-
Extruded boss
Revolved boss
Fillet
Extruded cut
Dome
Revolved cut
Swept boss
Projected curve
Mirror
Combine
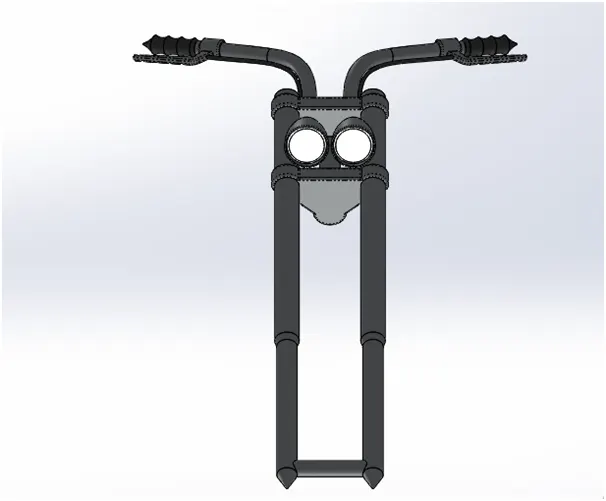
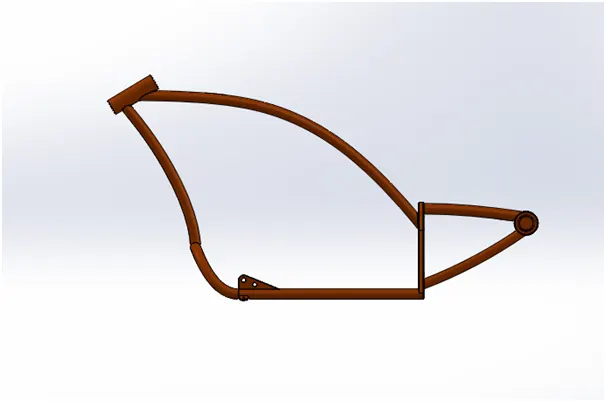
- Chassis: - the chassis or frame forms its skeleton. All the components of the chopper, like the suspension, wheels, fuel tank, seats, handlebars etc, are attached to this base structure which lends a motorcycle its strength and ability to handle well.
Features used:-
Swept boss
Project curve
Mirror
Extruded boss
Fillet
Extruded cut
Dome
Combine
Chamfer
Split
Revolved boss
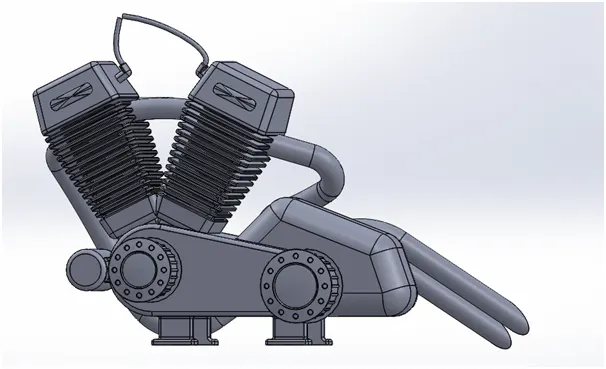
- Engine: - An engine or a motor is a machine designed to convert one form of energy into mechanical energy. Heat engines, like the internal combustion engine, burn a fuel to create a heat which is then used to do the work.
Features used:-
Swept boss
Project curve
Mirror
Extruded boss
Fillet
Extruded cut
Dome
Chamfer
Split
Revolved boss
Linear pattern
Circular pattern
Composite curve
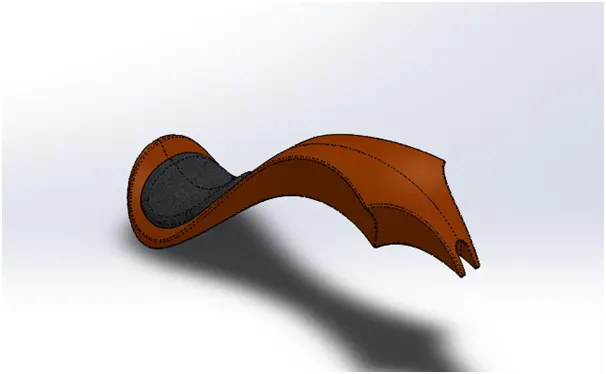
- Gas tank: - gas tank is used to store the fuel gas. Fuel gas is used to drive the engine.
Features used:-
Surface loft
Surface knit
Project curve
Fillet
Swept surface
Split
Mirror
Swept cut
Plane
ASSEMBLY OF AMERICAN CHOPPER :-
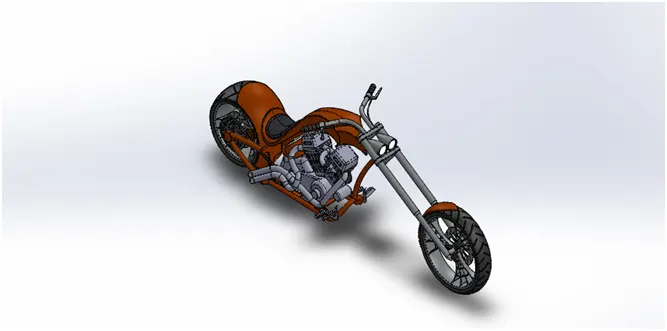
Main assembly: - at first the chassis part is inserted in the assembly by using insert parts in the option. After that the part is inserted in the assembly environment and clicked ok to fix the chassis. After that the other parts of the chopper are inserted into the assembly and given possible mate conditions.
Features used to assemble American chopper:-
Mates
Insert part
Mates: - mates create geometric relationships between assembly components. As we add mates, we define the allowable directions of linear or rotational motion of the components. We can move a component within its degree of freedom, visualising the assembly behaviour.
Insert parts: - we can insert the other components which need to be mated with the prime fixed component.
RENDERING :-
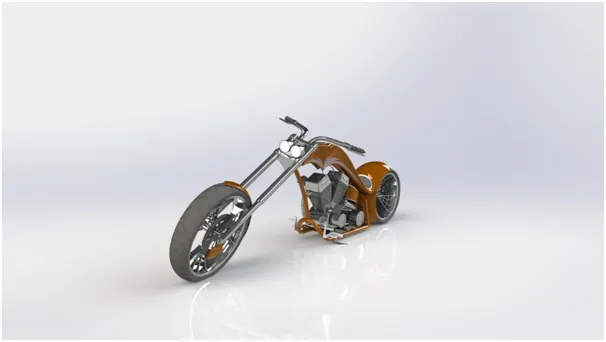
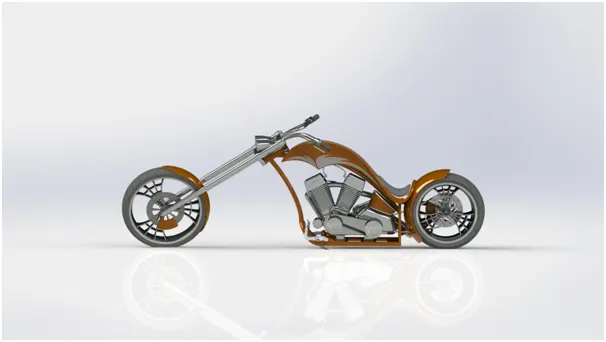
Rendering is the process of creating realistic images of photorealistic model with the environment.
Rendering is done in photo view 360 in solidworks.
In photo realistic model some of the mate conditions and positions are changed to render realistic model.
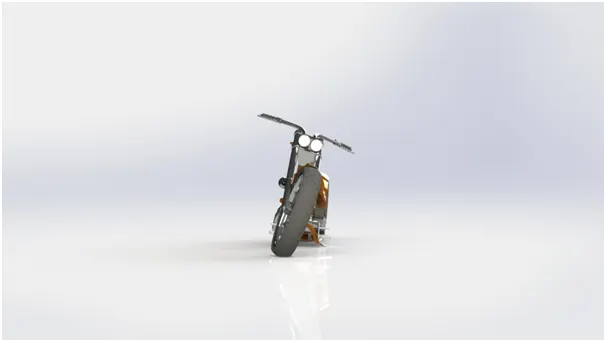
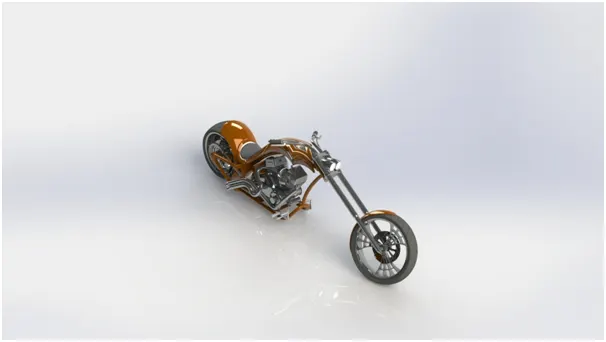
Then the photo realistic model is rendered into realistic images with different views.
Here i have assembled American chopper using photo view 360 for rendering.
CONCLUSION:-
- The parts of American chopper are modelled.
- The parts inserted into the assembly environment and American chopper is assembled.
- The photo realistic image was rendered using photo view 360.
I would like to thanks my mentor Mr. Soundar Rajan for helping me with the challenges I faced while modelling this American chopper.